1. Introduction
This manual provides essential information for the safe and effective operation of your Weikass 380W 20R Sharpy Beam Moving Head Light. Please read these instructions thoroughly before installation, operation, or maintenance. Keep this manual for future reference.
2. Safety Instructions
- Always connect the fixture to a grounded circuit.
- Ensure the voltage matches the specified requirements (AC110V-240V, 50/60Hz).
- Do not open the housing; there are no user-serviceable parts inside. Refer all servicing to qualified personnel.
- Avoid direct eye exposure to the light source.
- Ensure proper ventilation around the fixture to prevent overheating.
- Mount the fixture securely using appropriate clamps and safety cables.
- Disconnect from power before cleaning or maintenance.
3. Package Contents
Verify that all components are present and in good condition upon unpacking:
- 2 x Weikass 380W 20R Sharpy Beam Moving Head Lights
- All necessary accessories for operation and installation.
4. Product Features
- Light Source: OSSAM MSD 350W bulb for powerful illumination.
- Color System: 13 fixed colors + white light, with half-color effect capability. Includes 1 six-color film for seven-color effects.
- Pattern System: 10 fixed patterns + linear pattern + white light.
- Prism Effects: Equipped with 8 prisms, 8+8+8 prisms, and double prisms that can be superimposed. Features bidirectional independent rotation.
- Atomization: Soft light effect for dream-like pattern projection.
- Beam Angle: Parallel beam angle adjustable from 0-38 degrees.
- Control Channels: Multiple DMX channel modes (18CH/14CH/17CH) for versatile control.
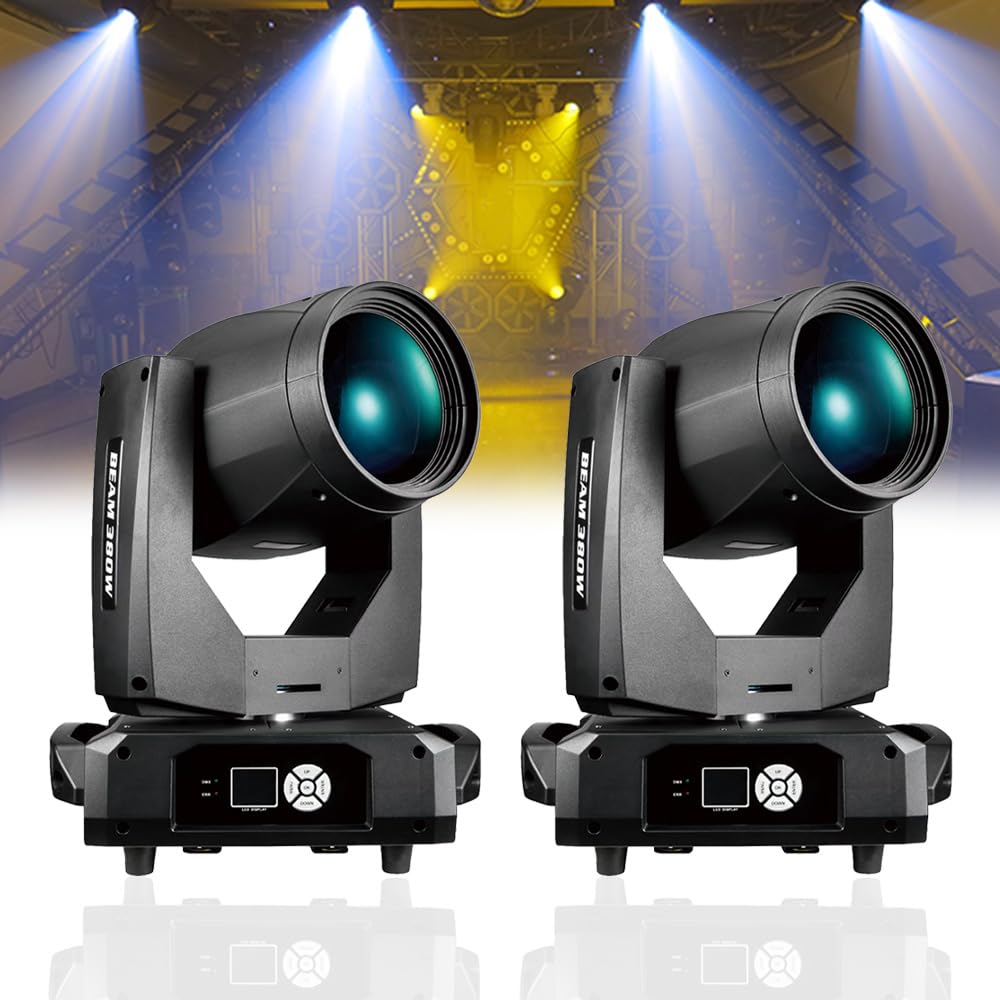
Image 4.1: Front view of the Weikass 380W Sharpy Beam Moving Head Light.
5. Setup
5.1 Unpacking and Inspection
Carefully remove the fixture from its packaging. Inspect for any damage during transit. Report any damage to your supplier immediately.
5.2 Mounting
The fixture can be mounted in various orientations (e.g., truss, floor). Ensure the mounting surface or structure can support the weight of the fixture (16.8kg net weight) and any additional equipment. Use appropriate clamps and always secure with a safety cable.
5.3 Electrical Connection
Connect the power cable to a suitable AC110V-240V, 50/60Hz power outlet. Ensure the power source is grounded.
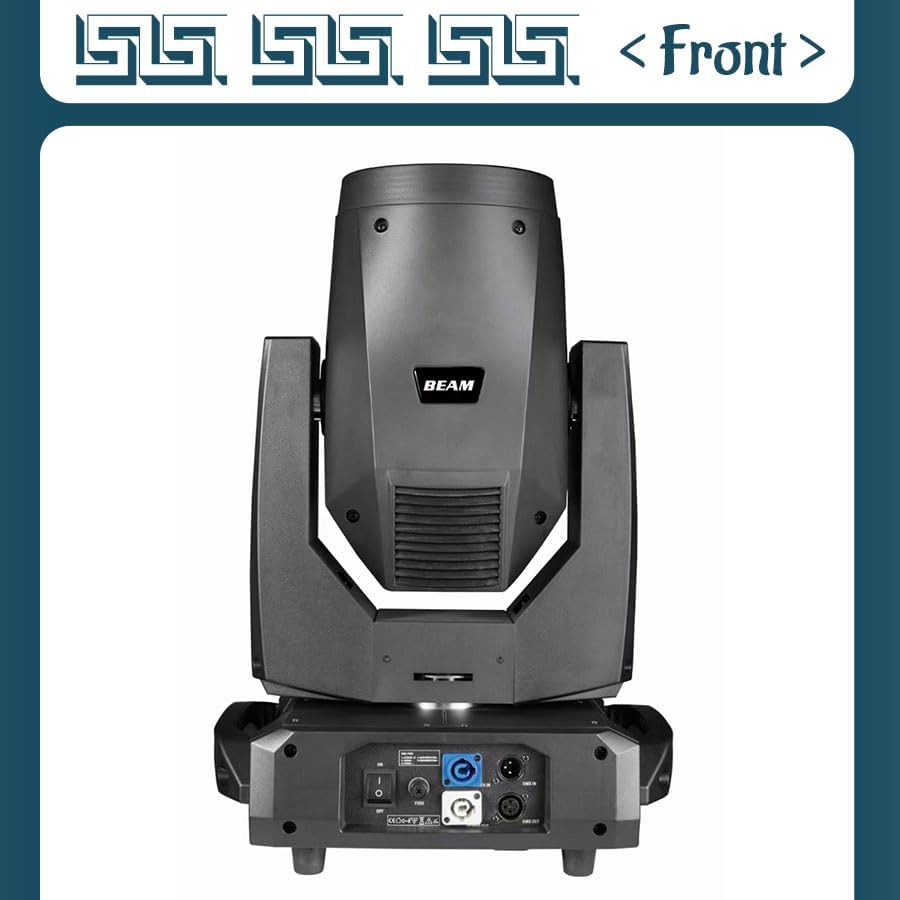
Image 5.1: Front view of the moving head light, showing the lens and head.
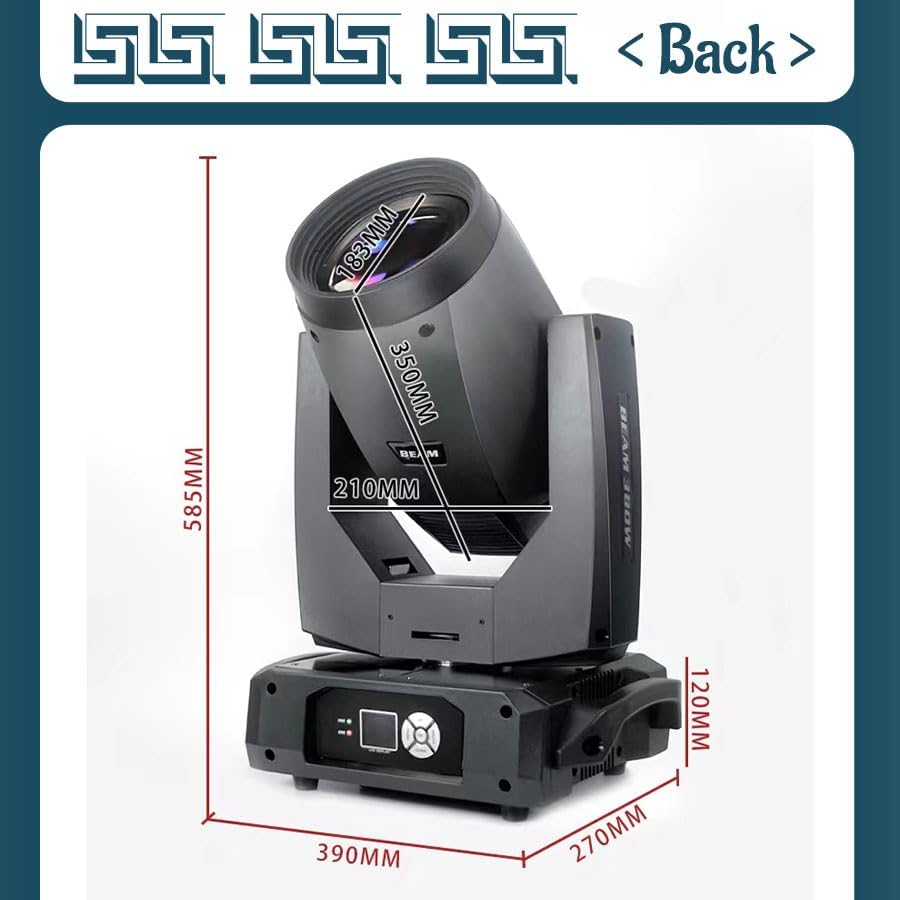
Image 5.2: Back view of the moving head light, illustrating power input, DMX in/out, and control panel.
5.4 DMX Connection
Connect a DMX cable from your DMX controller to the DMX IN port of the first fixture. For multiple fixtures, daisy-chain them by connecting the DMX OUT of the first fixture to the DMX IN of the next, and so on. Terminate the last fixture in the chain with a DMX terminator.
6. Operation
6.1 Control Panel
The control panel on the base of the fixture allows for addressing, mode selection, and basic parameter adjustments. Refer to the specific DMX channel chart for detailed control via a DMX controller.
6.2 DMX Control
Set the DMX address for each fixture using the control panel. Ensure each fixture has a unique starting address to avoid conflicts. Consult the DMX channel chart (typically provided separately or on the manufacturer's website) for a complete list of functions controllable via DMX.
6.3 Light Effects
Utilize the color wheel, pattern gobos, and prism effects to create dynamic lighting displays. The atomization function can soften the beam for atmospheric effects. Adjust the beam angle for narrow, sharp beams or wider washes.
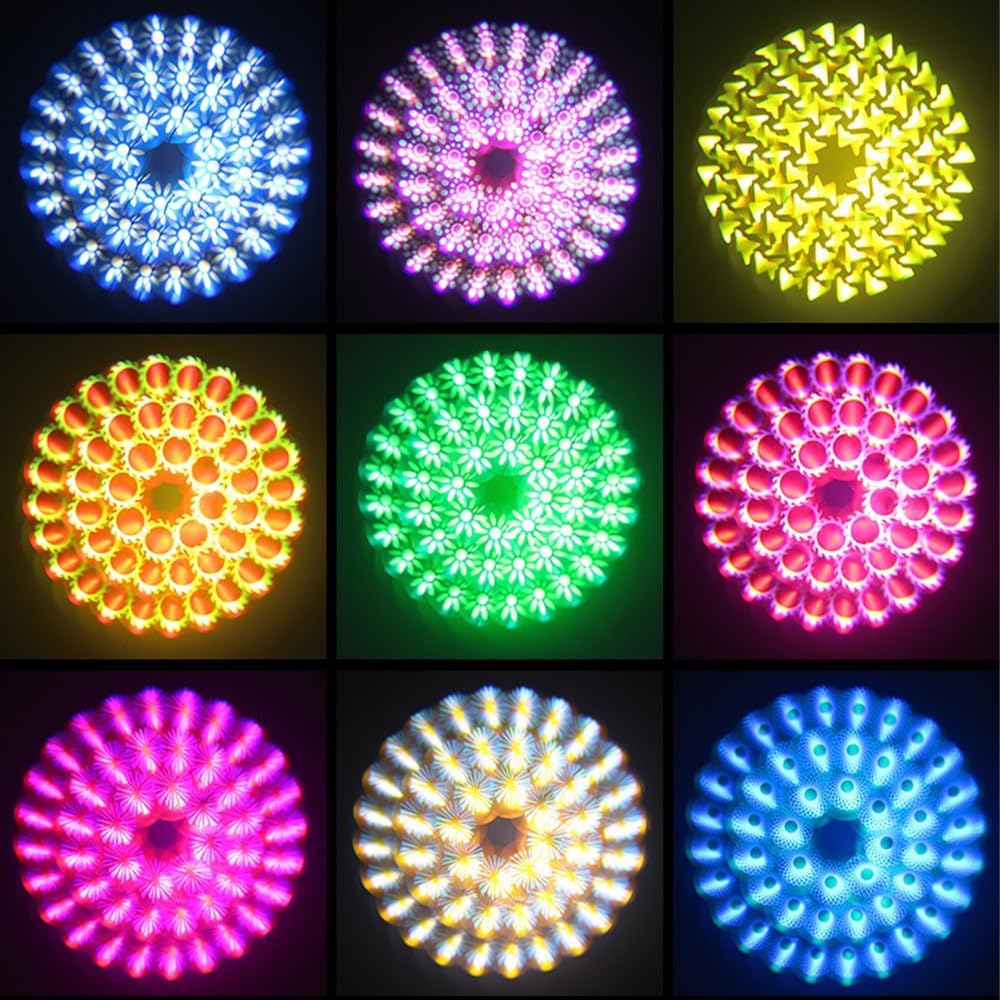
Image 6.1: Examples of diverse light patterns and color combinations achievable with the fixture.

Image 6.2: The 380W Sharpy Beam Moving Head Lights in action, creating vibrant stage lighting effects.
7. Maintenance
7.1 Cleaning
Regular cleaning of the lens and exterior housing is recommended to maintain optimal light output and performance. Use a soft, lint-free cloth and a mild glass cleaner. Ensure the fixture is powered off and cooled down before cleaning.
7.2 Bulb Replacement
The OSSAM MSD 350W bulb has a finite lifespan. When replacement is necessary, ensure the fixture is completely disconnected from power and has cooled down. Refer to the specific bulb replacement instructions provided with the replacement bulb or consult a qualified technician.
7.3 Firmware Updates
Periodically check the manufacturer's website for any available firmware updates to ensure your fixture operates with the latest features and bug fixes.
8. Troubleshooting
- No Power: Check power cable connection, power outlet, and main fuse.
- No DMX Control: Verify DMX cable connections, DMX address settings, and DMX controller functionality. Ensure a DMX terminator is used on the last fixture.
- Fixture Overheating: Ensure adequate ventilation. Clean any dust or debris from cooling vents.
- Intermittent Operation: Check all cable connections for looseness. Ensure stable power supply.
For issues not covered here, please contact customer support.
9. Specifications
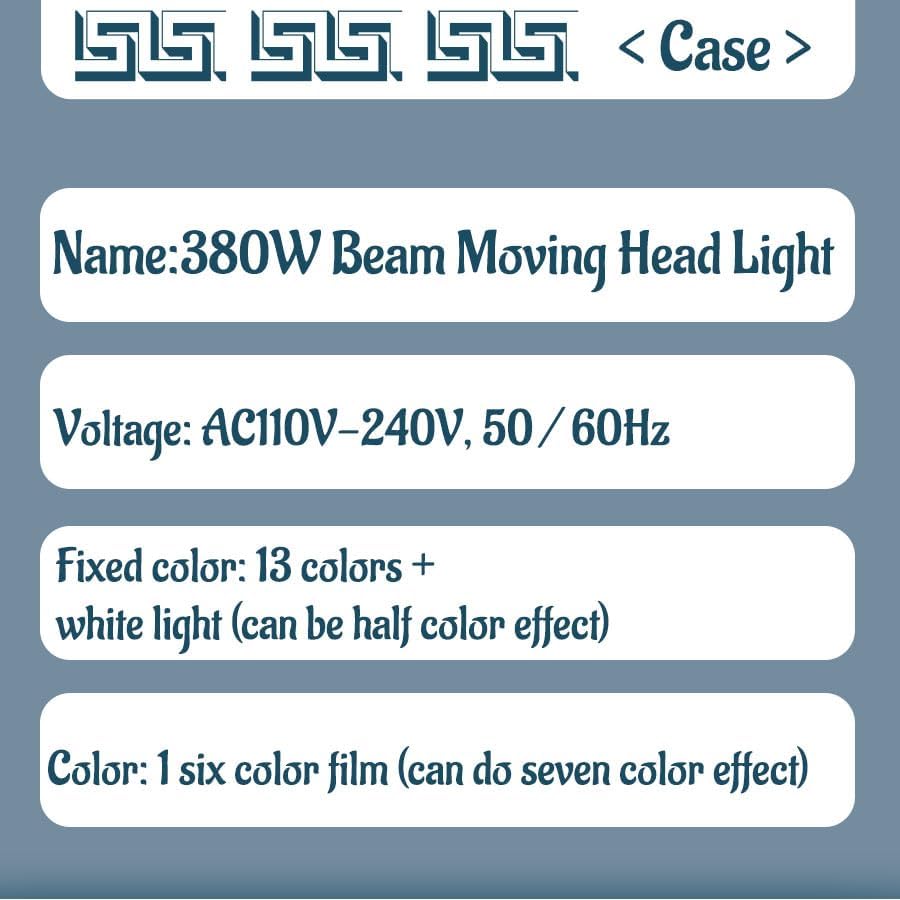
Image 9.1: Key specifications of the 380W Beam Moving Head Light.
| Specification | Value |
|---|---|
| Model Number | 380 |
| Voltage | AC110V-240V, 50/60Hz |
| Light Source | OSSAM MSD 350W bulb |
| Fixed Color | 13 colors + white light (half color effect) |
| Color Film | 1 six color film (seven color effect) |
| Fixed Pattern | 10 fixed patterns + linear pattern + white light |
| Prisms | 8 prisms, 8+8+8 prisms, double prisms (superimposable, bidirectional independent rotation) |
| Atomization | Soft light effect |
| Beam Angle | 0-38 degrees (Parallel beam) |
| Number of Channels | 18CH/14CH/17CH |
| Dimensions (L x W x H) | 390mm x 270mm x 590mm (15.35"L x 10.63"W x 23.23"H) |
| Net Weight | 16.8kg (37 lbs) |
| Material | Glass, Metal, Plastic |
| Color | Black |
| Certifications | CE, RoHS |
10. Warranty and Support
10.1 Manufacturer Warranty
This product comes with a 2-year manufacturer's warranty. Please retain your proof of purchase for warranty claims. The warranty covers defects in materials and workmanship under normal use.
10.2 Customer Support
For technical assistance, troubleshooting, or warranty inquiries, please contact your retailer or the manufacturer directly. Contact information can typically be found on the product packaging or the manufacturer's official website.