1. Introduction
This manual provides essential information for the setup, operation, and maintenance of your MakerHawk ESP32 LoRa V3 Module Board. This advanced development board features an ESP32-S3FN8 dual-core processor, integrated WiFi, LoRa, and Bluetooth capabilities, and robust power management. It is designed for various IoT applications, including Meshtastic, Arduino, and LoRaWAN projects.
Please read this manual thoroughly before using the device to ensure proper functionality and to maximize its potential.
2. Package Contents
Verify that all items listed below are included in your package:
- ESP32 LoRa V3 Module Board
- Antenna (863-928MHz)
- 3000mAh Lithium Battery
- Development Kit Accessories (e.g., pin headers, wires)
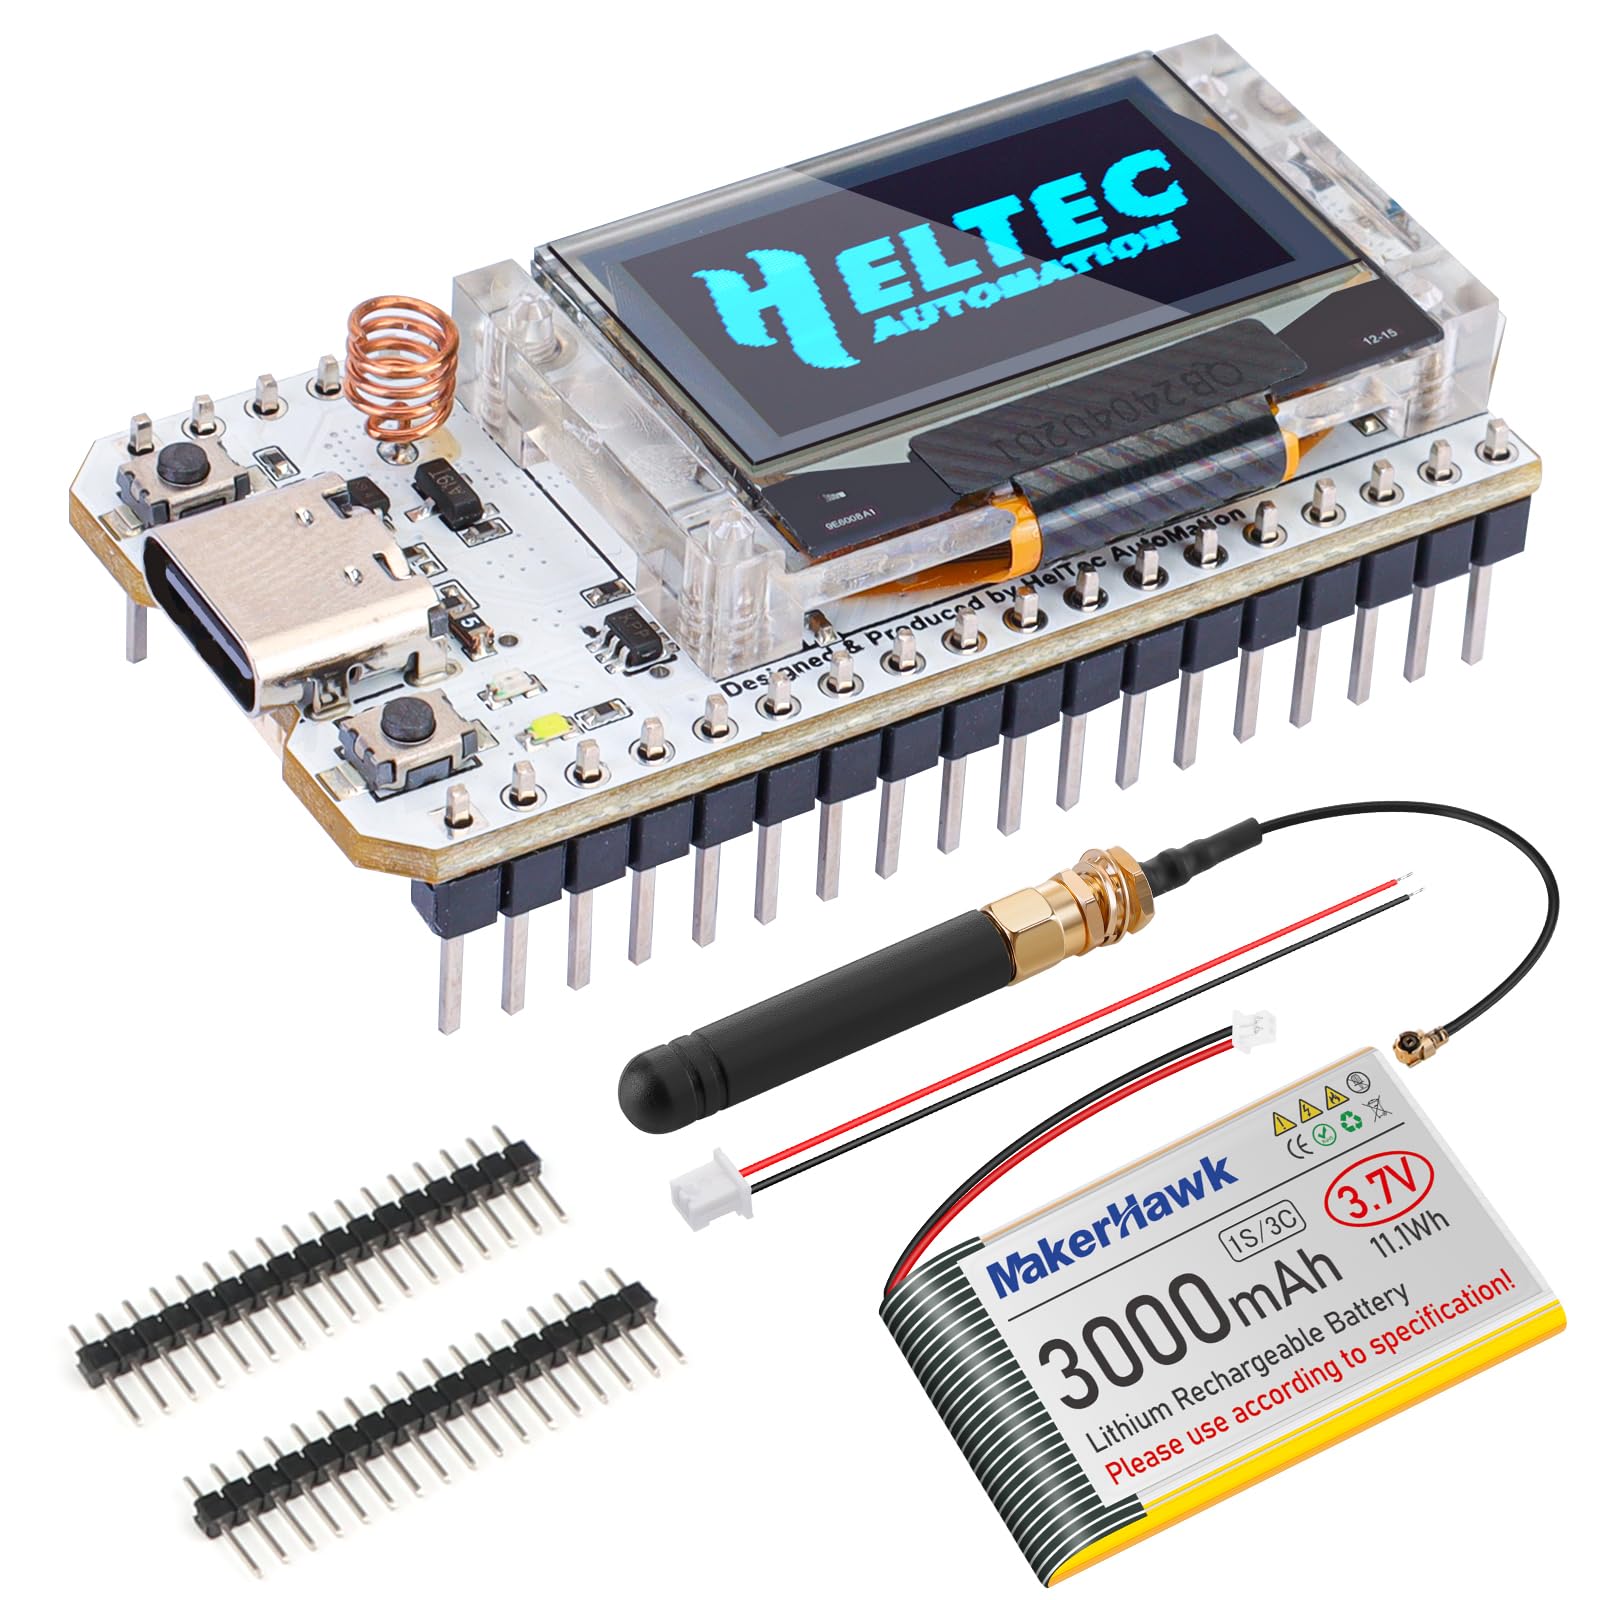
Image: Complete kit with ESP32 LoRa V3 board, 3000mAh battery, and antenna.
3. Product Overview
The MakerHawk ESP32 LoRa V3 Module Board is a versatile development platform. Key features include:
- Advanced Dual-Core Processor: ESP32-S3FN8 with up to 240 MHz clock speed for high performance.
- Superior Connectivity: Integrated WiFi, LoRa (SX1262), and Bluetooth with dedicated antennas.
- Robust Power Management: Onboard SH1.25-2 battery interface, 3000mAh battery, charge/discharge management, overcharge protection, and battery level detection.
- Enhanced User Interface: 0.96-inch 128x64 dot matrix OLED display for debugging and status.
- Developer-Friendly Design: Supports Arduino development environment and includes CP2102 USB-to-serial chip for easy programming.
Component Layout and Pinout

Image: Front and back view of the ESP32 LoRa V3 Module Board.

Image: Pinout diagram for ESP32 LoRa V3 Module Board.
Product Dimensions

Image: Product dimensions of the ESP32 LoRa V3 Module Board.
V3 Upgrades and Enhancements
The V3 version of the ESP32 LoRa board includes several improvements over previous versions:
- Increased output power for longer theoretical transmission distance and faster transmission rates.
- LoRa crystal oscillator replaced with a temperature-compensated crystal oscillator for stronger anti-interference and lower power consumption (approximately 10µA, down from 800µA).
- Overall better performance and improved RF circuit design.

Image: Comparison of V3 features with previous versions.

Image: Detailed comparison table of V2 vs V3 specifications.
4. Setup
Follow these steps to set up your ESP32 LoRa V3 Module Board:
- Connect the Antenna: Carefully connect the provided 863-928MHz antenna to the U.FL connector on the board. Ensure a secure connection.
- Connect the Battery: Plug the 3000mAh lithium battery into the SH1.25-2 battery interface on the board. Observe polarity (red wire to positive, black wire to negative).
- Initial Power-Up: The board should power on automatically once the battery is connected or via the Type-C USB port. The OLED display will show boot-up information.
- Firmware Flashing (Optional/Initial Setup): For Meshtastic or custom applications, you may need to flash the firmware. Connect the board to your computer via the Type-C USB port. Refer to the Meshtastic documentation (meshtastic.org) for detailed flashing instructions using their web flasher or Arduino IDE.

Image: Micro JST 1.25 plug for battery and antenna connection.
Setup Demonstration Video
Video: This video demonstrates the basic setup and flashing process for the ESP32 LoRa V3 Development Board, including connecting the antenna and battery, and using the Meshtastic web flasher.
5. Operating Instructions
Once the board is set up and firmware is loaded, you can begin operation:
- OLED Display: The 0.96-inch OLED display provides real-time information such as debugging messages, battery level, and network status.
- Meshtastic Operation: For Meshtastic, connect your smartphone via Bluetooth to the board. Use the Meshtastic app to send messages, view node information, and configure settings. The board acts as a node in the mesh network.
- Arduino/LoRaWAN Development: For custom Arduino or LoRaWAN projects, use the Arduino IDE with the ESP32 board support package. Program the board via the Type-C USB port.
- Power Management: The integrated power management system automatically switches between USB and battery power. Monitor battery levels on the OLED display.

Image: Meshtastic LoRa network diagram.
6. Maintenance
To ensure the longevity and optimal performance of your ESP32 LoRa V3 Module Board:
- Battery Care: Charge the 3000mAh battery regularly. Avoid deep discharge or overcharging. Store the device in a cool, dry place when not in use for extended periods.
- Firmware Updates: Periodically check for new firmware releases for Meshtastic or your chosen platform. Updating firmware can provide new features, bug fixes, and performance improvements.
- Physical Protection: While robust, avoid exposing the board to extreme temperatures, moisture, or physical impact. Consider a protective case for field use.
- Cleaning: Use a soft, dry cloth to clean the board and OLED display. Avoid using liquids or abrasive materials.
7. Troubleshooting
If you encounter issues with your ESP32 LoRa V3 Module Board, consider the following:
- "LoRa Error" on Display: This often indicates an issue with the LoRa antenna connection or incorrect frequency configuration. Ensure the antenna is securely attached and the firmware is configured for the correct frequency band (863-928MHz).
- No Power/Display Off: Check the battery connection and charge level. If using USB, ensure the cable and power source are functional.
- Connectivity Issues (WiFi/Bluetooth/LoRa):
- Verify antenna connections.
- Ensure correct firmware is loaded and configured.
- Check for interference from other wireless devices.
- Programming Errors: Ensure the correct board is selected in the Arduino IDE and the CP2102 drivers are installed on your computer.
For more detailed troubleshooting, refer to the official Meshtastic documentation or the MakerHawk support resources.
8. Specifications
Detailed technical specifications for the ESP32 LoRa V3 Module Board:

Image: Development Board Product Parameters.

Image: 3000mAh Battery Runtime table.
| Feature | Description |
|---|---|
| Brand | MakerHawk |
| Model Number | V3 |
| CPU Speed | 240 MHz (ESP32-S3FN8 dual-core) |
| Connectivity Technology | Bluetooth, LoRa, Wi-Fi (802.11bgn) |
| Operating System | Linux (compatible) |
| RAM Memory Technology | SRAM |
| Item Dimensions (L x W x H) | 3.94"L x 2.76"W x 0.59"H |
| Item Weight | 1.92 ounces |
9. Warranty and Support
Warranty: This product comes with a 15-day warranty from the date of purchase. Please retain your proof of purchase for any warranty claims.
Support: For technical assistance, additional resources, or to explore other MakerHawk products, please visit the official MakerHawk Store on Amazon or refer to the product documentation provided by Heltec Automation for the LoRa 32 V3 board.
MakerHawk Store: https://www.amazon.com/stores/MakerHawk/page/CE41503E-77C4-42BF-95E5-B609693F6155
Heltec Automation Documentation: https://docs.heltec.cn/en/node/esp32/wifi_lora_32/index.html