1. Introduction
This manual provides detailed instructions for the safe and efficient operation, installation, and maintenance of your LEDIARY 19.7 Inch Low Profile Ceiling Fan with Lights and Remote. This modern bladeless ceiling fan is designed to provide optimal air circulation and versatile lighting for various indoor spaces such as bedrooms, dining rooms, kitchens, living rooms, and study rooms.
Safety First: Always ensure power is disconnected at the circuit breaker before attempting any installation, maintenance, or troubleshooting. If you are unsure about any steps, consult a qualified electrician.
2. Package Contents
Please verify that all components are present before beginning installation:
- Ceiling Fan Unit (including integrated light)
- Remote Control
- Mounting Bracket
- Installation Hardware (screws, wire nuts, etc.)
- User Manual (this document)
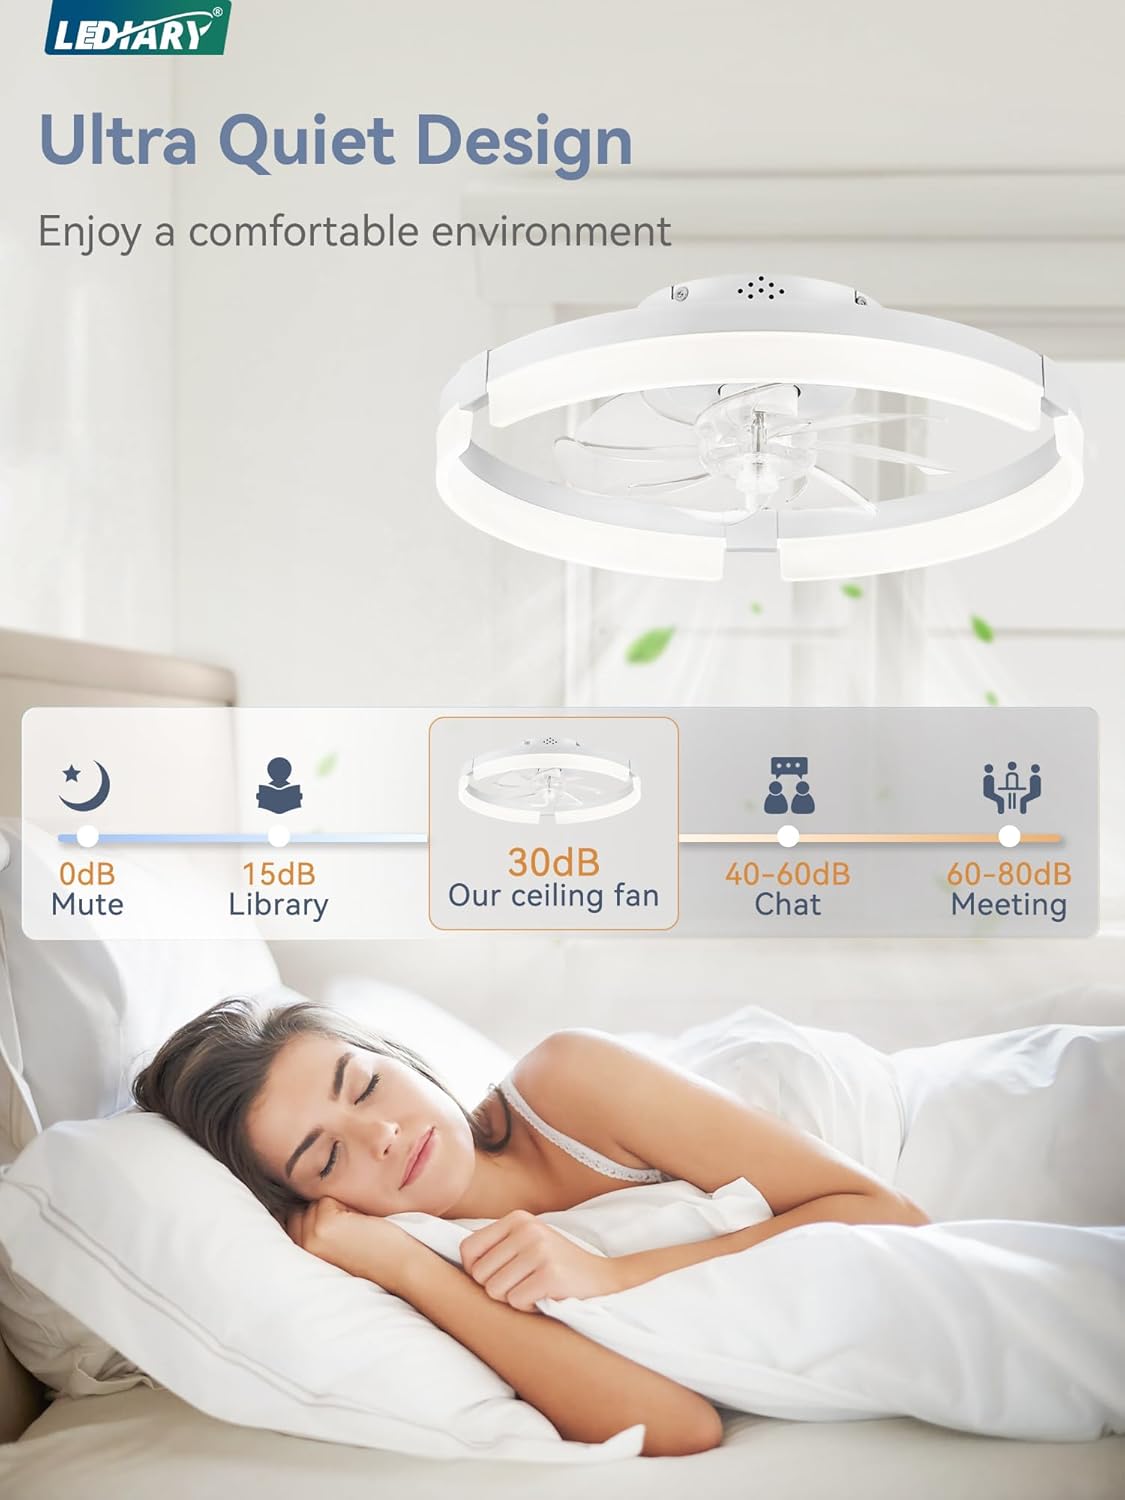
Figure 2.1: Illustration of main components included in the package.
3. Setup and Installation
Installation of the LEDIARY Ceiling Fan is designed to be straightforward. However, due to electrical connections, professional installation is recommended if you are not familiar with electrical wiring.
- Power Disconnection: Before starting, turn off power to the ceiling fan location at the main circuit breaker.
- Mounting Bracket Installation: Secure the mounting bracket to the ceiling junction box. Ensure it is firmly attached and can support the weight of the fan.
- Wiring Connections: Connect the fan's electrical wires to the household wiring according to local electrical codes. Typically, this involves connecting live, neutral, and ground wires. Use appropriate wire nuts to secure connections.
- Fan Unit Attachment: Carefully lift the fan unit and attach it to the mounting bracket. Ensure all screws are tightened securely to prevent wobbling.
- Light Cover Installation: Attach the light cover to the fan unit.
- Power Restoration: Once installation is complete, restore power at the circuit breaker.
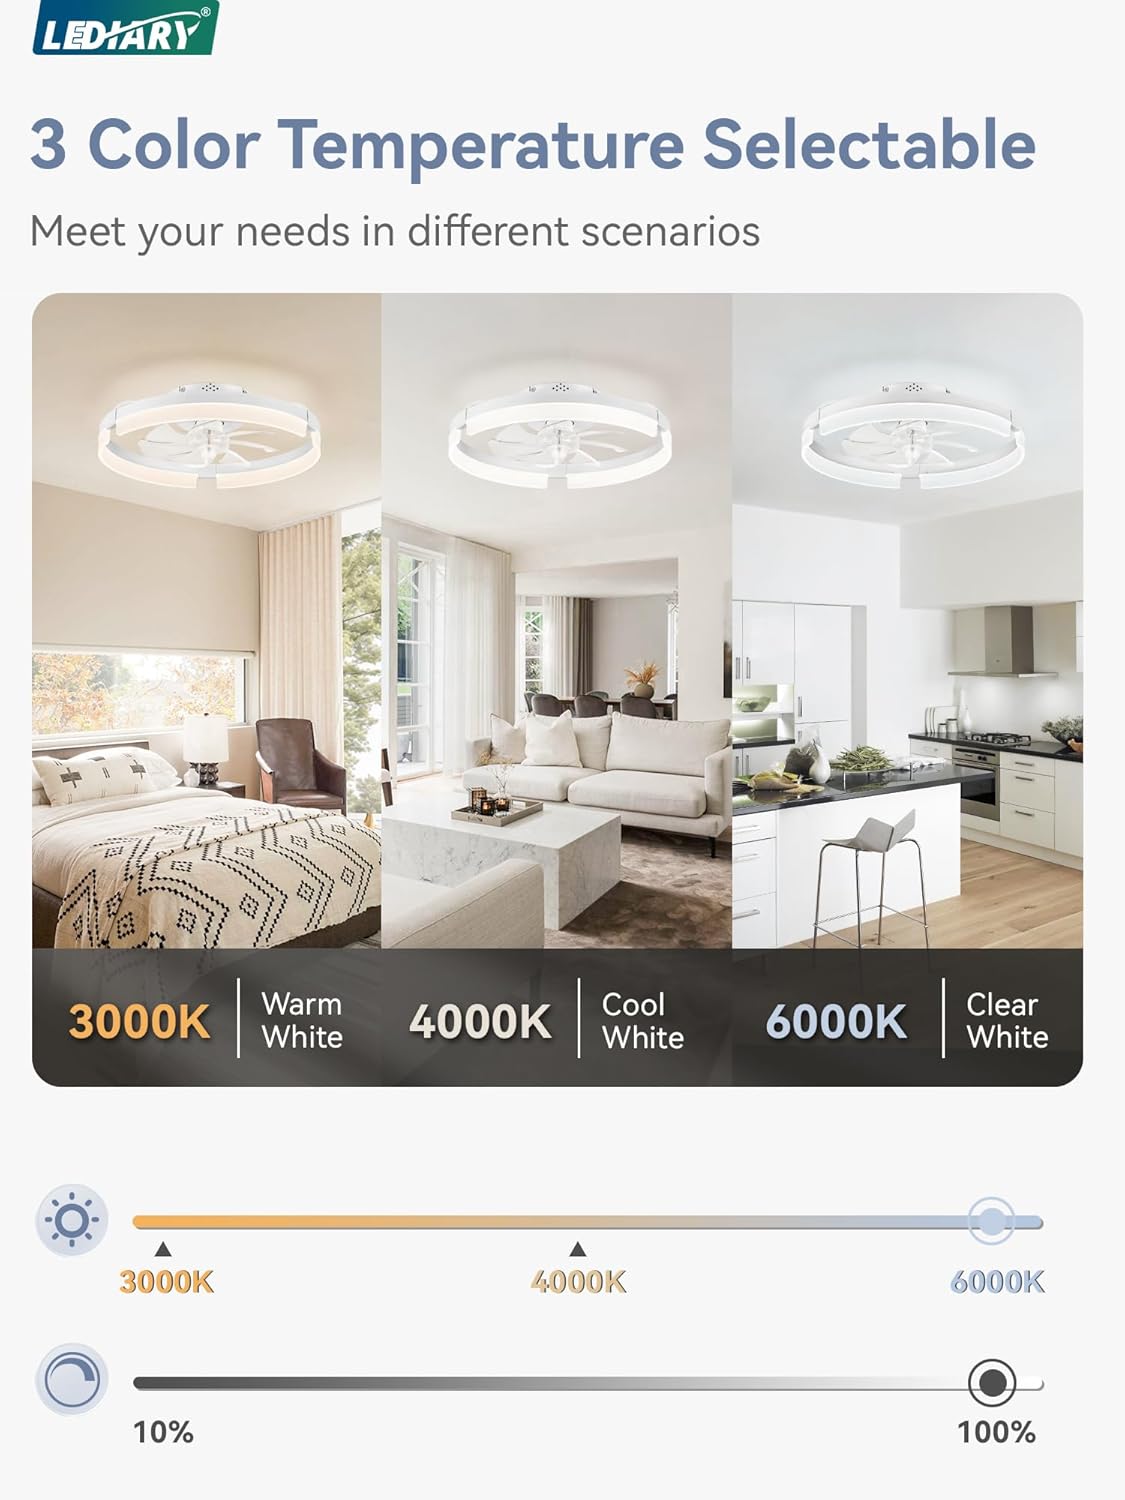
Figure 3.1: General overview of the ceiling fan installation process.
4. Operating Instructions
Your LEDIARY Ceiling Fan can be controlled via the included remote control or a dedicated smartphone application (Bluetooth connection required for app control).
4.1 Remote Control Functions
- Power On/Off: Press the ON/OFF button to turn the fan and light on or off.
- Fan Speed Adjustment: Select from 6 adjustable fan speeds (1-6) to control airflow intensity. Speed 1-2 for soft wind, 3-4 for natural wind, and 5-6 for cool wind.
- Light Brightness (Dimming): Adjust light brightness from 10% to 100% using the dimming buttons.
- Color Temperature Selection: Cycle through 3 color temperatures: 3000K (Warm White), 4000K (Cool White), and 6000K (Clear White).
- Reversible Motor: Use the F/R button to switch between summer mode (forward airflow for cooling) and winter mode (reverse airflow for warm air circulation).
- Timer Setting: Activate the 2-hour timer function for automatic shut-off.
- Night Light Mode: Access a low-intensity night light setting for subtle illumination.
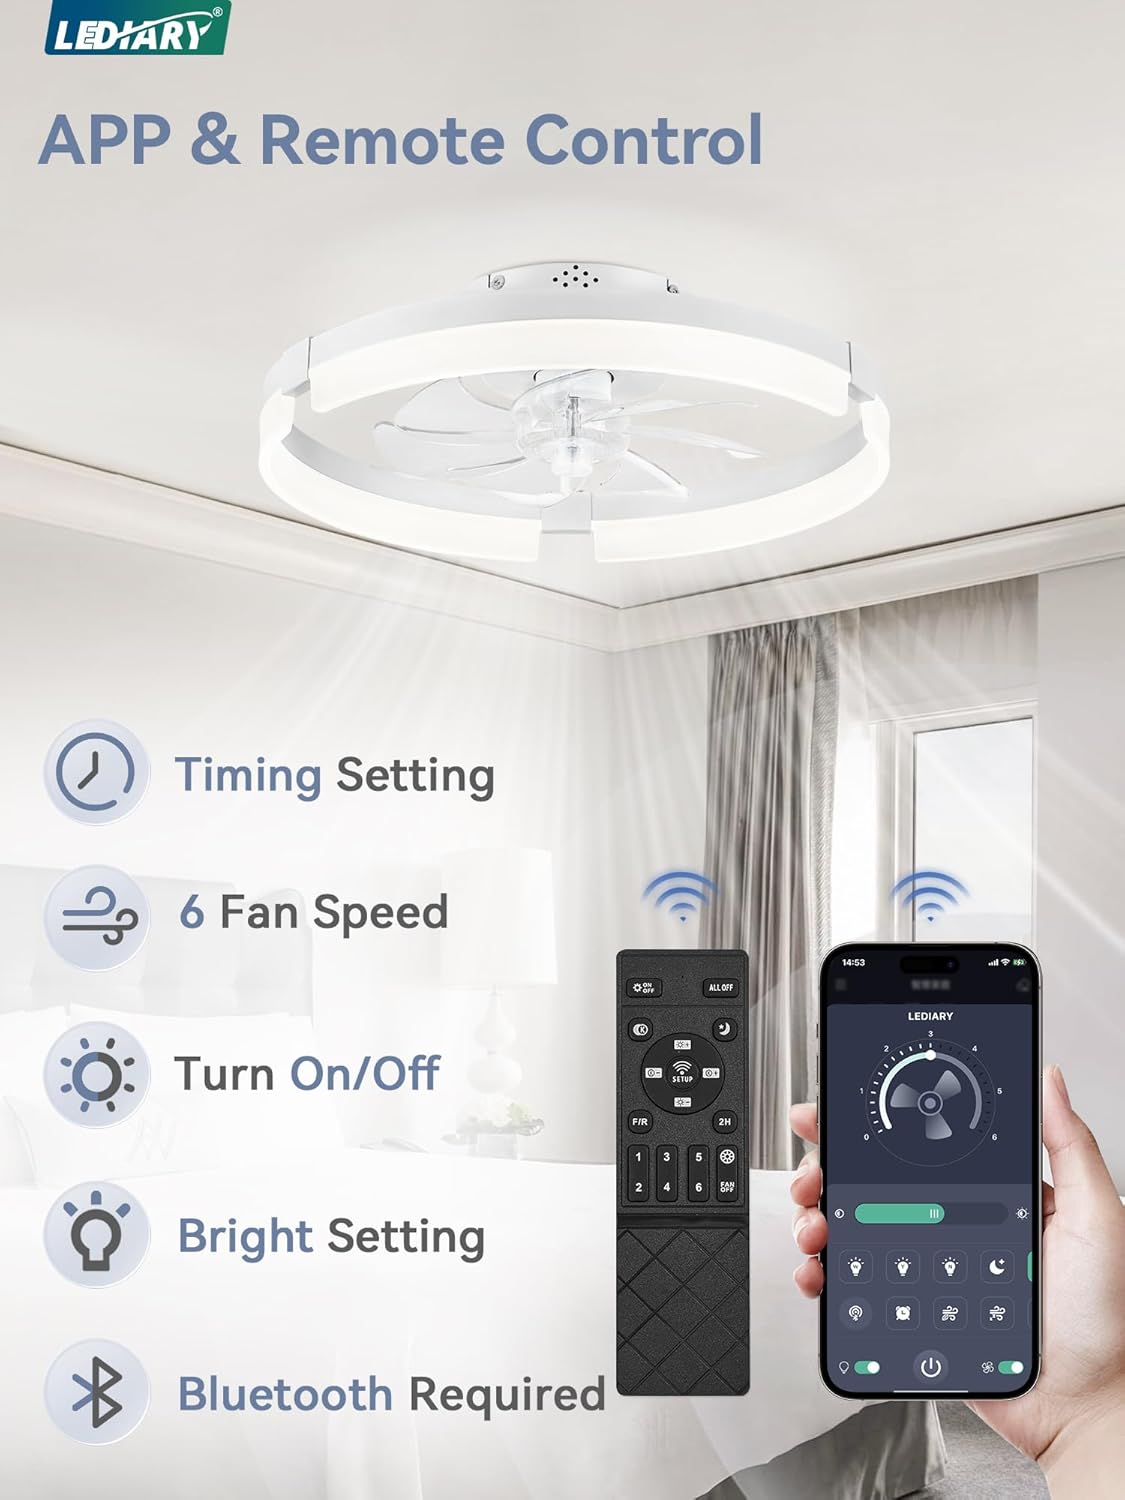
Figure 4.1: Remote control and smartphone app interface for fan and light control.

Figure 4.2: Visual representation of the three selectable color temperatures (3000K, 4000K, 6000K).

Figure 4.3: Depiction of summer (forward) and winter (reverse) air circulation modes.
4.2 Memory Function
The fan's memory function retains the last used light temperature and brightness settings when the unit is turned off. The next time the fan is powered on, it will resume these previous settings.
5. Maintenance
Regular maintenance ensures optimal performance and longevity of your ceiling fan.
- Cleaning: Dust the fan and light fixture regularly with a soft, dry cloth. For stubborn dirt, use a slightly damp cloth with mild soap, then wipe dry. Do not use abrasive cleaners or solvents.
- Blade Cleaning: The fan blades are designed for easy cleaning. Ensure the fan is off and stationary before cleaning the blades.
- Inspection: Periodically check all connections and mounting hardware to ensure they remain secure.
6. Troubleshooting
If you encounter issues with your LEDIARY Ceiling Fan, refer to the following common problems and solutions:
| Problem | Possible Cause | Solution |
|---|---|---|
| Fan does not operate / Light does not turn on. | No power supply; Loose wiring; Remote control battery low/dead. | Check circuit breaker. Ensure all wiring connections are secure. Replace remote control batteries. |
| Fan wobbles. | Loose mounting screws; Improper installation. | Tighten all mounting screws. Re-check installation steps. |
| Remote control not responding. | Battery issue; Remote not paired. | Replace batteries. Refer to remote pairing instructions (if applicable, usually in a separate quick start guide). |
| Light flickers or is dim. | Incorrect dimming setting; Electrical interference. | Adjust brightness using the remote. Ensure stable power supply. |
If the problem persists after trying these solutions, please contact LEDIARY customer support.
7. Specifications
| Feature | Detail |
|---|---|
| Brand | LEDIARY |
| Model Number | 2d0af65b-9809-46e7-9595-a20f1576c94a |
| Size | 19.7 Inch |
| Product Dimensions | 19.7 x 19.7 x 5.5 inches |
| Item Weight | 6.43 pounds |
| Color | White |
| Material | Acrylic, Iron |
| Power Source | DC |
| Voltage | 120 Volts |
| Light Color | Warm White (3000K), Cool White (4000K), Clear White (6000K) |
| Control Method | App, Remote, Wall Switch |
| Special Features | App Operable, Color Temperature Selectable, Dimmable, Reverse Function, Timer, Memory Function |
| Indoor/Outdoor Usage | Indoor |
| Assembly Required | Yes |

Figure 7.1: Detailed product dimensions for installation planning.
8. Warranty and Support
LEDIARY is committed to customer satisfaction. Your LEDIARY Ceiling Fan comes with a 2-year warranty from the date of purchase, covering defects in materials and workmanship under normal use.
For technical assistance, troubleshooting not covered in this manual, or warranty claims, please contact LEDIARY customer support. Please have your model number and purchase information ready when contacting support.
You can typically find support contact information on the product packaging or the official LEDIARY website.