
1. Important Safety Information
Read all instructions carefully before using this treadmill. Keep this manual for future reference.
- Ensure the safety key is always attached to your clothing during operation.
- Keep children and pets away from the treadmill during use.
- Place the treadmill on a flat, stable surface.
- Do not operate the treadmill if it is damaged or malfunctioning.
- Consult a physician before starting any exercise program.
- Wear appropriate athletic footwear.
- Do not adjust the incline while standing on the running belt.
2. Setup and Assembly
The CIIHI JK07F Treadmill is designed for easy assembly, with approximately 90% pre-assembly. Follow these steps to complete the setup:
2.1 Unpacking
Carefully remove all components from the packaging. Verify that all parts listed in the packing list are present. The main components include the treadmill base and the console.

Image: Treadmill base and console components.
2.2 Raising the Upright Posts
Gently raise the upright posts from the folded position. Secure them using the provided M8x40 screws and flat washers. Do not fully tighten these screws yet. Final tightening will occur after the console is installed.

Image: Step 1 - Raise and secure the upright posts.
2.3 Attaching the Console
Carefully align the upper console with the top of the upright posts. Connect the upright cable to the upper console cable. Ensure the cable is tucked inside the upright post to prevent pinching. Secure the console to the uprights using the M6x12 screws and M6 flat washers. Once the console is securely attached, fully tighten all screws from step 2.2 and 2.3.

Image: Step 2 - Position and secure the console.
2.4 Installing Decorative Covers
Snap the decorative plastic covers onto the base of the uprights. Ensure you distinguish between the left and right covers for proper fit.
2.5 Finalizing Assembly
Insert the safety key into its designated slot on the console. The treadmill is now ready for use.
3. Operating Instructions
3.1 Power On/Off and Safety Key
Connect the power cord to a grounded outlet. Turn on the main power switch located at the front of the treadmill base. Attach the safety key clip to your clothing and insert the magnetic end into the console slot. The treadmill will not operate without the safety key in place.
3.2 Console Overview
The multi-function console features a large dual data display showing Time, Calories, Incline, Distance, Pulse, and Speed. It includes shortcut buttons for speed and incline adjustments, as well as controls on the handrails for convenience. Heart rate sensors are integrated into the handrails.

Image: Detailed view of the multi-function console.
3.3 Adjusting Speed and Incline
The treadmill offers a speed range of 0.5 to 10 MPH and 15 levels of automatic incline (0%-15%). Use the quick buttons on the console or handrails to adjust speed and incline during your workout. The unique incline-lifting mechanism ensures a smooth and safe adjustment.

Image: Visual representation of the 15 auto incline levels.

Image: The unique incline lifting mechanism.
3.4 Using Fitness Apps and Bluetooth Speaker
This treadmill is compatible with Fitshow, Kinomap, and Zwift fitness applications. Connect your smartphone via Bluetooth to control speed and incline, access virtual routes, follow training courses, and share workout data. The integrated Bluetooth speaker allows you to play music or podcasts during your exercise.
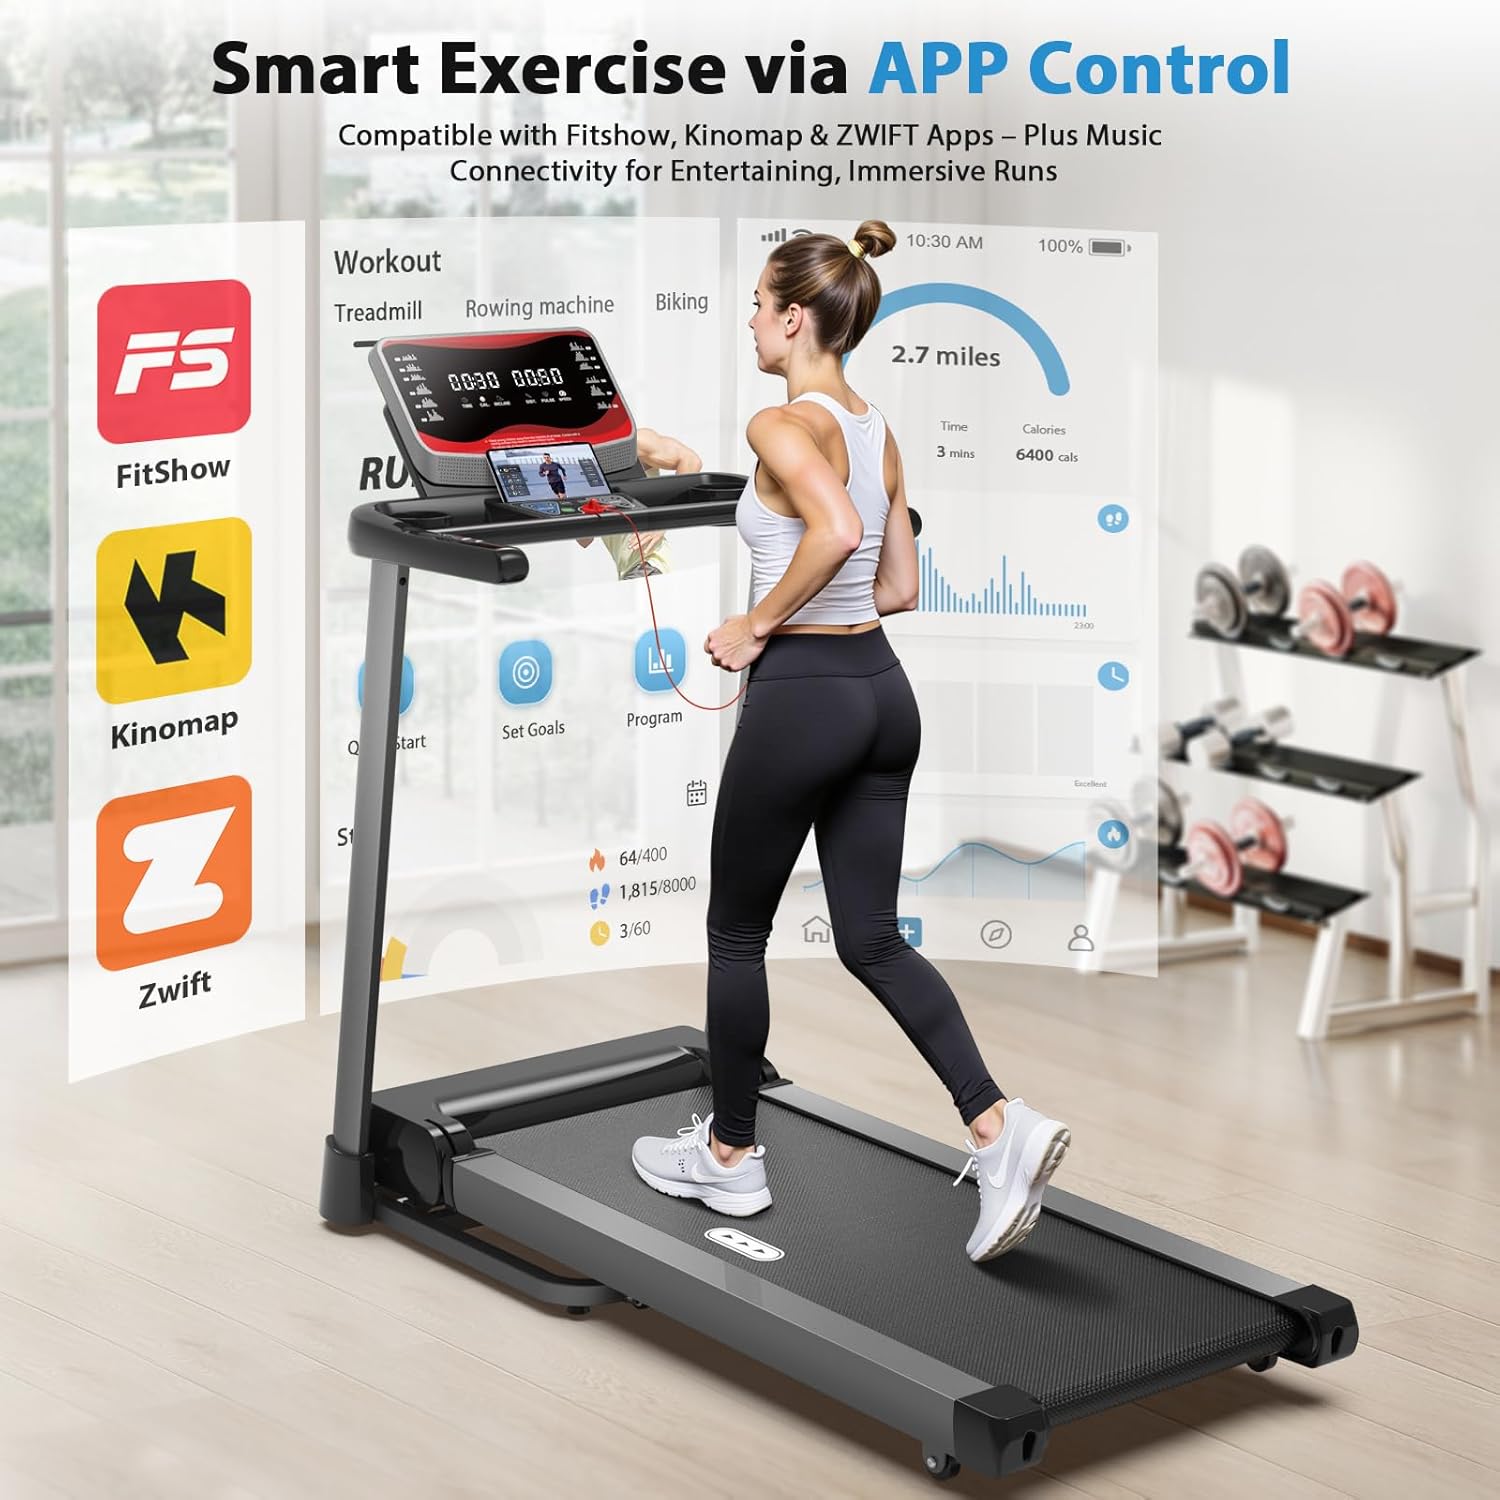
Image: Smart exercise via APP control.

Image: Explore virtual routes worldwide.

Image: Extensive training courses available through the app.

Image: Communicate and share workout data with others.

Image: Pause function allows continuous data recording without loss.
3.5 Folding and Moving the Treadmill
To save space, the treadmill features a soft drop fold design. Lift the running deck upward until it locks into the vertical position. The integrated wheels allow for easy movement and storage without straining your back.

Image: Foldable and movable design for easy storage.
4. Maintenance
Regular maintenance ensures the longevity and optimal performance of your treadmill.
- Cleaning: Wipe down the console and other surfaces with a damp cloth after each use. Avoid abrasive cleaners.
- Lubrication: The running belt requires periodic lubrication with silicone lubricant. Refer to the included toolkit for the lubricant and instructions. Frequency depends on usage.
- Belt Adjustment: Periodically check the running belt for proper tension and alignment. Adjust if necessary according to the detailed instructions in the full user manual.
- Inspection: Regularly inspect all screws and bolts to ensure they are tight.
5. Troubleshooting
If you encounter issues with your treadmill, refer to the following common solutions:
- Treadmill not starting: Ensure the power cord is securely plugged in, the main power switch is on, and the safety key is correctly inserted into the console.
- Belt slipping or stopping: This may indicate incorrect belt tension or insufficient lubrication. Refer to the maintenance section for belt adjustment and lubrication instructions.
- Unusual noises: Check for loose parts or foreign objects under the running belt. If the noise persists, contact customer support.
- Black granules from belt: Some users have reported small black granules. This can be normal wear, but excessive shedding may indicate belt issues. Ensure proper lubrication and contact support if concerned.
6. Product Specifications
| Brand | CIIHI C |
| Model Name | JK07F |
| Color | Black |
| Product Dimensions | 60.63"D x 28.7"W x 50.39"H |
| Folded Size | 29.72"L x 28.35"W x 52.36"H |
| Item Weight | 110 Pounds |
| Maximum Weight Recommendation | 450 Pounds |
| Material | Alloy Steel |
| Maximum Speed | 10 Miles per Hour |
| Minimum Speed | 0.5 Miles per Hour |
| Maximum Incline Percentage | 15.0% |
| Maximum Horsepower | 3.5 Horsepower |
| Running Belt Dimensions | 47.2" x 18.1" |
| Display Type | LED |
| Connectivity Technology | Bluetooth |
| Included Components | Treadmill ×1, Safety Key ×1, User Manual ×1, Toolkit ×1, Left/Right Pole Plastic Covers ×2 |
7. Warranty and Support
Your CIIHI JK07F Treadmill comes with comprehensive support to ensure your satisfaction.
- Warranty: 1 Year Warranty on the product.
- Free Parts: 12 Months Free Parts replacement.
- Customer Service: 24-Hour Customer Service available for inquiries and assistance.
For support, please refer to the contact information provided in your purchase documentation or visit the official CIIHI C website.