1. Introduction
This manual provides essential instructions for the installation, operation, and maintenance of the WERLAHO GLX-PCB-RITE Main Circuit Board and GLX-PCB-DSP Display Board. These components are designed as replacement parts compatible with Hayward Goldline Aqua Rite Salt Chlorine Generators, as well as Naturesoft and Mineral Springs systems. Proper installation and adherence to these guidelines will ensure optimal performance and longevity of your salt chlorine generator system.
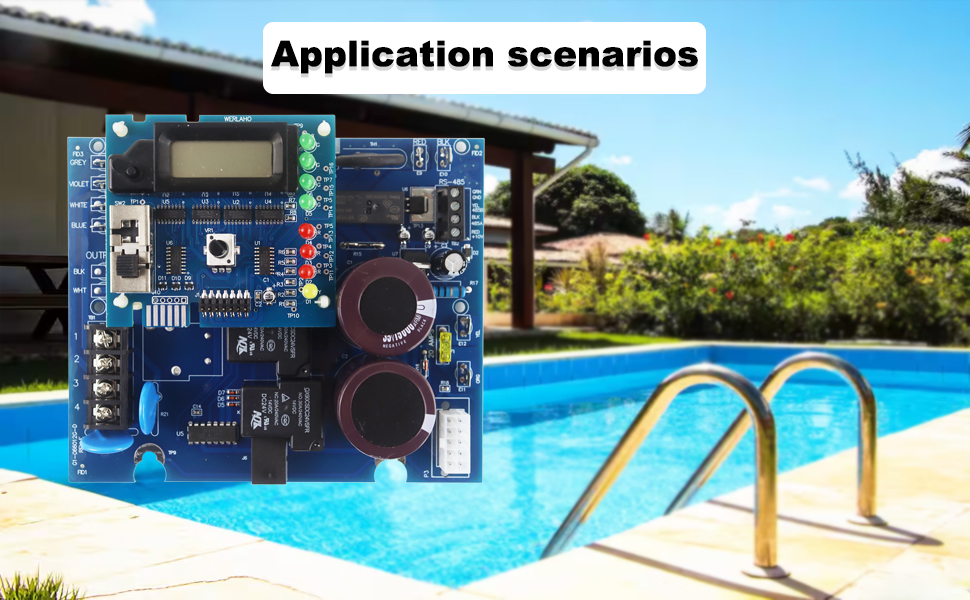
Image 1.1: The WERLAHO circuit board components are suitable for use in pool chlorination systems.
2. Safety Information
Always observe the following safety precautions:
- Disconnect all power to the salt chlorine generator before attempting any installation, maintenance, or repair.
- Installation should be performed by a qualified professional or someone with experience in electrical systems and pool equipment.
- Ensure proper grounding and wiring according to local electrical codes.
- Do not operate the system if any components are damaged or wet.
- Keep children and unauthorized personnel away from the equipment during operation and maintenance.
3. Product Overview
The WERLAHO GLX-PCB-RITE Main Circuit Board and GLX-PCB-DSP Display Board are designed to replace original equipment in compatible salt chlorine generators. This product includes the main circuit board, the display board, two jumpers, one 20A fuse, and wiring instructions.
3.1 Compatibility
- Compatible with Hayward Goldline Aqua Rite Saltwater Chlorinators.
- Also fits Naturesoft and Mineral Springs systems.
- Works with T-CELL-15, T-CELL-9, T-CELL-5, and T-CELL-3 salt cells.
- Supports 110V or 220V systems, switchable via jumpers.
3.2 Key Features
- High brightness LEDs with extended lifespan for clear status indication.
- Integrated 25 diameter, maximum 30A protector for enhanced circuit protection.
- 485 communication capability, allowing for combination with multiple units.
- Upgraded power output from 1W to 3W.
- Equipped with 15000uF high-capacity capacitors, rated for up to 48V.
- Features 30A silver contact relays for reliable switching.
- Includes additional protective diodes for circuit integrity.

Image 3.1: WERLAHO GLX-PCB-RITE Main Circuit Board and GLX-PCB-DSP Display Board with accessories.

Image 3.2: Detailed view of the circuit board highlighting its enhanced features.
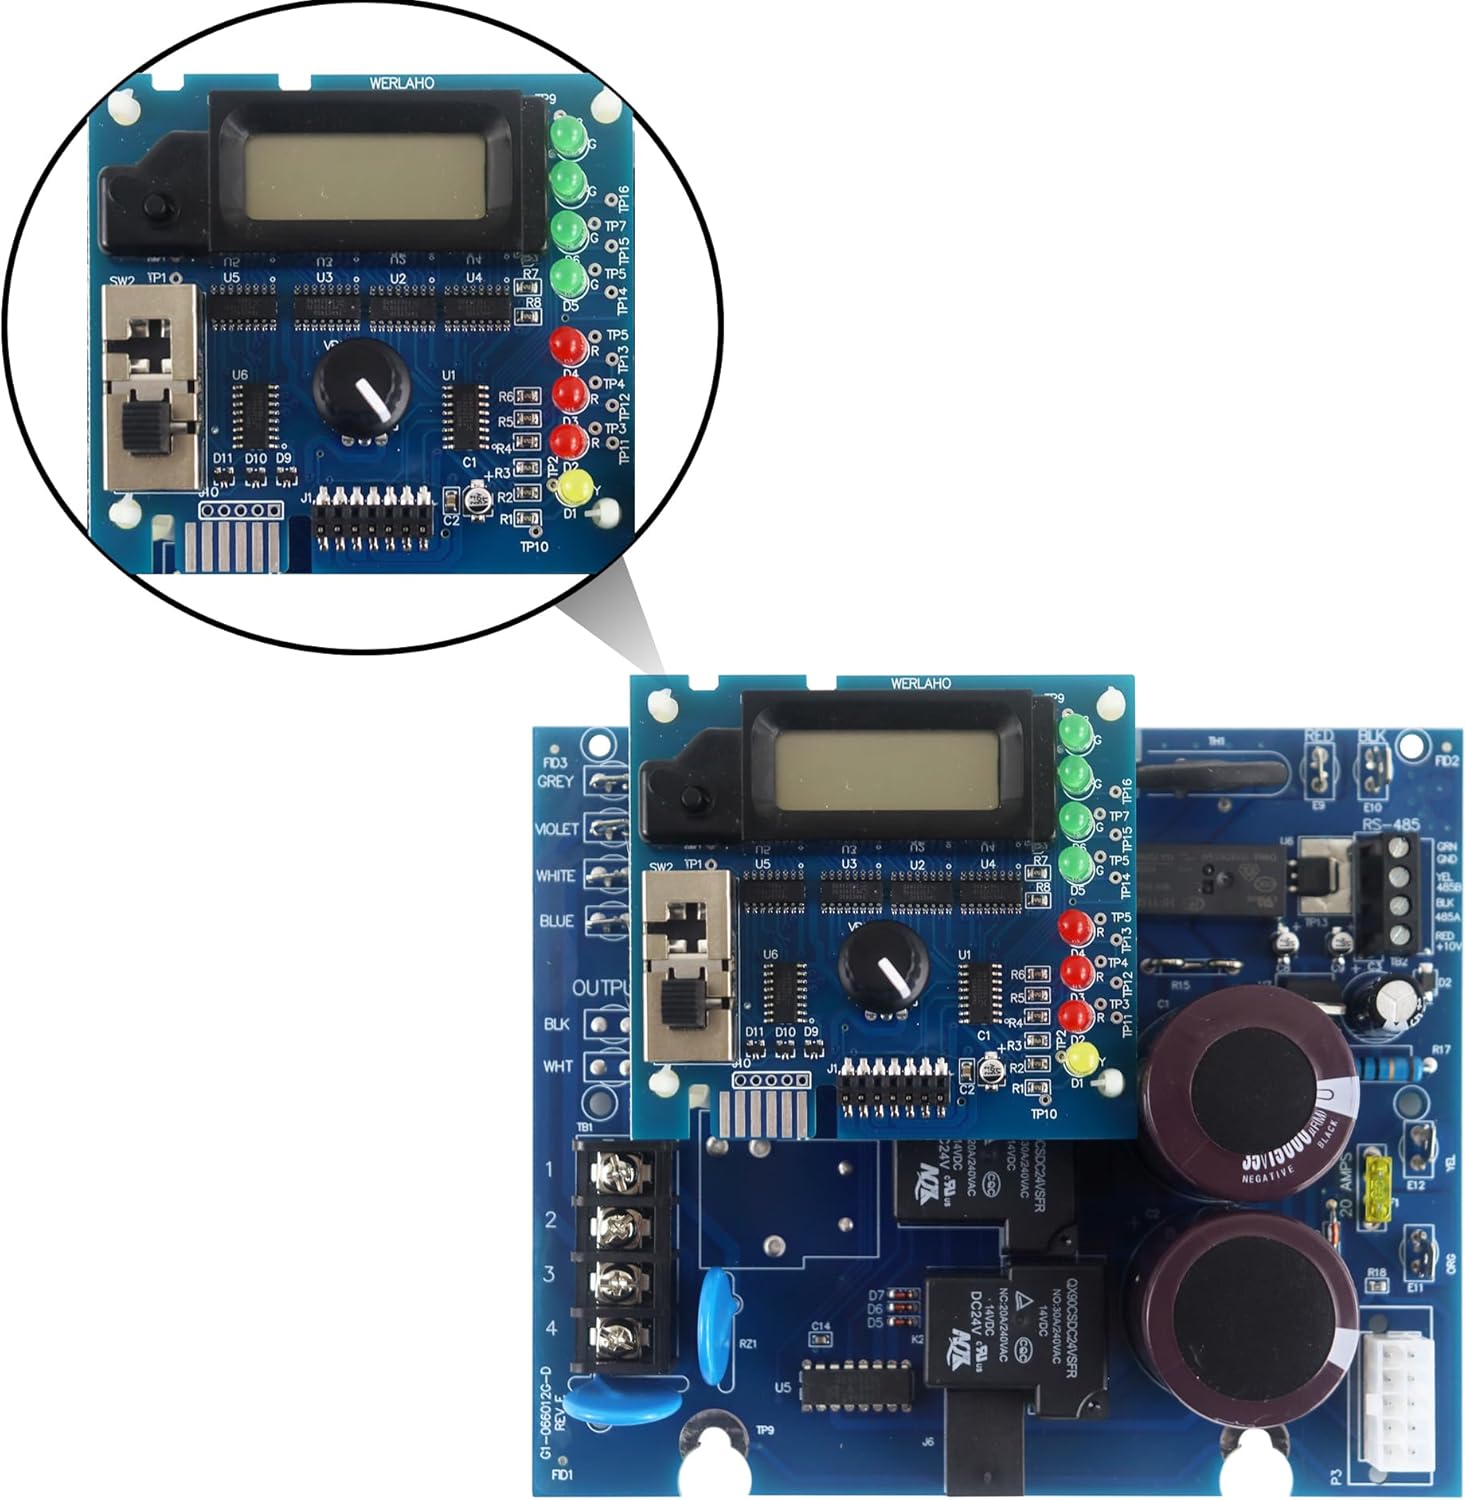
Image 3.3: Close-up of the GLX-PCB-DSP Display Board.
4. Setup and Installation
Installation of the WERLAHO GLX-PCB-RITE and GLX-PCB-DSP boards requires careful attention to electrical connections and system configuration. It is highly recommended that installation be performed by a qualified technician.
4.1 Pre-Installation Steps
- Power Disconnection: Ensure the main power supply to the pool equipment, including the salt chlorine generator, is completely turned off at the circuit breaker.
- Access: Open the control panel of your existing salt chlorine generator to access the main circuit board and display board.
- Documentation: Take clear photographs of the existing wiring connections before disconnecting any wires. This will serve as a reference during reassembly.
- Removal: Carefully disconnect all wires and mounting screws from the old main circuit board and display board, then remove them from the enclosure.
4.2 Board Installation
- Mounting: Position the new WERLAHO GLX-PCB-RITE Main Circuit Board and GLX-PCB-DSP Display Board in the enclosure, aligning them with the mounting points. Secure them with appropriate screws.
- Wiring: Refer to the provided wiring instructions and your pre-installation photographs to connect all wires to the new boards. Ensure each connection is secure and correctly matched.
- Voltage Selection (Jumpers): The board supports both 110V and 220V systems. Use the included jumpers to select the correct voltage setting for your system. Consult the wiring instructions for specific jumper placement. Incorrect voltage selection can damage the unit.
- Fuse Installation: Insert the included 20A fuse into its designated slot on the main circuit board.
- Final Check: Double-check all connections for accuracy and security. Ensure no loose wires are present.
After installation, close the control panel cover securely.
5. Operating Instructions
Once the WERLAHO circuit boards are correctly installed, restore power to the salt chlorine generator. The system should power on, and the GLX-PCB-DSP Display Board will show operational status.
- Initial Power-Up: Observe the display and LED indicators on the GLX-PCB-DSP board. They should illuminate, indicating the board is receiving power and initiating its functions.
- Status Indicators: The display board features various LEDs (green, red, yellow) that provide visual feedback on the system's status, such as power, cell operation, and error conditions. Refer to the detailed wiring instructions for a legend of these indicators.
- Chlorine Output Adjustment: If your system allows, use the control knob or buttons on the display board to adjust the desired chlorine output level. Consult your salt chlorine generator's main user manual for specific instructions on setting chlorine production.

Image 5.1: The display board with its LCD and LED indicators for operational status.
6. Maintenance
Regular maintenance helps ensure the longevity and reliable operation of your WERLAHO circuit boards.
- Keep Dry: Ensure the control panel enclosure remains sealed and dry to prevent moisture damage to the electronic components.
- Cleanliness: Periodically inspect the boards for dust or debris accumulation. If necessary, gently clean with a soft, dry brush or compressed air while the power is disconnected.
- Fuse Check: If the system fails to power on or operate, check the 20A fuse on the main circuit board. Replace it with an identical fuse if blown. Always disconnect power before checking or replacing fuses.
- Visual Inspection: Annually inspect the boards for any signs of wear, corrosion, or damage to components and wiring.
7. Troubleshooting
This section addresses common issues you might encounter. Always disconnect power before performing any troubleshooting steps that involve touching internal components.
7.1 Common Issues and Solutions
- No Power/Display Off:
- Check the main power supply to the unit.
- Verify the 20A fuse on the main circuit board is intact. Replace if blown.
- Ensure all power connections to the board are secure.
- Incorrect Cell Type Indication or Malfunction:
- Ensure the correct salt cell type (T-CELL-15, T-CELL-9, T-CELL-5, T-CELL-3) is properly connected and recognized by the system.
- Verify that the jumper settings for voltage (110V/220V) are correctly configured for your system. Incorrect settings can lead to operational issues.
- Low Chlorine Output:
- Check the salt level in your pool water.
- Inspect the salt cell for scaling or debris and clean if necessary.
- Ensure the chlorine output setting on the display board is at the desired level.
- Error Codes on Display:
- Refer to your salt chlorine generator's main user manual for specific error code interpretations and troubleshooting steps.
- If the issue persists after basic troubleshooting, contact customer support.
8. Specifications
| Feature | Detail |
|---|---|
| Product Dimensions | 7 x 6.3 x 2.7 inches |
| Item Weight | 14.8 ounces |
| Manufacturer | WERLAHO |
| Model Number | GLX-PCB-RITE & GLX-PCB-DSP |
| Compatibility | Hayward Goldline Aqua Rite, Naturesoft, Mineral Springs systems |
| Salt Cell Compatibility | T-CELL-15, T-CELL-9, T-CELL-5, T-CELL-3 |
| Voltage Support | 110V or 220V (switchable via jumpers) |

Image 8.1: Dimensions of the WERLAHO circuit board.
9. Warranty Information
The WERLAHO GLX-PCB-RITE Main Circuit Board and GLX-PCB-DSP Display Board come with a 1-Year Warranty from the date of purchase. This warranty covers defects in materials and workmanship under normal use. Please retain your proof of purchase for warranty claims. The warranty does not cover damage caused by improper installation, misuse, accidents, or unauthorized modifications.
10. Support
For technical assistance, troubleshooting beyond this manual, or warranty claims, please contact WERLAHO customer support through the retailer where the product was purchased. Provide your product model number and date of purchase for efficient service.