Philips DST1020/30
Philips 1000 Series DST1020/30 Steam Iron User Manual
Model: DST1020/30
Introduction
The Philips 1000 Series Steam Iron, model DST1020/30, is engineered for efficient garment care. It features a non-stick soleplate, variable steam settings, and a powerful steam boost function for effective wrinkle removal. This iron also incorporates hygienic ironing capabilities, designed to eliminate 99.99% of bacteria. Its comfortable handle, slim tip soleplate, and 250ml water tank are designed to enhance user convenience and simplify the ironing process.
Important Safety Information
Please read this manual carefully before using the appliance and save it for future reference. Failure to follow these safety instructions may result in electric shock, fire, or injury.
- Always ensure the iron is unplugged from the power outlet before filling or emptying the water tank, or when not in use.
- Do not leave a hot iron unattended. Always place the iron on a stable, heat-resistant surface, preferably on its heel rest.
- Keep the iron and its cord out of reach of children and individuals with reduced physical, sensory, or mental capabilities.
- Do not immerse the iron, power cord, or plug in water or any other liquid.
- Do not iron over metal parts such as zippers, rivets, or buttons directly, as this can damage the soleplate.
- Regularly inspect the power cord for any damage. If the cord is damaged, it must be replaced by the manufacturer, its service agent, or similarly qualified persons to avoid a hazard.
- Use the iron only for its intended household purpose.
Product Overview
Familiarize yourself with the components of your Philips 1000 Series Steam Iron.
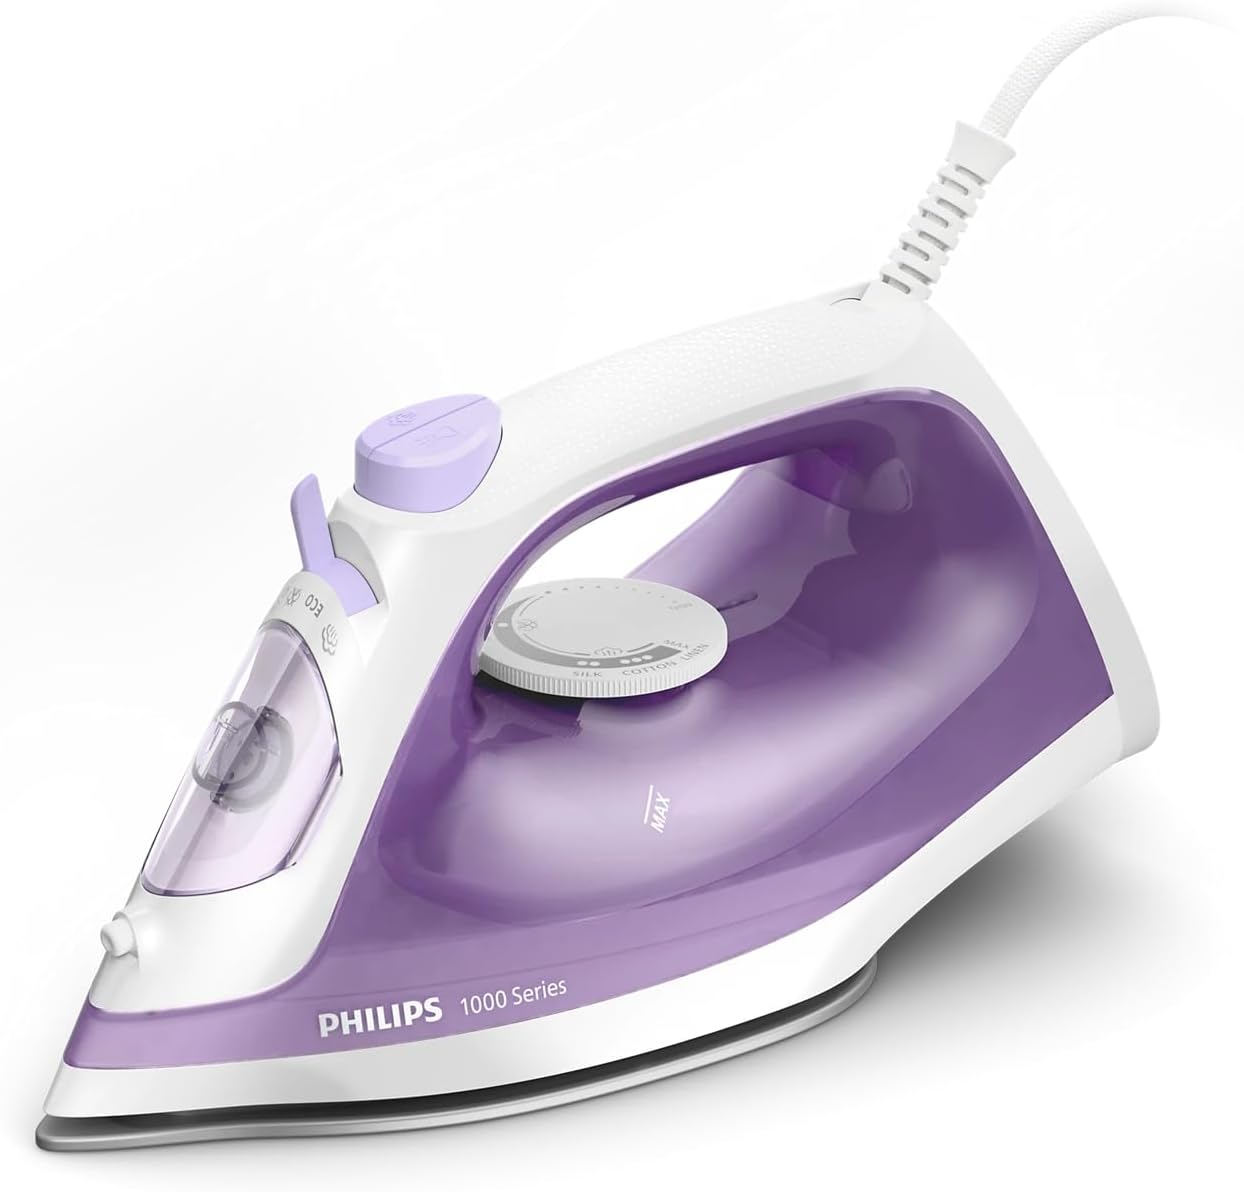
- Water Tank Inlet: For filling water.
- Spray Nozzle: For moistening fabrics.
- Steam Boost Button: Delivers an extra burst of steam.
- Temperature Dial: Adjusts heat settings for different fabric types.
- Non-stick Soleplate: Provides smooth gliding over fabrics.
- Power Cord: Connects the iron to the electrical outlet.
- Water Tank: Holds water for steam generation (250ml capacity).
Setup
Before first use, and for each ironing session, follow these steps.
1. Preparing for First Use
- Remove any labels, stickers, or protective film from the soleplate.
- It is recommended to iron an old piece of fabric first to ensure no residue is left on the soleplate.
2. Filling the Water Tank
- Ensure the iron is unplugged from the power outlet.
- Open the water tank inlet cover.
- Fill the water tank with tap water up to the 'MAX' indication level. Do not overfill.
- Close the water tank inlet cover securely.

Operating Instructions
Follow these steps for effective ironing.
1. Setting the Temperature
- Plug the iron into a grounded wall socket.
- Turn the temperature dial to the desired setting based on the fabric type. Refer to the garment's care label for guidance.
- The indicator light will illuminate, indicating the iron is heating up. It will turn off when the set temperature is reached.
2. Steam Ironing
- Ensure the water tank is filled.
- Set the temperature dial to a steam-suitable setting (usually indicated by steam symbols on the dial).
- Once the indicator light turns off, the iron is ready for steam ironing.
- For continuous steam, simply move the iron over the fabric. The iron provides up to 20g/min of continuous steam.

3. Steam Boost Function
- For stubborn creases, press the steam boost button. This delivers a powerful shot of steam, up to 90g.
- Wait a few seconds between shots to allow the iron to reheat and build up steam.

4. Dry Ironing
- If you prefer to iron without steam, ensure the water tank is empty or set the steam selector to the 'dry ironing' position (if available).
- Adjust the temperature dial as needed.
5. Spray Function
- Press the spray button to lightly moisten the fabric, which can help in removing creases.
6. Slim Tip Soleplate
- The pointed tip of the soleplate allows for easy access to tricky areas such as around buttons, collars, and pleats.

Maintenance
Proper maintenance ensures the longevity and performance of your iron.
1. Cleaning the Soleplate
- After each use, ensure the iron is unplugged and completely cooled down.
- Wipe the soleplate with a damp cloth and a non-abrasive cleaner if necessary. Do not use harsh scouring pads or abrasive cleaners, as these can damage the non-stick coating.
2. Cleaning the Exterior
- Wipe the exterior of the iron with a soft, damp cloth.
3. Calc-Clean Function
The Philips 1000 Series iron features a Calc-clean solution designed to extend its lifespan by removing limescale buildup. Refer to the specific instructions below for performing a calc-clean cycle.

- Fill the water tank to the MAX level.
- Plug in the iron and set the temperature to maximum.
- Once the indicator light goes out, unplug the iron.
- Hold the iron over a sink, press and hold the Calc-clean button (if present, or follow manual's specific descaling method). Shake the iron gently back and forth until all water and steam have been expelled.
- Plug in the iron again and let it heat up to dry the soleplate. Unplug and let it cool down.
4. Storage
- After use, unplug the iron and allow it to cool down completely.
- Empty any remaining water from the tank.
- Store the iron upright on its heel rest in a safe, dry place.
Troubleshooting
Refer to this section for common issues and their solutions.
| Problem | Possible Cause | Solution |
|---|---|---|
| Iron does not heat up. | Not plugged in correctly; power outlet fault; temperature dial set to minimum. | Check power connection; test outlet with another appliance; turn temperature dial to a higher setting. |
| No steam or insufficient steam. | Water tank empty; temperature too low for steam; steam selector set to dry ironing. | Fill water tank; set temperature to a steam-suitable setting; adjust steam selector. |
| Water leaks from the soleplate. | Water tank overfilled; temperature too low for steam; steam boost used too frequently. | Do not overfill water tank; ensure iron reaches steam temperature before using steam; allow a few seconds between steam boost shots. |
| White flakes coming from soleplate. | Limescale buildup. | Perform a Calc-clean cycle as described in the Maintenance section. |
Specifications
Key technical details for the Philips 1000 Series DST1020/30 Steam Iron.
- Model: DST1020/30
- Brand: Philips
- Wattage: 1800W
- Continuous Steam Output: Up to 20g/min
- Steam Boost: Up to 90g
- Water Tank Capacity: 250ml
- Soleplate Type: Non-stick
- Item Weight: 0.86 Kilograms
- Product Dimensions: 26L x 11.1W centimetres
- Special Features: Hygienic Ironing (eliminates 99.99% bacteria)

Warranty and Support
Your Philips 1000 Series DST1020/30 Steam Iron is backed by a 2-year worldwide guarantee.
For warranty claims, technical assistance, or any product-related inquiries, please contact Philips customer support through their official website or the contact information provided with your purchase documentation.
Ask a question about this manual
Ask about setup, troubleshooting, compatibility, parts, safety, or missing instructions. Manuals+ will review the question and use this page’s manual context to help answer it.