1. Introduction
This manual provides essential information for the setup, operation, and maintenance of your Philips Brilliance 27E2F7903 27-inch 4K UHD monitor. Please read this manual thoroughly before using the product to ensure proper functionality and safety.
The Philips Brilliance 27E2F7903 monitor features a 27-inch 4K UHD (3840x2160) IPS Black display, offering superior contrast and color accuracy. It includes Thunderbolt 4 connectivity with 96W Power Delivery, MultiView for enhanced multitasking, and an integrated KVM switch. The ergonomic stand allows for height, tilt, pivot, and swivel adjustments.

Image 1.1: Philips Brilliance 27E2F7903 Monitor Front View. This image displays the monitor from the front, showcasing its sleek design and the 4K UHD IPS Black display.

Image 1.2: Ultra-Clear 4K Display. This image highlights the monitor's ability to deliver ultra-clear 4K resolution with deeper blacks and vivid colors, emphasizing its visual performance.
2. Package Contents
Verify that all items listed below are present in the package:
- Philips Brilliance 27E2F7903 Monitor
- Monitor Stand (Base and Neck)
- HDMI Cable
- Power Cord
- User Manual (this document)
If any items are missing or damaged, please contact your retailer or Philips customer support.
3. Setup
3.1 Stand Assembly
- Carefully place the monitor face down on a soft, clean surface to prevent scratches.
- Attach the stand neck to the back of the monitor, ensuring it clicks securely into place.
- Attach the stand base to the neck, securing it with the captive screw.
- Gently lift the monitor and place it upright on a stable desk.
3.2 Connecting to Your Devices
The Philips 27E2F7903 monitor offers various connectivity options:
- Thunderbolt 4 (USB-C): Connect a compatible laptop or device using the Thunderbolt 4 cable. This connection supports video, data transfer, and up to 96W Power Delivery to charge your device.
- HDMI: Connect to a device using an HDMI cable.
- DisplayPort: Connect to a device using a DisplayPort cable.
- USB Hub: Utilize the integrated USB ports for connecting peripherals.

Image 3.1: Thunderbolt 4 Connectivity. This image illustrates the monitor's Thunderbolt 4 port, demonstrating its capability for fast data transfer and power delivery to a connected laptop.
3.3 Power Connection
Connect the supplied power cord to the monitor's power input and then to a wall outlet. Press the power button located on the monitor to turn it on.
4. Operating the Monitor
4.1 On-Screen Display (OSD) Menu
The OSD menu allows you to adjust various monitor settings, including brightness, contrast, color temperature, input selection, and advanced features. Navigate the menu using the joystick or buttons typically located on the back or bottom edge of the monitor.
Key OSD settings include:
- Picture: Adjust brightness, contrast, sharpness.
- Color: Select color profiles (sRGB, DCI-P3, Display-P3), adjust color temperature, enable LowBlue mode for reduced eye strain.
- Input: Manually select the active video input source.
- PIP/PBP: Configure Picture-in-Picture or Picture-by-Picture modes.
- OSD Settings: Adjust OSD language, transparency, and timeout.
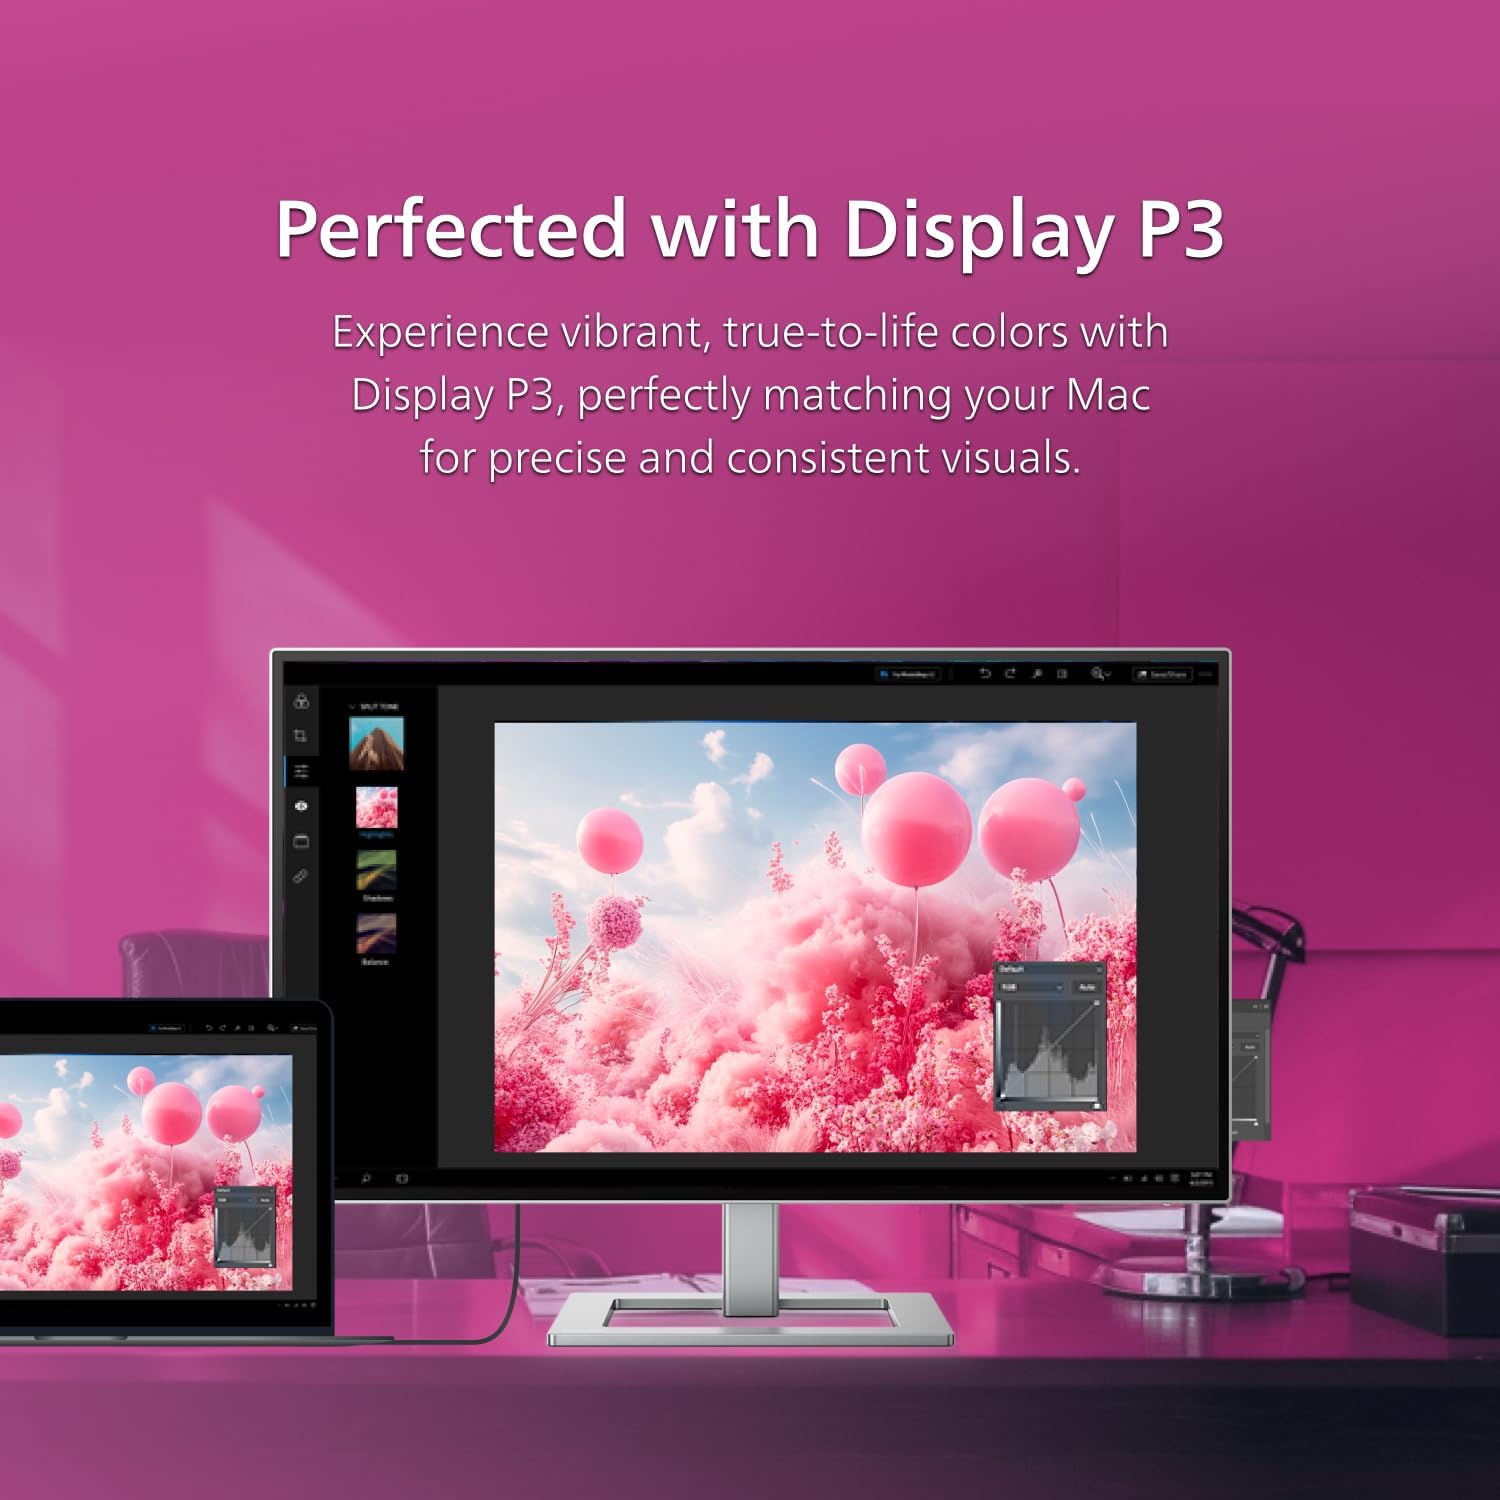
Image 4.1: Display P3 Color Accuracy. This image demonstrates the monitor's Display P3 color profile, highlighting its ability to match colors precisely for consistent visuals, especially beneficial for Mac users.
4.2 MultiView Functionality
MultiView allows you to connect and display content from two different sources simultaneously on the screen. This can be configured as Picture-in-Picture (PIP) or Picture-by-Picture (PBP) via the OSD menu.
- PIP: Displays one source in a smaller window over the main display.
- PBP: Divides the screen into two or more sections, each displaying a different source.

Image 4.2: MultiView Multitasking. This image illustrates the MultiView feature, showing how the monitor can display content from multiple sources simultaneously, enhancing productivity.
4.3 KVM Switch
The integrated KVM (Keyboard, Video, Mouse) switch allows you to control multiple computers with a single set of keyboard and mouse connected to the monitor. When switching between video inputs, the KVM automatically switches the keyboard and mouse control to the selected computer.

Image 4.3: KVM Switch Setup. This image demonstrates the KVM switch functionality, showing how one keyboard and mouse can control multiple devices connected to the monitor.
4.4 Ergonomic Adjustments
The monitor stand provides flexible adjustments for optimal viewing comfort:
- Height Adjustment: Raise or lower the monitor to eye level.
- Tilt: Adjust the screen angle forward or backward.
- Swivel: Rotate the monitor horizontally left or right.
- Pivot: Rotate the screen 90 degrees for portrait viewing.
5. Maintenance
To ensure the longevity and optimal performance of your monitor, follow these maintenance guidelines:
- Cleaning the Screen: Gently wipe the screen with a soft, lint-free cloth. For stubborn marks, use a monitor-specific cleaning solution applied to the cloth, not directly to the screen.
- Cleaning the Casing: Use a soft, dry cloth to clean the monitor casing. Avoid abrasive cleaners or solvents.
- Ventilation: Ensure the ventilation openings on the monitor are not blocked to prevent overheating.
- Power Off: Always turn off the monitor and unplug it from the power outlet before cleaning or if it will be unused for an extended period.
6. Troubleshooting
If you encounter issues with your monitor, refer to the following common problems and solutions:
- No Power: Ensure the power cord is securely connected to both the monitor and the power outlet. Check if the power outlet is functional.
- No Image: Verify that the video cable (Thunderbolt, HDMI, or DisplayPort) is correctly connected to both the monitor and your computer. Ensure the correct input source is selected via the OSD menu.
- Flickering or Distorted Image: Check the video cable for damage. Ensure your computer's graphics driver is up to date. Adjust the refresh rate in your computer's display settings.
- USB-C Power Delivery Not Working: Confirm your connected device supports USB-C Power Delivery and that the cable is fully inserted.
- Sound Issues: Check the volume settings on both the monitor and your computer. Ensure the correct audio output device is selected on your computer.
For further assistance, consult the Philips support website or contact customer service.
7. Specifications
| Feature | Specification |
|---|---|
| Screen Size | 27 Inches |
| Panel Type | IPS Black |
| Resolution | 3840 x 2160 (4K UHD) |
| Aspect Ratio | 16:9 |
| Color Gamut | 100% sRGB, 98% DCI-P3 |
| HDR Support | VESA DisplayHDR 400 |
| Connectivity | Thunderbolt 4 (USB-C with 96W PD), HDMI, DisplayPort, USB Hub |
| Built-in Speakers | Yes |
| Ergonomics | Height, Tilt, Swivel, Pivot |
| Dimensions (LxWxH) | 7.8 x 24.1 x 22.3 inches |
| Weight | 23.4 pounds |
| Model Number | 27E2F7903 |
8. Warranty and Support
The Philips Brilliance 27E2F7903 monitor comes with a 4-year advance replacement warranty. This ensures that in the event of a covered defect, a replacement unit will be shipped to you before you return the original, minimizing downtime.
For detailed warranty terms, technical support, or to register your product, please visit the official Philips Computer Monitors support website or contact their customer service department.