1. Important Safety Instructions
Please read all instructions carefully before using the Laresar Elite 5 Cordless Vacuum Cleaner. Retain this manual for future reference.
- This appliance is for household use only. Do not use outdoors or on wet surfaces.
- Do not allow children to operate the vacuum cleaner. Close supervision is necessary when used near children.
- Do not pick up flammable or combustible liquids, such as gasoline, or use in areas where they may be present.
- Do not pick up anything that is burning or smoking, such as cigarettes, matches, or hot ashes.
- Do not use without the dust cup and/or filters in place.
- Turn off the appliance before connecting or disconnecting the motorized brush, extension wand, or other accessories.
- Use only the charger supplied by the manufacturer to recharge.
- If the charging cable is damaged, it must be replaced by the manufacturer, its service agent, or similarly qualified persons to avoid a hazard.
- Store the vacuum cleaner indoors in a dry place.
2. Product Overview and Package Contents
Familiarize yourself with the components of your Laresar Elite 5 Cordless Vacuum Cleaner.

Figure 2.1: All components of the Laresar Elite 5 Cordless Vacuum Cleaner, including the main unit, extension wand, floor brush, various nozzles, wall mount, charger, and user manual.
Package Contents:
- Main Vacuum Unit (with dust cup and battery)
- Extension Wand
- Motorized Floor Brush
- Crevice Tool
- 2-in-1 Brush Tool
- Wall Mount Bracket
- Power Adapter/Charger
- User Manual
- Additional Filter (HEPA)
Key Features:
- 400W Brushless Motor: Provides strong suction power up to 33Kpa with a quiet operation (58dB).
- LareSmart Dust Sensing: Automatically adjusts suction power based on detected dust levels.
- Long Runtime: Up to 55 minutes in automatic mode, powered by a 7 x 2500 mAh lithium-ion battery.
- 7-Stage Filtration System: Advanced filtration to capture fine dust and allergens.
- Anti-Tangle Floor Brush: Designed to prevent hair from tangling around the brush roll.
- LED Display: Provides real-time information on battery level and suction mode.
3. Setup and Assembly
3.1 Assembly
- Attach the Extension Wand: Insert the extension wand into the main vacuum unit until it clicks securely into place.
- Attach the Floor Brush: Connect the motorized floor brush to the other end of the extension wand until it clicks. Alternatively, attach other accessories (crevice tool, 2-in-1 brush) directly to the main unit or extension wand as needed.

Figure 3.1: The Laresar Elite 5 assembled in full stick mode, and as a handheld unit with different attachments.
3.2 Charging the Battery
Before first use, fully charge the vacuum cleaner for approximately 4 hours.
- Connect the power adapter to the charging port on the main vacuum unit.
- Plug the adapter into a wall outlet.
- The LED display will indicate the charging status. A full battery icon signifies a complete charge.
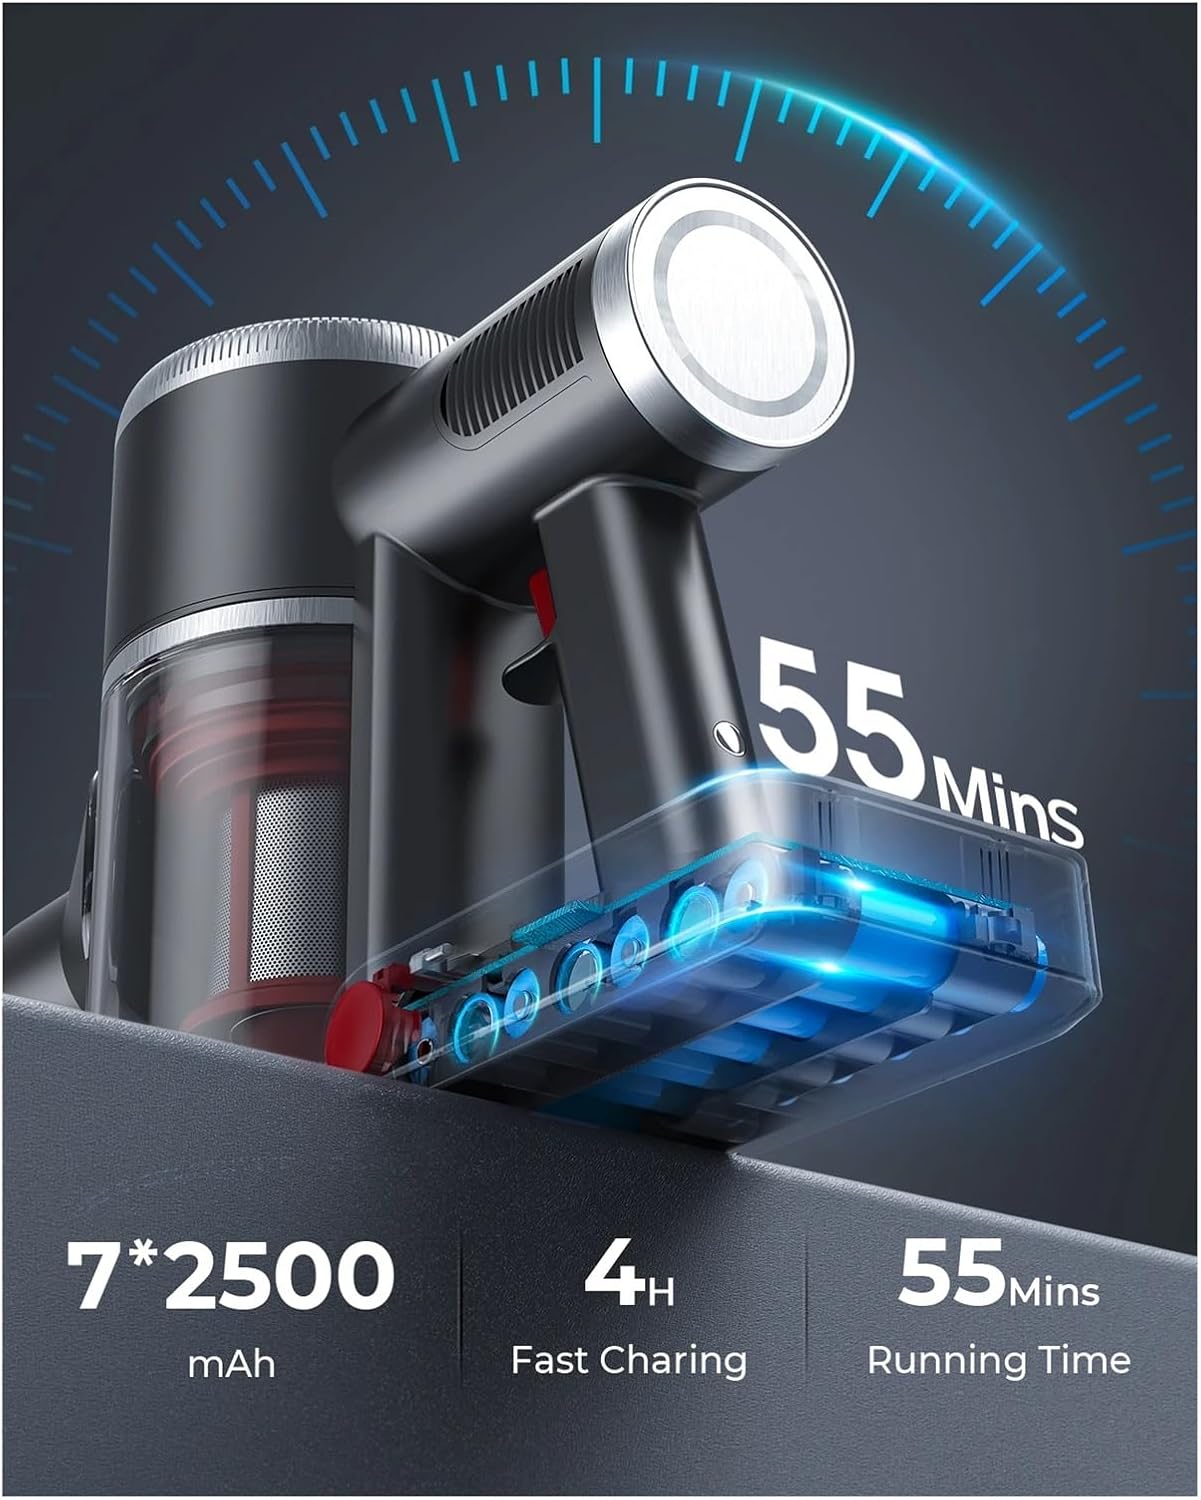
Figure 3.2: Illustration of the 7*2500 mAh battery, indicating 4 hours for fast charging and up to 55 minutes running time.
The battery can be charged while attached to the main unit or separately if removed.
4. Operating Instructions
4.1 Power On/Off and Suction Modes
- Power On: Press the power button on the main unit to start the vacuum cleaner. It will typically start in automatic mode.
- Change Suction Mode: Press the mode button to cycle through the available suction modes: Low (8Kpa), Medium (15Kpa), High (33Kpa), and Auto (LareSmart Dust Sensing).
- Power Off: Press the power button again to turn off the vacuum cleaner.

Figure 4.1: The all-in-one LED display showing battery level and current suction mode (Auto, Min, Max).
4.2 LareSmart Dust Sensing
In Auto mode, the LareSmart dust detection chip automatically adjusts the suction power based on the amount of debris detected, optimizing cleaning efficiency and battery life.

Figure 4.2: The vacuum cleaner actively sensing dust and adjusting suction power (e.g., 15Kpa, 28Kpa) on a carpeted surface.
4.3 Using Attachments
- Motorized Floor Brush: Ideal for cleaning carpets and hard floors. Its V-shaped bristles and independent motor effectively pick up debris and prevent hair tangles.

Figure 4.3: The motorized floor brush effectively cleaning dust and debris from a corner on a carpet.
- Crevice Tool: Use for narrow gaps, corners, and hard-to-reach areas.
- 2-in-1 Brush Tool: Suitable for cleaning upholstery, curtains, keyboards, and delicate surfaces.
5. Maintenance
Regular maintenance ensures optimal performance and extends the lifespan of your vacuum cleaner.
5.1 Emptying the Dust Cup
Empty the dust cup after each use or when the MAX fill line is reached.
- Ensure the vacuum cleaner is turned off.
- Locate the dust cup release button and press it to detach the dust cup from the main unit.
- Hold the dust cup over a trash bin and press the bottom release latch to open the lid and empty the contents.
- Close the lid and reattach the dust cup to the main unit until it clicks.
5.2 Cleaning the Filters
The Laresar Elite 5 features a 7-stage filtration system. Clean the filters regularly to maintain suction power.
- Remove the dust cup as described above.
- Twist and pull out the filter assembly from inside the dust cup.
- Separate the individual filter components (e.g., mesh filter, HEPA filter).
- Tap off loose dirt. Rinse washable filters under cold running water until the water runs clear. Do not use detergent.
- Allow all filter components to air dry completely for at least 24 hours before reassembling and placing them back into the vacuum. Ensure they are completely dry to prevent mold or damage.
5.3 Cleaning the Brush Roll
The anti-tangle design minimizes hair wrapping, but occasional cleaning may still be necessary.
- Turn off the vacuum cleaner and detach the motorized floor brush.
- Locate the brush roll release tab or latch on the side of the floor brush and open it.
- Remove the brush roll.
- Use scissors or a cleaning tool to cut and remove any tangled hair or debris from the brush roll.
- Reinsert the brush roll and secure the release tab/latch.
6. Troubleshooting
If you encounter issues, refer to the following common problems and solutions.
| Problem | Possible Cause | Solution |
|---|---|---|
| Vacuum does not turn on | Battery is not charged Battery not properly installed | Charge the battery fully Ensure battery is securely clicked into place |
| Low suction power | Dust cup is full Filters are clogged Blockage in nozzle, wand, or hose Brush roll is jammed | Empty the dust cup Clean or replace filters Check for and remove any blockages Clean the brush roll |
| Brush roll not spinning | Brush roll is jammed Floor brush not properly connected | Clean the brush roll of any obstructions Ensure the floor brush is securely attached to the wand/main unit |
| Short runtime | Battery not fully charged Using high suction mode continuously | Fully charge the battery Use Auto or lower suction modes for general cleaning to extend battery life |
7. Specifications
| Feature | Specification |
|---|---|
| Brand | Laresar (Manufactured by FJSKMA) |
| Model Name | Elite 5 (Model Number: 9887) |
| Motor | 400W Brushless Motor |
| Suction Power | 8Kpa - 33Kpa (3 Power Levels + Auto Mode) |
| Noise Level | 58 Decibels |
| Battery | 7 x 2500 mAh Lithium-ion |
| Runtime | Up to 55 minutes (in Auto mode); 15 minutes (in MAX mode) |
| Charging Time | Approximately 4 hours |
| Filtration System | 7-Stage Filtration |
| Dust Cup Capacity | Not specified (typical for stick vacuums) |
| Special Features | LareSmart Dust Sensing, Anti-Tangle Floor Brush, LED Display |
| Form Factor | Cordless, Handheld (convertible) |
| Item Weight | 1.76 ounces (main unit, likely without attachments) |
8. Warranty and Support
For warranty information or technical support, please refer to the warranty card included in your product packaging or contact the manufacturer directly.
Manufacturer: FJSKMA
Please have your model number (9887) and purchase date available when contacting support.


