1. Introduction
This user manual provides essential information for the safe and efficient operation, installation, and maintenance of your Whirlpool WHAT081-1BW Wall Air Conditioner. Please read this manual thoroughly before using the appliance and retain it for future reference. This 8,000 BTU unit is designed to cool spaces up to 350 square feet, offering comfort and improved air quality with its dehumidification function.
2. Safety Information
Always follow basic safety precautions when using electrical appliances to reduce the risk of fire, electric shock, and injury.
- Read all instructions before using this appliance.
- Ensure the unit is properly grounded.
- Do not operate the air conditioner with a damaged cord or plug.
- Do not insert fingers or foreign objects into the air discharge area.
- Unplug the unit before cleaning or performing any maintenance.
- Keep packaging materials away from children.
- This appliance is not intended for use by persons (including children) with reduced physical, sensory or mental capabilities, or lack of experience and knowledge, unless they have been given supervision or instruction concerning use of the appliance by a person responsible for their safety.
3. Package Contents
Verify that all items are included in your package:
- Whirlpool WHAT081-1BW Wall Air Conditioner Unit
- Remote Control
- Batteries for Remote Control
- User Manual (this document)
- Trim Kit and Rear Grille (for installation)
4. Product Overview
The Whirlpool WHAT081-1BW is a powerful and efficient through-the-wall air conditioner designed for optimal comfort.

Figure 4.1: Front view of the Whirlpool WHAT081-1BW Wall Air Conditioner, showing the control panel and air vents.
Key Features:
- Powerful Cooling: 8,000 BTU capacity, ideal for rooms up to 350 square feet.
- Dehumidification: Removes up to 0.8 pints of moisture per hour, enhancing comfort.
- Flexible Airflow: Features 8-way directional louvers to customize air distribution.
- Multiple Fan Speeds: Three fan speeds (Low, Medium, High) for personalized comfort.
- Operation Modes: Includes Cool, Fan Only, Dry (Dehumidify), and Eco modes.
- Programmable Timer: 24-hour timer allows for scheduled operation.
- Sleep Function: Adjusts temperature for comfortable sleep and energy saving.
- Remote Control: Conveniently adjust settings from across the room.
- Easy-Access Filter: Washable filter for simple maintenance.
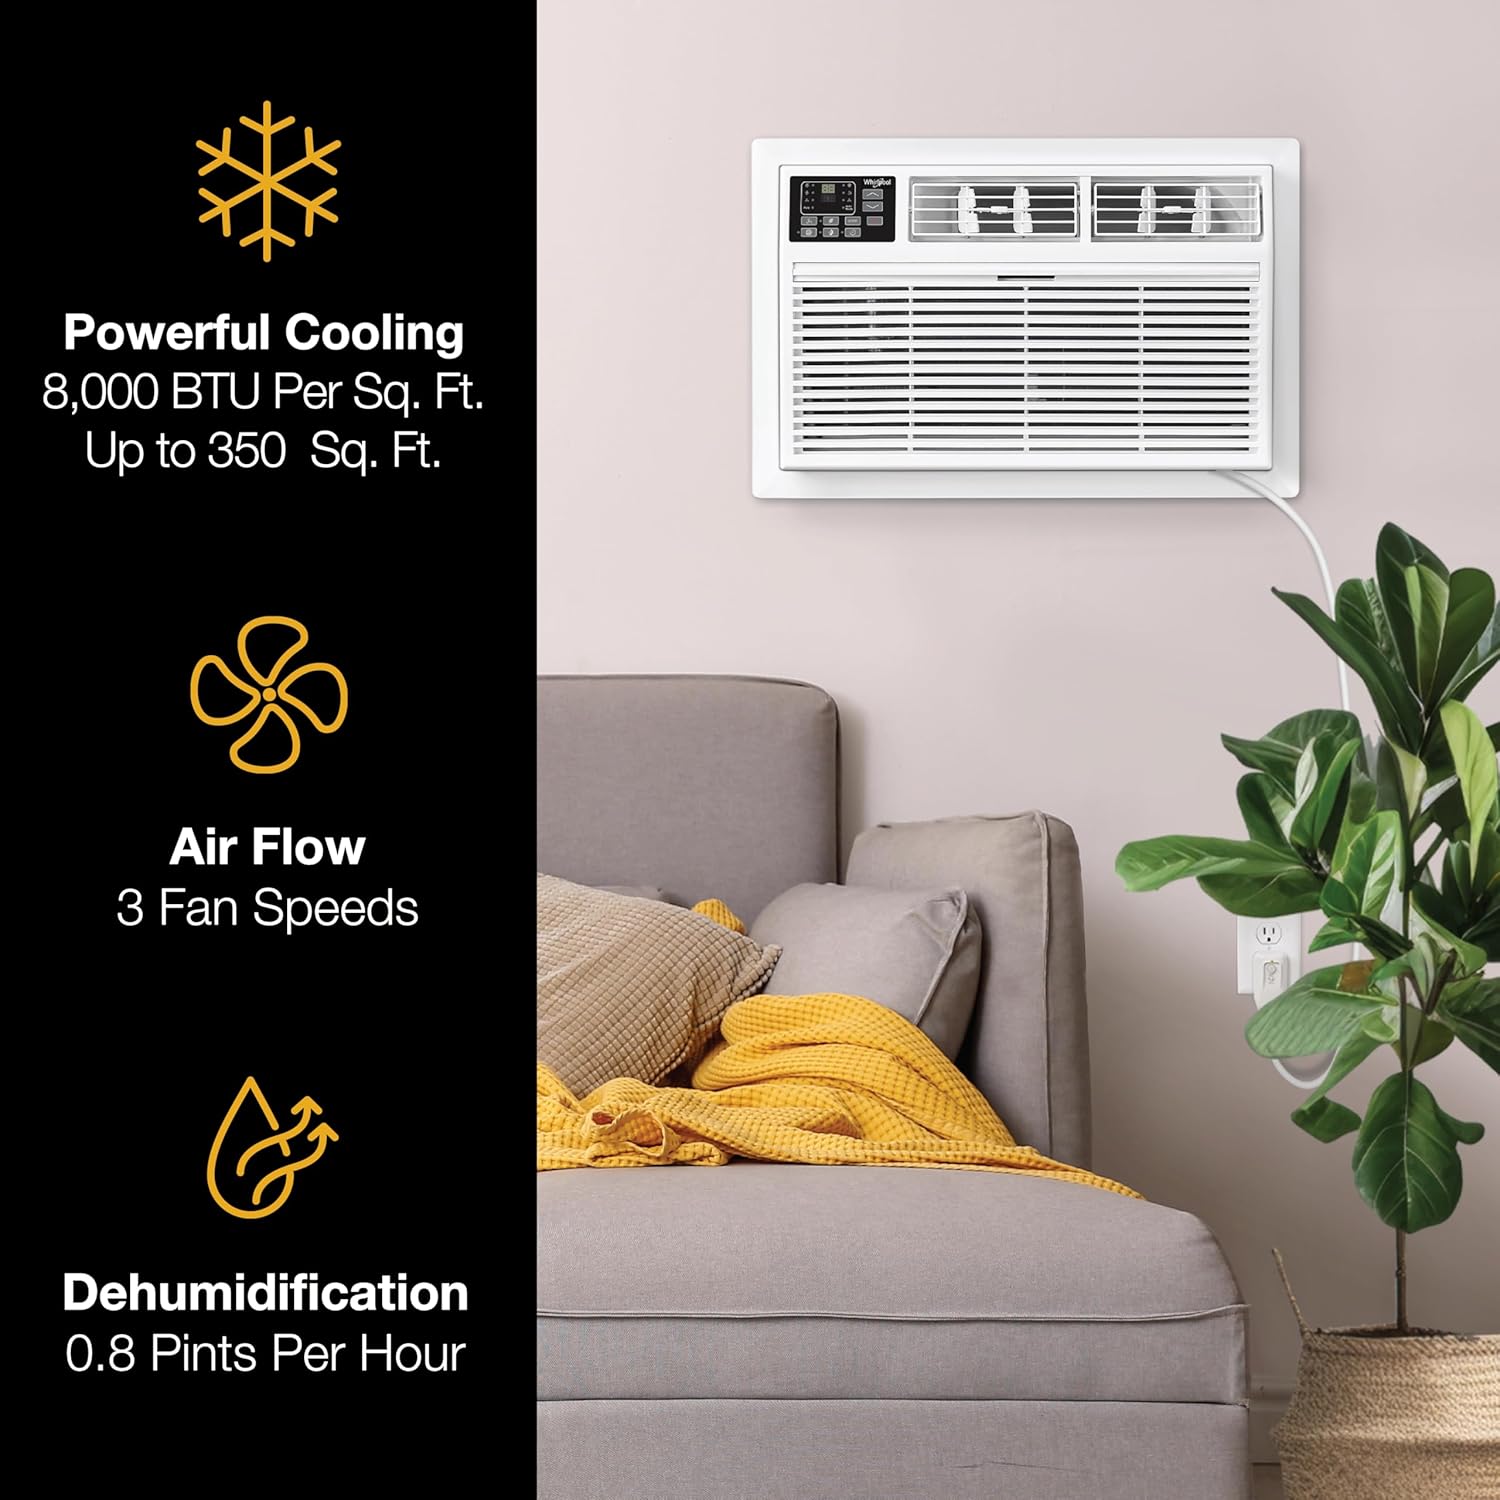
Figure 4.2: Visual representation of the unit's powerful cooling, adjustable airflow, and dehumidification capabilities.
5. Setup & Installation
This Whirlpool air conditioner is designed for through-the-wall installation and is compatible with most universal wall sleeves. The unit dimensions are 20.28" D x 24.21" W x 14.53" H, fitting into sleeves 24.5" to 27" wide.
Installation Steps:
- Prepare the Wall Sleeve: Ensure your existing wall sleeve is clean and free of obstructions. The unit is designed to fit sleeves between 24.5 and 27 inches wide.
- Unpack the Unit: Carefully remove the air conditioner from its packaging.
- Insert the Unit: Slide the air conditioner into the wall sleeve. Ensure it is level or slightly tilted outwards for proper condensation drainage.
- Secure the Unit: Use appropriate fasteners to secure the unit within the sleeve, following the instructions provided with your wall sleeve or the unit's detailed installation guide (if separate).
- Install Trim Kit and Rear Grille: Attach the included trim kit around the unit's front for a finished look and the rear grille as per instructions.
- Connect Power: Plug the 5.9-ft LCDI 3-prong power cord into a standard 115V electrical outlet. Ensure the outlet is properly grounded.

Figure 5.1: The air conditioner unit seamlessly installed in a wall, demonstrating its intended placement.

Figure 5.2: Illustration of the 115V LCDI 5-15P plug type and the 4.9 ft cable length for power connection.
Installation Video:
Video 5.1: An official video from Whirlpool demonstrating the features and ease of installation for their through-the-wall air conditioners. This video highlights the unit's compatibility with universal wall sleeves and various operational modes.
6. Operating Instructions
Your Whirlpool air conditioner can be operated using the on-board electronic controls or the included remote control.

Figure 6.1: A user comfortably operating the air conditioner with the remote control from a distance.
Control Panel and Remote Functions:
- Power Button: Turns the unit On or Off.
- Mode Button: Cycles through operation modes:
- Cool Mode: Provides cooling with adjustable temperature (62-86°F) and fan speed.
- Fan Only Mode: Circulates air without cooling.
- Dry (Dehumidify) Mode: Reduces humidity in the room.
- Eco Mode: Saves energy by turning off the compressor once the desired room temperature is reached, restarting periodically to maintain comfort.
- Fan Speed Button: Selects fan speed (Low, Medium, High).
- Temperature Adjustment Buttons (Up/Down Arrows): Sets the desired temperature.
- Timer Button: Activates the 24-hour programmable timer to set specific on/off times.
- Sleep Button: Engages Sleep Mode, which gradually adjusts the temperature and fan speed for quiet, energy-efficient operation during sleep.
- Filter Light Reminder: An indicator light will illuminate when it's time to clean the air filter.

Figure 6.2: Visuals highlighting the Sleep Mode for quiet operation, the 24-hour timer for scheduling, and the 8-way louvers for directional airflow.

Figure 6.3: A detailed view of the remote control, allowing convenient adjustment of settings from a distance.
7. Maintenance
Regular maintenance ensures optimal performance and longevity of your air conditioner.
Cleaning the Air Filter:
The air filter should be cleaned regularly, especially when the "Filter Light Reminder" illuminates. A dirty filter can reduce cooling efficiency and airflow.
- Turn Off and Unplug: Always turn off the air conditioner and unplug it from the power outlet before cleaning.
- Remove Filter: Gently pull the front handle of the unit to access and remove the quick-access air filter.
- Clean Filter: Wash the filter with warm, soapy water. Rinse thoroughly. For heavily soiled filters, a vacuum cleaner can be used to remove loose dust before washing.
- Dry Filter: Allow the filter to air dry completely before reinserting. Do not expose to direct sunlight or excessive heat.
- Reinstall Filter: Slide the dry filter back into its position.
- Reset Filter Light: After cleaning and reinstallation, press the "Filter" button on the control panel (if available) or refer to the specific instructions for your model to reset the filter reminder light.

Figure 7.1: The easily accessible and washable air filter, designed for convenient cleaning to maintain air quality and unit efficiency.
General Cleaning:
Wipe the exterior of the unit with a soft, damp cloth. Do not use harsh chemicals or abrasive cleaners.
8. Troubleshooting
Before contacting customer service, please refer to the following common issues and solutions:
| Problem | Possible Cause | Solution |
|---|---|---|
| Unit does not turn on. | No power, tripped circuit breaker, loose plug connection. | Check power cord connection, reset circuit breaker, ensure outlet is functional. |
| Insufficient cooling. | Dirty air filter, blocked air intake/output, room too large, doors/windows open. | Clean air filter, clear obstructions, ensure room size is within unit capacity (350 sq ft), close doors/windows. |
| Unit is noisy. | Loose installation, foreign object in fan, normal operating sounds. | Ensure unit is securely installed. Check for obstructions. Some operational sounds (fan, compressor) are normal. |
| Water leakage. | Unit not level or tilted incorrectly, clogged drain. | Ensure unit is level or slightly tilted outwards. Check and clear any drain blockages. |
| Remote control not working. | Dead batteries, obstruction between remote and unit, remote too far. | Replace batteries. Remove obstructions. Ensure remote is within operating range. |
9. Specifications
Detailed technical specifications for the Whirlpool WHAT081-1BW Wall Air Conditioner:
| Attribute | Value |
|---|---|
| Model Number | WHAT081-1BW |
| Brand | Whirlpool |
| Cooling Power | 8000 BTU |
| Coverage Area | Up to 350 Square Feet |
| Voltage | 115 Volts |
| Product Dimensions (D x W x H) | 20.28" x 24.21" x 14.53" |
| Item Weight | 60.2 pounds |
| Noise Level | 53 dB |
| Seasonal Energy Efficiency Ratio (SEER) | 10.1 |
| Refrigerant Type | R-32 |
| Special Features | Filter Light Reminder, Remote Controlled, Dehumidifier |
| Included Components | Air Conditioner, Remote, Batteries, Manual |
| Country of Origin | China |

Figure 9.1: Visual representation of the unit's dimensions (20.28 in. D x 24.21 in. W x 14.53 in. H) and weight (60.19 lb).
10. Warranty and Support
Your Whirlpool WHAT081-1BW Wall Air Conditioner comes with a 1 Year Limited Warranty from the date of purchase. This warranty covers defects in materials and workmanship under normal use.
For warranty claims, technical support, or any questions regarding your product, please contact Whirlpool Customer Service. Keep your purchase receipt as proof of purchase for warranty service.
For more information, visit the official Whirlpool website or contact their customer support line.