B0D2D2Y568
Generic Automatic Shoe Film Machine User Manual
Model: B0D2D2Y568
Introduction
This manual provides instructions for the safe and efficient operation of your Generic Automatic Shoe Film Machine. Please read this manual thoroughly before using the device and retain it for future reference.
The Automatic Shoe Film Machine is designed to apply a protective film to the soles of shoes, reducing the spread of dirt and contaminants in various environments such as homes, offices, laboratories, and hygiene areas. It offers a convenient, hands-free method for maintaining cleanliness.
Safety Information
Please observe the following safety precautions to prevent injury or damage to the device:
- Do not touch the internal cutting blade. It is sharp and can cause injury.
- Keep the device away from water or excessive moisture.
- Ensure the device is placed on a stable, flat surface during use.
- This device is intended for applying shoe film only. Do not use it for other purposes.
- Keep out of reach of small children to prevent misuse or injury.
Package Contents
Verify that all items are present in the package:
- 1 x Automatic Shoe Film Machine
- 3 x Rolls of Shoe Film
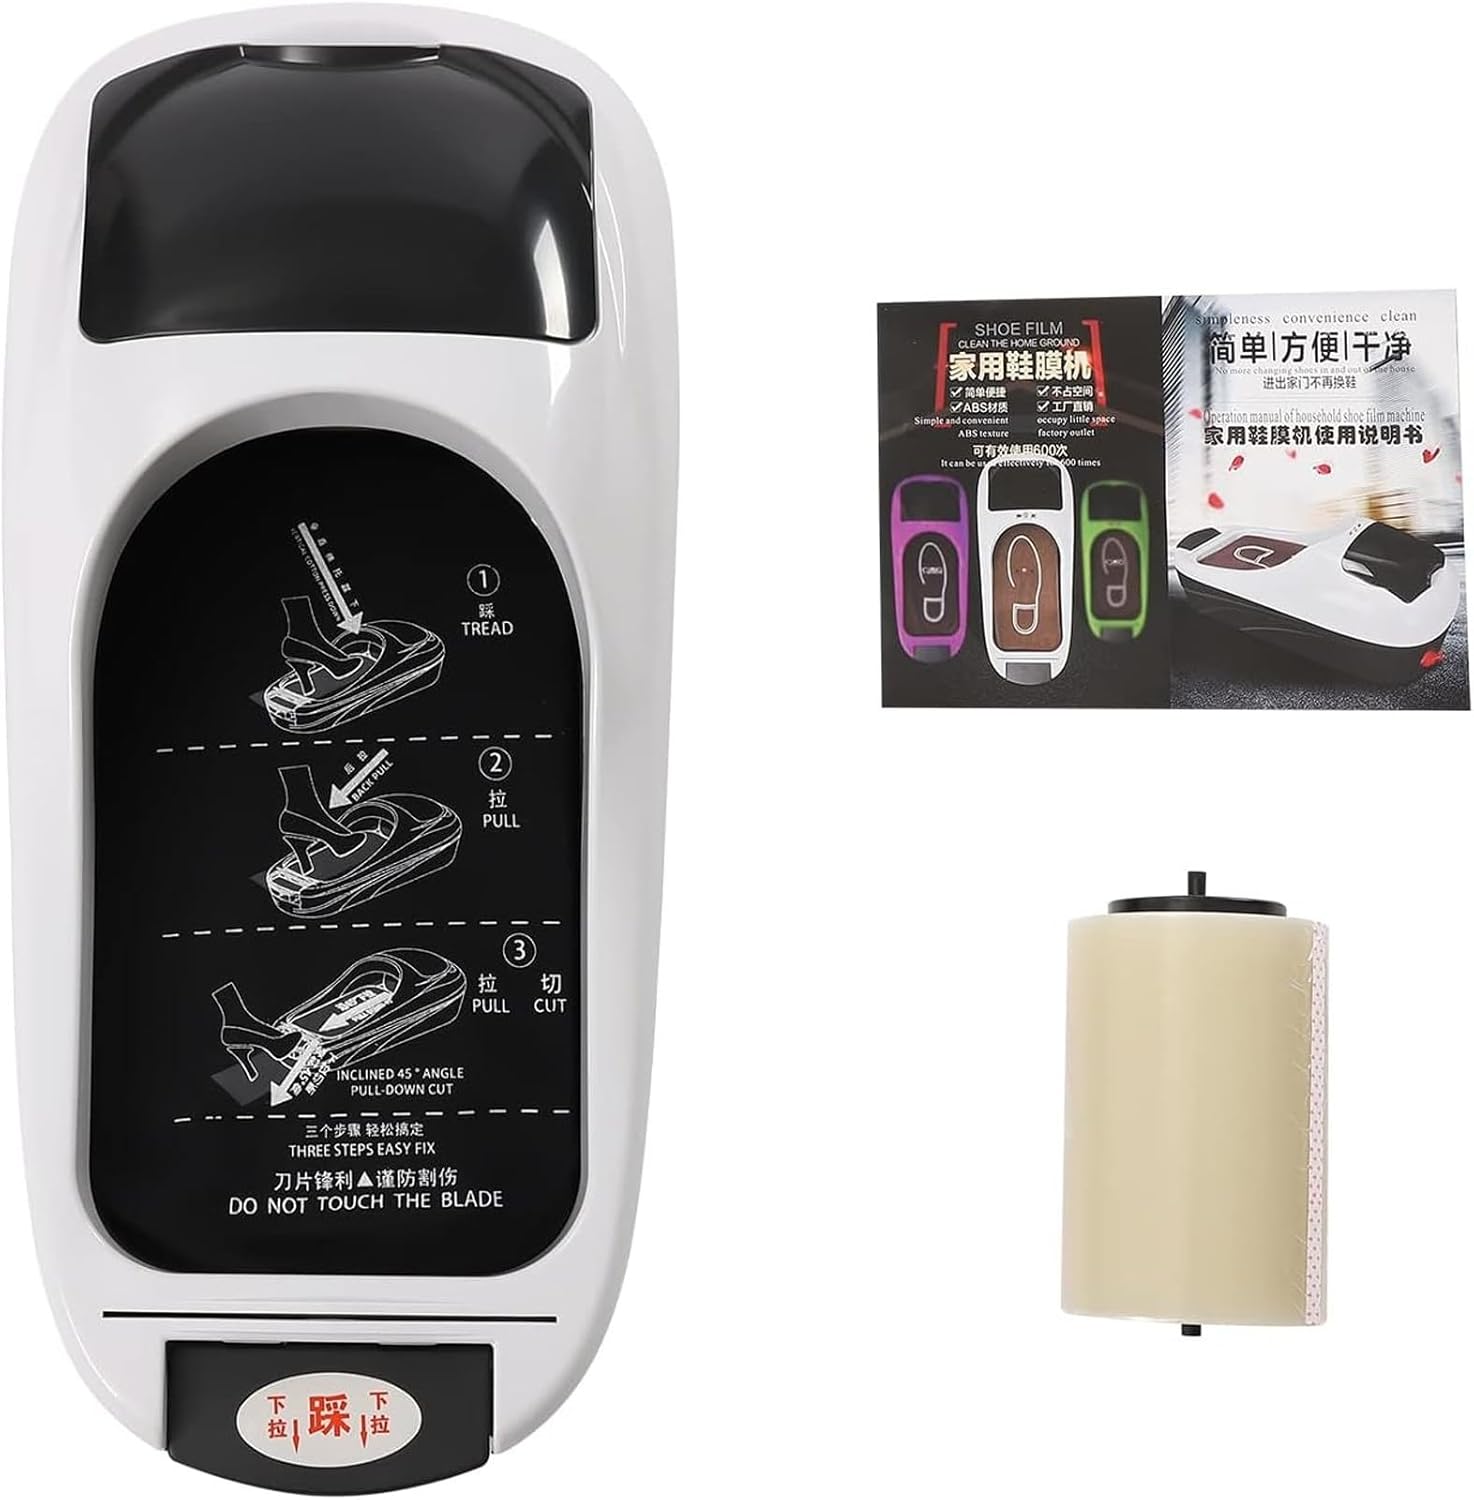
Image: The Automatic Shoe Film Machine shown with three rolls of shoe film, as typically included in the package.
Specifications
| Feature | Detail |
|---|---|
| Material | ABS, Sponge, Stainless Iron, PE |
| Product Dimensions (L x W x H) | 58 x 26 x 10 cm (22.83 x 10.23 x 3.93 inches) |
| Net Weight | 2.4 kg (5.29 lbs) |
| Shoe Film Roll Size | 16 cm (W) x 40 M (L) |
| Approximate Uses per Roll | 500 times |

Image: Top-down view of the shoe film machine with its dimensions clearly indicated: 58cm/22.83in length, 26cm/10.23in width, and 10cm/3.93in height.
Setup
Follow these steps to prepare your shoe film machine for use:
- Unpack the Device: Carefully remove the shoe film machine and all accessories from its packaging.
- Open the Film Compartment: Locate the top cover of the machine and open it to reveal the film loading area.

Image: The shoe film machine with its top cover open, showing a roll of shoe film correctly placed inside the compartment.
- Load the Shoe Film Roll: Place one of the provided shoe film rolls into the designated slot within the compartment. Ensure the film unwinds correctly.
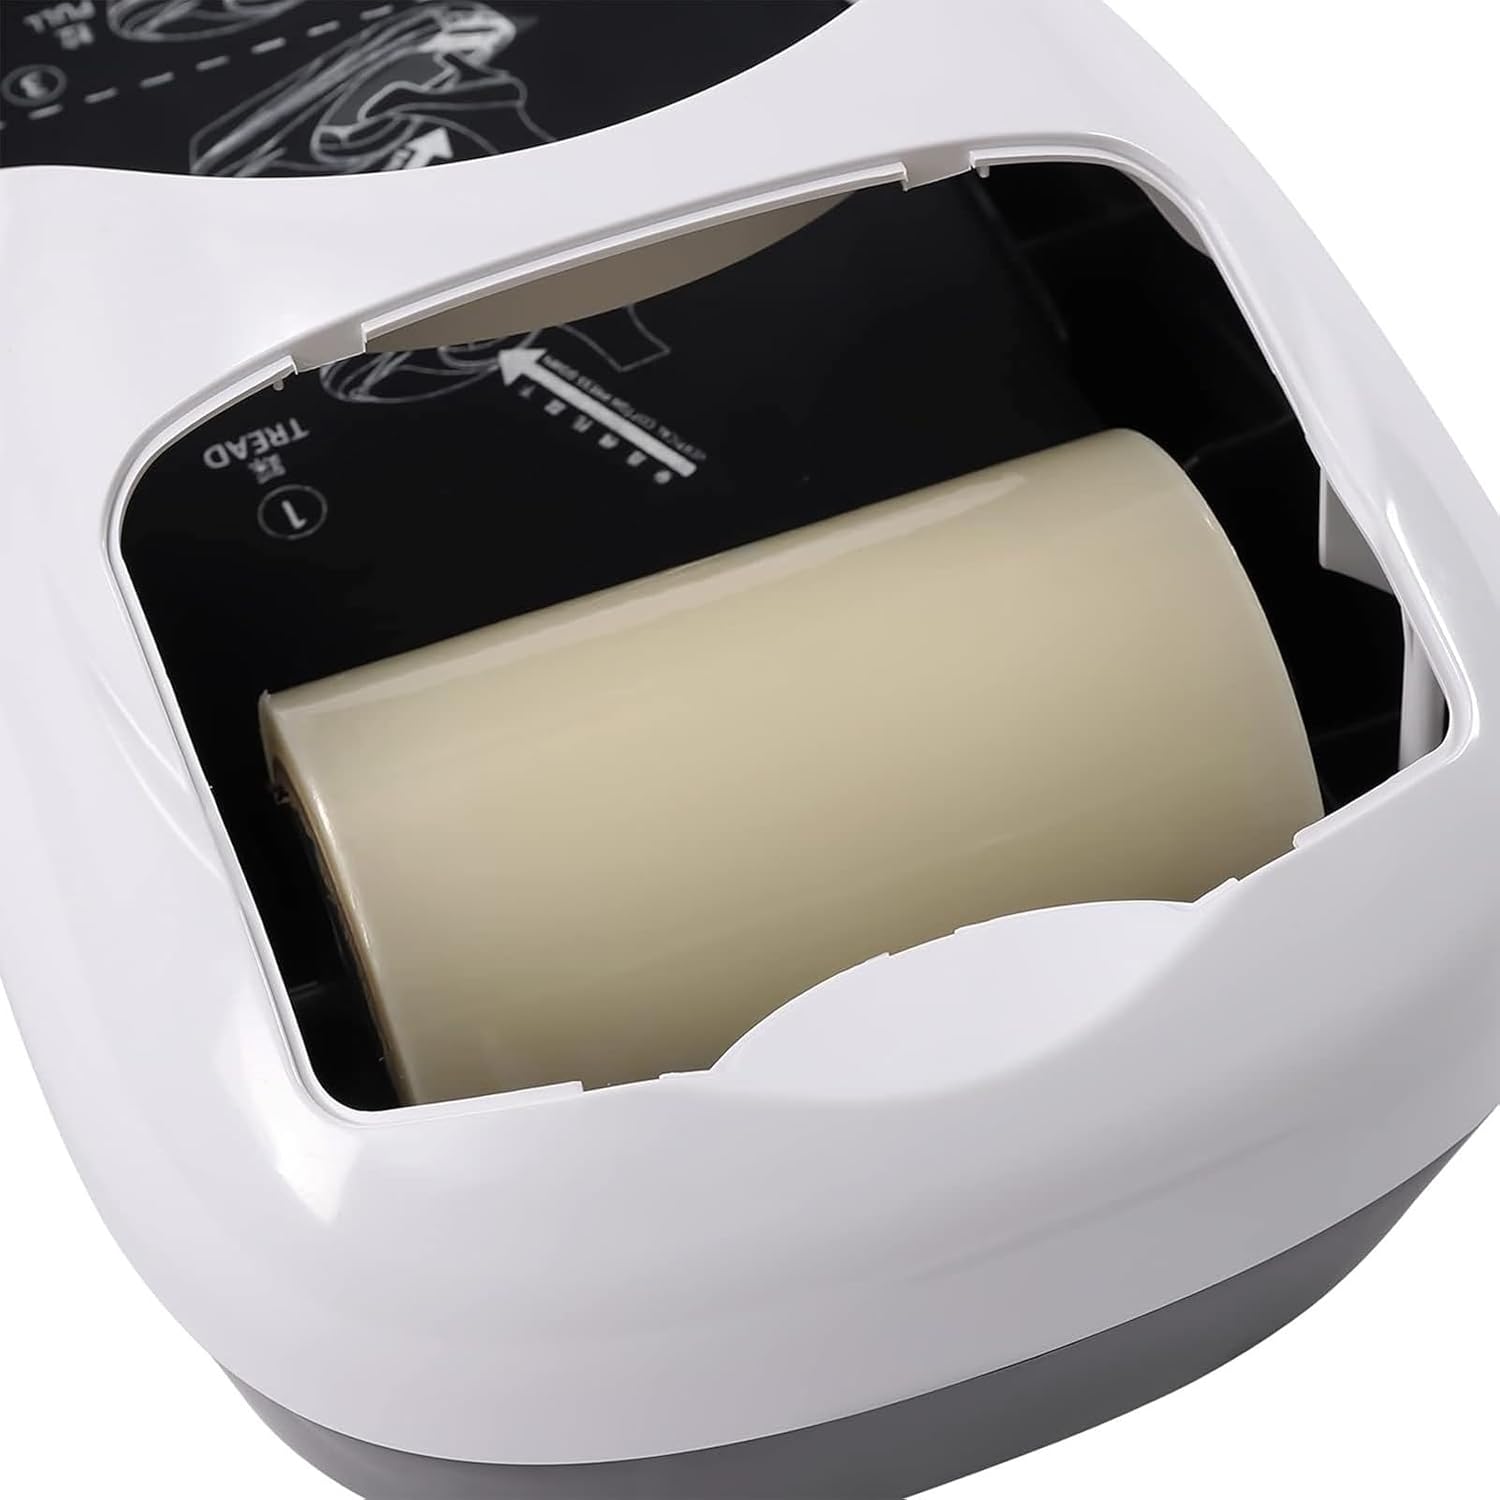
Image: A close-up view of a shoe film roll being inserted into the machine's internal compartment, ready for use.
- Close the Cover: Securely close the top cover of the machine.
- Position the Machine: Place the machine on a flat, stable surface near the entrance of the area where it will be used.
Operating Instructions
Using the Automatic Shoe Film Machine is a simple three-step process:
- Step 1: Tread
Place your foot firmly onto the designated tread area of the machine. Ensure your shoe is centered on the film application surface.

Image: A close-up of a foot with a shoe placed on the machine's tread area, initiating the film application process.
- Step 2: Pull
While keeping your foot on the machine, gently pull your foot backward. This action will draw the shoe film from the roll and apply it to the sole of your shoe.

Image: A person demonstrating the 'pull' step, moving their foot backward on the machine to wrap the shoe film around the sole.
- Step 3: Cut
Once the film is applied to your satisfaction, lift your foot at an approximate 45-degree angle. This action will engage the internal blade, cutting the film cleanly. Repeat for the other foot.

Image: A person lifting their foot from the machine, demonstrating the final step where the shoe film is cut after being applied to the shoe sole.
Important: Do not touch the internal cutting blade.
Maintenance
Regular maintenance ensures the longevity and optimal performance of your shoe film machine.
- Cleaning: Periodically wipe the exterior of the machine with a soft, damp cloth. Do not use abrasive cleaners or immerse the device in water.
- Film Replacement: When a roll of shoe film is depleted, replace it with a new roll following the "Setup" instructions.
- Blade Area: Ensure the area around the cutting blade remains clear of debris. Exercise extreme caution and avoid direct contact with the blade.
Troubleshooting
If you encounter issues with your Automatic Shoe Film Machine, refer to the following common problems and solutions:
| Problem | Possible Cause | Solution |
|---|---|---|
| Film not applying correctly | Film roll incorrectly loaded or depleted. | Check film roll placement. Replace if empty. Ensure foot is centered and pulled back smoothly. |
| Film not cutting cleanly | Foot not lifted at correct angle or debris near blade. | Ensure foot is lifted at approximately a 45-degree angle. Carefully inspect the blade area for obstructions (do not touch the blade directly). |
| Machine is unstable | Placed on an uneven surface. | Relocate the machine to a flat, stable surface. |
Warranty and Support
For warranty information or technical support, please refer to the contact details provided by your retailer or the manufacturer's official website. Keep your purchase receipt as proof of purchase.
Ask a question about this manual
Ask about setup, troubleshooting, compatibility, parts, safety, or missing instructions. Manuals+ will review the question and use this page’s manual context to help answer it.