1. Product Overview
The Karl home Handrails for Outdoor Steps are designed to enhance safety and accessibility for 1 to 3 step staircases. Constructed from durable wrought iron with a black powder-coated finish, this handrail provides stable support and resistance against weather elements. It is suitable for various outdoor and indoor environments, including residential homes, gardens, and commercial buildings.
Key Features:
- Universal Fit: Adjustable design accommodates 1 to 3 steps, with a rackable range of 0-50 degrees for varied staircase sizes.
- Superior Durability: Made from solid wrought iron, offering greater rigidity and a longer service life compared to aluminum products.
- Weather-Resistant: Powder-coated surface provides resistance to rain and rust, ensuring low maintenance.
- Enhanced Stability: Features three extra support bars and two robust bases for a stable structure.
- Safety Design: Includes a crossbar for younger children and provides essential support for the elderly and pregnant women.
2. Package Contents
Please verify that all components listed below are present in your package before beginning installation. If any parts are missing or damaged, please contact customer support.
- 1 x Outdoor Handrail
- 1 x Installation Kit (includes screws, anchors, and wrench)

Image: The Karl home Handrail shown with all its components, including the main handrail structure and the complete installation kit with screws, anchors, and a wrench.
3. Specifications
| Attribute | Detail |
|---|---|
| Material | Wrought Iron |
| Color | Black |
| Finish Type | Powder Coated |
| Style | Transitional |
| Fits Steps | 1 to 3 Steps |
| Adjustable Angle | 0-50 degrees (rackable) |

Image: A diagram illustrating the key dimensions of the handrail, including height, width, and rail length, to assist with planning and installation.
4. Setup and Installation
This handrail is designed for quick and easy installation. Please follow these steps carefully to ensure proper and secure mounting. Tools required (not included): Drill, measuring tape, marker.
- Step 1: Position and Mark
Place the handrail base on the desired step surface. Ensure it is level and positioned correctly for the staircase. Use a marker to mark the drilling points through the holes in the base plate. - Step 2: Drill Holes
Using an appropriate drill bit for your surface (concrete, wood, etc.), drill holes at the marked points. Ensure the depth is sufficient for the provided anchors. - Step 3: Insert Anchors
Insert the expansion anchors into the drilled holes. For concrete, gently tap them in until flush with the surface. - Step 4: Secure the Base
Align the handrail base with the anchors. Insert the screws through the base plate holes and tighten them securely using the provided wrench until the handrail is firmly attached to the ground. - Step 5: Adjust Angle (if necessary)
The handrail can be adjusted to fit different step angles (0-50 degrees) by loosening the screws connecting the vertical columns and the top rail, setting the desired angle, and then re-tightening them securely.

Image: A visual guide detailing the four primary steps of installation: marking drill points, drilling into the surface, securing the handrail base with screws, and attaching the decorative base cover.

Image: Detailed views of the handrail's construction, highlighting the matte-finish surface, the robust large bearing base, the classic curly non-slip side, and the secure screw connections.
5. Operating Instructions
Once installed, the Karl home Handrail provides a stable and secure support for ascending and descending steps. To use, simply grasp the handrail firmly for balance and support. The design is intended to assist individuals of all ages, including children, the elderly, and pregnant women, in navigating stairs safely.
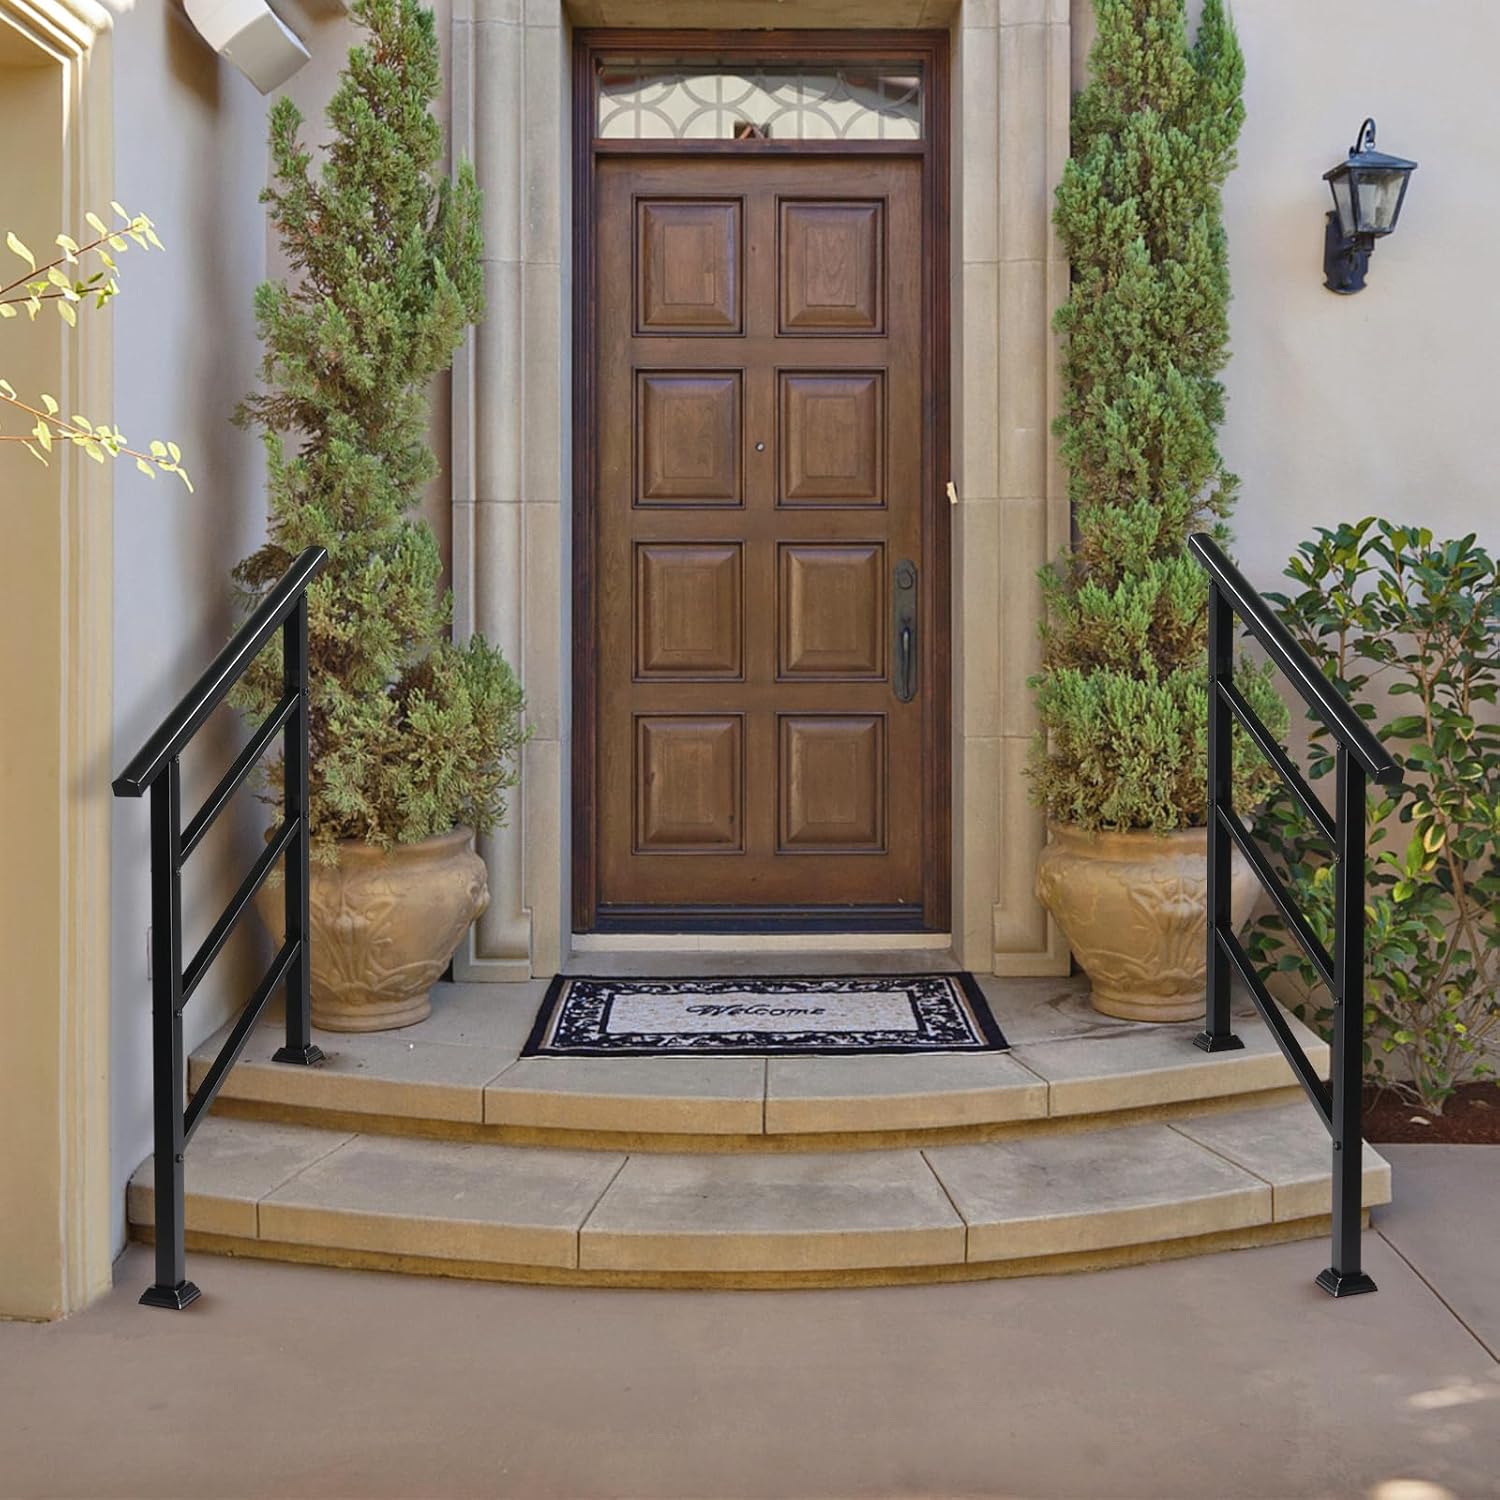
Image: The handrail seamlessly integrated into a curved outdoor staircase, demonstrating its adaptability and aesthetic appeal in a real-world setting.

Image: The handrail installed on natural stone steps within a garden, showcasing its suitability for various outdoor landscapes.
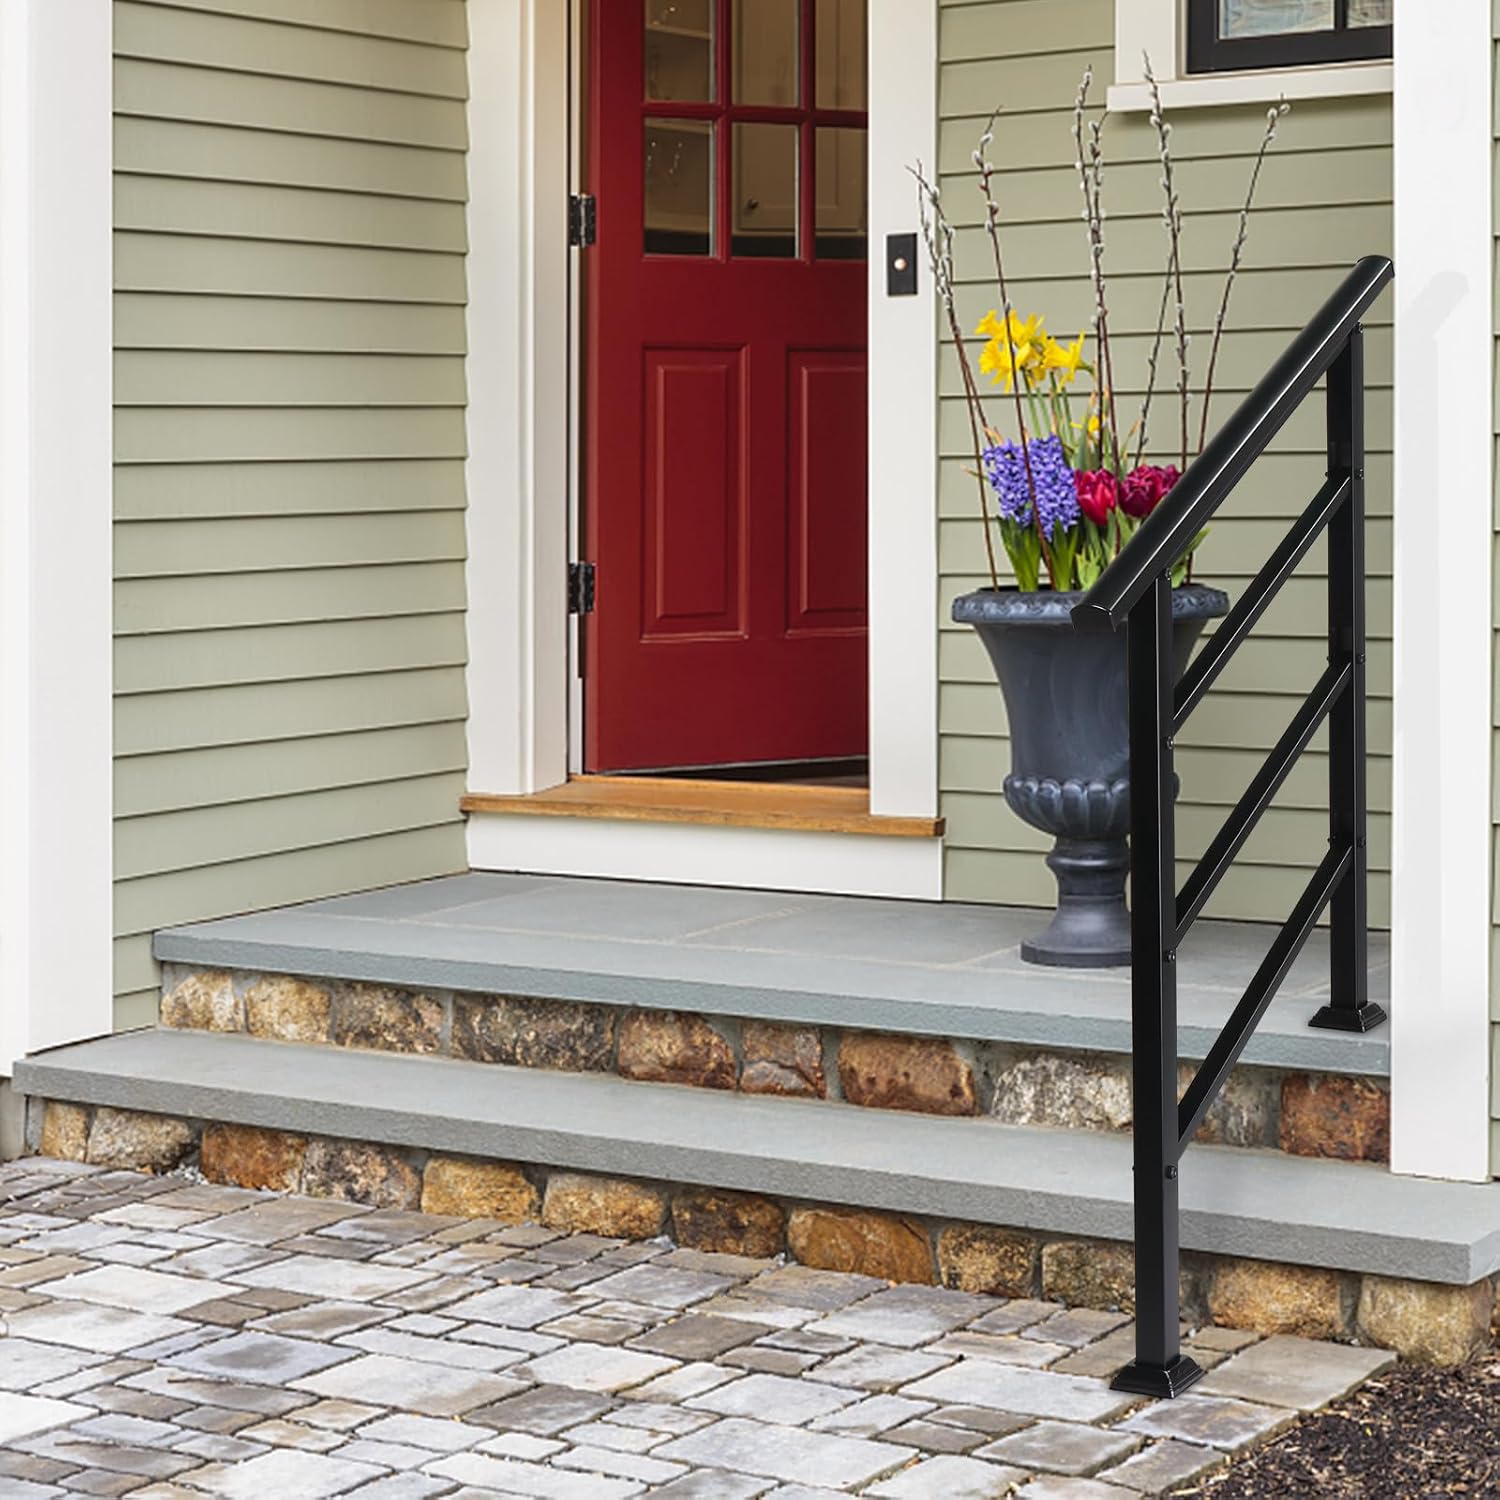
Image: The handrail providing support on a porch with a combination of brick and stone steps, illustrating its practical application for home entryways.
6. Maintenance
To ensure the longevity and continued performance of your Karl home Handrail, follow these simple maintenance guidelines:
- Cleaning: Wipe the handrail periodically with a soft, damp cloth to remove dust and dirt. For stubborn grime, a mild soap solution can be used, followed by rinsing with clean water and drying thoroughly. Avoid abrasive cleaners or harsh chemicals, as they may damage the powder-coated finish.
- Inspection: Regularly inspect all screws and connections to ensure they remain tight. Over time, vibrations or heavy use may cause fasteners to loosen. Re-tighten any loose screws immediately to maintain stability and safety.
- Rust Prevention: While the handrail is powder-coated for rust resistance, prolonged exposure to extreme moisture or damage to the coating can lead to rust. If any scratches or chips appear, consider touching up the affected area with a rust-inhibiting paint suitable for metal.
7. Troubleshooting
If you encounter any issues with your Karl home Handrail, please refer to the following common problems and solutions:
- Issue: Missing Parts upon Arrival
Solution: Carefully check all packaging materials. If parts are genuinely missing, please contact Karl home customer support immediately with your purchase details and a list of the missing components. - Issue: Handrail Feels Unstable After Installation
Solution: Ensure all mounting screws are fully tightened. Verify that the anchors are properly seated in the drilled holes and that the holes are of the correct size for the anchors. If installing on a soft surface, consider using larger or more appropriate anchors for that material. Re-check the angle adjustment screws if applicable. - Issue: Difficulty Adjusting Angle
Solution: Ensure the screws connecting the vertical columns to the top rail are sufficiently loosened before attempting to adjust the angle. Do not force the adjustment. Once the desired angle is achieved, re-tighten all screws firmly. - Issue: Rust Spots Appearing
Solution: Clean the affected area thoroughly. If the rust is minor, it can often be removed with a fine-grit sandpaper or steel wool, followed by a rust-inhibiting primer and paint. For significant rust or damage to the coating, consider professional repair or replacement.
8. Warranty and Support
Karl home is committed to providing high-quality products. For specific warranty information, please refer to the documentation included with your purchase or visit the official Karl home website. For technical support, replacement parts, or any other inquiries, please contact Karl home customer service through the contact information provided on their official channels.
Please retain your proof of purchase for warranty claims.


