
1. Introduction
Thank you for choosing the HyperMotion 12FT Outdoor Trampoline. This product is designed to provide a safe and enjoyable jumping experience for children aged 3 and above. Its robust construction and weather-resistant materials ensure durability for many seasons. This manual contains important information regarding the safe assembly, operation, and maintenance of your trampoline. Please read it thoroughly before assembly and retain it for future reference.

Image 1.1: The HyperMotion 12FT Outdoor Trampoline, showcasing its full assembly with safety net and ladder.
2. Safety Information
Your safety and the safety of others are paramount. This trampoline is designed and manufactured in compliance with current safety requirements, including standard EN71-14:2018. Adhere to the following safety guidelines:
- Adult Supervision: Always ensure children are supervised by an adult while using the trampoline.
- One Jumper at a Time: Only one person should jump on the trampoline at any given time to prevent collisions.
- Weight Limit: Do not exceed the maximum load capacity of 150 kg.
- Safety Net: Always ensure the safety net is properly installed and secured before use. The internal safety net, optimally tensioned with fiberglass rods, provides reliable fall protection.
- Protective Padding: All springs and poles are covered with thick foam padding for enhanced safety.
- Clear Area: Ensure the area around the trampoline is clear of obstacles.
- No Somersaults or Flips: Avoid dangerous maneuvers unless professionally trained and supervised.
- Weather Conditions: Do not use the trampoline in strong winds, rain, or other adverse weather conditions.
- Inspection: Regularly inspect the trampoline for any damaged or worn parts.

Image 2.1: Visual representation of key safety features and benefits of the HyperMotion trampoline.
3. Setup Instructions
Assembly of the HyperMotion trampoline requires careful attention. While it can be challenging, following the instructions precisely will make the process straightforward and quick. It is recommended to have at least two adults for assembly.
3.1. Unpacking and Component Check
Carefully unpack all components. Verify that all parts listed in the packing list are present and undamaged. The package includes two boxes: Box A (148 x 45 x 17 cm) and Box B (148 x 45 x 20 cm).
3.2. Frame Assembly
- Assemble the galvanized and powder-coated steel frame sections according to the provided diagrams.
- Attach the three double W-shaped support legs to the main frame. These legs provide exceptional stability.
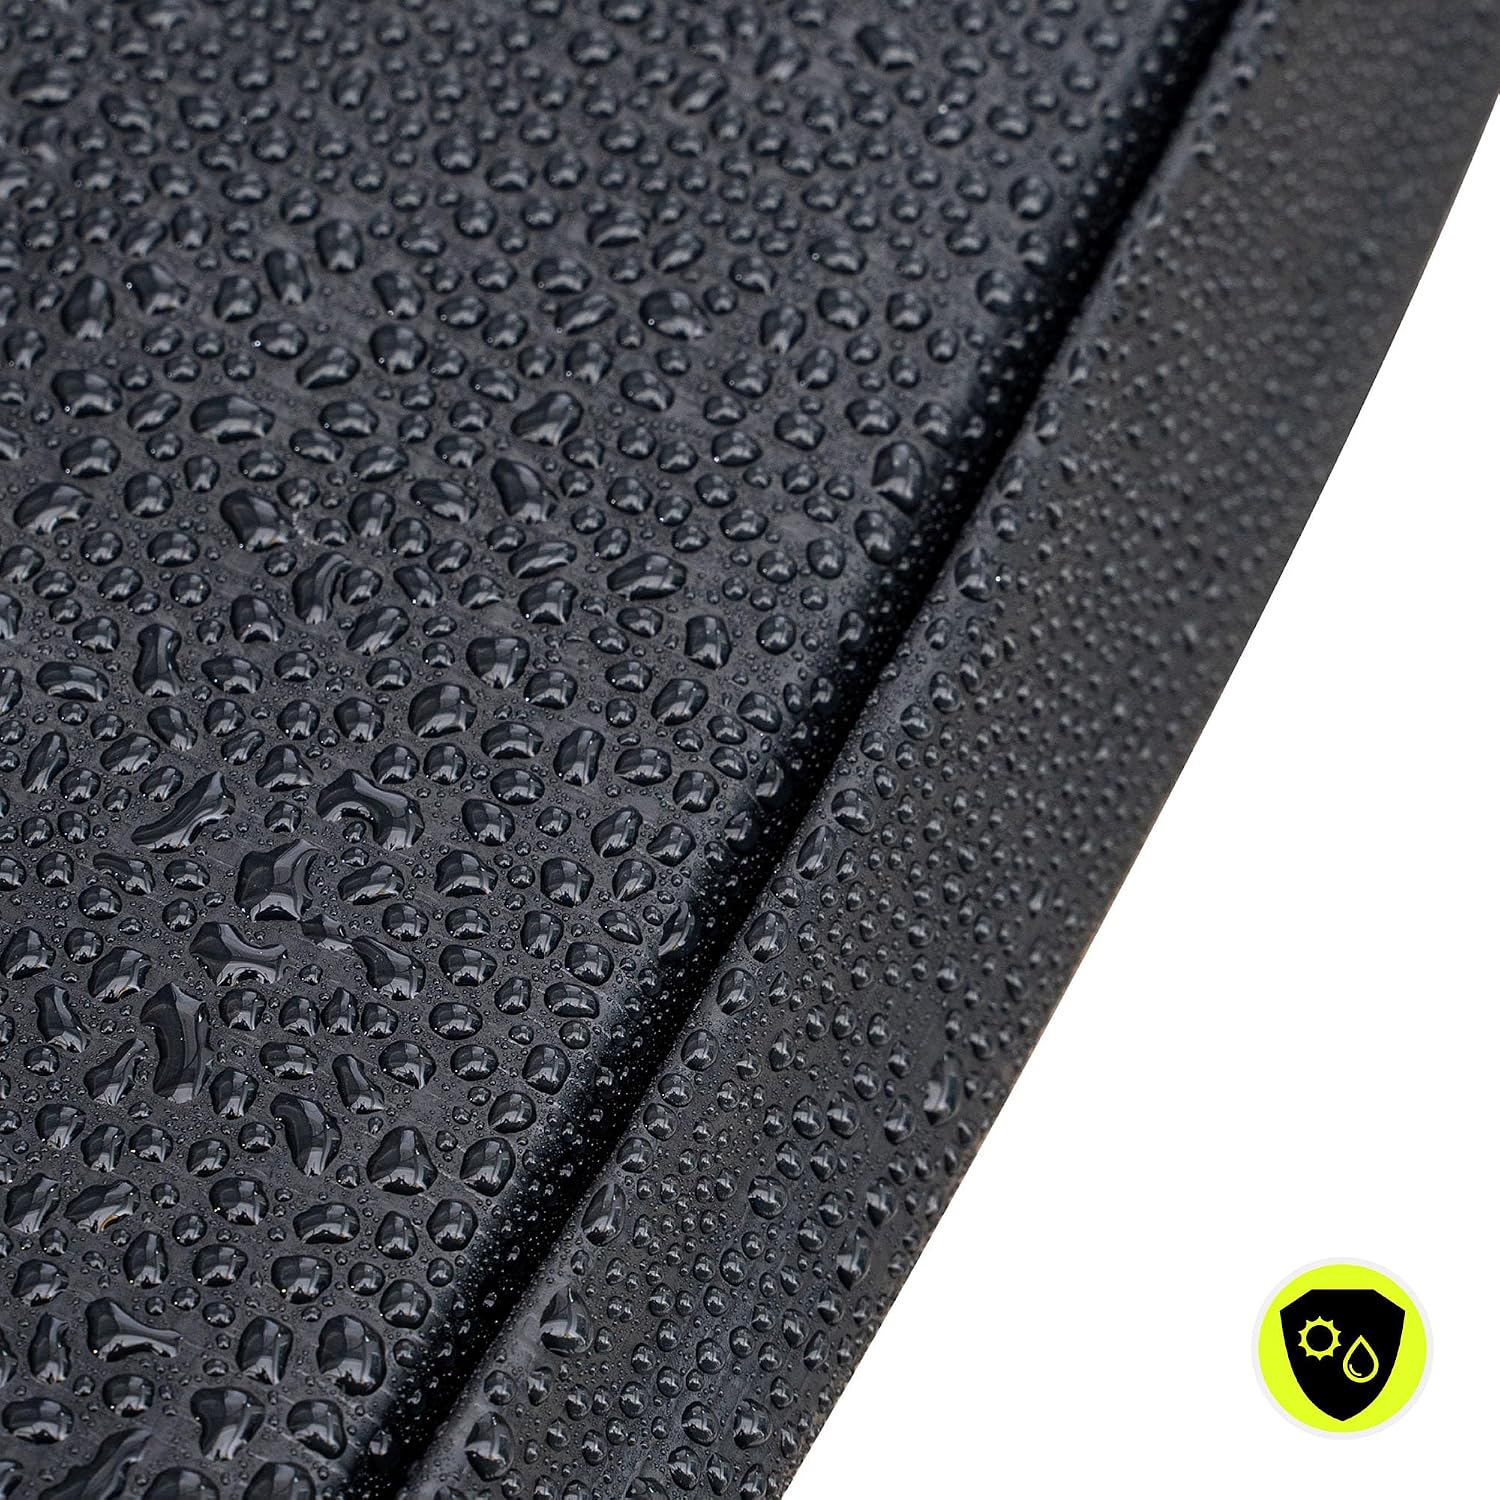
Image 3.1: Detail of the stable W-shaped leg design, ensuring robust support for the trampoline.
3.3. Jumping Mat and Spring Installation
- Lay the jumping mat (325 cm diameter) in the center of the frame.
- Attach the 64 high-tension springs evenly around the frame and to the jumping mat. Use the provided spring tool if available.
- Cover the springs with the thick foam padding to prevent contact during use.

Image 3.2: The protective foam padding covering the springs, highlighting a key safety feature.

Image 3.3: A close view of the 64 high-tension, galvanized springs, each 145mm long and 3mm thick.
3.4. Safety Net and Ladder Installation
- Install the safety net poles around the perimeter of the trampoline.
- Attach the safety net (176 cm height) to the poles and the jumping mat, ensuring it is taut and securely fastened. The net features a zipper and buckle for secure closure.
- Mount the non-slip ladder to the trampoline frame for safe access.

Image 3.4: The robust, non-slip ladder provided for safe and easy access to the trampoline.

Image 3.5: The safety net's secure zipper and buckle mechanism, ensuring the enclosure remains closed during use.
4. Operating Instructions
To ensure a safe and enjoyable experience, follow these operating guidelines:
- Access: Use the provided ladder to enter and exit the trampoline. Do not jump onto or off the trampoline.
- Center Jumping: Always aim to jump in the center of the mat.
- Controlled Jumping: Maintain control of your jumps. Avoid excessively high or uncontrolled bouncing.
- No Hard Objects: Do not bring hard or sharp objects onto the trampoline.
- Appropriate Attire: Wear comfortable clothing and remove shoes before jumping.

Image 4.1: A child enjoying the trampoline, demonstrating proper use within the safety enclosure.
5. Maintenance
Regular maintenance will extend the life of your HyperMotion trampoline and ensure continued safety.
- Routine Inspection: Before each use, check the frame, springs, jumping mat, safety net, and padding for any signs of wear, tears, or damage. Ensure all connections are secure.
- Cleaning: Clean the jumping mat and safety net with mild soap and water. Rinse thoroughly and allow to air dry. Avoid harsh chemicals.
- Weather Protection: While materials are UV-resistant and quick-drying, consider covering the trampoline during prolonged periods of non-use or extreme weather to protect it from elements.
- Winter Storage: For optimal longevity, disassemble and store the trampoline indoors during winter months.
- Damaged Parts: Replace any damaged or worn parts immediately. Do not use the trampoline if any critical safety component is compromised.

Image 5.1: The water-resistant surface of the trampoline mat, demonstrating its durability against outdoor elements.
6. Troubleshooting
Here are some common issues and their potential solutions:
| Problem | Possible Cause | Solution |
|---|---|---|
| Trampoline feels unstable. | Uneven ground; loose frame connections. | Ensure the trampoline is placed on a flat, level surface. Check and tighten all frame bolts and connections. |
| Safety net sags or has tears. | Improper installation; material wear; excessive force. | Re-tension the net according to assembly instructions. If torn, replace the safety net immediately. (Note: A review mentioned the net giving way shortly after assembly, indicating a potential manufacturing defect or installation issue. Contact support if this occurs.) |
| Jumping mat loses elasticity. | Worn springs; stretched mat. | Inspect springs for damage or stretching; replace as needed. If the mat itself is stretched, it may require replacement. |
| Squeaking noises during use. | Friction between metal parts; dry springs. | Apply a silicone-based lubricant to spring connections and frame joints. |
7. Specifications
| Feature | Detail |
|---|---|
| Model Name | Trampoline 12ft |
| Dimensions (Overall) | Ø 366 cm (12FT) x 265 cm (Height) |
| Jumping Surface Diameter | 325 cm |
| Height from Ground to Jumping Surface | Approx. 89 cm |
| Safety Net Height | Approx. 176 cm |
| Total Weight | 53.8 kg |
| Maximum Load Capacity | 150 kg |
| Number of Springs | 64 |
| Materials | Galvanized and powder-coated steel (frame), PVC, PE, PP |
| Color | Black |
| Safety Standard | EN71-14:2018 |
| Included Components | Safety net, Ladder |

Image 7.1: Detailed diagram illustrating the key dimensions of the trampoline.
8. Warranty and Support
The HyperMotion 12FT Outdoor Trampoline comes with a 2-year product warranty.
For any questions, concerns, or warranty claims, please contact HyperMotion customer support. You can often find contact information on the product packaging or through the retailer where you purchased the trampoline. Please have your proof of purchase and product model information ready when contacting support.
Visit the official HyperMotion store for more information: HyperMotion Store