
1. Introduction
This manual provides essential information for the proper installation, operation, and maintenance of the MAKO AIRTEK SC2000 Controller. This controller is designed for compatibility with Fusheng FS Curtis systems. Please read this manual thoroughly before attempting any installation or operation to ensure safe and efficient use of the product.
2. Product Overview
The MAKO AIRTEK SC2000 Controller is a critical component designed to manage and optimize the performance of compatible air compressor systems. It ensures reliable operation and helps reduce maintenance costs through its robust design and adherence to original manufacturing standards.
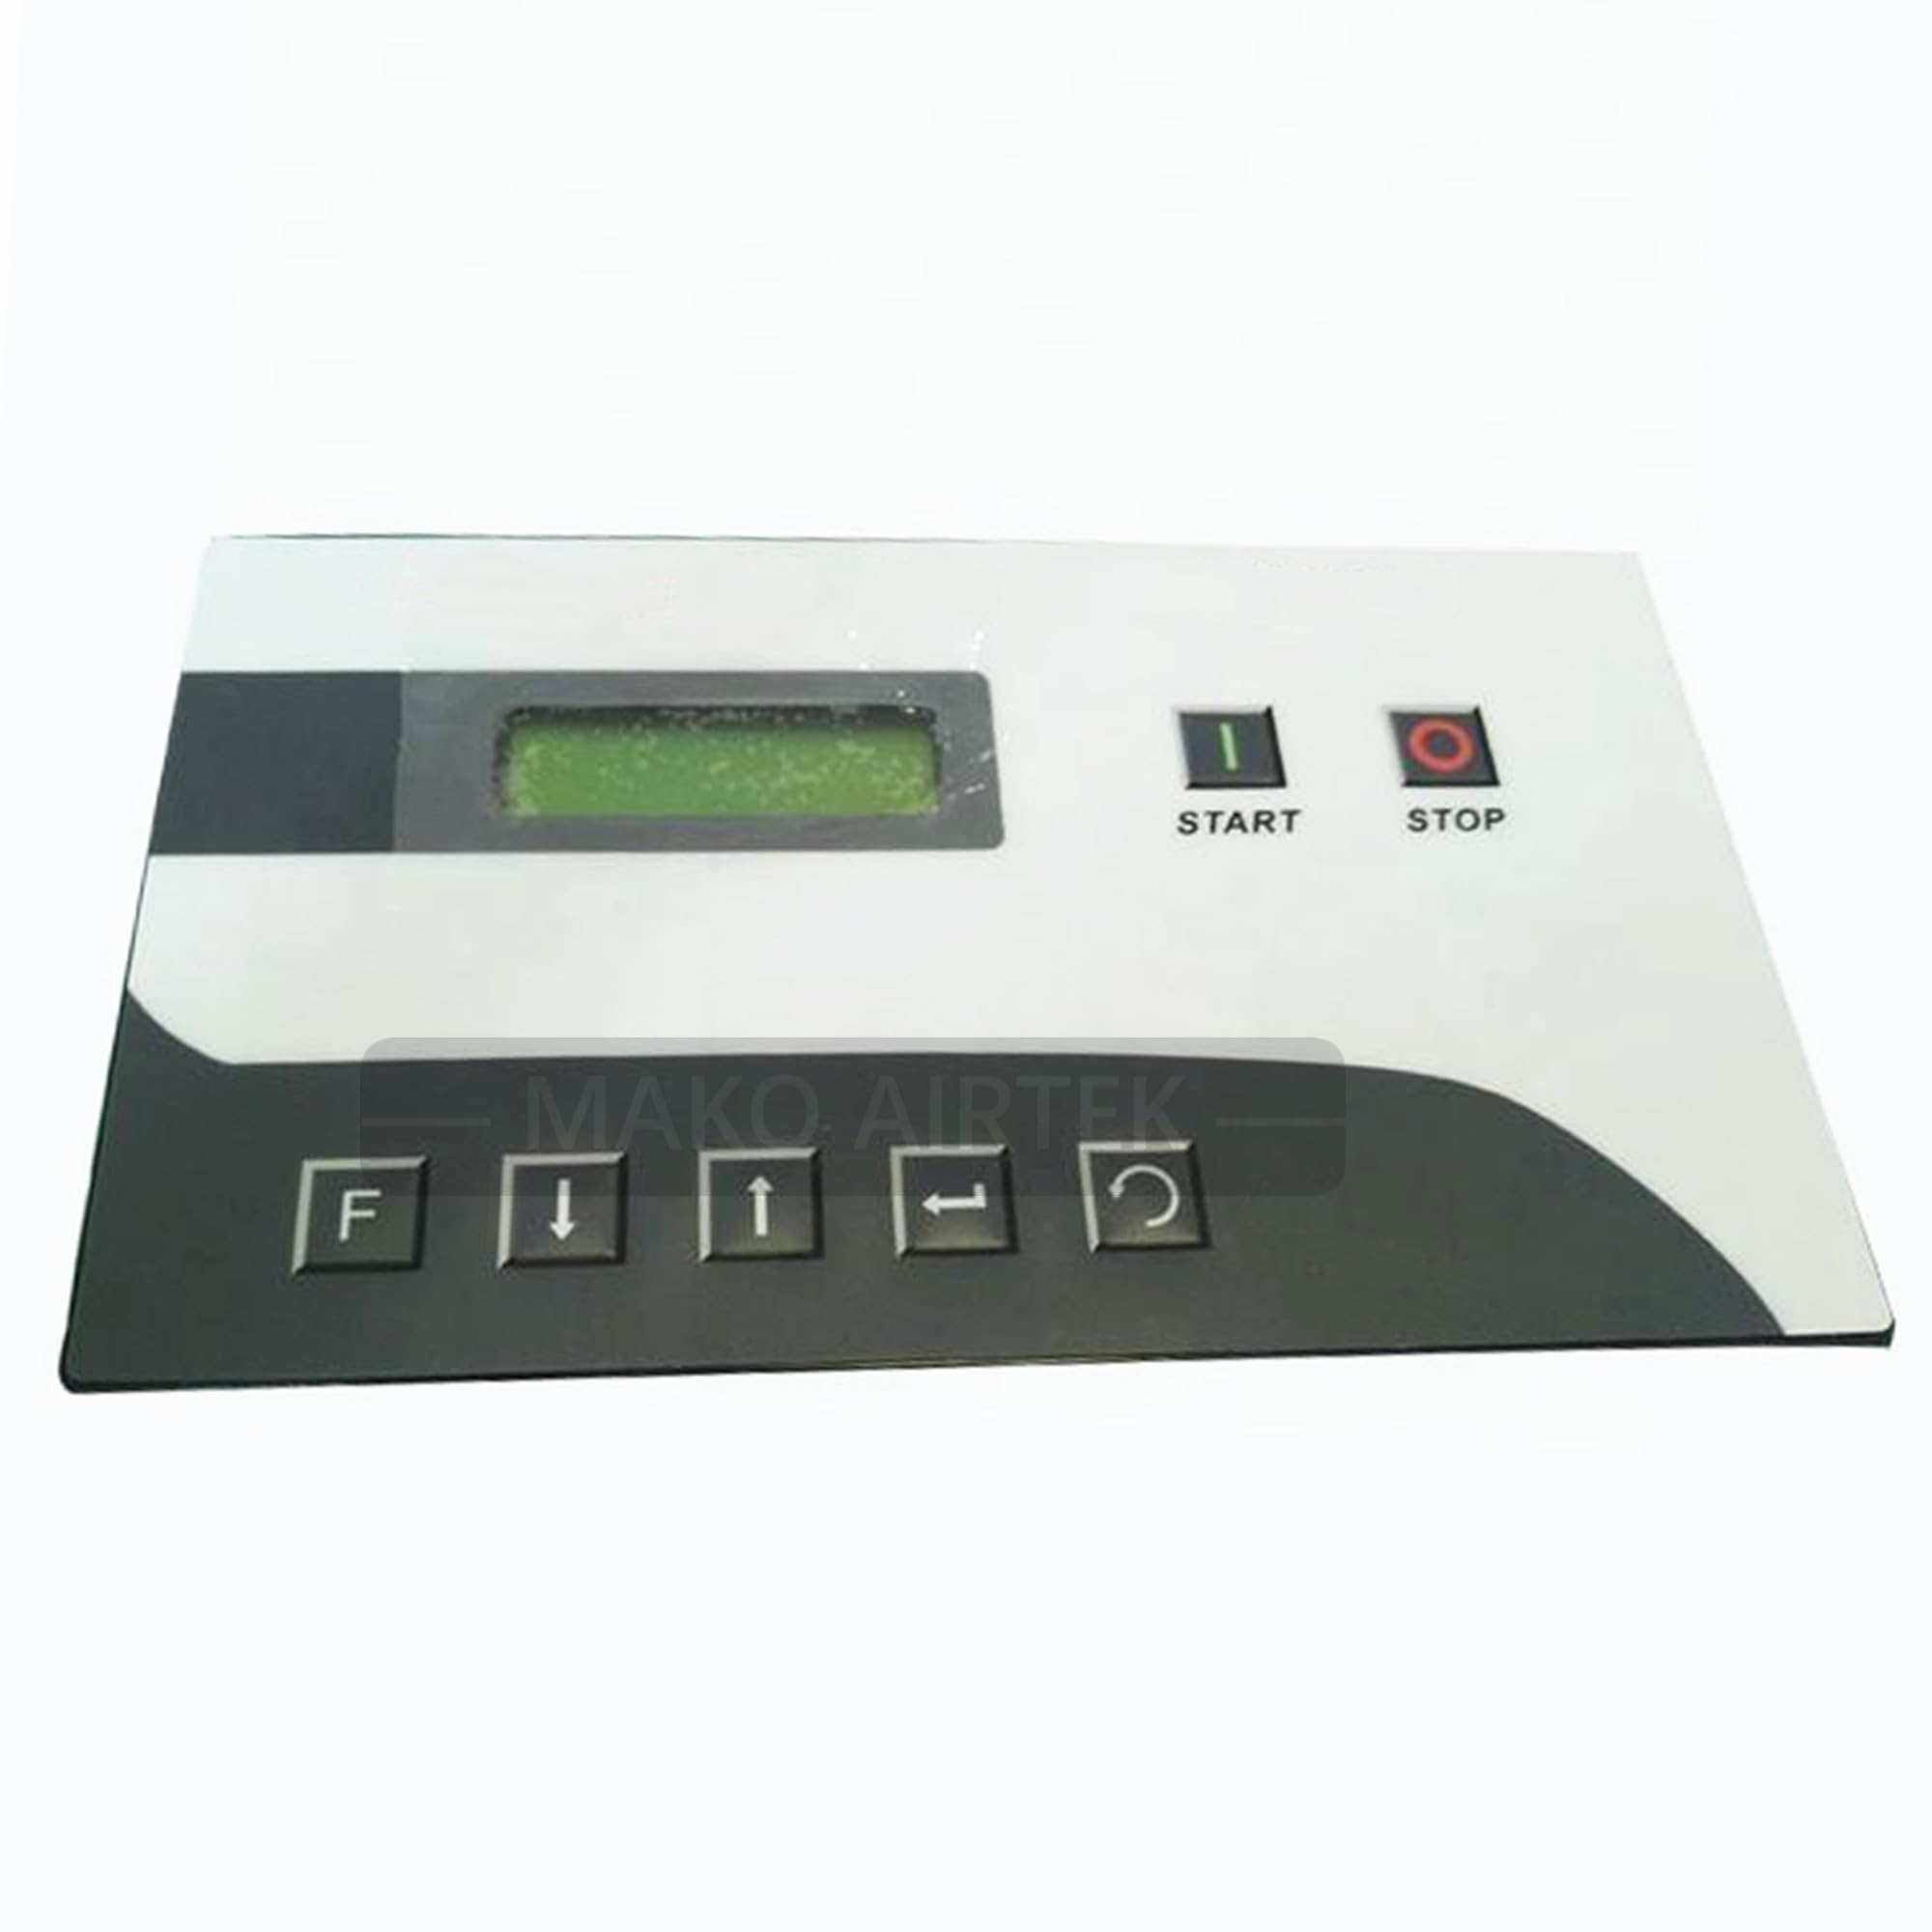
Figure 2.1: Front view of the MAKO AIRTEK SC2000 Controller. This image displays the main unit, highlighting its compact design and primary interface.
Key Features:
- High Quality Raw Materials: Constructed from durable materials for extended lifespan and reliability.
- Cost-Effective: Designed to reduce overall maintenance expenses.
- Original Manufacturing Standard Compliance: Ensures compatibility and performance equivalent to original equipment.
- Direct Replacement: Engineered for seamless integration as a direct replacement part.
- 100% Product Compatibility: Guaranteed to function with specified Fusheng FS Curtis systems.
3. Specifications
| Specification | Detail |
|---|---|
| Manufacturer | MAKO AIRTEK |
| Part Number | SC2000 |
| Style | SC2000 |
| ASIN | B0D1TH4YGT |
| First Available | April 16, 2024 |
4. Setup and Installation
Installation of the MAKO AIRTEK SC2000 Controller should be performed by qualified personnel. Ensure all power to the system is disconnected before beginning installation to prevent electrical shock or damage to the equipment.
4.1. Pre-Installation Checks
- Verify that the SC2000 controller is the correct model for your Fusheng FS Curtis system.
- Inspect the controller for any visible damage that may have occurred during shipping.
- Ensure all necessary tools and safety equipment are available.
4.2. Mounting the Controller
Mount the controller in a location that is free from excessive vibration, moisture, and extreme temperatures. Ensure adequate ventilation around the unit.
4.3. Electrical Connections
Refer to the wiring diagram provided with your specific compressor system for detailed connection instructions. The SC2000 controller features clearly labeled terminals for power input, sensor connections, and output controls.

Figure 4.1: Detailed view of the MAKO AIRTEK SC2000 Controller's circuit board, showing various input/output terminals and connectors. This image is crucial for identifying connection points during installation.
- Connect the main power supply according to local electrical codes and the compressor's specifications.
- Connect all sensor inputs (e.g., pressure, temperature) to their respective terminals.
- Connect control outputs to the appropriate actuators or relays in the compressor system.
- Double-check all connections for tightness and correct polarity before restoring power.
5. Operating Instructions
Once installed and powered, the MAKO AIRTEK SC2000 Controller will initiate its startup sequence. The controller is designed for intuitive operation, but familiarity with its interface is recommended.
5.1. Initial Power-Up
- After verifying all connections, restore power to the compressor system.
- Observe the controller's display for any error messages or diagnostic codes.
- Allow the system to complete its self-test and initialization process.
5.2. Basic Operation
The controller typically features buttons or a touchscreen for navigation and parameter adjustment. Consult your compressor system's specific operational guide for detailed instructions on setting operating pressures, temperatures, and other system parameters.
- Start/Stop: Use the designated controls to start and stop the compressor.
- Parameter Adjustment: Access the settings menu to modify operational parameters as required by your application.
- Monitoring: Regularly monitor the controller's display for real-time system status, pressure readings, and temperature data.
6. Maintenance
Regular maintenance of your compressor system, including the MAKO AIRTEK SC2000 Controller, is crucial for ensuring longevity and optimal performance. Always disconnect power before performing any maintenance.
6.1. Routine Checks
- Visual Inspection: Periodically inspect the controller and its wiring for any signs of wear, corrosion, or loose connections.
- Cleaning: Keep the controller's exterior clean and free from dust and debris. Use a soft, dry cloth. Avoid using harsh chemicals or abrasive cleaners.
- Environmental Conditions: Ensure the operating environment remains within specified temperature and humidity ranges.
6.2. Component Inspection
While the controller itself requires minimal internal maintenance, other components of the compressor system, such as filters, valves, and sensors, should be regularly inspected and replaced as per the compressor manufacturer's recommendations.

Figure 6.1: Various compressor system components such as filters, sensors, and valves. Regular inspection and replacement of these parts are essential for system health.
7. Troubleshooting
This section provides general guidance for common issues. For complex problems, contact technical support.
7.1. Common Issues and Solutions
- Controller Not Powering On:
- Check main power supply and circuit breakers.
- Verify all power connections to the controller are secure.
- Error Codes Displayed:
- Refer to your compressor system's specific manual for error code definitions and troubleshooting steps.
- Ensure all sensors are correctly connected and functioning.
- Inaccurate Readings:
- Check sensor connections for looseness or corrosion.
- Verify sensor calibration if applicable.
7.2. When to Contact Support
If you encounter issues that cannot be resolved using the troubleshooting steps above, or if you suspect a malfunction with the controller itself, please contact technical support.
8. Warranty and Support
The MAKO AIRTEK SC2000 Controller is designed for reliability and performance. For any concerns regarding product functionality or defects, please refer to the following information.
8.1. Return Policy
This product is subject to a 30-day return policy for refund or replacement. Please retain your proof of purchase for any warranty claims.
8.2. Contact Information
For technical assistance or support inquiries, please contact us via the platform where the product was purchased. We aim to respond to all inquiries within 1 business day (excluding public holidays). Our work hours are Monday to Friday.


