
1. Introduction
Thank you for choosing the YOVDA 1080P Dual Camera Dash Cam. This device is designed to provide comprehensive video surveillance for your vehicle, capturing both front road views and interior cabin activity. Equipped with advanced features like night vision, loop recording, and parking monitoring, it serves as a reliable witness for your journeys and a safeguard for your vehicle. Please read this manual thoroughly to understand the product's functions and ensure proper operation.

Figure 1.1: YOVDA 1080P Dual Camera Dash Cam with included 32GB TF Card.
2. Package Contents
Please check the box for the following items:
- 1 x YOVDA Dual Camera Dash Cam
- 1 x 32GB TF Card
- 1 x Car Charger
- 1 x User Manual
3. Product Features
3.1. High-Definition Dual Camera System
The dash cam features a built-in dual-channel system with a 150° wide-angle front camera and an interior cabin camera. The interior camera can be rotated 180° for flexible recording. Both cameras capture video in HD 1080P resolution, ensuring clear footage of the road ahead and the vehicle's interior.
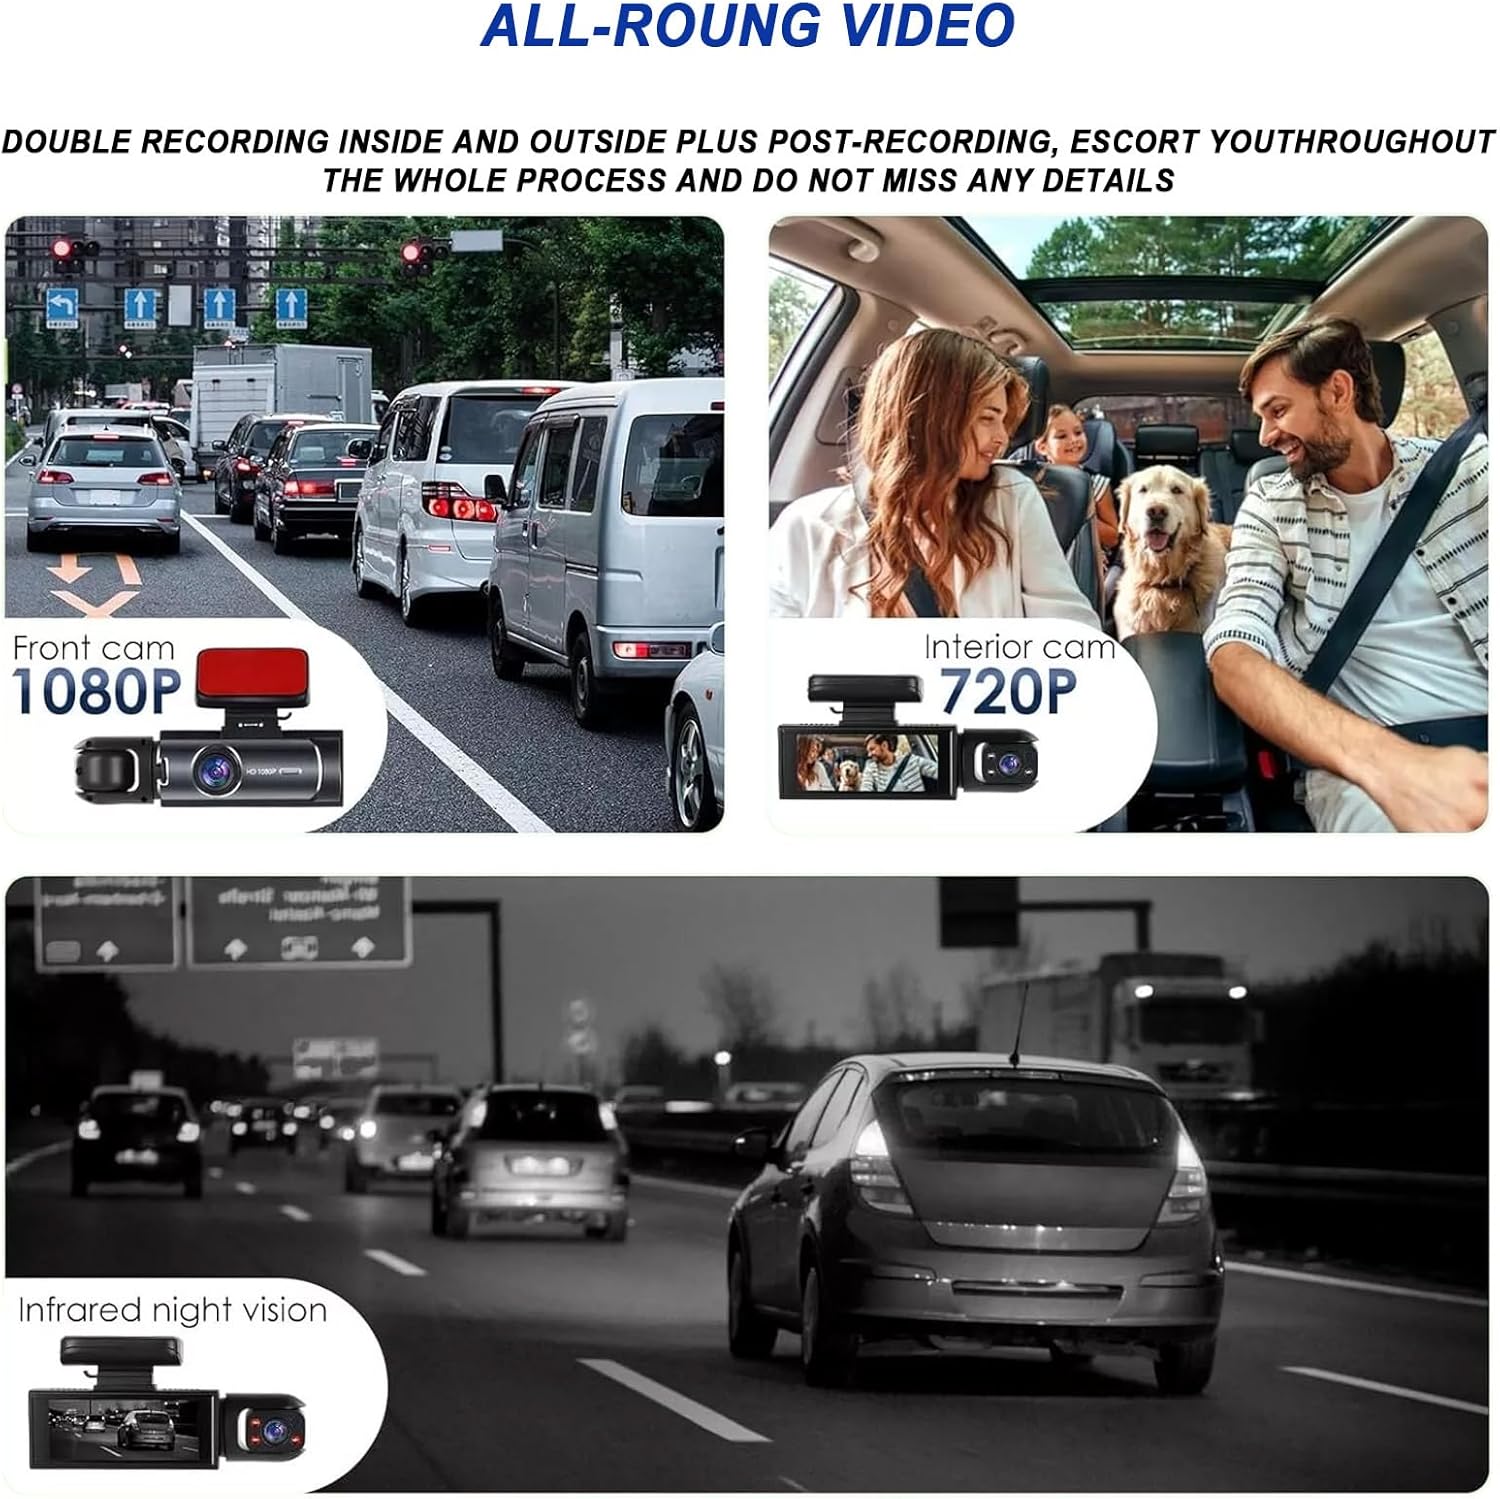
Figure 3.1: Front (1080P) and Interior (720P) camera views.
3.2. 3.16-Inch IPS Display
View live footage and recorded videos on the large 3.16-inch IPS screen. The display provides a clear and wide viewing angle for easy navigation and playback.

Figure 3.2: The 3.16-inch IPS screen for maximum display.
3.3. Night Vision Capability
The front camera features super night vision for optimal performance in low-light conditions. The interior-facing camera is equipped with 3 unique infrared LED fill lights, allowing it to accurately capture the driver and passengers even in complete darkness.

Figure 3.3: HD Night Vision for clear recordings in low light.
3.4. Loop Recording
The Auto Loop Recording feature ensures continuous recording by automatically overwriting the oldest video clips with the newest ones when the memory card is full. A 32GB SD card is included to get you started.

Figure 3.4: Loop Recording ensures continuous video capture.
3.5. 24H Parking Monitor & Gravity Sensor (G-Sensor)
The dash cam can automatically turn on and begin recording if a collision or bump is detected while parked. For continuous 24-hour parking monitoring, a separate step-down cable (not included) is required to connect the dash cam directly to the car battery for power supply, as the built-in 150mAh battery is primarily for emergency recording and saving settings.
3.6. Exposure Compensation
The dash cam features exposure compensation to increase the brightness of the light source in dim light conditions, ensuring clearer video capture.

Figure 3.5: Exposure Compensation improves video quality in low light.
3.7. Product Interface and Buttons
Familiarize yourself with the various ports and control buttons on the dash cam for easy operation.

Figure 3.6: Product Features Diagram showing TF card slot, charging port, MIC, buttons (Switch, UP, Down, MODE, RESET), and speakers.
4. Setup & Installation
The YOVDA Dash Cam is designed for easy installation. Follow these steps for proper setup:
- Prepare the Mounting Surface: Clean the area on your windshield where you intend to mount the dash cam. Ensure it is free of dust and grease for optimal adhesion of the suction cup mount.
- Attach the Suction Cup Mount: Securely attach the suction cup mount to the cleaned area on your windshield. Press firmly to ensure a strong bond.
- Insert TF Card: Locate the TF card slot on the side of the dash cam (refer to Figure 3.6). Gently insert the included 32GB TF card until it clicks into place. Ensure the card is inserted correctly.
- Mount the Dash Cam: Slide the dash cam onto the suction cup mount. It should click securely into place.
- Connect Power: Plug the car charger into your vehicle's cigarette lighter socket. Connect the mini USB end of the car charger cable to the charging port on the dash cam (refer to Figure 3.6). The dash cam will power on automatically when the vehicle's ignition is turned on.
- Adjust Camera Angle: Adjust the angle of the dash cam to ensure the front camera captures the road clearly. The interior camera can be rotated 180° to face the desired direction within the cabin.
Important Note on Mounting:
The mounting sticker is designed for a single, secure application. Once applied, it cannot be easily removed or repositioned without potentially damaging the adhesive. Carefully plan your desired mounting location before application.
4.1. Installation Video Guide
For a visual guide on setting up and installing your YOVDA Dash Cam, please watch the official seller video below:
Video 4.1: Official YOVDA Dash Cam Installation and Overview. This video demonstrates the physical setup, features, and basic operation of the dash cam.
5. Operating Instructions
5.1. Power On/Off
- Automatic: The dash cam will automatically power on and begin recording when connected to the car charger and the vehicle's ignition is turned on. It will power off automatically when the ignition is turned off.
- Manual: Press and hold the Power button (refer to Figure 3.6) to manually turn the dash cam on or off.
5.2. Recording Modes
The dash cam supports continuous loop recording. In the event of a collision (detected by the G-sensor), the current video segment will be locked and protected from being overwritten.
5.3. Screen Display Modes
The 3.16-inch IPS screen offers various display modes to suit your preference:
- Front View Only: Displays only the footage from the front camera.
- Interior View Only: Displays only the footage from the interior camera.
- Split Screen View: Displays footage from both the front and interior cameras simultaneously.
Use the MODE button (refer to Figure 3.6) to cycle through the different screen display modes.

Figure 5.1: Various screen display options including front, front+rear, and back views.
5.4. Playback
To review recorded videos:
- Stop recording (if currently recording).
- Press the Mode button to enter playback mode.
- Use the Up/Down buttons to navigate through the recorded files.
- Press the OK button to play the selected video.
6. Maintenance
- Cleaning: Regularly clean the camera lenses and the IPS screen with a soft, lint-free cloth. Do not use abrasive cleaners or solvents.
- TF Card Management: It is recommended to format the TF card periodically (e.g., once a month) to maintain optimal recording performance and prevent data corruption. This can usually be done through the dash cam's settings menu.
- Environmental Conditions: Avoid leaving the dash cam in direct sunlight for extended periods or in environments where the temperature could exceed 170°F (75°C), as this can damage the device and its internal battery.
- Firmware Updates: Check the YOVDA official website periodically for any available firmware updates to ensure your dash cam has the latest features and bug fixes.
7. Troubleshooting
If you encounter any issues with your YOVDA Dash Cam, please refer to the following common problems and solutions:
- Dash Cam Does Not Power On:
- Ensure the car charger is securely plugged into both the dash cam and the vehicle's cigarette lighter.
- Verify that the vehicle's ignition is on and the cigarette lighter socket is receiving power.
- The built-in battery is small (150mAh) and primarily for emergency recording/settings. The dash cam requires continuous external power for normal operation.
- Recording Stops or Freezes:
- Ensure the TF card is properly inserted and not full.
- Format the TF card through the dash cam's settings menu.
- Try using a different, high-quality TF card (Class 10 or higher recommended).
- Poor Video Quality:
- Clean the camera lenses.
- Ensure the protective film has been removed from the lenses.
- Check settings to ensure recording resolution is set to 1080P.
- Parking Monitor Not Working:
- Ensure the G-sensor sensitivity is set appropriately in the settings.
- For 24-hour parking monitoring, a hardwire kit or step-down cable connected directly to the car battery is required, as the standard car charger only provides power when the ignition is on.
- Buttons Unresponsive:
- Try resetting the device using the RESET button (refer to Figure 3.6).
If the issue persists after trying these solutions, please contact YOVDA customer support for further assistance.
8. Specifications
| Feature | Specification |
|---|---|
| Product Dimensions | 1.26 x 1.42 x 4.88 inches |
| Item Weight | 5.8 ounces |
| Model Number | Y32 |
| Batteries | 1 Lithium Ion batteries required (included) |
| Connectivity Technology | USB |
| Special Feature | Loop Recording, Night Vision, Parking Monitor, G-Sensor |
| Display Features | Wireless |
| Color | Black |
| Included Components | 32GB TF Card |
| Manufacturer | YOVDA |
| Orientation | Front and Inside |
| Vehicle Service Type | Car, Truck, RV, Trailer, Motorcycle, Jeep, Van, SUV |
| Video Capture Resolution | 1080p |
| Mounting Type | Windshield Mount |
9. Warranty & Support
For warranty information and customer support, please refer to the contact details provided on the product packaging or visit the official YOVDA website. Keep your purchase receipt for any warranty claims.