Tile Reform
Generic Tile Reform Waterproof Tile Gap Repair Filler Instruction Manual
Model: Tile Reform
1. Introduction
The Generic Tile Reform is a waterproof gap repair filler designed for sealing and renovating tile gaps in various areas such as bathrooms, kitchens, and living rooms. This product provides a durable, waterproof seal, enhancing the appearance and longevity of tiled surfaces.
Intended Use: This product is intended for filling and sealing gaps between ceramic tiles, porcelain tiles, and other similar surfaces. It is suitable for both floor and wall applications in residential environments.

Figure 1: Areas of application for the Tile Reform filler, including bathrooms, kitchens, floor tiles, wall tiles, sinks, and windows.
2. Safety Information
- Keep out of reach of children and pets.
- Use in a well-ventilated area.
- Avoid contact with skin and eyes. In case of contact, rinse thoroughly with water.
- Do not ingest. If swallowed, seek medical attention immediately.
- Wear appropriate protective gear, such as gloves, during application.
- Store in a cool, dry place away from direct sunlight and heat.
3. Package Contents
The package typically includes the following items:
- 1 x Waterproof Tile Gap Repair Filler (150ml)
- 1 Set x Masking paper (for precise application)
- 1 Set x Utility knife (for trimming excess)
- 1 Set x Joint ball (for smoothing the filler)
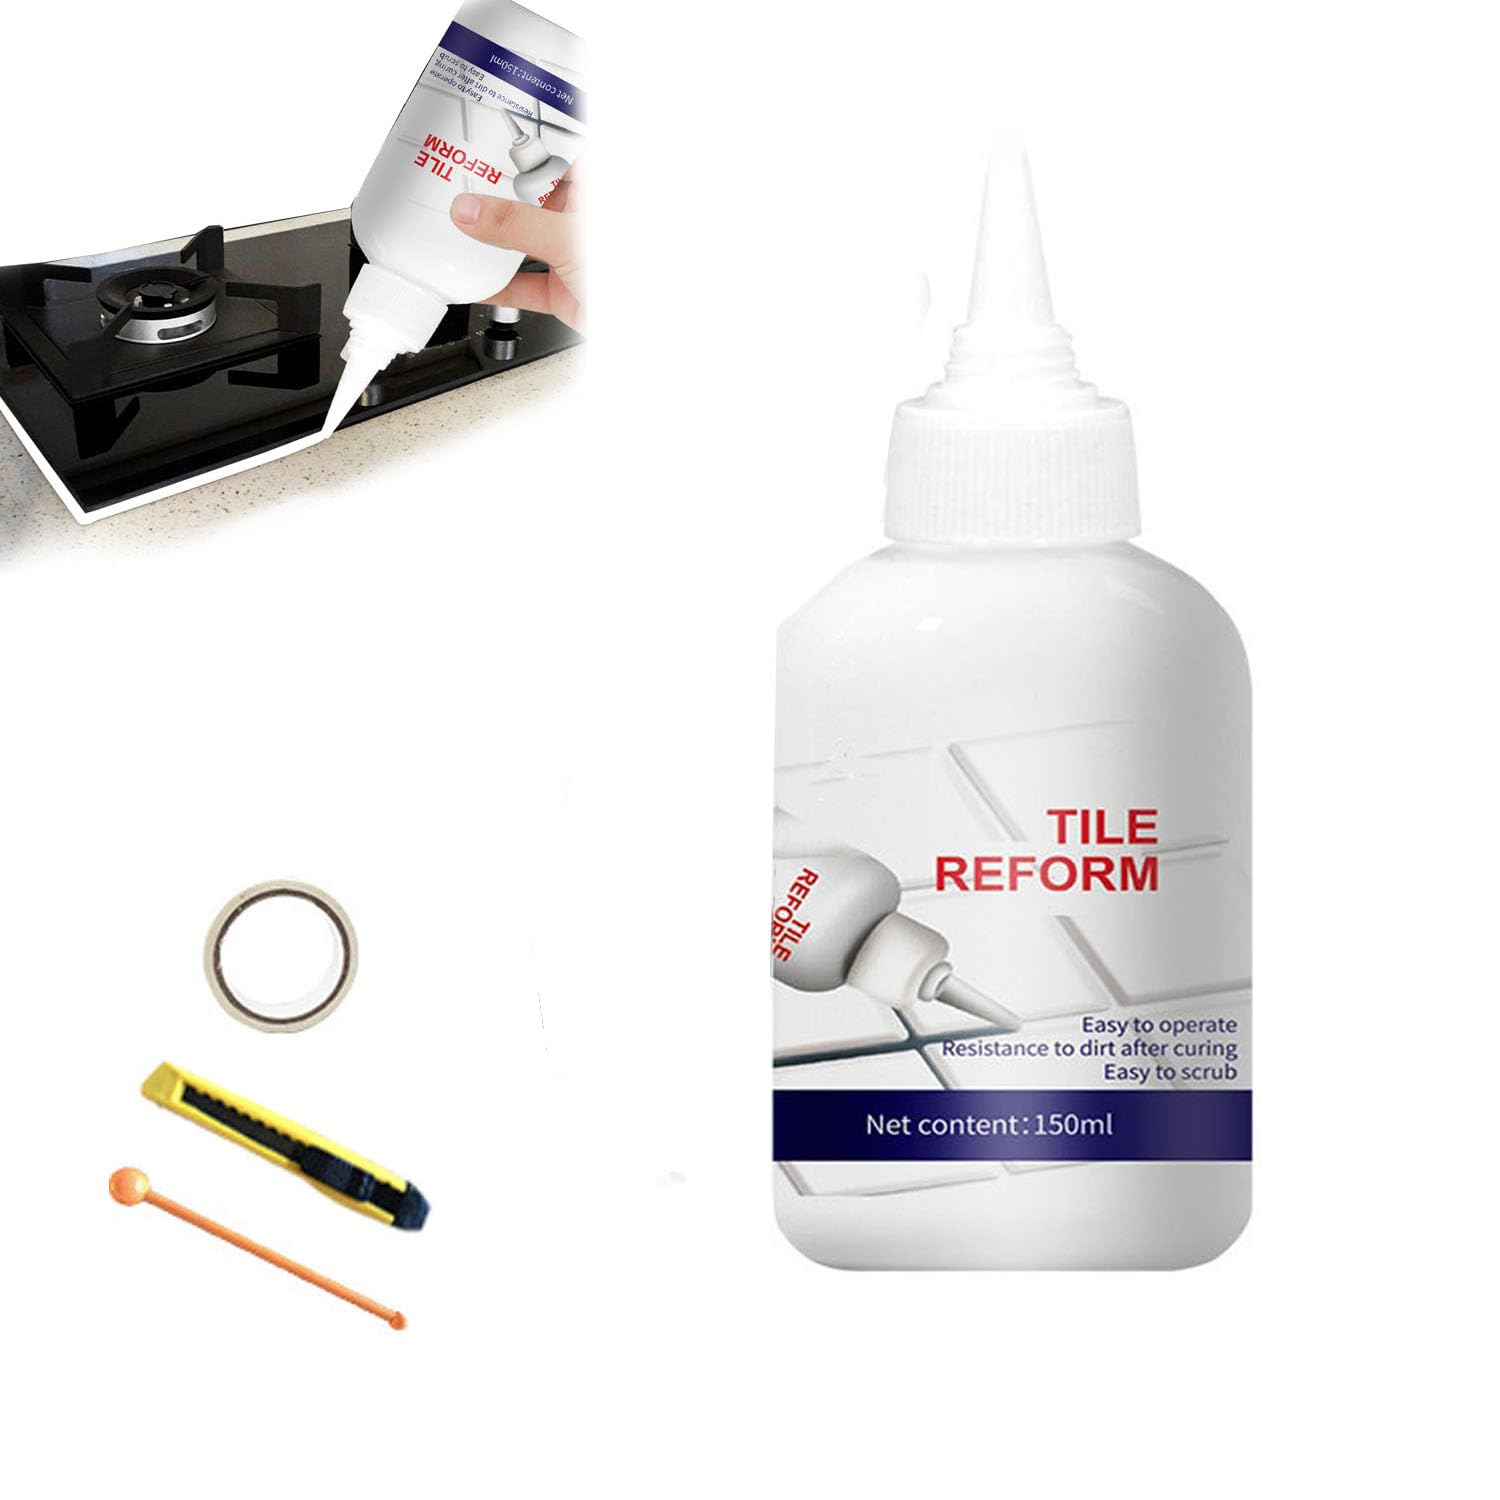
Figure 2: Contents of the Tile Reform kit, including the filler bottle and accompanying tools.
4. Setup and Preparation
- Clean the Surface: Ensure the tile gaps are clean, dry, and free from dust, dirt, old grout, oil, or any loose debris. Use a brush or vacuum cleaner if necessary.
- Masking (Optional but Recommended): For precise lines and to protect adjacent tiles, apply masking tape along the edges of the tiles, leaving only the gap exposed.
- Shake the Bottle: Before use, shake the Tile Reform bottle upside down for approximately 20 seconds to ensure the contents are thoroughly mixed.
- Prepare the Nozzle: Remove the cap and replace it with the pointed cover/nozzle provided. Cut the tip of the nozzle at an angle suitable for the width of your tile gaps.

Figure 3: Step-by-step visual guide for preparing the surface and the Tile Reform bottle for application.
5. Operating (Application)
- Apply the Filler: Hold the bottle at an angle and gently squeeze to apply a continuous, even bead of the Tile Reform filler directly into the tile gap. Move steadily along the gap.
- Smooth the Filler: Immediately after application, use the provided joint ball or a suitable smoothing tool to gently press and smooth the filler into the gap, ensuring full coverage and a uniform finish. Remove any excess material.
- Remove Masking Tape: If masking tape was used, carefully remove it before the filler fully cures to prevent tearing or uneven edges.
- Curing Time: Allow the filler to dry completely. The drying time may vary depending on humidity and temperature, but typically it dries quickly. Avoid exposing the treated area to water or heavy traffic during the initial curing period.

Figure 4: Examples of Tile Reform application on different tiled surfaces and gaps.

Figure 5: Visual comparison of tile gaps before and after using the Tile Reform filler, highlighting the improved appearance.
6. Maintenance
Once cured, the Tile Reform filler provides a waterproof and durable seal. Its hydrophobic properties, similar to a lotus leaf, help repel water and make cleaning easier.
- Cleaning: Clean the sealed areas with mild soap and water. Avoid abrasive cleaners or harsh chemicals that could damage the filler.
- Durability: The filler is designed for long-lasting effectiveness. Regular cleaning will help maintain its appearance.

Figure 6: Illustration of the product's waterproofing capabilities, demonstrating how it repels water.
7. Troubleshooting
- Uneven Application: If the filler appears uneven, gently smooth it with the joint ball or a damp finger immediately after application. If cured, carefully scrape off excess with the utility knife and reapply.
- Poor Adhesion: Ensure the surface was thoroughly cleaned and dry before application. Any dust, grease, or moisture can affect adhesion.
- Slow Drying: Ensure adequate ventilation in the area. High humidity or low temperatures can extend drying time.
8. Specifications
| Attribute | Detail |
|---|---|
| Product Name | Waterproof Tile Gap Repair Filler |
| Brand | Generic |
| Model | Tile Reform |
| Net Content | 150ml (5.0 oz) |
| Available Colors | White, Gold, Silver, Gray |
| Shelf Life | 3 Years |
| Storage | Cool, dry place |
| Material | Silicone (as per product specifications) |
| Water Resistance Level | Waterproof |
| Item Weight | 5 Ounces |
| Product Dimensions (approx.) | 14cm (Height) x 5cm (Width) |
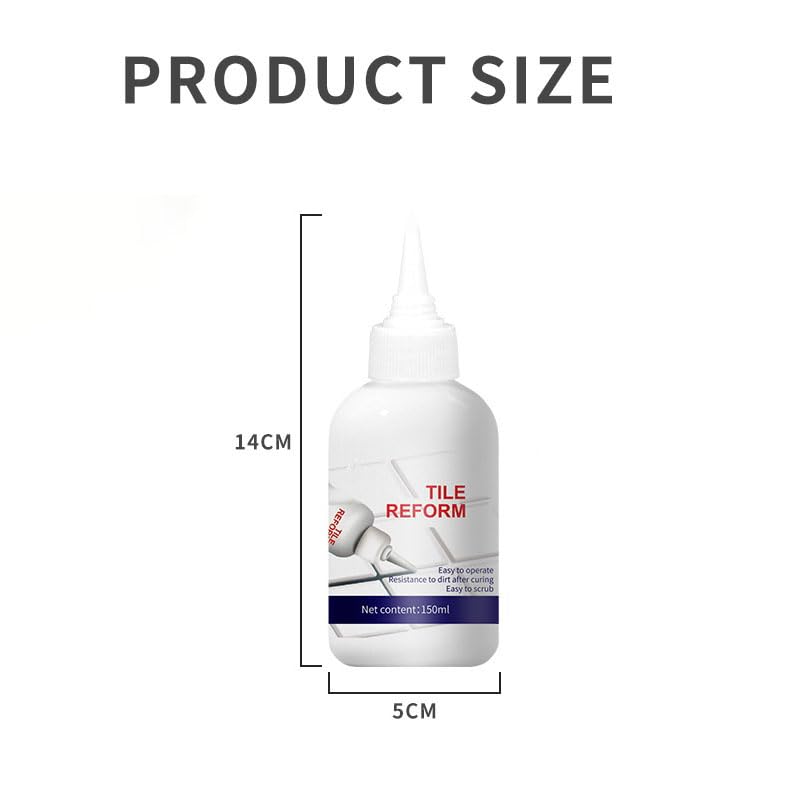
Figure 7: Approximate dimensions of the Tile Reform product bottle.
9. Warranty and Support
No specific warranty information is provided for this product. For any product-related inquiries or support, please contact the seller or retailer from whom the product was purchased.