1. Introduction
This manual provides instructions for the proper installation, maintenance, and care of your new Generic replacement filter, Part # 12141. Following these guidelines will help ensure optimal performance and longevity of your vacuum cleaner.
2. Compatibility
This replacement filter is compatible with the following Bissell CleanView Swivel Rewind Pet Reach Upright Vacuum models:
- Bissell 3197A
- Bissell 3198
- Bissell 3198A
- Bissell 3197
- Bissell 3196
- Bissell 3195 Series
It directly replaces Bissell Part # 12141.
3. Package Contents
Your package should contain the following items:
- 4 x Replacement Vacuum Cleaner Filters (Part # 12141)
- 1 x Vacuum Cleaner Filter Cleaning Brush
4. Setup and Installation
Before beginning, ensure your vacuum cleaner is unplugged from the power outlet to prevent accidental startup.
- Locate the Filter Compartment: Refer to your Bissell vacuum cleaner's original manual to identify the filter compartment. This is typically located near the dirt tank.
- Remove the Old Filter: Open the filter compartment and carefully remove the old, dirty filter. Dispose of it properly.
- Insert the New Filter: Place the new replacement filter (Part # 12141) into the compartment. Ensure it sits securely and flush within its housing.
- Close Compartment: Close the filter compartment cover until it clicks into place, ensuring a tight seal.
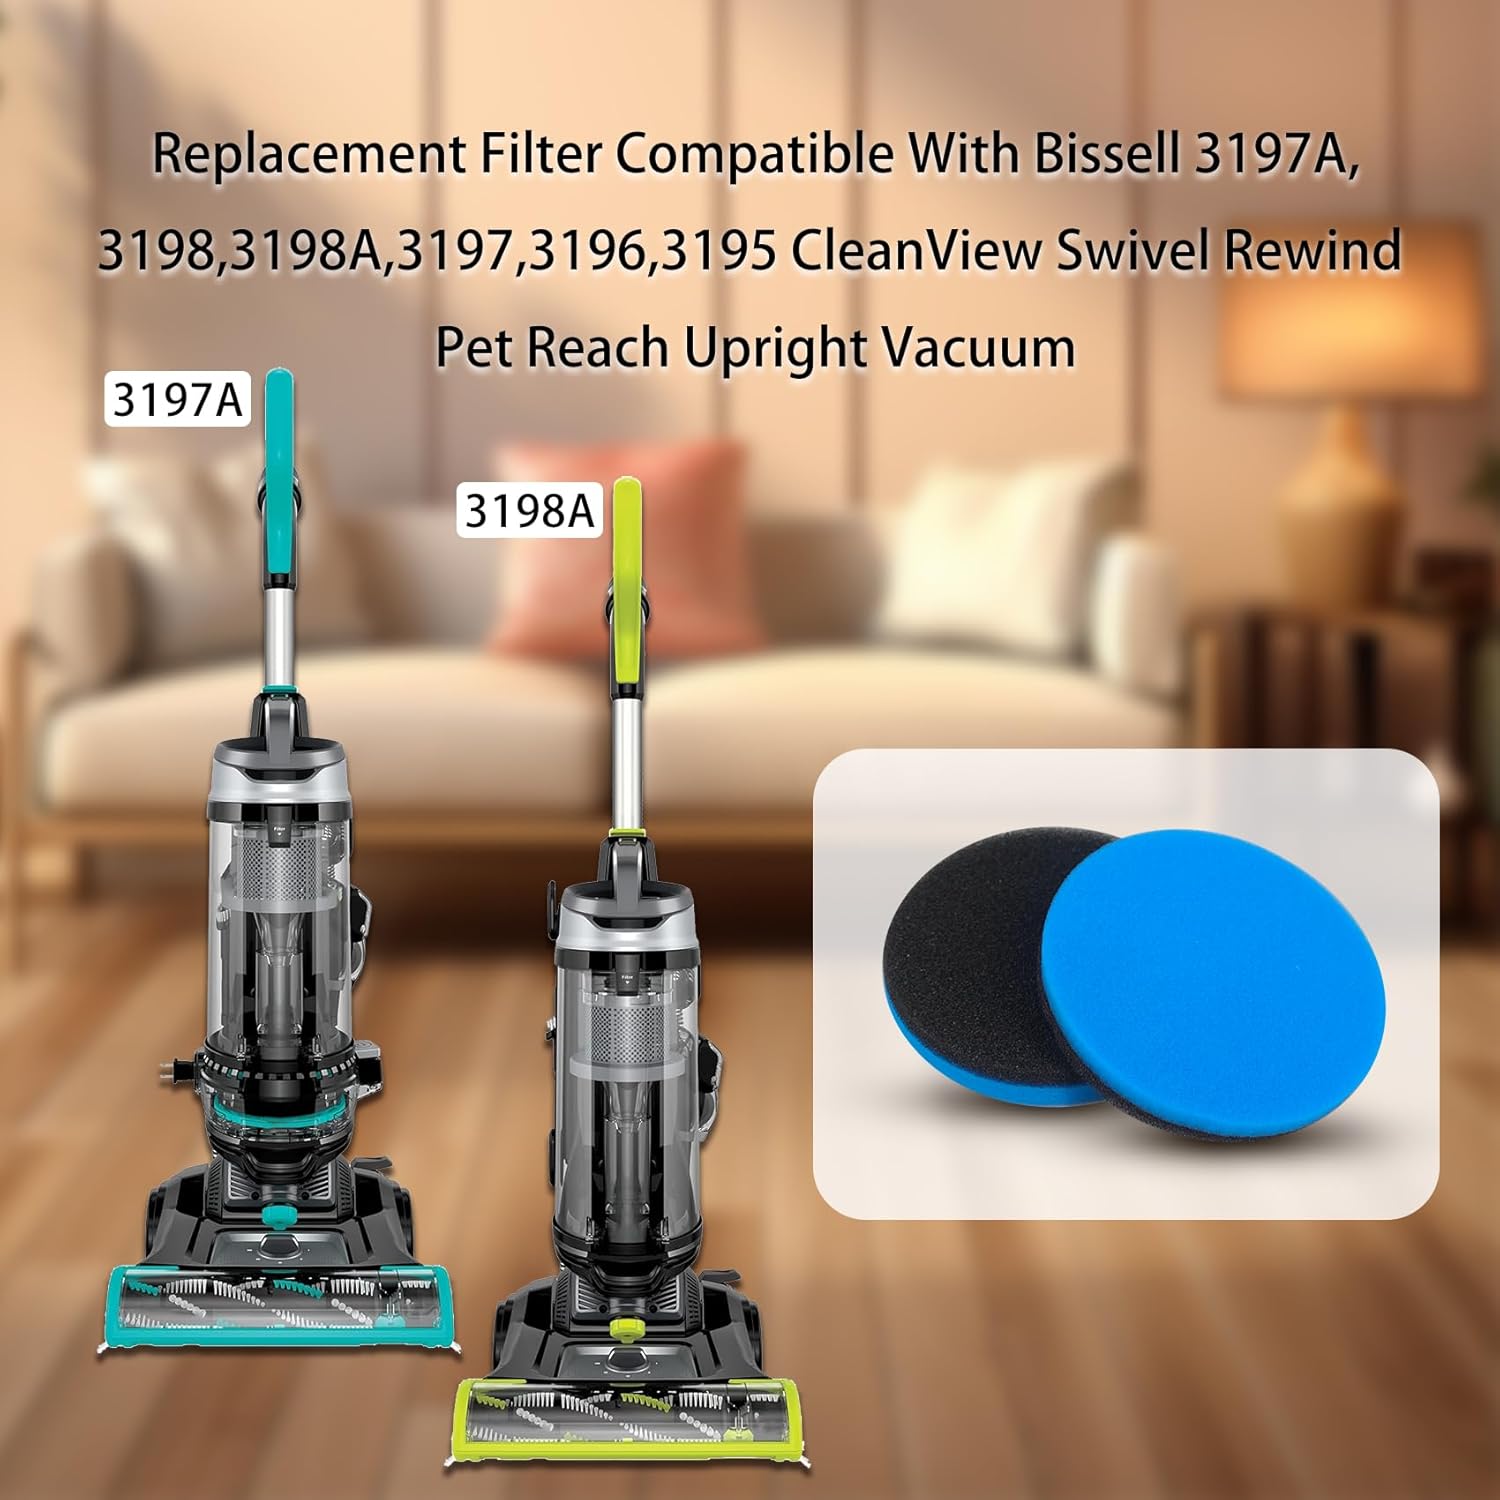
This image displays the replacement filter in context with the compatible Bissell CleanView Swivel Rewind Pet Reach Upright Vacuum models 3197A and 3198A, highlighting its intended use.

This image illustrates the precise dimensions of the replacement filter, confirming a diameter of 5.5 inches and a thickness of 0.78 inches. These measurements are crucial for ensuring compatibility with your vacuum cleaner model.
5. Operating Instructions
Once the new filter is installed, your vacuum cleaner is ready for use. The filter works by trapping dust and debris as air passes through it, ensuring cleaner exhaust air. For optimal performance, ensure the filter is clean before each use.
6. Maintenance and Cleaning
Regular cleaning and timely replacement of your filter are essential for maintaining your vacuum's suction power and air filtration efficiency.
- Filter Cleaning: The filter is reusable and washable. To clean, remove the filter from the vacuum. Tap off loose dirt over a trash can. Rinse the filter under cool, running water until the water runs clear. Do not use detergents or hot water.
- Drying: Allow the filter to air dry completely for at least 24 hours before reinserting it into the vacuum. Do not use a dryer or heat source, as this can damage the filter material.
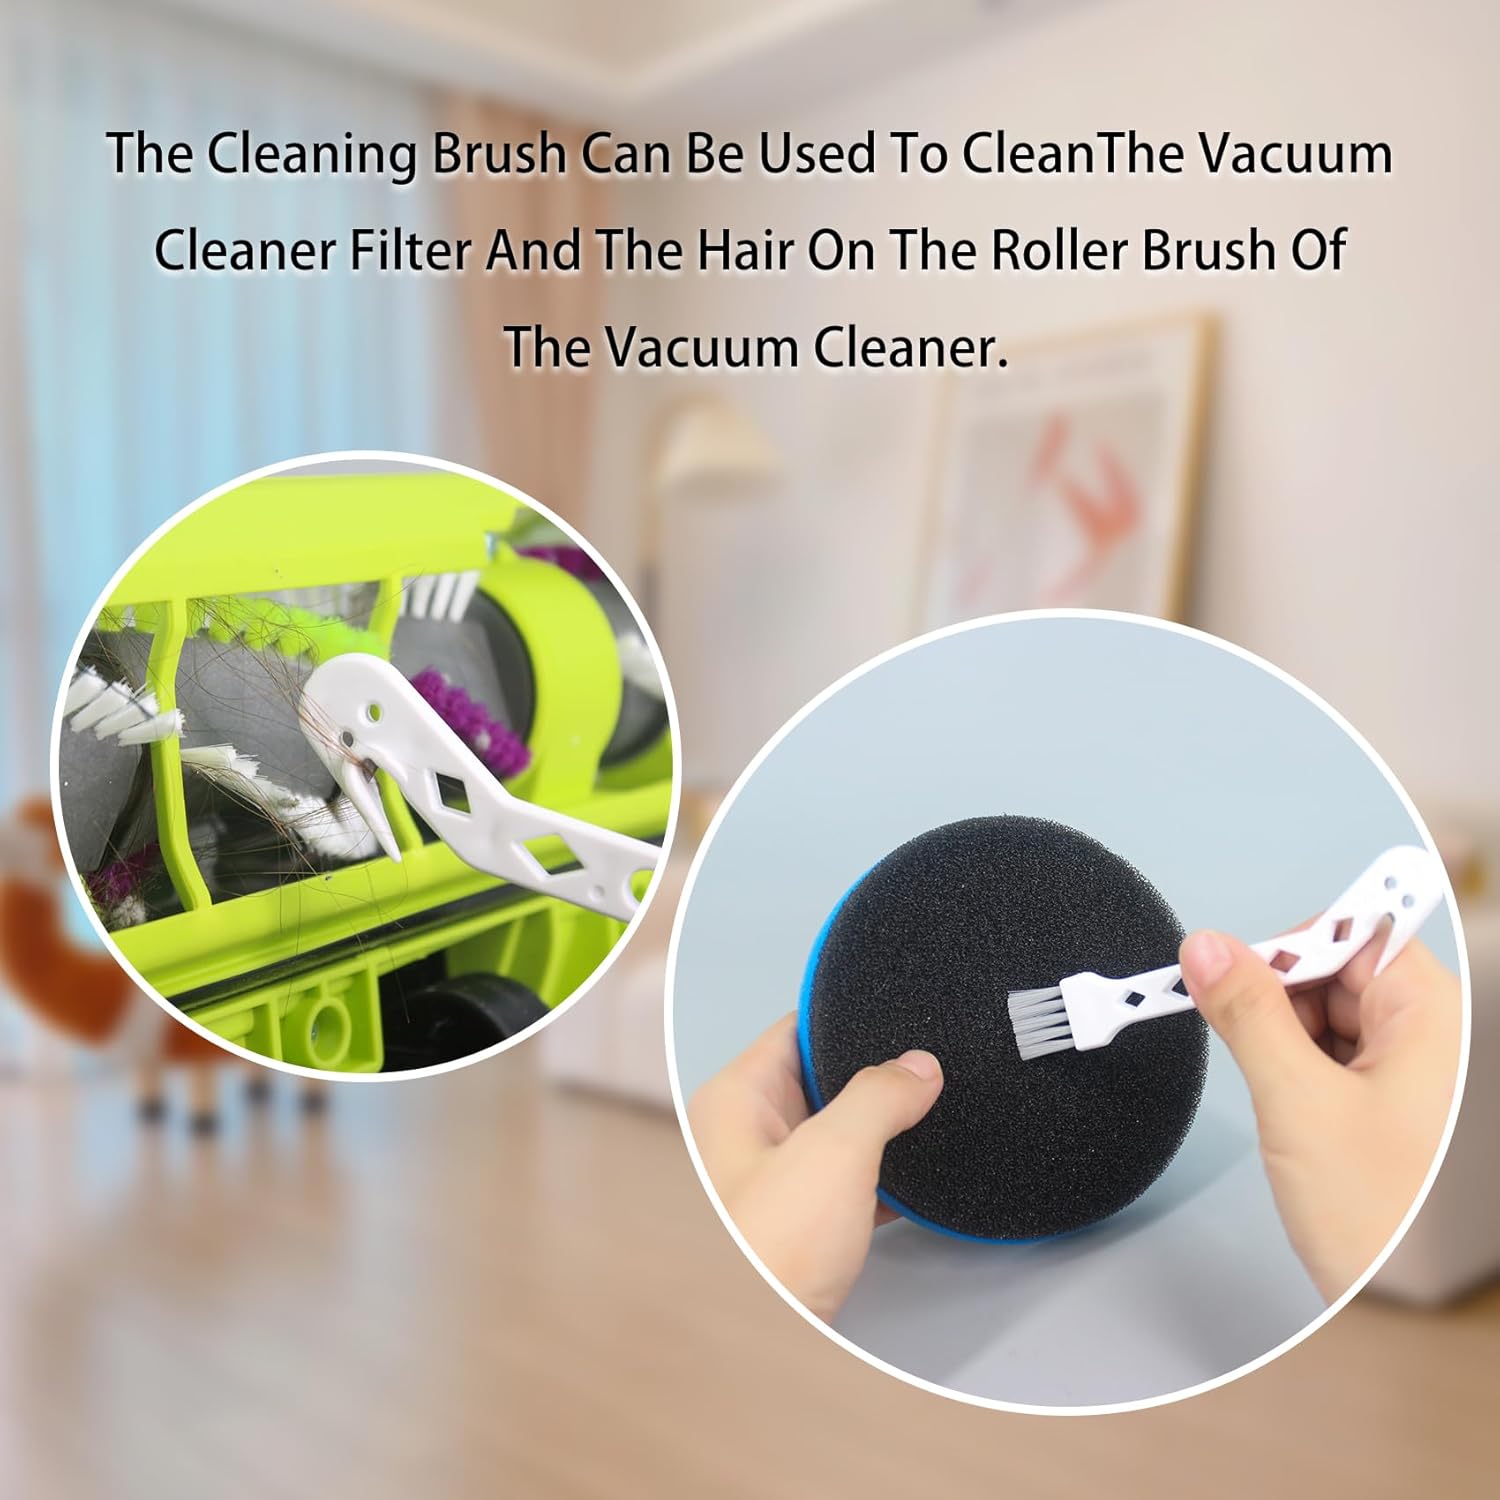
- Using the Cleaning Brush: Use the included cleaning brush to remove stubborn debris from the filter or to clean hair and fibers from your vacuum's roller brush.
- Replacement Schedule: For optimal cleaning results and to maintain vacuum performance, it is recommended to replace the vacuum filter every 3-6 months, depending on usage.
This image shows the reusable filter being cleaned under running water in a sink, illustrating the recommended method for washing the filter to maintain its performance.

This image demonstrates the utility of the included cleaning brush. One part shows the brush being used to clean the filter, and another part shows it effectively removing hair and debris from a vacuum cleaner's roller brush.
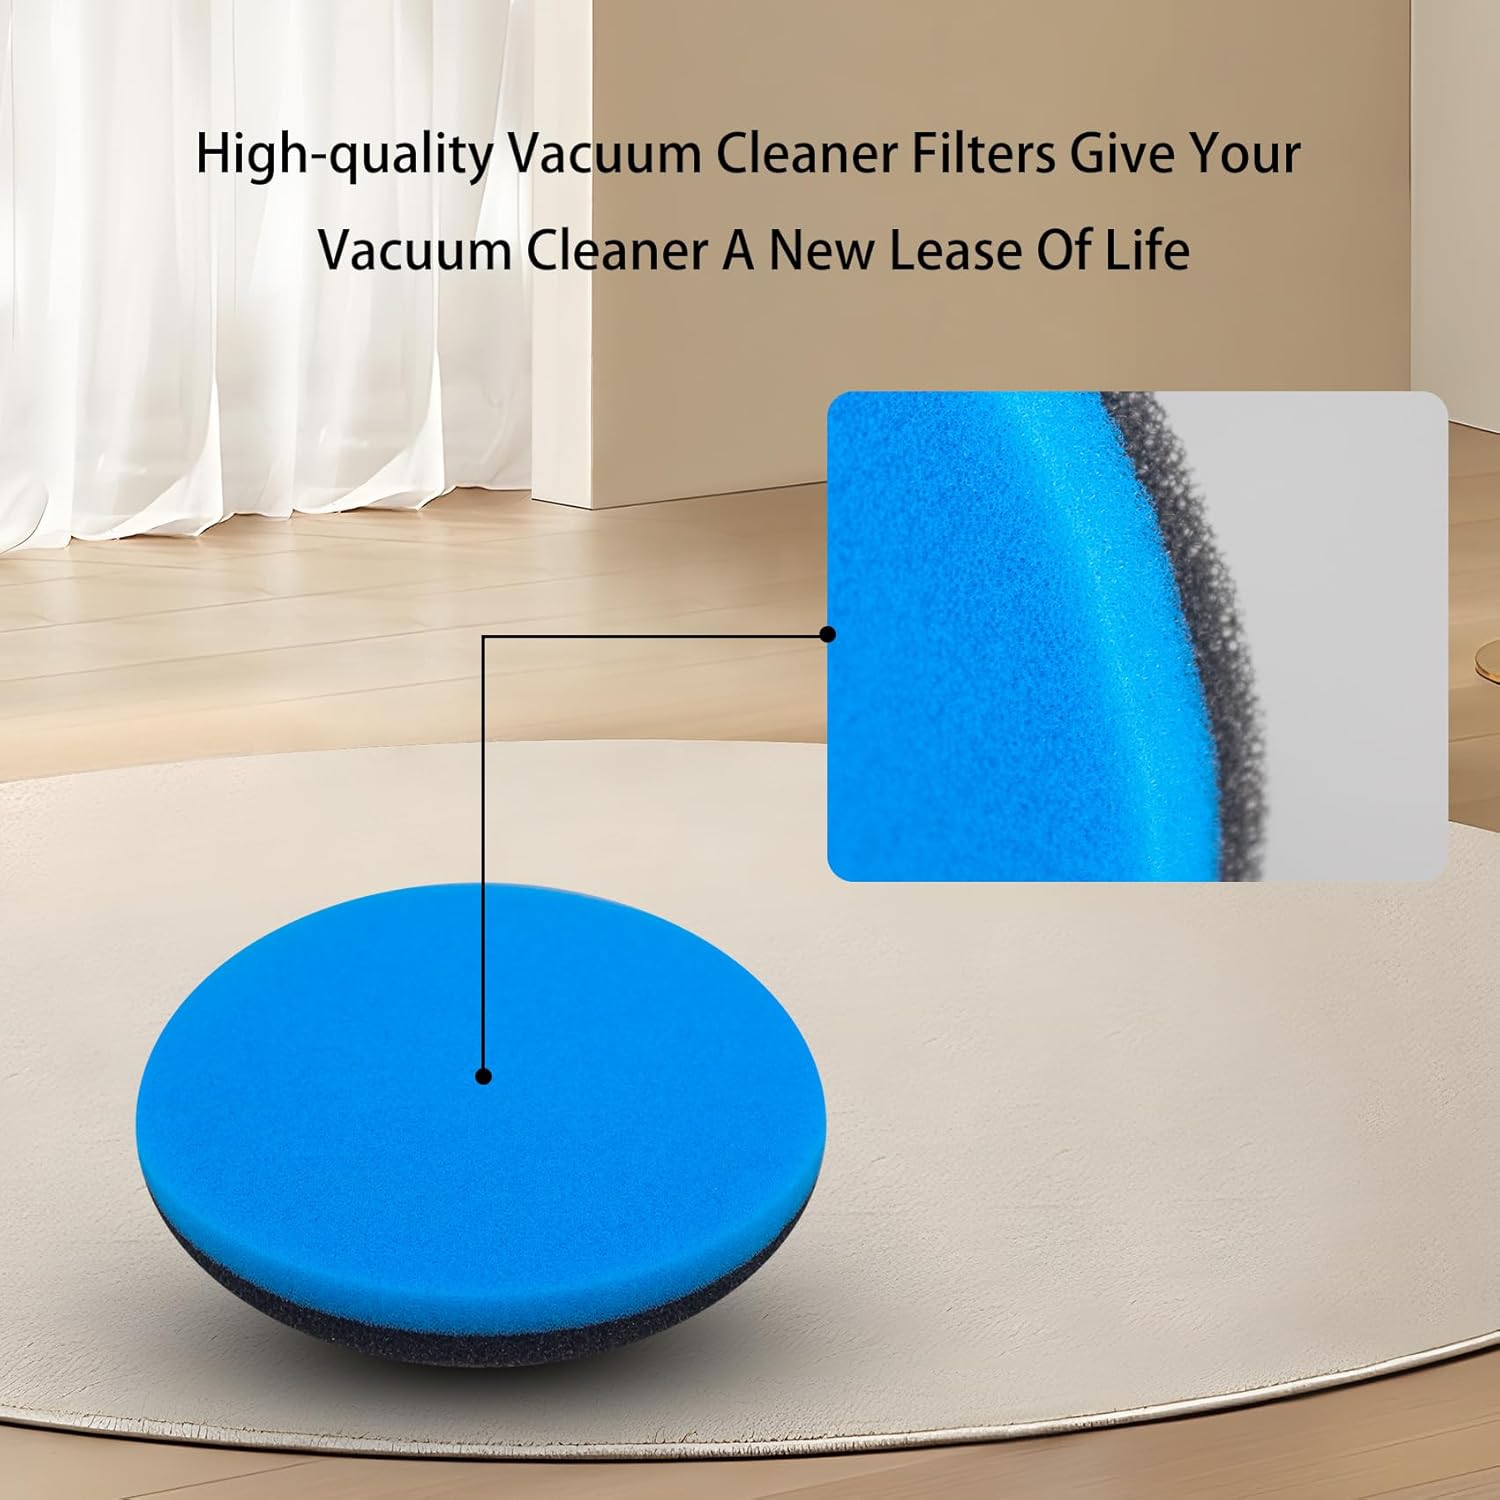
This image provides a detailed view of the filter's high-quality foam material, emphasizing its texture and construction designed for effective filtration.
7. Troubleshooting
If you encounter issues after installing the new filter, consider the following:
- Reduced Suction: Ensure the filter is fully dry before reinstallation. A damp filter can restrict airflow. Check that the filter is seated correctly and the compartment is sealed.
- Filter Does Not Fit: Double-check the compatibility list in Section 2 to confirm your vacuum model is supported. Verify the dimensions of the filter against your vacuum's requirements. If the filter appears too small or leaves a gap, it may not be the correct part for your specific model.
- Unusual Noises: Ensure no debris is trapped in the filter compartment or other parts of the vacuum. Reinstall the filter to ensure it is seated correctly.
If problems persist or the product is not suitable for your vacuum cleaner, please contact customer support for assistance.
8. Specifications
| Feature | Detail |
|---|---|
| Brand | Generic |
| Model Number | 12141 |
| Item Weight | 2.88 ounces |
| Product Dimensions | 5.3 x 5.3 x 0.8 inches |
| Material Type | Foam |
| Compatible Devices | Bissell 3197A, 3198, 3198A, 3197, 3196, 3195 Series |
| Reusability | Reusable |
9. Support
For any questions, concerns, or if the product does not meet your expectations or fit your vacuum cleaner, please contact our customer service for prompt assistance. We are committed to providing satisfactory after-sales service.


