
1. Introduction
This manual provides essential information for the installation, care, and maintenance of your HECASA Front Hood replacement. Designed for specific John Deere tractor models, this hood is manufactured from durable plastic (ABS) to ensure longevity and performance.
2. Product Overview
The HECASA Front Hood is a direct replacement for the original M152326 part. It is constructed from high-quality Acrylonitrile Butadiene Styrene (ABS) plastic, known for its impact resistance and durability in various weather conditions.
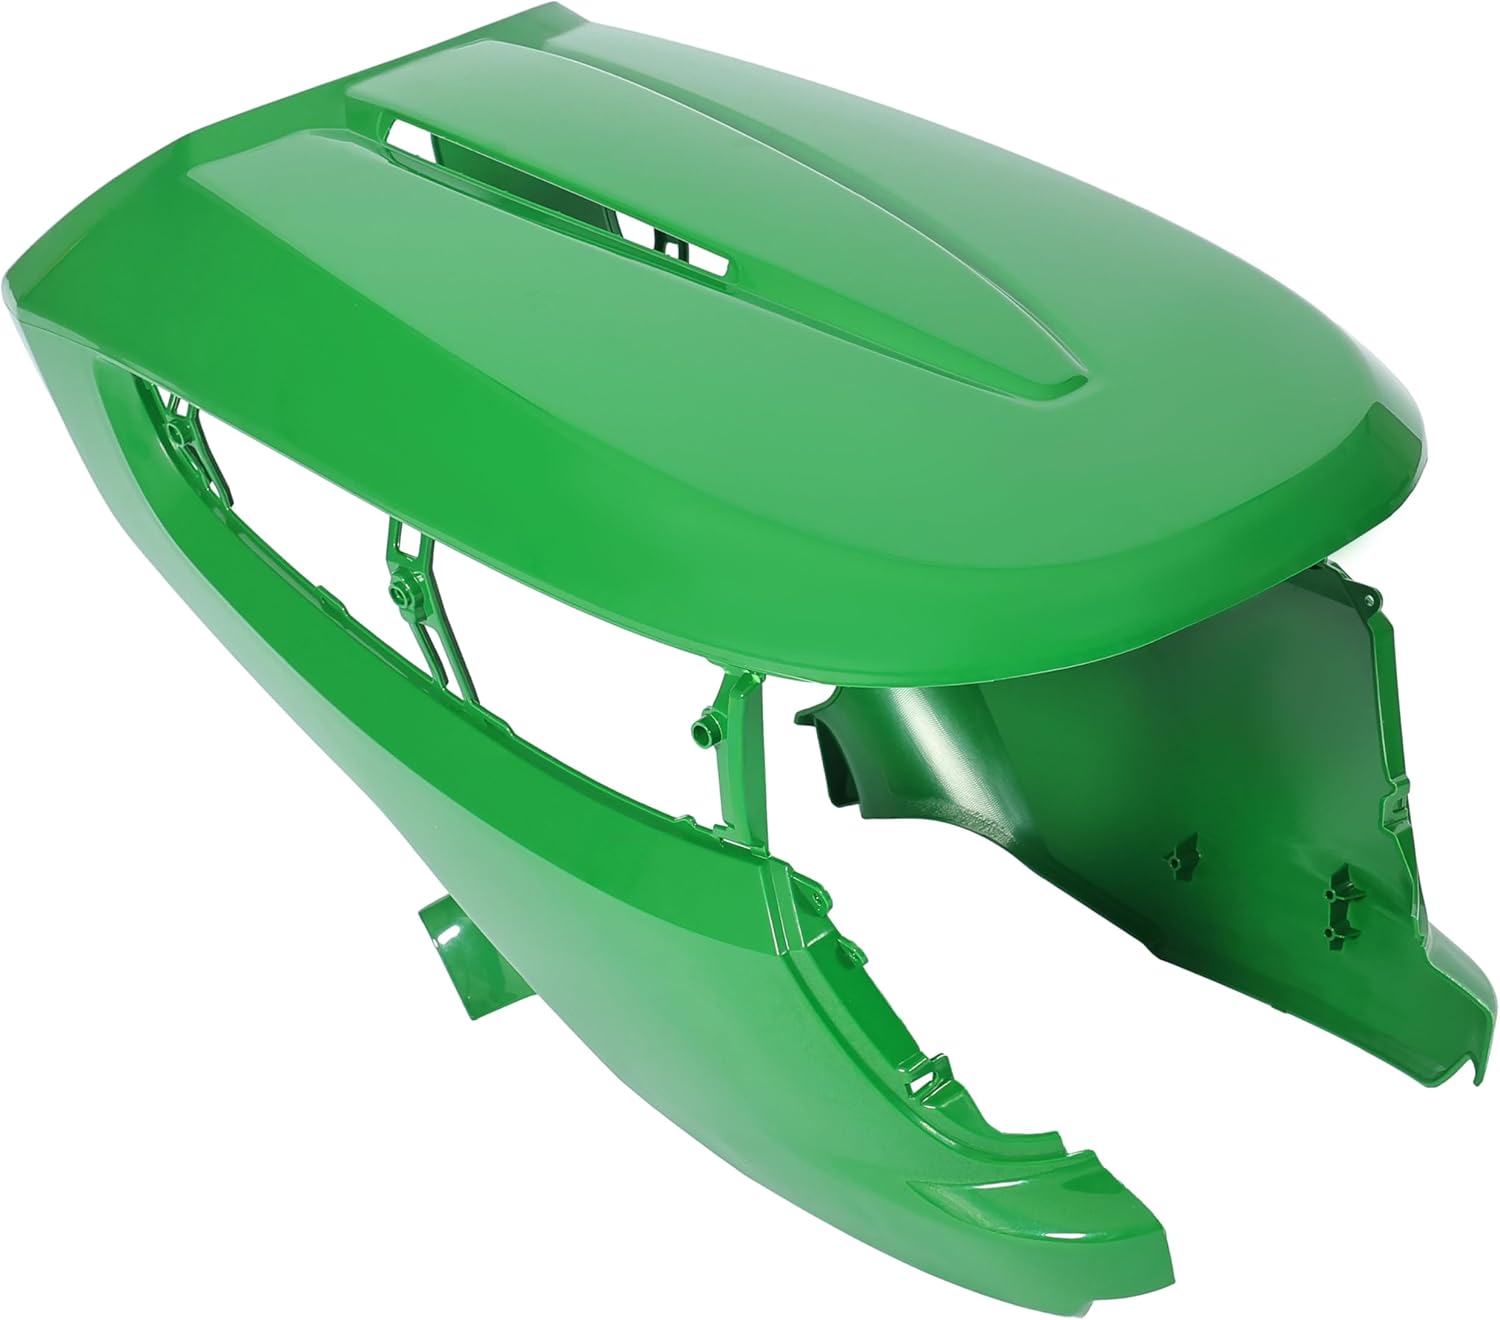
Figure 2.1: Top-down view of the HECASA Front Hood. This image shows the overall shape and contours of the replacement hood.
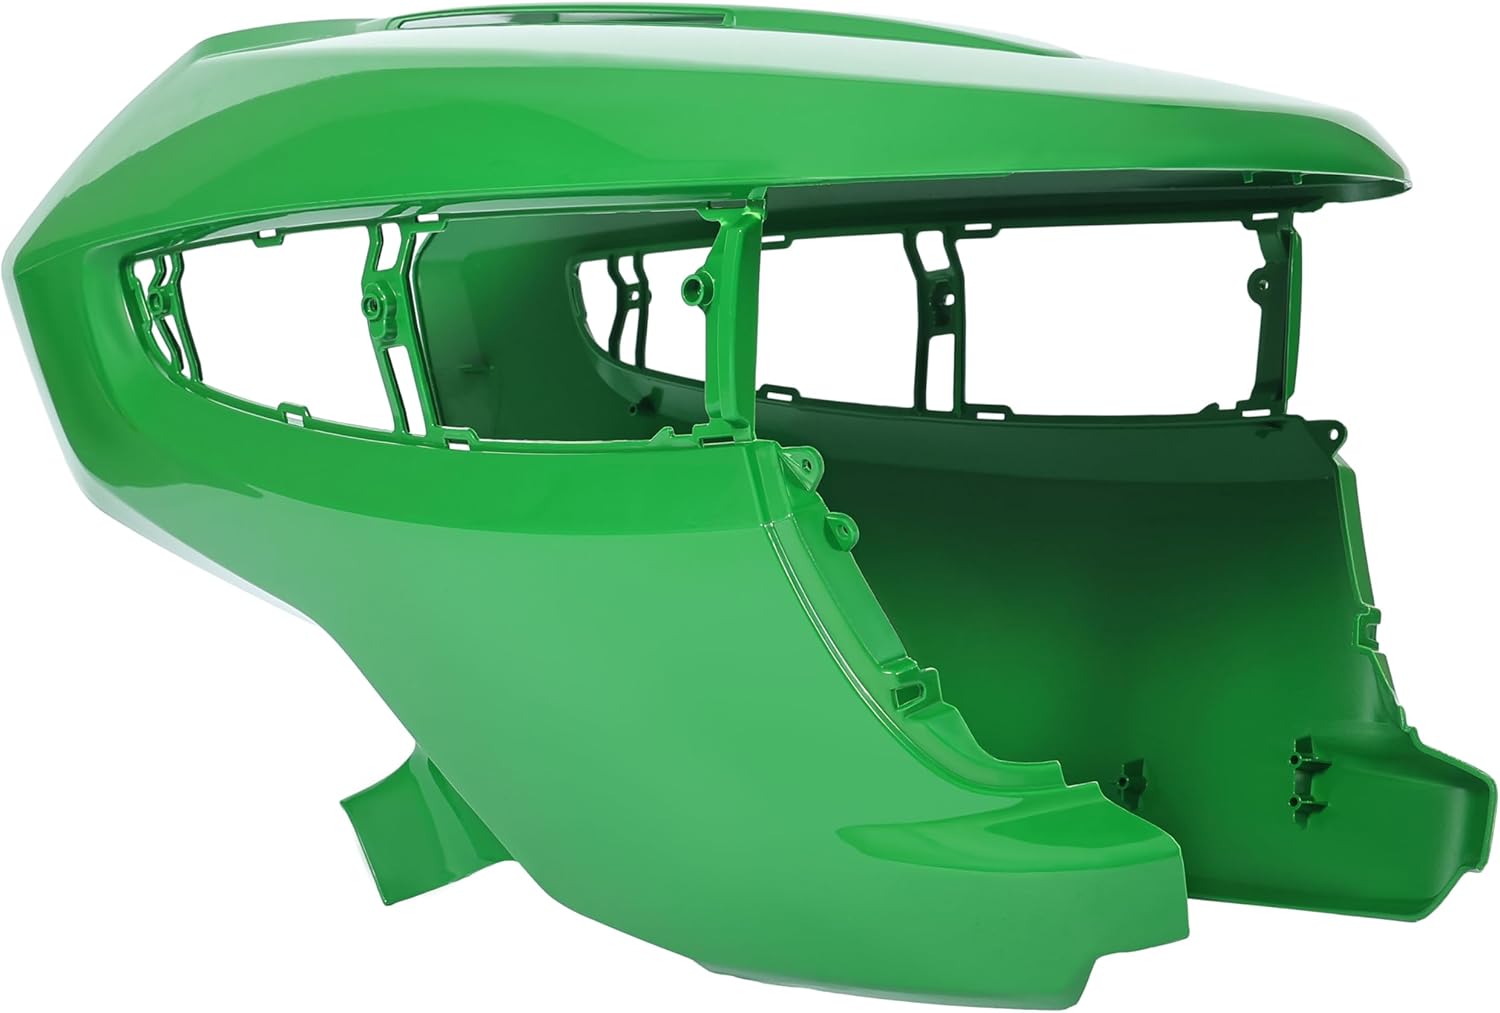
Figure 2.2: Side view of the HECASA Front Hood, highlighting its profile and structural elements.
3. Compatibility
This HECASA Front Hood is specifically designed to be compatible with the following John Deere tractor models:
- John Deere X500
- John Deere X520
- John Deere X534
- John Deere X540
It serves as a direct replacement for John Deere part number M152326. Please verify your tractor model before proceeding with installation.
4. Features
- Durable Construction: Manufactured from high-quality Acrylonitrile Butadiene Styrene (ABS) plastic for enhanced longevity.
- Impact Resistance: Designed to withstand various weather conditions and minor impacts.
- Direct Replacement: Engineered to fit perfectly as a replacement for the original M152326 hood.
- Aesthetic Improvement: Restores the appearance of your tractor, making it look new.
5. Specifications
| Attribute | Detail |
|---|---|
| Brand | HECASA |
| Model Number | MO-3139 |
| Material | Acrylonitrile Butadiene Styrene (ABS) |
| Color | Green |
| Dimensions (L x W x H) | 41.73 x 22.83 x 20.47 inches |
| Item Weight | 17.2 Pounds |
| Replacement Part Number | M152326 |
6. Installation
The HECASA Front Hood is designed for a bolt-on installation. No drilling or cutting is required for compatible models. While installation is straightforward, professional installation is highly recommended to ensure proper fitment and function.
Required Tools (Not Included):
- Standard wrench set or socket set
- Screwdriver (if applicable for existing fasteners)
Installation Steps:
- Preparation: Ensure the tractor is turned off, parked on a level surface, and the engine is cool. Disconnect the battery if necessary for safety.
- Remove Old Hood: Carefully unbolt and remove the existing front hood from your John Deere tractor. Note the location and type of all fasteners.
- Inspect Mounting Points: Clean any debris from the tractor's mounting points. Inspect for any damage that might affect the new hood's fit.
- Position New Hood: Carefully align the HECASA Front Hood with the tractor's mounting points.
- Secure Fasteners: Re-install the original fasteners (or new compatible fasteners if provided) to secure the new hood. Tighten all bolts and screws firmly, but do not overtighten to avoid damaging the plastic.
- Final Check: Ensure the hood is securely mounted and does not wobble. Check for proper alignment and clearance.

Figure 6.1: Detail of a mounting point on the HECASA Front Hood, showing where fasteners attach.

Figure 6.2: Close-up view of the hood's ventilation slots, designed for proper airflow.
7. Care and Maintenance
To ensure the longevity and appearance of your HECASA Front Hood, follow these simple care and maintenance guidelines:
- Cleaning: Regularly clean the hood with mild soap and water. Avoid abrasive cleaners or harsh chemicals that could damage the plastic finish.
- Inspection: Periodically inspect the hood for any signs of damage, cracks, or loose fasteners. Address any issues promptly.
- Storage: If storing the tractor for extended periods, consider covering the hood to protect it from prolonged exposure to harsh elements.
8. Troubleshooting
| Problem | Possible Cause | Solution |
|---|---|---|
| Hood does not fit correctly. | Incorrect tractor model; misalignment during installation; minor manufacturing variation. | Double-check tractor model compatibility. Re-align the hood carefully. Some minor adjustments to mounting holes (e.g., slight enlargement) may be necessary, as noted by some users, but this should be minimal. Ensure all old mounting hardware is removed. |
| Hood feels loose after installation. | Fasteners not tightened sufficiently; damaged mounting points on tractor. | Ensure all bolts and screws are tightened securely. Inspect the tractor's frame and mounting points for any damage that prevents a tight fit. |
9. Customer Support
For further assistance or inquiries regarding your HECASA Front Hood, please refer to the seller's contact information on the platform where the product was purchased. For general information about HECASA products, you may visit the official HECASA store page.
HECASA Store: https://www.amazon.com/stores/HECASA/page/FE485D21-A5F2-469F-8A31-05DE74FE0343