Introduction
This instruction manual provides important information for the safe assembly, operation, and maintenance of your new TONSTAD cabinet with doors. Please read this manual thoroughly before beginning assembly and keep it for future reference. The TONSTAD series furniture is designed for versatile use, either as a standalone piece or combined with other items from the series.
Important Safety Information
- Two-Person Assembly: For safety and ease, it is recommended that two adults assemble this cabinet.
- Weight Limit: Do not exceed the maximum load of 22 kg per shelf. Overloading can cause the cabinet to become unstable or damage the shelves.
- Wall Anchoring: To prevent tip-over accidents, it is strongly recommended to secure the cabinet to the wall using appropriate wall anchoring devices. Wall materials vary, so screws for wall attachment are not included. Consult a professional if you are unsure about the type of fastening device to use for your walls.
- Tool Use: Use only the recommended tools and follow all instructions carefully. Incorrect assembly can lead to injury or damage to the product.
- Placement: Place the cabinet on a level, stable surface to ensure stability.
Parts List
Before beginning assembly, unpack all components and verify that all parts are present and undamaged. Refer to the diagram below for a visual representation of the cabinet's dimensions and main components.

Figure 1: Cabinet Dimensions. This diagram illustrates the overall width, height, and depth of the TONSTAD cabinet, along with internal measurements for door and shelf placement.
While a detailed hardware list is typically included with the product packaging, common components for this type of cabinet include:
- Side Panels (2)
- Top Panel (1)
- Bottom Panel (1)
- Back Panel (1)
- Doors (2)
- Adjustable Shelf (1)
- Hinges and Mounting Hardware
- Door Handles/Knobs
- Assembly Screws, Dowels, and Cam Locks
- Wall Anchoring Hardware (Note: Wall screws not included, choose according to wall material)
Assembly Instructions
Tools Required:
- Phillips Head Screwdriver
- Hammer (for dowels and back panel nails)
- Measuring Tape
- Level
- Drill (for wall anchoring, if applicable)
Step-by-Step Assembly:
- Prepare Workspace: Clear a spacious area and lay out all parts on a soft, clean surface to prevent scratches.
- Assemble Base Frame: Attach the side panels to the bottom panel using the provided screws and dowels. Ensure cam locks are tightened securely.
- Attach Top Panel: Secure the top panel to the side panels using the appropriate hardware.
- Install Back Panel: Slide or nail the back panel into the grooves or onto the back of the assembled frame. Ensure it is square to add stability.
- Insert Shelf Supports and Shelf: Place the shelf supports at the desired height. Insert the adjustable shelf onto the supports.
- Attach Hinges to Doors: Mount the hinges to the doors according to the pre-drilled holes.
- Mount Doors to Cabinet: Attach the doors to the cabinet frame using the hinges. Adjust the hinges to ensure proper door alignment and gap.
- Install Door Handles/Knobs: Secure the handles or knobs to the doors.
- Position and Anchor: Carefully move the assembled cabinet to its final desired location. Use a level to ensure it stands evenly. Crucially, secure the cabinet to the wall using appropriate wall anchoring hardware to prevent tip-over.

Figure 2: Cabinet Interior. This image shows the inside of the cabinet, highlighting the adjustable shelf and the hinge mechanism for the doors.
Operating Instructions
The TONSTAD cabinet is designed for general storage and display. To operate:
- Opening/Closing Doors: Gently pull the door handles to open the doors. Push them closed until they are flush with the cabinet frame.
- Adjusting Shelves: The cabinet includes one adjustable shelf. To change its height, carefully remove any items, lift the shelf, reposition the shelf supports to the desired holes, and then place the shelf back onto the supports.
- Recommended Use: This cabinet is suitable for storing decorative items, collectibles, documents, and other valuables. Ensure items are distributed evenly on the shelf and do not exceed the maximum weight limit.
Care and Maintenance
Proper care will extend the life and appearance of your TONSTAD cabinet.
- Cleaning: Wipe clean with a damp cloth and a mild cleaner. Dry immediately with a clean cloth.
- Avoid Harsh Chemicals: Do not use abrasive cleaners, strong solvents, or polishes that may damage the oak veneer finish.
- Hardware Check: Periodically check all assembly fittings and retighten them if necessary to ensure the cabinet remains stable.
- Environmental Conditions: Avoid placing the cabinet in direct sunlight or near heat sources, as this can cause the wood veneer to fade or warp. Maintain a stable room temperature and humidity.

Figure 3: Oak Veneer Detail. This close-up highlights the natural wood grain and finish of the cabinet, emphasizing the material for care instructions.
Troubleshooting
| Problem | Possible Cause | Solution |
|---|---|---|
| Cabinet is wobbly or unstable. | Uneven floor; loose assembly fittings; not anchored to wall. | Ensure cabinet is on a level surface. Retighten all screws and cam locks. Securely anchor the cabinet to the wall. |
| Doors do not align or close properly. | Hinges are not adjusted correctly; cabinet is not square. | Adjust the screws on the hinges to align the doors. Ensure the back panel is properly installed and the cabinet frame is square. |
| Shelf sags or is unstable. | Overloaded shelf; shelf supports not fully inserted. | Reduce the weight on the shelf, ensuring it does not exceed 22 kg. Verify that shelf supports are fully seated in the holes. |
Product Specifications
| Brand | Generic |
| Model Name | TONSTAD |
| Product Dimensions (W x D x H) | 81.7 cm x 47.2 cm x 89.9 cm (approx. 32.17" x 18.58" x 35.39") |
| Material | Oak Wood, Oak Veneer, Engineered Wood |
| Finish Type | Wooden |
| Door Style | Slab |
| Number of Shelves | 1 (Adjustable) |
| Max. Load per Shelf | 22 kg |
| Mounting Type | Floor Mount (Freestanding, Wall Anchoring Recommended) |
| Assembly Required | Yes |
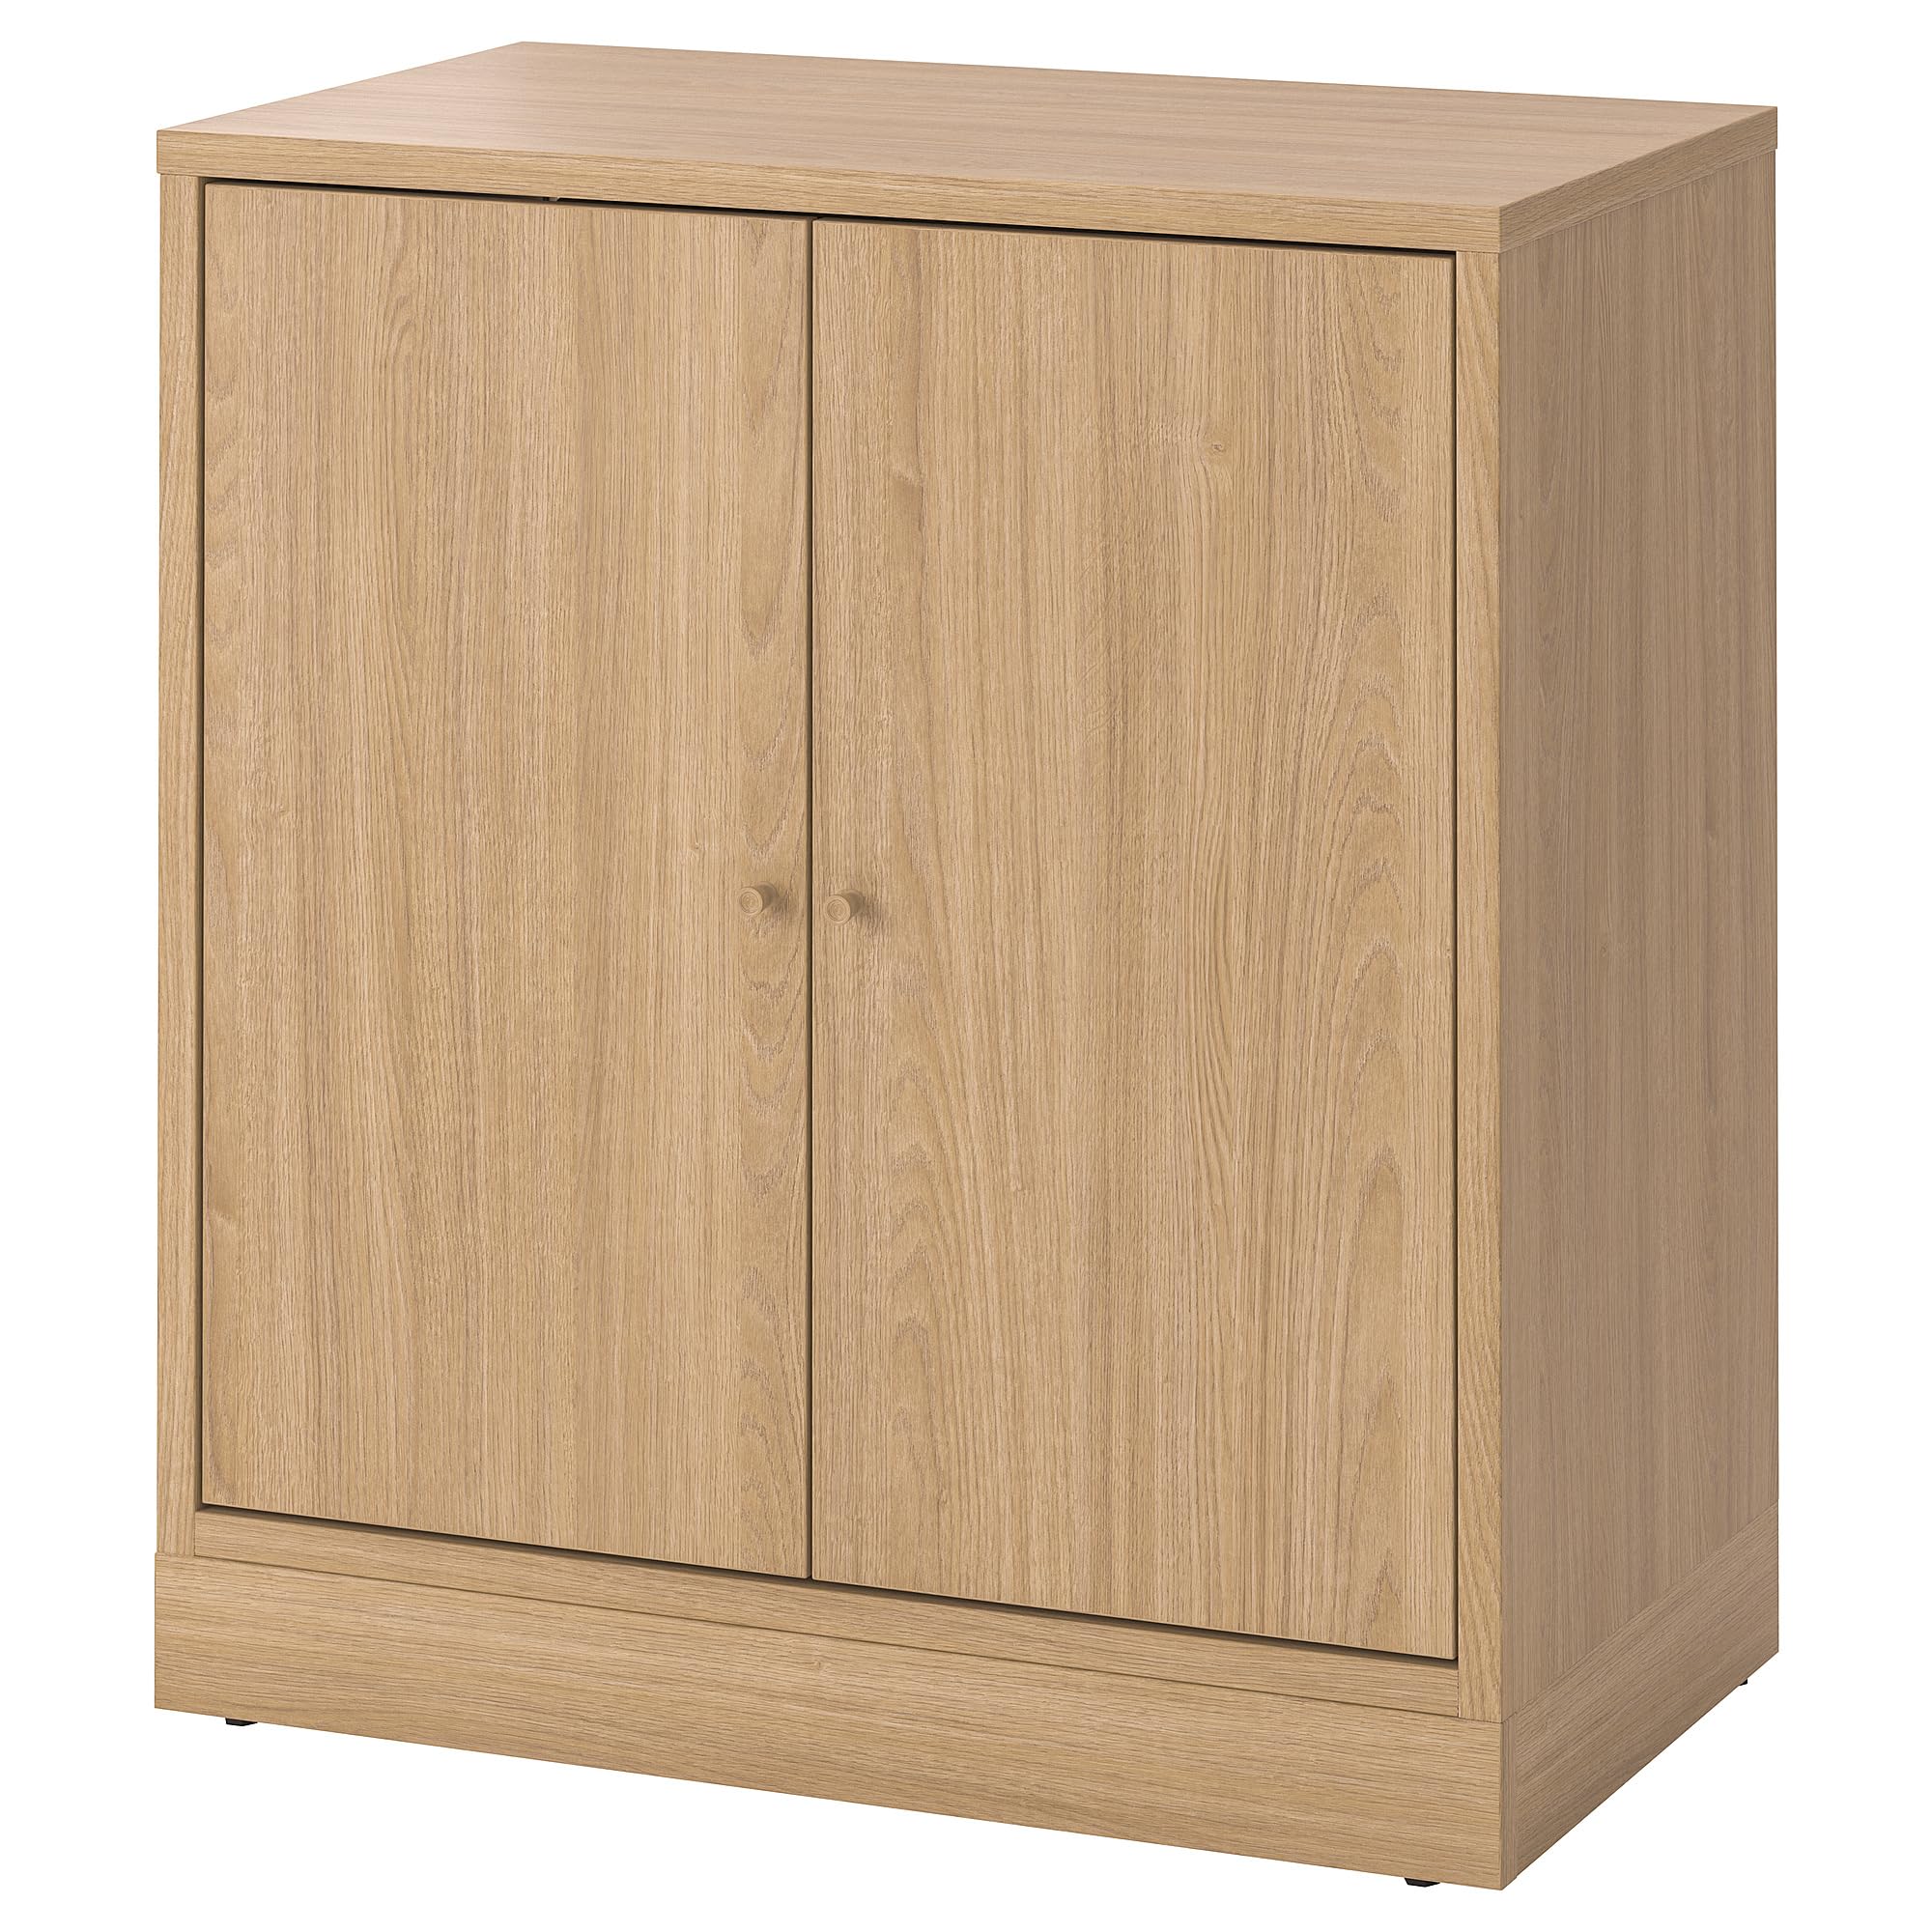
Figure 4: Assembled TONSTAD Cabinet. This image displays the fully assembled cabinet in a typical home environment, showcasing its design and functionality.
Warranty and Support
For information regarding warranty coverage, replacement parts, or technical support, please refer to the documentation included with your purchase or contact the seller directly. Keep your proof of purchase for any warranty claims.