KALLAX
KALLAX Shelving Unit with Doors
Model: KALLAX | Brand: Generic
1. Introduction
This instruction manual provides essential information for the assembly, safe operation, and maintenance of your KALLAX shelving unit with doors. Please read this manual thoroughly before beginning assembly or use to ensure proper installation and to maximize the lifespan of your product. Keep this manual for future reference.
2. Key Features
- Versatile Storage: An easy-to-place shelving unit designed for storing and organizing items in various spaces, including small areas.
- Integrated Doors: Features two integrated doors for concealed storage, enhancing organization and aesthetics.
- Durable Material: Constructed from oak, ensuring durability and stability.
- Space-Saving Design: Optimized dimensions to fit efficiently in different room layouts.
- Multi-Purpose Use: Ideal for files, folders, books, decorative items, and more.
3. Product Specifications

Figure 3.1: Dimensional overview of the KALLAX shelving unit, illustrating its height, width, and depth.
| Attribute | Detail |
|---|---|
| Product Name | KALLAX Shelving Unit with Doors |
| Brand | Generic |
| Model | KALLAX |
| Material | Oak |
| Color/Finish | White stained oak effect |
| Assembled Width | 77 cm (30.31 inches) |
| Assembled Depth | 39 cm (15.35 inches) |
| Assembled Height | 147 cm (57.87 inches) |
| Max. Load per Shelf | 13 kg (28.6 pounds) |
| Item Weight | 13 kg (28.6 pounds) |
| Number of Shelves | 3 (adjustable shelves, unit has 8 compartments) |
| Assembly Required | Yes |
| Mounting Type | Floor Mount (with anti-tip instructions) |
4. Setup and Assembly
Assembly of the KALLAX shelving unit requires careful attention to detail. It is recommended to have at least two people for assembly to ensure stability and safety.
4.1 Unpacking and Inspection
- Carefully unpack all components from the packaging.
- Verify that all parts listed in the included assembly instructions are present and undamaged. Contact customer support immediately if any parts are missing or damaged.
- Lay out all components on a clean, soft surface (e.g., a blanket or carpet) to prevent scratches during assembly.
4.2 Assembly Steps
Follow the step-by-step graphical instructions provided in the separate assembly guide included with your product. General steps typically involve:
- Assembling the main frame structure using dowels and cam locks.
- Inserting fixed and adjustable shelves into their designated slots.
- Attaching the back panel (if applicable) for added stability.
- Installing the door hinges and attaching the doors to the designated compartments.
- Attaching the anti-tip device to the unit and securing it to a wall. This step is crucial for safety.

Figure 4.1: Assembled KALLAX shelving unit with doors.
5. Operating and Usage Guidelines
The KALLAX shelving unit is designed for versatile storage. To ensure optimal performance and longevity, adhere to the following guidelines:
- Load Capacity: Do not exceed the maximum load of 13 kg (28.6 pounds) per shelf. Distribute weight evenly across shelves to maintain stability.
- Placement: Place the unit on a flat, level surface to prevent wobbling and ensure stability.
- Door Operation: Open and close doors gently. Avoid slamming to prevent damage to hinges and the unit frame.
- Ventilation: If storing electronics, ensure adequate ventilation to prevent overheating.
- Environmental Conditions: Avoid placing the unit in direct sunlight or near heat sources, as this can cause material degradation or discoloration. Maintain a stable room temperature and humidity.

Figure 5.1: KALLAX unit in a typical home setting, showcasing its functional use.

Figure 5.2: KALLAX unit configured horizontally, suitable for different room layouts.
6. Care and Maintenance
Proper care and maintenance will help preserve the appearance and functionality of your KALLAX shelving unit.
- Cleaning: Wipe clean with a damp cloth and a mild cleaner. Avoid using abrasive cleaners, solvents, or harsh chemicals, as these can damage the finish.
- Drying: Wipe dry with a clean cloth immediately after cleaning to prevent water spots or moisture damage.
- Dusting: Regularly dust the unit with a soft, dry cloth to prevent dust buildup.
- Hardware Check: Periodically check all assembly hardware (screws, cam locks, hinges) and tighten if necessary to ensure the unit remains stable.
- Door Adjustment: If doors become misaligned, adjust the hinges according to the original assembly instructions.
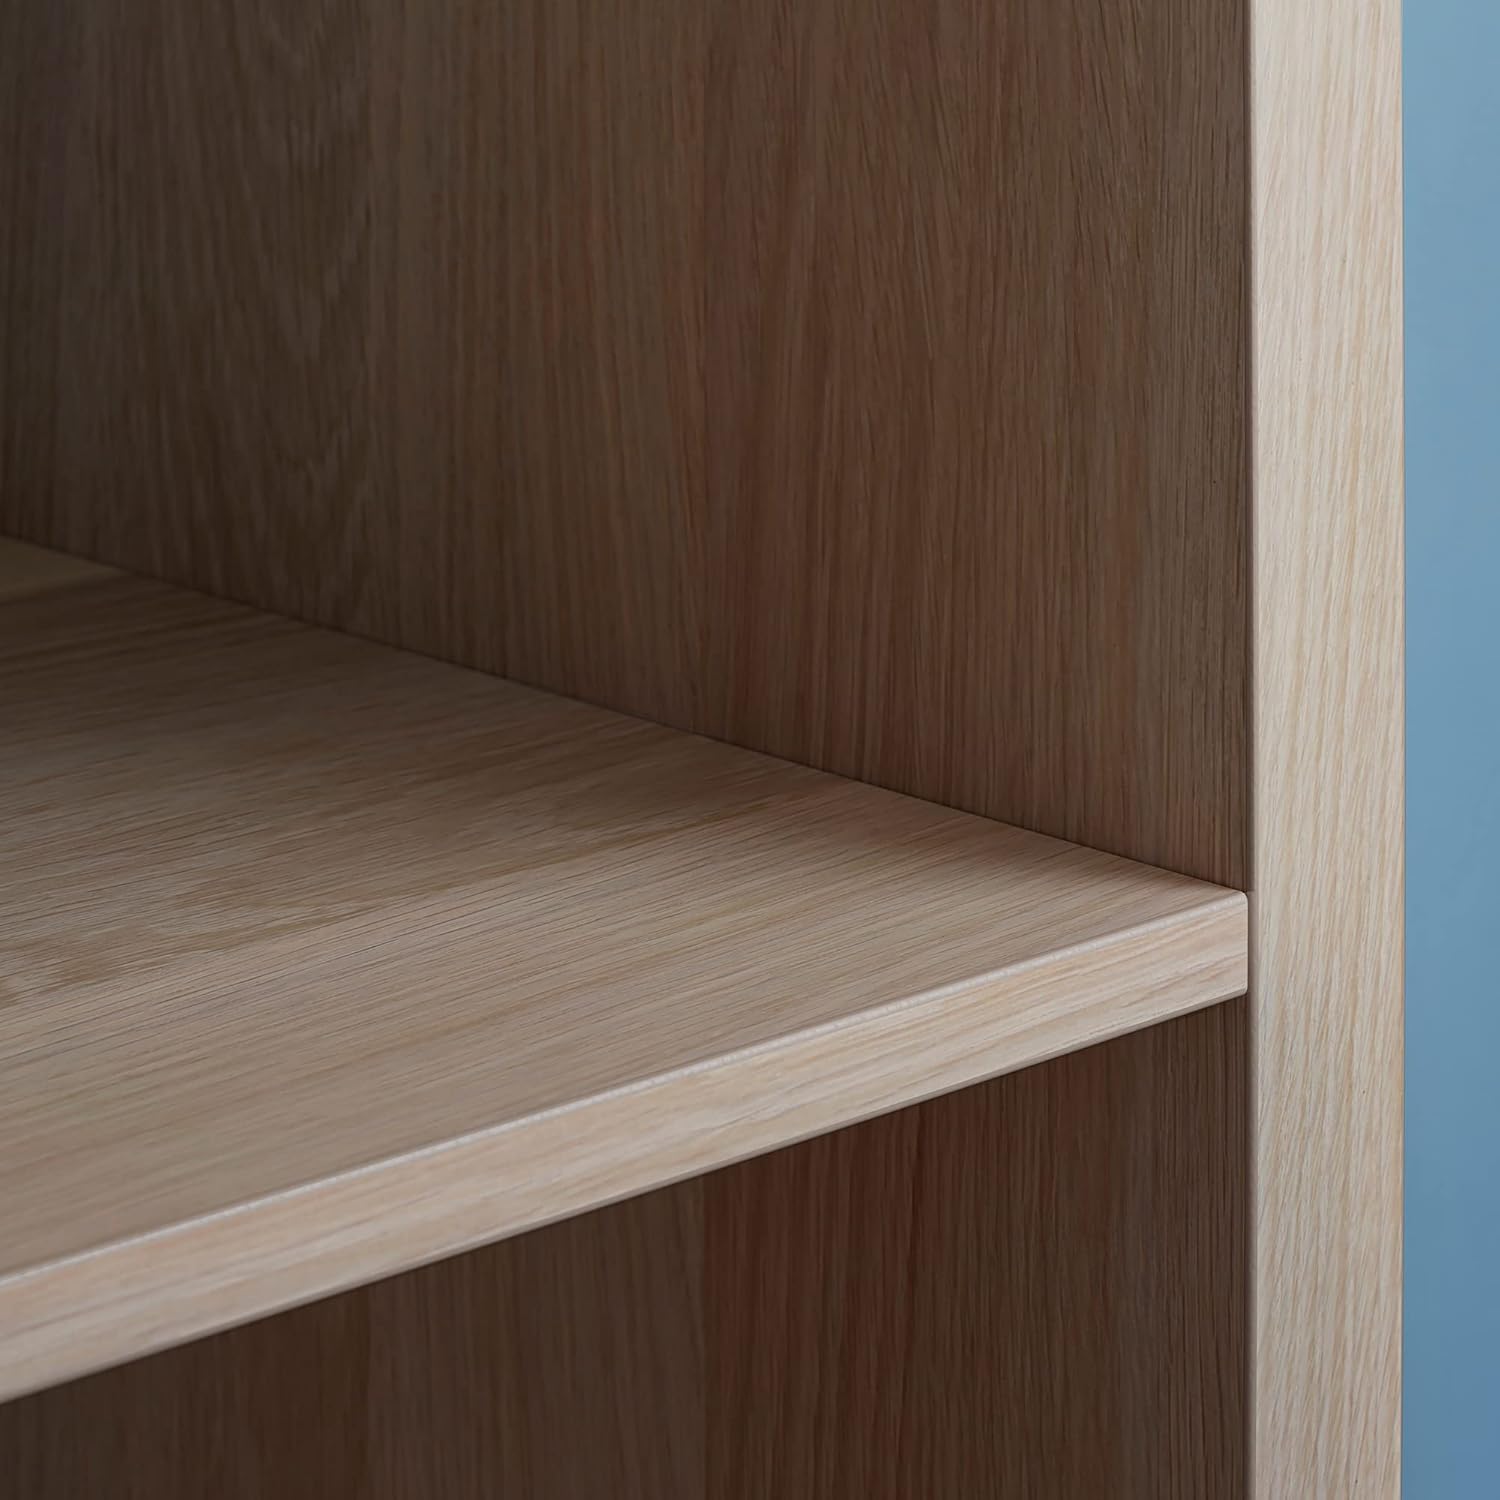
Figure 6.1: Detail of the shelf surface, highlighting the finish.
7. Safety Information
WARNING: Serious or fatal crushing injuries can occur from furniture tip-over. To prevent this, the unit MUST be permanently attached to the wall using the anti-tip device provided.
- Anti-Tip Device: Always follow proper floor mounting instructions to prevent tipping. Secure the unit to a wall using the anti-tip hardware included. If the hardware is not suitable for your wall type, consult a professional for appropriate mounting solutions.
- Weight Distribution: Place heavier items on lower shelves. Do not overload shelves beyond the specified weight limit of 13 kg per shelf.
- Children Safety: Do not allow children to climb or hang on the unit, shelves, or doors.
- Stability: Ensure the unit is stable and level before loading any items.
- Relocation: When moving the unit, empty all contents first to prevent structural stress and potential injury.
8. Troubleshooting
This section addresses common issues you might encounter with your KALLAX shelving unit.
8.1 Unit Wobbles or is Unstable
- Check Level Surface: Ensure the unit is placed on a flat and level floor. Use shims if necessary to level the unit.
- Tighten Hardware: Re-check and tighten all assembly screws and cam locks. Loose hardware is a common cause of instability.
- Wall Attachment: Confirm the anti-tip device is securely attached to both the unit and the wall.
- Weight Distribution: Ensure weight is evenly distributed and not exceeding the maximum load per shelf. Place heavier items on lower shelves.
8.2 Doors Do Not Close Properly or Are Misaligned
- Hinge Adjustment: Refer to the original assembly instructions for details on how to adjust the door hinges. Most hinges allow for vertical, horizontal, and depth adjustments.
- Obstruction: Check for any items inside the compartment that might be obstructing the door's closing path.
- Loose Hinges: Tighten the screws securing the hinges to both the door and the unit frame.
9. Warranty and Support
For specific warranty information, please refer to the documentation provided at the time of purchase or contact the seller directly. This product is manufactured by ProTuning.
Optional protection plans are available for purchase to extend coverage beyond the standard return policy:
- 2-Year Protection Plan: Provides extended coverage for 24 months.
- 3-Year Protection Plan: Provides extended coverage for 36 months.
- Complete Protect: A monthly plan covering eligible past and future purchases.
For customer support, missing parts, or further assistance, please contact your retailer or the manufacturer, ProTuning.
Ask a question about this manual
Ask about setup, troubleshooting, compatibility, parts, safety, or missing instructions. Manuals+ will review the question and use this page’s manual context to help answer it.