1. Introduction
Thank you for choosing the Generic Underverk 80 cm Built-in Extractor Hood. This appliance is designed to effectively remove cooking fumes and odors from your kitchen, ensuring a fresh and clean environment. Made from durable stainless steel, it combines functionality with a sleek design.
This manual provides essential information for the safe installation, operation, and maintenance of your new extractor hood. Please read it thoroughly before use and keep it for future reference.
Key Features:
- Material: Stainless steel
- Configuration: Push-button controls
- Motor Power: 250 W
- Noise Level: 64 Decibels
- Dimensions (W x D x H): 79.9 cm x 35.8 cm x 24.5 cm
- Cord Length: 110 cm
- Weight: 12 kg
2. Safety Information
Always adhere to basic safety precautions when using electrical appliances to reduce the risk of fire, electric shock, and injury to persons.
- Electrical Safety: Ensure the power supply matches the voltage specified on the rating plate. Do not use extension cords or adapters. Disconnect the appliance from the power supply before any cleaning or maintenance.
- Installation: Installation must be carried out by a qualified technician in accordance with local regulations. Ensure adequate ventilation in the room when the hood is used simultaneously with gas or other fuel-burning appliances.
- Fire Hazard: Do not flambé under the range hood. Never leave frying food unattended as fats and oils can ignite. Clean grease filters regularly to prevent grease build-up, which is a fire hazard.
- Children and Vulnerable Persons: This appliance is not intended for use by persons (including children) with reduced physical, sensory or mental capabilities, or lack of experience and knowledge, unless they have been given supervision or instruction concerning use of the appliance by a person responsible for their safety.
- Damage: Do not operate the appliance if it is damaged. Contact customer support for repairs.
3. Product Overview
The Underverk extractor hood is designed for seamless integration into your kitchen cabinetry. It features efficient extraction and integrated lighting to illuminate your cooking area.
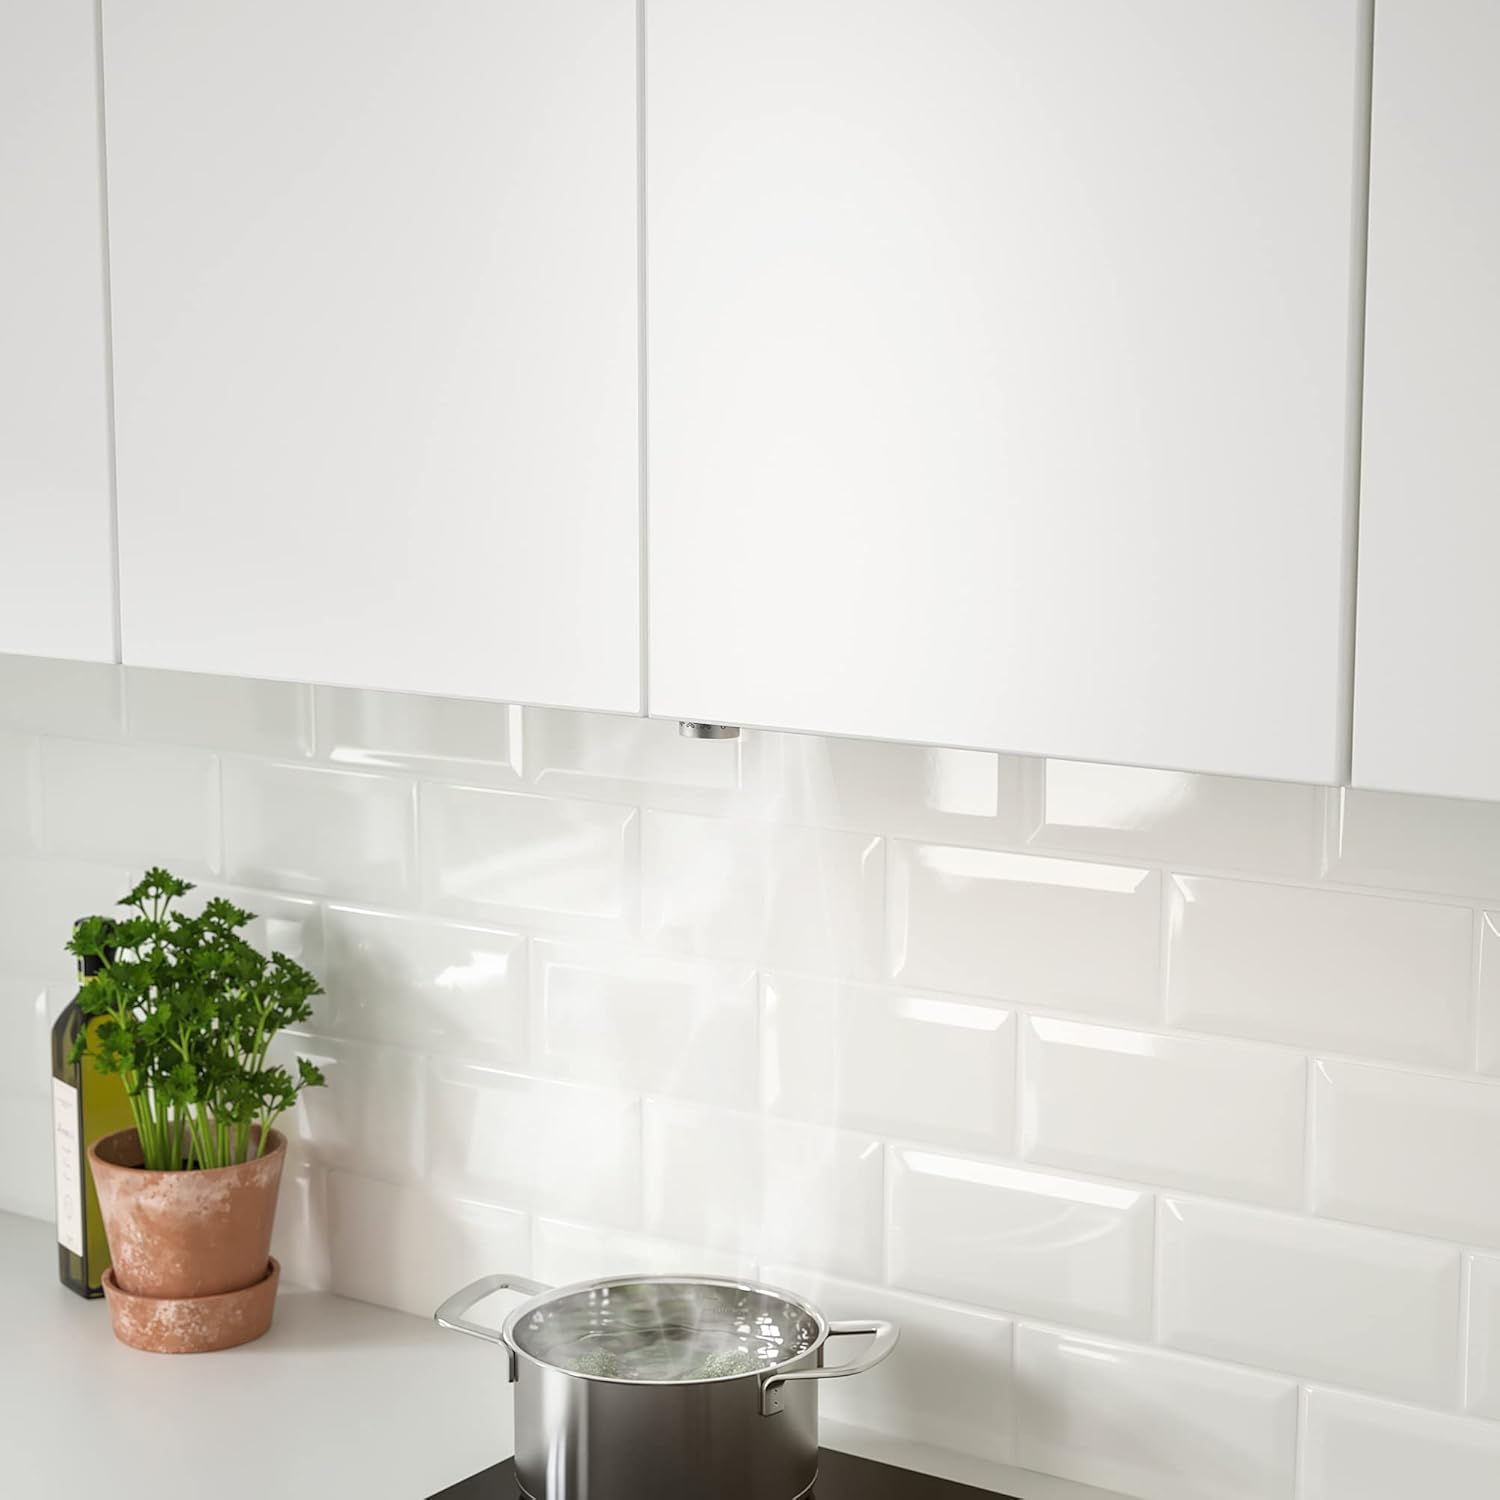
Figure 1: The Underverk 80 cm Built-in Extractor Hood installed, showcasing its integrated design, lighting, and grease filters.
The hood's main components include the motor, grease filters, lighting, and control panel. The push-button controls allow for easy adjustment of fan speed and light settings.
4. Setup and Installation
Proper installation is crucial for the performance and safety of your extractor hood. It should be installed by a qualified professional.
4.1. Dimensions and Clearances
Ensure sufficient space and proper clearances above your cooking surface. The hood's dimensions are 79.9 cm (Width) x 35.8 cm (Depth) x 24.5 cm (Height).

Figure 2: Product dimensions and recommended minimum clearances above cooking surfaces.
- Minimum clearance above an electric hob: 50 cm
- Minimum clearance above a gas hob: 65 cm
- Ducting diameter: 15 cm (as indicated in the diagram)
4.2. Installation Steps (General)
- Prepare Cabinetry: Ensure the cabinet opening matches the hood's dimensions and provides adequate support.
- Ducting: Connect the exhaust outlet to the ventilation system using appropriate ducting (15 cm diameter recommended). Ensure the ducting is as short and straight as possible for optimal performance.
- Mounting: Secure the hood within the cabinet using the provided mounting hardware.
- Electrical Connection: Connect the hood to a grounded electrical outlet. Ensure the power cord (110 cm length) is not pinched or damaged.
- Test Functionality: After installation, test all fan speeds and lighting to ensure proper operation.
5. Operating Instructions
The Underverk extractor hood features intuitive push-button controls for easy operation.
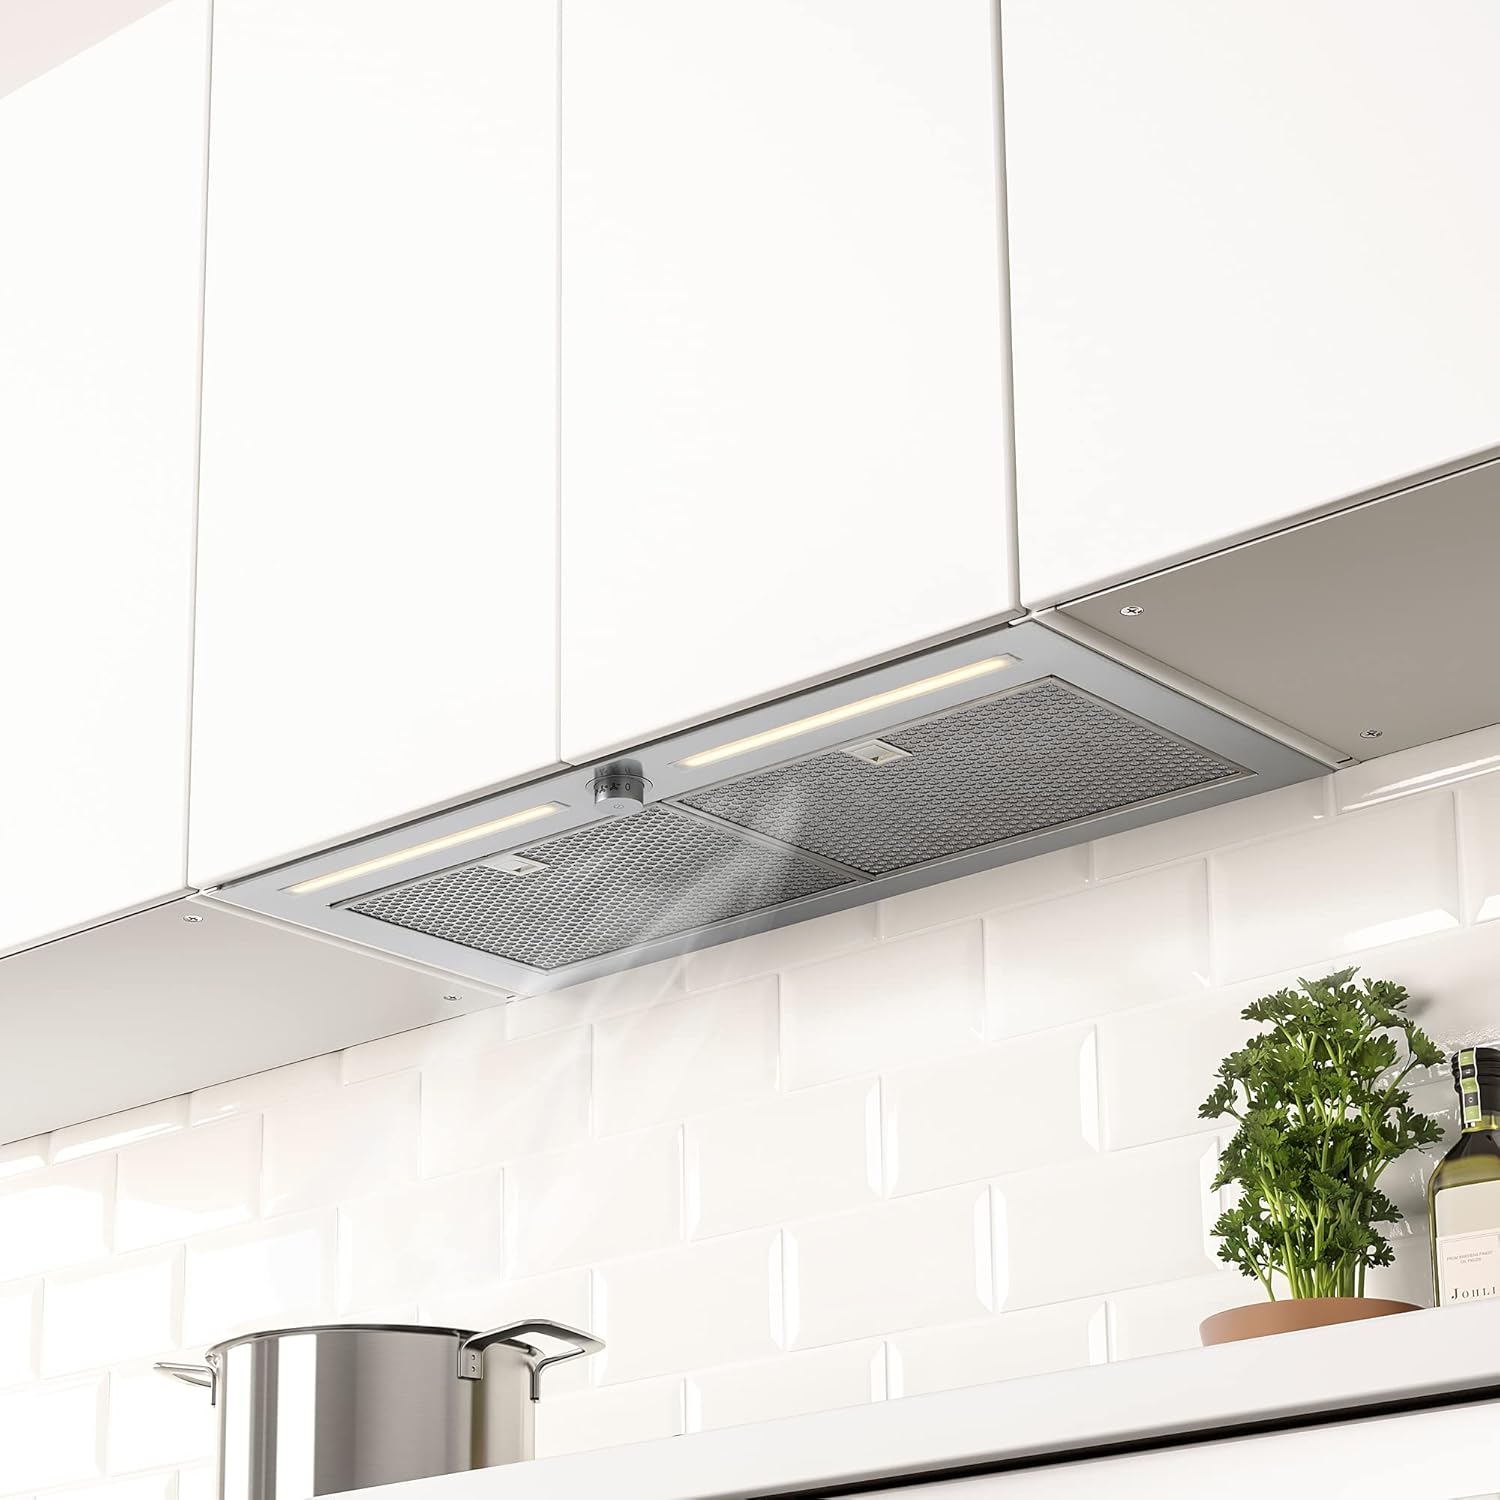
Figure 3: Control panel and grease filters.
- Power On/Off and Fan Speed: Use the rotary push-button control to turn the fan on and select the desired extraction speed. Rotate clockwise to increase speed, and counter-clockwise to decrease or turn off.
- Lighting: Press the dedicated light button to turn the integrated lighting on or off.
For best results, turn on the extractor hood a few minutes before you start cooking and leave it running for a few minutes after you finish to clear any residual fumes.
6. Maintenance
Regular maintenance ensures optimal performance and extends the lifespan of your extractor hood.
6.1. Cleaning the Exterior
- Always disconnect the power supply before cleaning.
- Clean the stainless steel surfaces with a soft cloth and a mild, non-abrasive detergent.
- Avoid using abrasive cleaners, scouring pads, or harsh chemicals, as these can damage the finish.
- Dry thoroughly with a clean cloth to prevent water spots.
6.2. Cleaning/Replacing Grease Filters
The metal grease filters trap grease particles from cooking fumes. They should be cleaned regularly (approximately every 2-4 weeks, depending on usage) to maintain extraction efficiency and prevent fire hazards.
- To remove filters, locate the release latches and gently pull them down.
- Wash the filters by hand in hot soapy water or in a dishwasher (ensure they are placed to avoid damage).
- Allow filters to dry completely before re-installing.
- Replace damaged or excessively worn filters with genuine spare parts.
7. Troubleshooting
Before contacting customer service, please check the following common issues and solutions:
| Problem | Possible Cause | Solution |
|---|---|---|
| Hood does not turn on. | No power supply. | Check if the plug is properly inserted and the circuit breaker is not tripped. |
| Poor extraction performance. | Clogged grease filters. Incorrect ducting. | Clean or replace grease filters. Ensure ducting is clear and correctly installed. |
| Excessive noise. | Loose components. Obstruction in fan. | Check for loose screws or parts. Inspect fan for any foreign objects. |
| Lights not working. | Faulty bulb/LED. Electrical issue. | Replace the bulb/LED if accessible. If not, contact service. |
If the problem persists after checking these points, please contact customer support.
8. Specifications
| Feature | Detail |
|---|---|
| Brand | Generic |
| Model Number | IK.103.939.74 |
| Product Dimensions (W x D x H) | 79.9 cm x 35.8 cm x 24.5 cm |
| Material | Stainless Steel |
| Motor Power | 250 W |
| Noise Level | 64 Decibels |
| Configuration | Push-button |
| Cord Length | 110 cm |
| Weight | 12 kg |
| ASIN | B0D1CPC3JN |
9. Warranty and Support
This product comes with a 5-year warranty. Please refer to the warranty brochure for detailed terms and conditions.
Spare parts for this model are available for a period of 5 years from the date of purchase.
For technical assistance, spare parts, or warranty claims, please contact your retailer or the manufacturer's customer support. Keep your proof of purchase for warranty validation.
Contact Information:
- Manufacturer: ProTuning
- Customer Support: [Insert Manufacturer/Retailer Contact Information Here]
- Website: [Insert Manufacturer/Retailer Website Here]