1. Introduction
The QQAMOGNNK GMI Series Grid Tie Micro Inverter is a compact unit designed to convert direct current (DC) from solar panels into alternating current (AC) for powering appliances and connecting to the utility grid. The AC output from this micro inverter is synchronized and in-phase with the utility grid, ensuring efficient energy transfer. This manual provides essential information for the safe and effective operation of your GMI Series inverter.

Image 1.1: Overview of the GMI Series Micro Inverter, highlighting its power ratings and voltage specifications.

Image 1.2: The GMI Series Micro Inverter, illustrating its key features and benefits for solar energy systems.
2. Safety Information and Warnings
WARNING! DANGER! ELECTRIC SHOCK HAZARD!
- Only connect solar panels to this equipment. Do not connect other power sources.
- This equipment is an ON-GRID Microinverter. For proper operation, it must be correctly connected to a functioning power grid. The inverter will cease operation if the power grid stops working.
- Do not exceed the PV panel voltage beyond the inverter's maximum input voltage.
- Do not exceed the PV panel power beyond the inverter's maximum input power.
- Ensure the positive and negative poles of the solar panel are connected correctly. Reversing polarity can cause damage. Exercise caution when extending solar panel cables.
- Install the inverter away from direct sunlight and direct rain exposure to prevent damage and ensure optimal performance.
- Installation and maintenance should only be performed by qualified service personnel.
- Do not remove the lid. Servicing must be performed by qualified service personnel.
3. Setup and Installation
Proper installation is crucial for the safe and efficient operation of your micro inverter. Follow these steps carefully:
3.1 Mounting the Inverter
Choose a ventilated, dry, and cool location for installation. The inverter uses an aluminum alloy material for heat dissipation, so good airflow is important. Avoid direct sunlight and rain exposure.
3.2 Connecting Solar Panels (DC Input)
Connect your solar panels to the DC input ports of the inverter. Ensure correct polarity (DC+ to DC+, DC- to DC-). Verify that the PV panel voltage and power do not exceed the inverter's specifications.
3.3 Connecting to the AC Grid (AC Output)
Connect the AC output cable from the inverter to your utility grid. This connection must be done correctly and in accordance with local electrical codes and regulations. The inverter will synchronize its output with the grid.

Image 3.1: Detailed view of the inverter's connection ports for solar panels (PV Input) and AC grid connection.

Image 3.2: Basic structure diagram illustrating the connection points for the GMI Series Micro Inverter.
4. Operating Instructions
Once properly installed and connected, the micro inverter will automatically begin operation when sufficient solar power is available and the grid is active. The inverter's status can be monitored via its indicator light.
4.1 Status Indicator
The inverter features a STATUS LED indicator. Refer to the product label or specific model documentation for detailed interpretations of LED states (e.g., solid green for normal operation, flashing for faults).
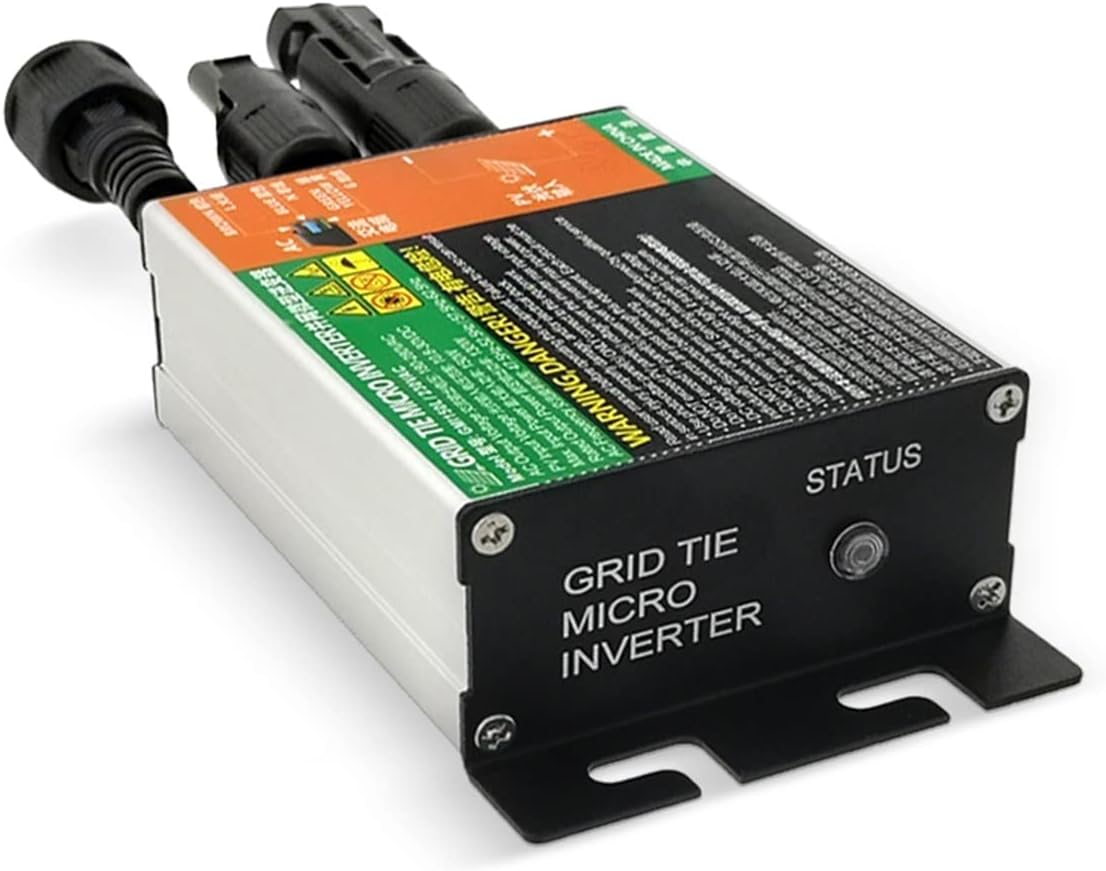
Image 4.1: The 'STATUS' indicator light on the GMI Series Micro Inverter.
4.2 Normal Operation and Heat Management
It is normal for electronic devices, including this inverter, to generate heat during operation. The aluminum alloy casing helps dissipate this heat. The inverter is equipped with over-temperature protection. If the internal temperature becomes too high, the inverter will automatically reduce its output efficiency or temporarily stop working to prevent damage. Once the temperature cools down, it will resume normal operation.
To enhance protection, the inverter's drive has been upgraded. When a certain temperature threshold is reached, the inverter may temporarily reduce its power output by half. It will return to full power once the thermal temperature drops to normal levels. If full power is not restored, disconnect and reconnect the inverter.
5. Maintenance
The GMI Series Micro Inverter is designed for minimal maintenance. However, regular checks can ensure its longevity and optimal performance:
- Cleaning: Keep the inverter's exterior clean and free from dust and debris. Do not use harsh chemicals or abrasive cleaners.
- Ventilation: Ensure the installation area remains well-ventilated to facilitate proper heat dissipation. Do not obstruct the inverter's cooling fins.
- Cable Inspection: Periodically inspect all DC and AC cables for any signs of wear, damage, or loose connections. Address any issues promptly.
- Environmental Conditions: Confirm the inverter remains protected from direct sunlight, rain, and excessive moisture.
6. Troubleshooting
This section addresses common issues you might encounter with your GMI Series Micro Inverter.
6.1 Inverter Not Producing Power
- Check Grid Connection: Ensure the utility grid is active and properly connected to the inverter. The inverter will not operate if the grid is down.
- Check Solar Panel Input: Verify that solar panels are receiving sufficient sunlight and are correctly connected (polarity, voltage, power within limits).
- Check Connections: Inspect all DC and AC connections for looseness or damage.
6.2 Inverter Overheating / Reduced Output
- Ventilation: Ensure the inverter is installed in a well-ventilated, cool, and dry location, away from direct sunlight.
- Normal Operation: Understand that some heat generation is normal. The inverter's over-temperature protection will reduce output or stop operation if necessary.
- Reset: If the inverter reduces power and does not return to full output after cooling, try disconnecting and reconnecting it.
6.3 Incorrect Voltage Readings
- Input Voltage: Ensure your solar panel voltage (18V-50V) is within the specified range for the inverter.
- Output Voltage: The AC output voltage (80V-160V or 180V-280V depending on model) should match your grid specifications.
7. Specifications
| Feature | Specification |
|---|---|
| Brand | QQAMOGNNK |
| Model Name | GMI Series Gmi700 |
| Power Output Options | 500W, 600W, 700W |
| DC Input Voltage Range | 18V to 50V |
| AC Output Voltage Range | 80V to 160V or 180V to 280V (model dependent) |
| AC Frequency | 50Hz / 60Hz |
| Item Weight | 1.52 pounds (691 Grams) |
| Package Dimensions | 1.18 x 0.79 x 0.39 inches |
| Assembly Required | No |
| Number of Pieces | 1 |
8. Warranty and Support
For warranty information or technical support, please refer to the documentation provided with your purchase or contact the manufacturer directly. Keep your purchase receipt as proof of purchase.
Manufacturer: QQAMOGNNK