1. Introduction
This manual provides detailed instructions for the installation, operation, and maintenance of your Redmaple Dash Cam K8. Please read this manual thoroughly before using the device to ensure proper functionality and to maximize your user experience.
Package Contents
- Redmaple Dash Cam K8 (Wireless Car Dash cam)
- Connecting Cable (USB)
- User Manual
2. Product Overview
The Redmaple Dash Cam K8 is a compact, high-definition front dash camera designed to record your driving journey. It features 1080P video recording, built-in Wi-Fi, GPS, G-Sensor, loop recording, night vision, and a 24-hour parking monitor.

Image: Diagram illustrating the Redmaple Dash Cam K8 with labeled components and dimensions. The diagram shows the bracket, HD lens, switch, speakers, TF card slot, and USB port, along with measurements of 2.6cm (1.0in) in height and 8.5cm (3.3in) in length.
Device Components
- Bracket: Used for mounting the dash cam to the windshield.
- HD Lens: Captures 1080P video footage with a 120° wide-angle view.
- Switch: Power button or function control.
- Speakers: For audio output, including voice prompts.
- TF Card Slot: Insert your Micro TF card (up to 64GB, Class 10 or above) here. Note: Memory card is not included.
- USB Port: For power connection and data transfer.
3. Setup
3.1 Installation
The Redmaple Dash Cam K8 is designed for easy installation on your vehicle's windshield.

Image: A diagram showing the simple installation process of the dash cam on the windshield, including cable routing and the connection to a USB car charger. The dash cam is positioned near the rearview mirror.
- Choose Location: Select a suitable location on your windshield, typically behind the rearview mirror, that does not obstruct your driving view.
- Clean Surface: Ensure the windshield surface is clean and dry before mounting.
- Attach Dash Cam: Secure the dash cam to the windshield using the provided adhesive pad on the bracket.
- Connect Power: Connect the provided USB connecting cable to the dash cam and then to your car's USB car charger. Route the cable neatly along the windshield edge and dashboard to avoid interference with driving.
3.2 Memory Card Insertion
A Micro TF card (not included) is required for recording video footage.
- Ensure the dash cam is powered off.
- Insert a Micro TF card (Class 10 or higher, up to 64GB) into the TF card slot until it clicks into place.
- It is recommended to format the memory card within the dash cam settings or via the app upon first use to ensure compatibility and optimal performance.
3.3 App Download and Wi-Fi Connection
The dash cam features built-in Wi-Fi for seamless control and footage management via a dedicated mobile application.
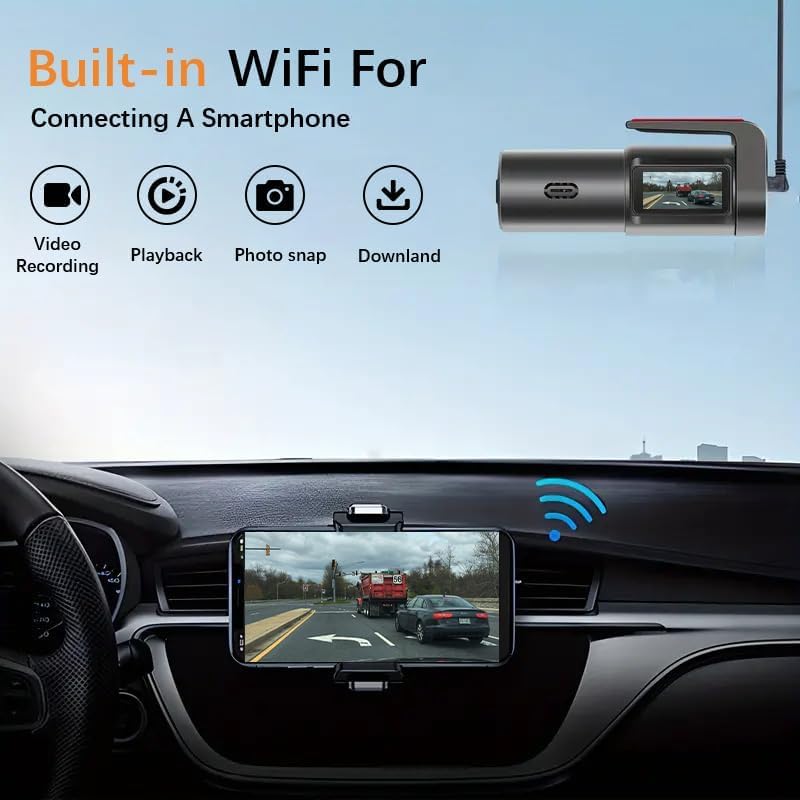
Image: A smartphone displaying the dash cam's app interface, showing live video footage and options for sharing to social media platforms like Twitter, Facebook, YouTube, Instagram, and WhatsApp. The dash cam is visible in the background, mounted in a car.
- Download App: Search for the official Redmaple Dash Cam app on the Google Play Store (for Android) or Apple App Store (for iOS).
- Enable Wi-Fi: Power on the dash cam. The Wi-Fi indicator will activate.
- Connect to Wi-Fi: On your smartphone, go to Wi-Fi settings and connect to the dash cam's Wi-Fi network. The network name and password can typically be found in the dash cam's settings or on a sticker on the device.
- Open App: Launch the app. You should now be able to view live footage, access settings, and manage recordings.
4. Operating Instructions
4.1 Basic Recording (Loop Recording)
Once powered on and with a memory card inserted, the dash cam will automatically begin recording. The loop recording feature ensures continuous recording by overwriting the oldest files when the memory card is full.
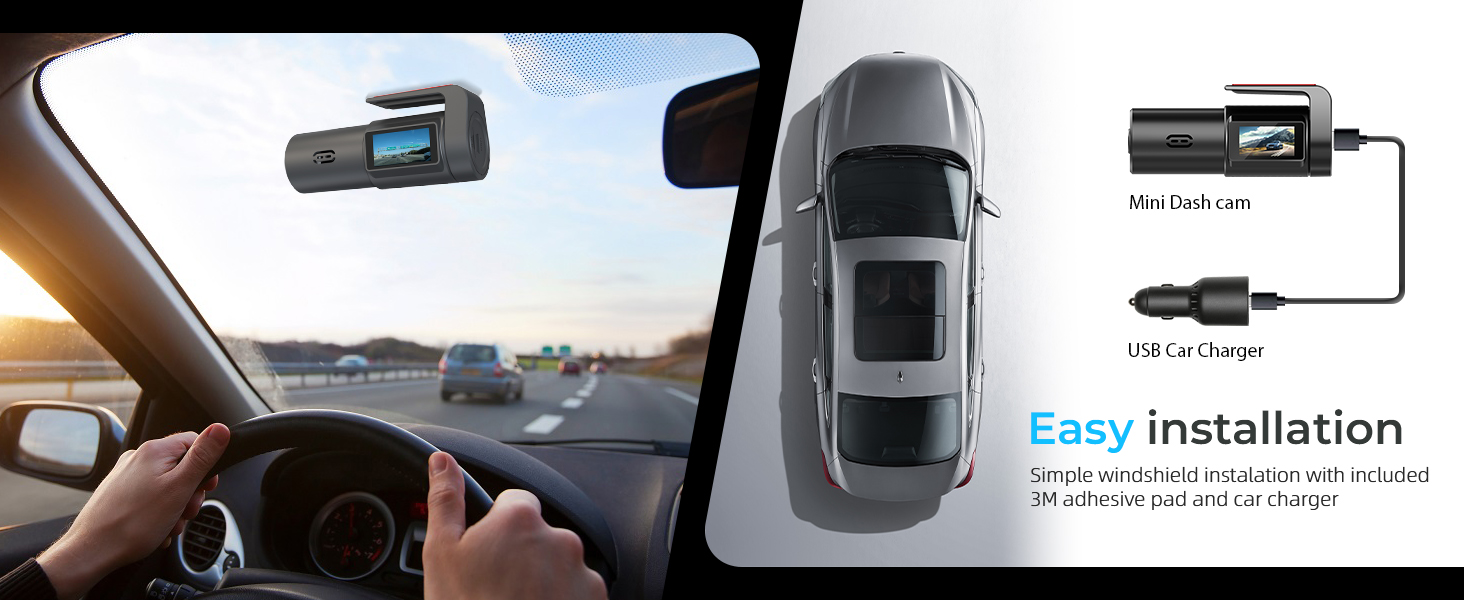
Image: A visual representation of the dash cam's loop recording feature, showing older footage being overwritten by new footage to ensure continuous recording. Icons for Wi-Fi, HD video, time-lapse recording, video output, and 0.96" TFT display are also shown.
- Automatic Start: The dash cam starts recording automatically when the vehicle's ignition is turned on.
- Seamless Recording: Videos are recorded in segments (e.g., 1, 3, or 5 minutes) without gaps.
- File Overwrite: When the memory card reaches its capacity, the oldest unlocked files are automatically deleted to make space for new recordings.
4.2 G-Sensor Functionality
The built-in G-Sensor detects sudden impacts or vibrations, automatically locking the current video segment to prevent it from being overwritten during loop recording.

Image: Two cars after a collision, with a large lock icon indicating that the G-Sensor has detected the impact and locked the video footage. Text highlights the adjustable sensitivity of the G-Sensor.
- Event Detection: In the event of a collision or sudden braking, the G-Sensor is triggered.
- File Protection: The video file being recorded at the time of the event is moved to a protected folder and will not be overwritten by loop recording.
- Sensitivity Adjustment: The G-Sensor sensitivity can be adjusted via the mobile app or device settings.
4.3 24-Hour Parking Monitor
To enable 24-hour parking monitoring, a USB hardwire kit (sold separately) is required. This feature protects your vehicle when parked.

Image: An aerial view of a parked car with radar-like waves emanating from it, symbolizing the 24-hour parking mode. A shield icon with '24 hours' reinforces the continuous protection feature.
- Automatic Activation: The dash cam automatically switches to parking mode when your car is parked and the hardwire kit is installed.
- Collision Detection: If an impact is detected, the dash cam will record a short video and lock it.
- Buffered Motion Sensor: Some parking modes may also record if motion is detected around the vehicle.
- Low Power Consumption: The parking monitor operates with low power consumption to avoid draining your car battery.
4.4 Wi-Fi & App Control
The mobile app provides comprehensive control over your dash cam.
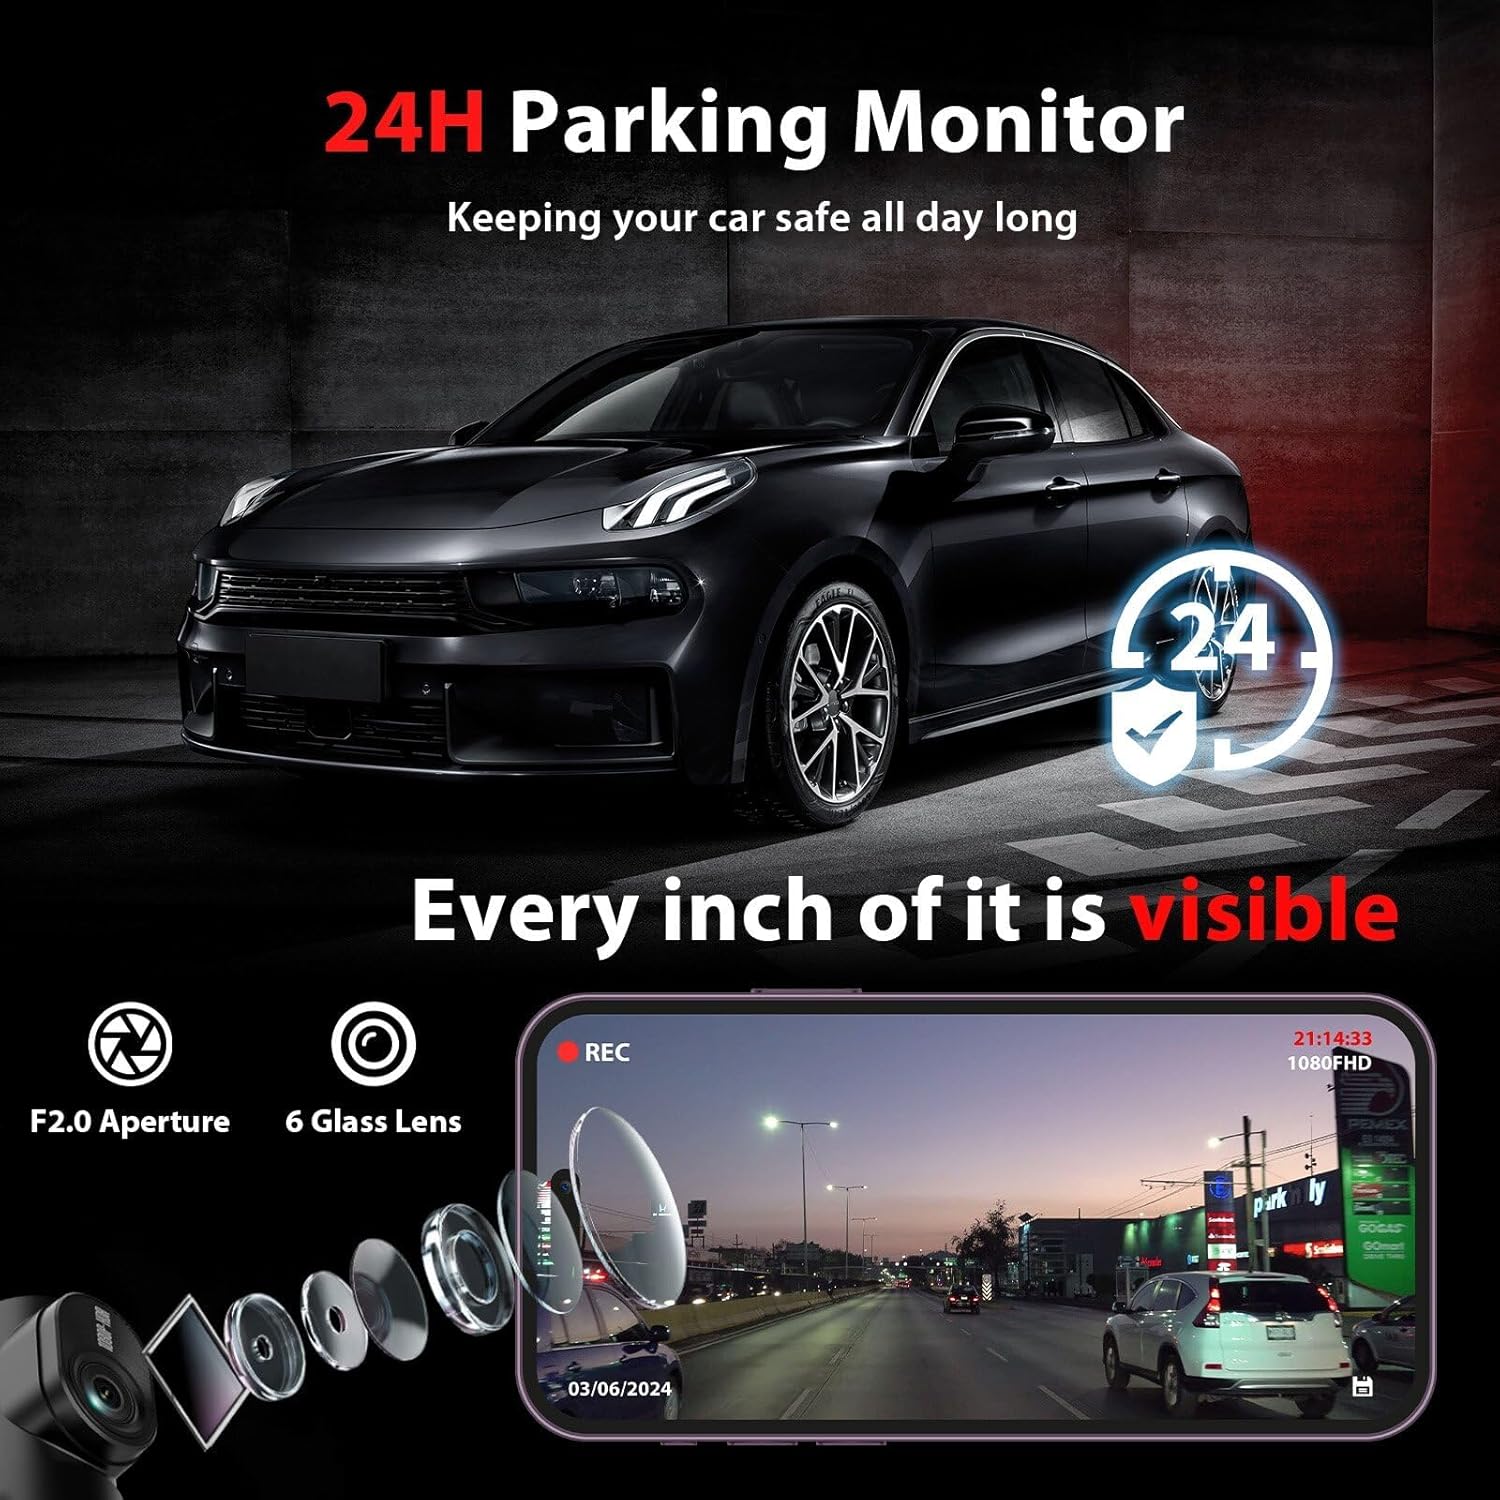
Image: A smartphone displaying the dash cam app interface, showing icons for video recording, playback, photo snap, and download. The dash cam is visible in the upper right corner, connected via Wi-Fi.
- Live View: Stream real-time video footage from the dash cam to your smartphone.
- Playback & Download: Review recorded videos and download important clips directly to your phone.
- Settings Adjustment: Modify dash cam settings such as resolution, G-Sensor sensitivity, loop recording duration, and more.
- Sharing: Easily share recorded footage to social media platforms.
4.5 Voice Control
Control your dash cam hands-free using voice commands for enhanced safety while driving.
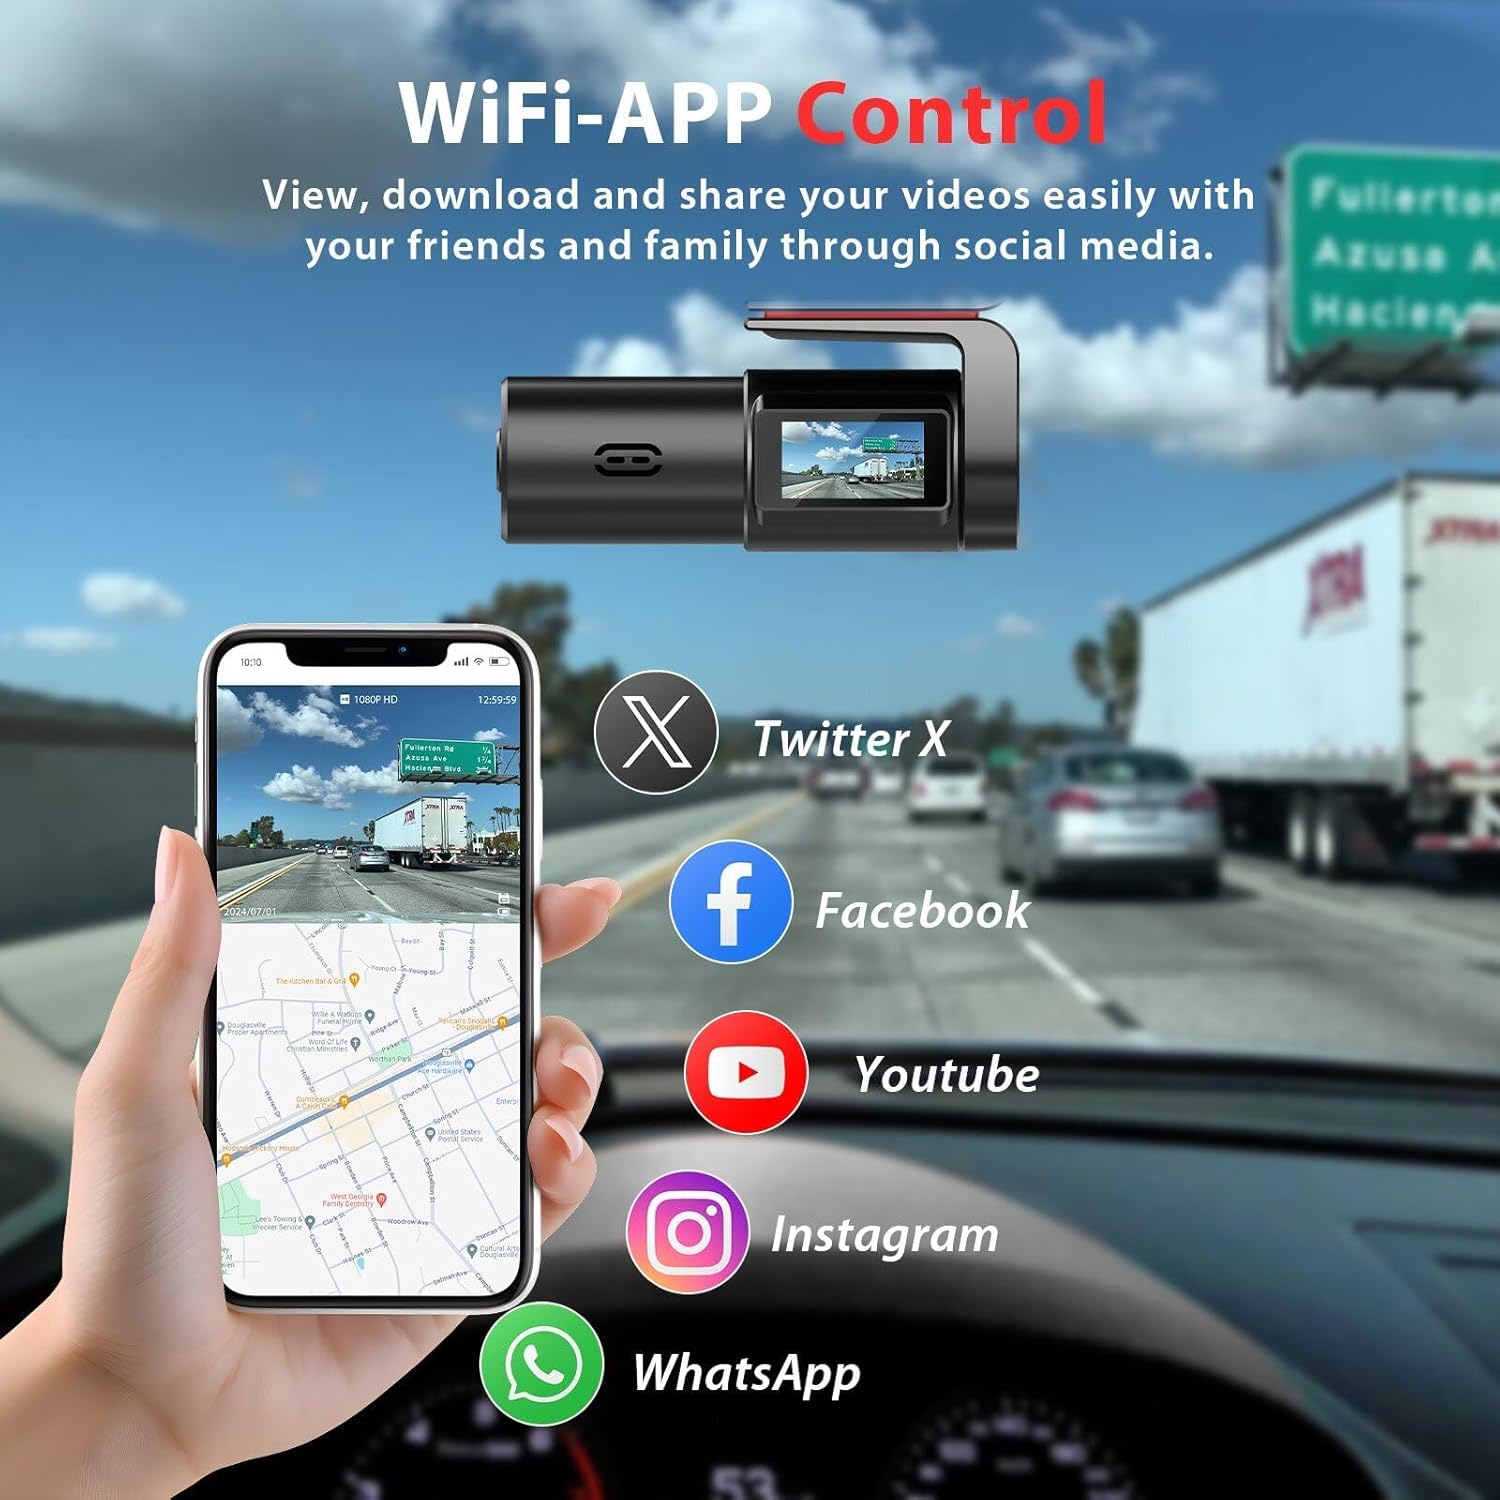
Image: A driver operating a vehicle, with speech bubbles indicating voice commands for the dash cam, such as "Upload Video," "Shooting Photos," and "Locking video." The dash cam is mounted on the windshield.
- Supported Commands: The dash cam responds to specific voice commands for actions like taking photos, locking videos, or starting/stopping recording.
- Voice Prompts: The device provides audio feedback to confirm commands or inform you of its status (e.g., "Start recording," "Please format the SD card").
4.6 Night Vision and Wide-Angle Lens
The dash cam is equipped with features to ensure clear recordings in various lighting conditions and a broad field of view.
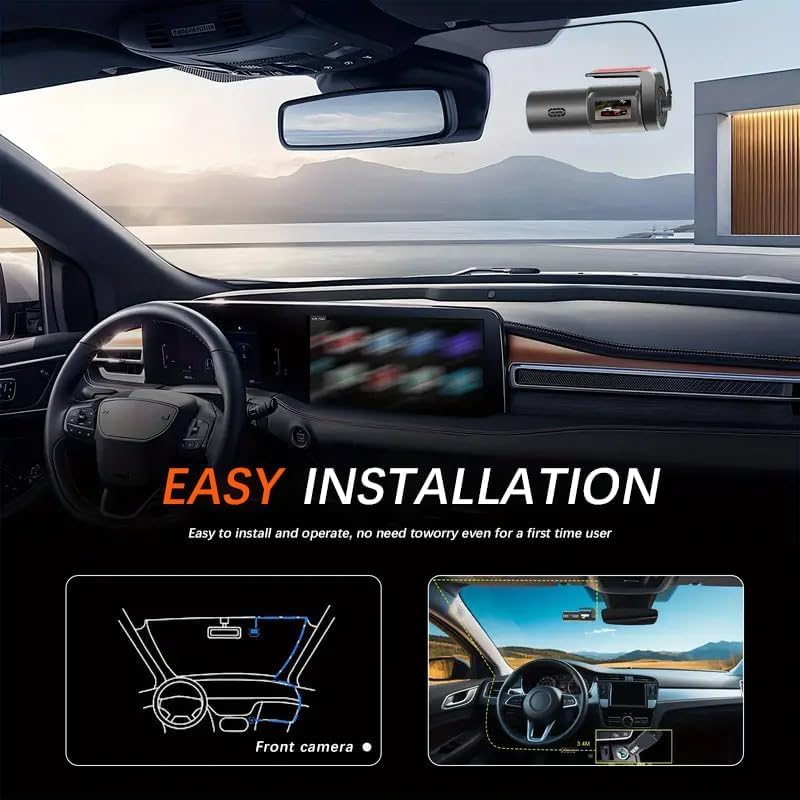
Image: A car driving at night, with a smartphone displaying clear night vision footage from the dash cam, highlighting its ability to capture details in low-light conditions.
- Night Vision: Advanced technology allows for clear video capture in low-light conditions, enhancing visibility of license plates and road signs at night.
- 120° Wide-Angle Lens: Provides a broad view of the road, capturing multiple lanes and reducing blind spots without significant distortion.
5. Maintenance
5.1 Memory Card Management
- Regular Formatting: To maintain optimal performance and prevent data corruption, it is recommended to format the Micro TF card every 2-4 weeks. This can usually be done through the dash cam's settings menu or the mobile app.
- Card Replacement: Memory cards have a limited lifespan. If you experience frequent recording errors or file corruption, consider replacing the TF card.
5.2 Cleaning the Device
- Lens Cleaning: Gently wipe the camera lens with a soft, lint-free cloth to ensure clear video quality. Avoid abrasive materials or harsh chemicals.
- Device Body: Use a dry or slightly damp cloth to clean the body of the dash cam. Do not use excessive moisture.
6. Troubleshooting
If you encounter issues with your Redmaple Dash Cam K8, refer to the following common problems and solutions:
| Problem | Possible Cause | Solution |
|---|---|---|
| Dash cam does not power on. | No power supply; faulty cable. | Check power connection to car charger. Ensure car charger is working. Try a different USB cable. |
| Recording stops or freezes. | Memory card full; slow card speed; card error. | Format the memory card. Use a Class 10 or higher TF card. Replace the memory card if issues persist. |
| Wi-Fi connection fails. | Incorrect password; app permissions; distance. | Verify Wi-Fi password. Ensure app has necessary permissions. Move closer to the dash cam. Restart both devices. |
| Video quality is poor. | Dirty lens; protective film; low resolution setting. | Clean the camera lens. Remove any protective film. Check video resolution settings in the app. |
| G-Sensor is too sensitive/not sensitive enough. | Incorrect sensitivity setting. | Adjust G-Sensor sensitivity in the dash cam settings via the mobile app. |
7. Specifications
| Feature | Detail |
|---|---|
| Model Name | K8 |
| Video Capture Resolution | 1080p (FHD 1920*1080 25fps) |
| Field Of View | 120 Degrees |
| Connectivity Technology | USB, Wi-Fi (Built-in 2.4G WiFi) |
| Special Features | App Control, Loop Recording, Night Vision, 24H Parking Monitor, G-Sensor |
| Storage Support | Micro TF up to 64GB (Class 10 or above) |
| Mounting Type | Dashboard Mount |
| Product Dimensions | 0.79 x 0.39 x 0.39 inches (approximate) |
| Item Weight | 6.6 ounces |
| Color | Black |
8. Warranty and Support
Redmaple products are manufactured with high-quality standards. For specific warranty details, please refer to the warranty card included with your product or contact Redmaple customer support.
Customer Support
If you have any questions, require technical assistance, or need to report an issue, please contact Redmaple customer support through the official website or the contact information provided in your product packaging. Please have your model number (K8) and purchase details ready when contacting support.