1. Introduction
This manual provides essential instructions for the safe and efficient operation, maintenance, and troubleshooting of your Blarie Robovac Pro Robot Vacuum G6000 FV3. Please read this manual thoroughly before using the product and retain it for future reference.
2. Safety Instructions
To reduce the risk of injury or damage, observe the following safety precautions:
- Ensure the power adapter is compatible with your local power supply.
- Do not operate the robot vacuum in wet environments or near liquids.
- Keep hair, loose clothing, fingers, and all parts of the body away from openings and moving parts.
- Do not pick up large objects, sharp objects, or burning/smoking materials.
- Supervise children and pets when the robot vacuum is operating.
- Only use manufacturer-specified attachments and accessories.
- Store the robot vacuum in a cool, dry place when not in use.
3. Package Contents
Verify that all items are present in the package:
- Blarie Robovac Pro Robot Vacuum G6000 FV3 Unit
- Floor Brush
- Cleaning Cloth
- USB Charging Cable
- User Manual (this document)
4. Product Overview
Familiarize yourself with the main components of your robot vacuum.

Figure 4.1: Top View of Robot Vacuum
This image displays the top surface of the Blarie Robovac Pro, highlighting its sleek white design and the prominent central touch control button.

Figure 4.2: Central Touch Control Button
A detailed view of the robot vacuum's main control button, designed for simple one-touch operation.

Figure 4.3: Bottom View with Cleaning Components
This image shows the underside of the robot vacuum, revealing the two large drive wheels, side brushes, and the main brush compartment, designed for effective floor cleaning.
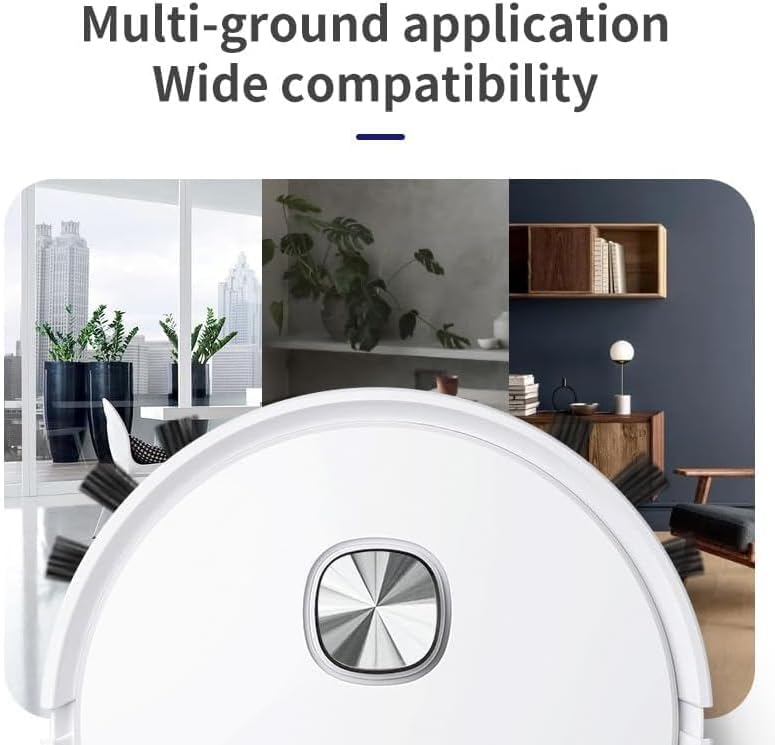
Figure 4.4: Removable Dust Box and Filter
An illustration of the robot vacuum's double filter dust box, demonstrating its easy-to-remove and clean design.
5. Setup
- Initial Charging: Before first use, fully charge the robot vacuum. Connect the USB charging cable to the charging port on the unit and to a suitable power adapter (not included). The indicator light will show charging status. A full charge typically takes several hours.
- Install Side Brushes: Gently push the side brushes onto their respective posts on the bottom of the robot until they click into place.
- Install Dust Box: Ensure the dust box and filter are correctly inserted into the robot vacuum. Refer to Figure 4.4 for proper placement.
- Prepare Cleaning Area: Remove any large obstacles, loose cables, or small items from the floor that could entangle the robot vacuum.
6. Operating Instructions
- Starting Cleaning: Press the central touch control button (refer to Figure 4.2) once to start the cleaning cycle. The robot will begin cleaning in a random path.
- Stopping Cleaning: To pause or stop the cleaning cycle, press the central touch control button again.
- Cleaning Modes: The robot vacuum defaults to a random cleaning path. For more systematic cleaning, a zigzag cleaning pattern can be selected if using a compatible remote control or mobile application (sold separately).
- Obstacle Avoidance: The robot is equipped with infrared sensors to detect obstacles. It will slow down and change direction when approaching furniture or walls to prevent collisions.
- Floor Transitions: The large wheels allow the robot to transition between hard floors and carpets, and to climb over thresholds up to 1.5 cm (0.6 inches) in height.
- Low Battery: When the battery is low, the robot vacuum will automatically attempt to return to its charging base if one is available and configured (charging base not included with this model, manual charging required). Otherwise, it will stop cleaning.
7. Maintenance
Regular maintenance ensures optimal performance of your robot vacuum.
- Emptying the Dust Box: After each cleaning cycle, or when the dust box is full, remove it from the robot vacuum (refer to Figure 4.4) and empty its contents.
- Cleaning the Filter: The double filter system should be cleaned regularly. Tap the filter to remove loose debris. For thorough cleaning, rinse the filter with water if specified by the manufacturer (allow to air dry completely before reinstallation).
- Cleaning Side Brushes: Remove any hair or debris tangled around the side brushes. Replace brushes if they become worn or damaged.
- Cleaning Sensors: Periodically wipe the infrared sensors (located around the bumper) with a clean, dry cloth to ensure proper obstacle detection.
- Cleaning Wheels: Remove any hair or debris that may have accumulated around the drive wheels.
8. Troubleshooting
If you encounter issues with your robot vacuum, refer to the following common problems and solutions:
| Problem | Possible Cause | Solution |
|---|---|---|
| Robot does not start or stops unexpectedly. | Low battery; power button not pressed; obstruction. | Charge the robot fully. Press the central button firmly. Remove any obstructions. |
| Weak suction or poor cleaning performance. | Full dust box; clogged filter; tangled brushes. | Empty the dust box. Clean or replace the filter. Clean the main and side brushes. |
| Robot gets stuck frequently or moves in circles. | Sensors are dirty; wheels are tangled; uneven surface. | Clean all sensors. Remove debris from wheels. Ensure cleaning area is clear of excessive height differences. |
| Robot does not transition between floor types. | Threshold height exceeds 1.5 cm; wheels are obstructed. | Ensure thresholds are within the specified height. Clean wheels of any debris. |
| Short battery life. | Battery not fully charged; aging battery. | Ensure the robot is fully charged before each use. If battery life significantly degrades, consider battery replacement (contact support). |
9. Specifications
| Brand | Blarie |
| Model Name | Blarie |
| Model Number | FV3 |
| Special Feature | Obstacle Avoidance |
| Color | White |
| Product Dimensions | 10"L x 3.7"W x 12"H |
| Included Components | Cloth, Floor Brush, USB cable |
| Filter Type | Cartridge |
| Battery Life | 30 minutes |
| Power Source | Battery Powered |
| Control Method | Touch |
| Compatible Devices | Amazon Echo (Note: Requires separate remote/APP for full compatibility) |
| Form Factor | Robotic |
| Item Weight | 1.85 pounds |
10. Warranty and Support
This product comes with a standard manufacturer's warranty. For specific warranty details, please refer to the documentation provided at the time of purchase or contact the seller directly. For technical support or service inquiries, please reach out to the Blarie customer service department or your retailer.
Keep your purchase receipt as proof of purchase for warranty claims.