1. Introduction
This manual provides detailed instructions for assembling your Flever DIY Miniature Dollhouse Kit, model QT-086, themed "Dessert Time". This kit is designed to offer a rewarding crafting experience, resulting in a detailed miniature display. Please read all instructions carefully before beginning assembly.
2. Safety Information
- Recommended Age: This kit is recommended for individuals 14 years old and up due to the intricate nature and small components.
- Small Parts: The kit contains many small parts which can be a choking hazard. Keep out of reach of small children.
- Sharp Tools: Assembly requires the use of sharp tools such as scissors and a knife. Exercise caution to prevent injury.
- Storage: Do not store the product near a fire source or in a damp environment to avoid damage to parts.
- Adhesives: Use appropriate adhesives as recommended. Ensure good ventilation when using glues.
3. Package Contents
Before starting, verify that all components listed below are present in your kit:
- Pre-cut MDF wooden pieces for the house structure and furniture.
- Fabric and printed paper for decorations and accessories.
- Plexiglass pieces for the dust cover.
- LED light wires and other miniature decorations & accessories.
- English Manual (paper copy usually included; PDF available from seller if not).
- Toolkit including scissors, knife, tweezers, ruler, and screwdriver.
Items Not Included (Required for Assembly):
- Batteries: 3 pcs of LR44 button cells are required for the LED lighting.
- Glue: Quick-dry tacky glue is recommended. Super glue and wood glue may also be useful for specific materials.
4. Assembly Instructions
Assembly of this miniature kit requires patience and precision. The estimated assembly time is 18-24 hours, depending on individual experience. Follow the step-by-step instructions provided in the included paper manual. The process involves cutting, folding, gluing, and arranging small components.
4.1 General Assembly Tips
- Organize Parts: Before starting, sort all pieces by type and label them according to the manual.
- Read Ahead: Always read the next few steps before performing them to understand the overall process.
- Precision Cutting: Use the provided knife and scissors for precise cuts, especially for paper and fabric elements.
- Gluing: Apply glue sparingly to avoid excess. Allow sufficient drying time for each component before proceeding.
- Wiring: Carefully follow the wiring diagram for the LED lights to ensure proper functionality.
4.2 Visual Guide for Assembly
Refer to the images below for visual guidance during the assembly process. These images illustrate various stages and details of the "Dessert Time" kit.

Image 1: Detailed view of the miniature dessert shop interior, showcasing various sweets, a 'Welcome' sign, and intricate furniture.

Image 2: Overhead view of the miniature dessert shop, featuring a striped awning and small potted plants on the roof.

Image 3: Close-up of the miniature dessert shop counter, displaying ice cream sundaes, a small shopping bag, and tiny stools.

Image 4: Another angle of the dessert shop counter, highlighting the detailed flooring and miniature furniture.

Image 5: Full view of the assembled miniature dessert shop, demonstrating its compact size and intricate details.

Image 6: A person's hands carefully placing a miniature item into the dollhouse, illustrating the detailed crafting process.
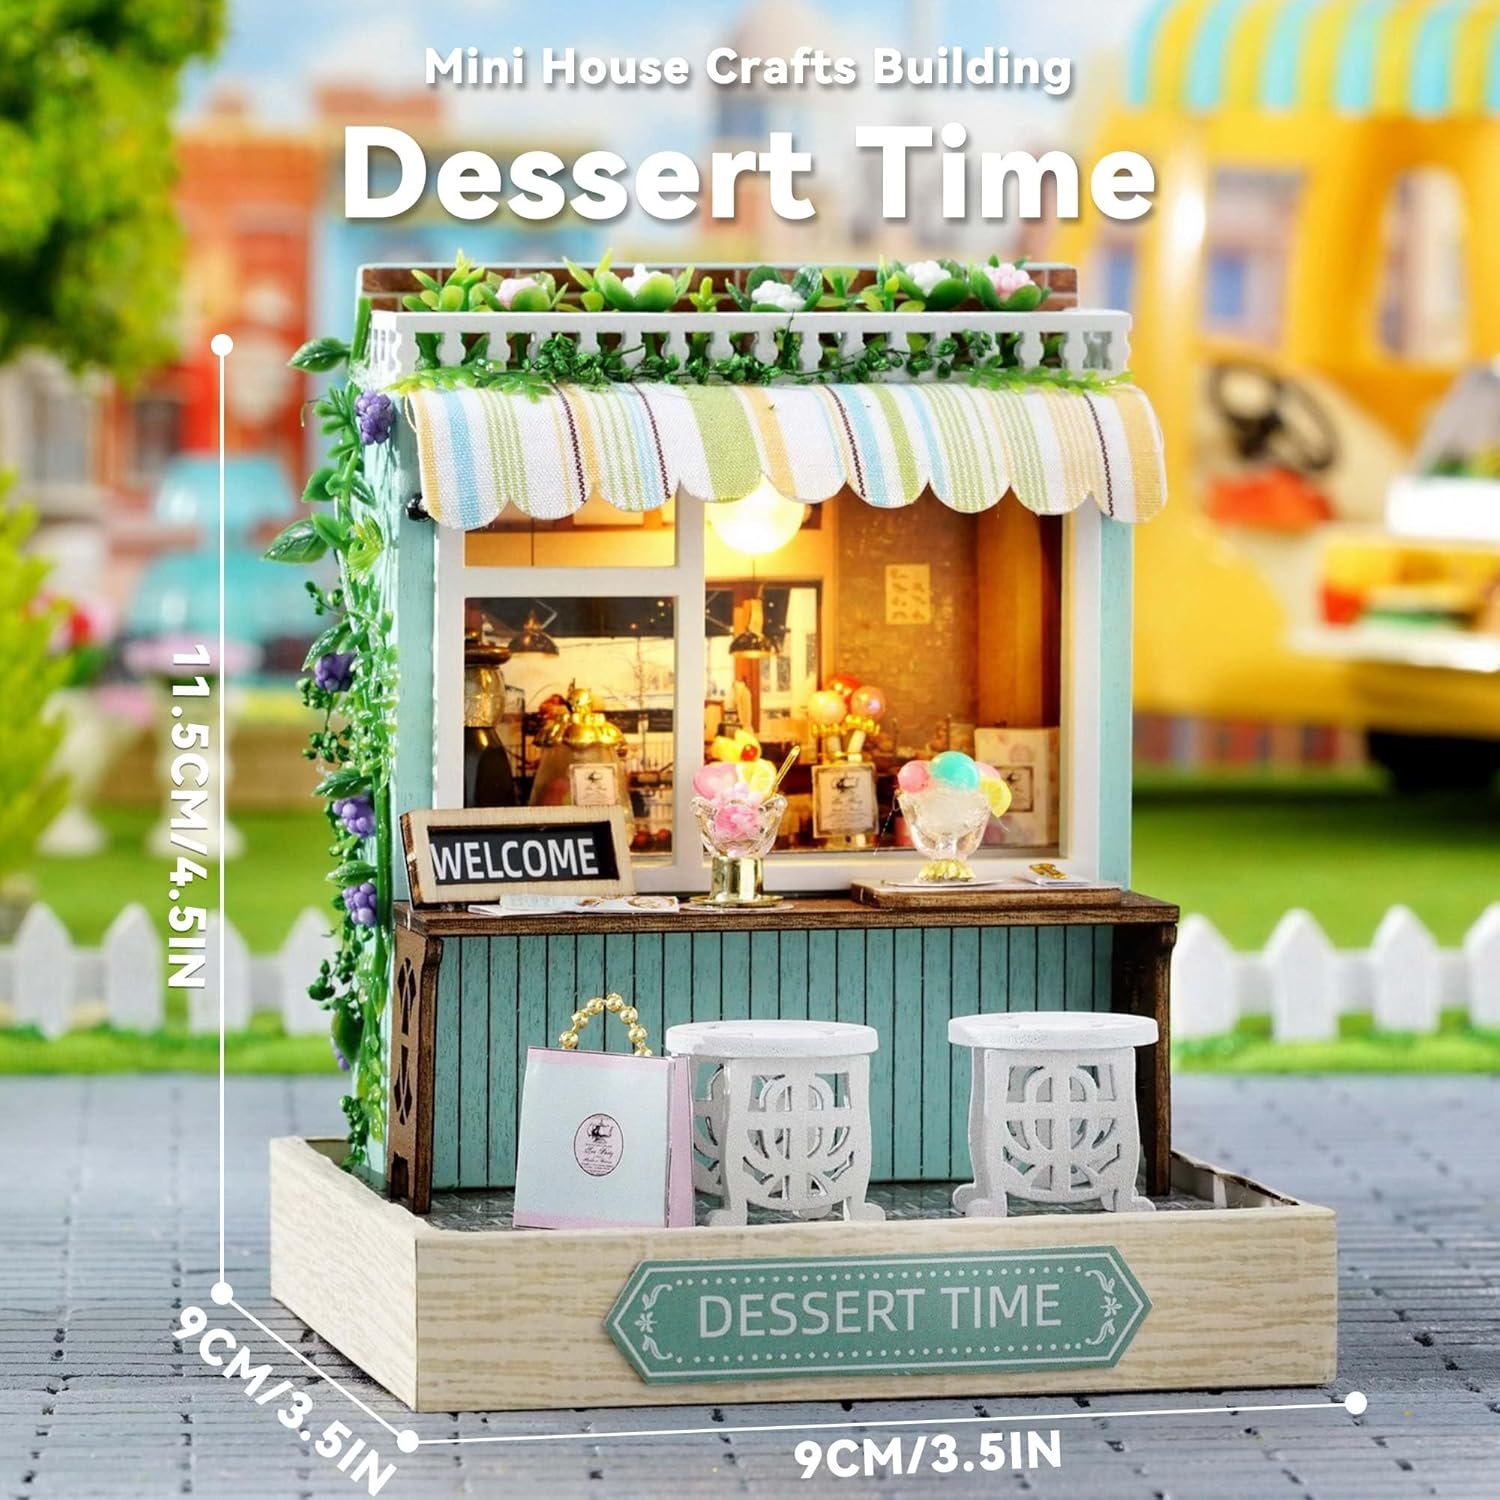
Image 7: Dimensions of the miniature dessert shop, indicating its length, width, and height for reference.
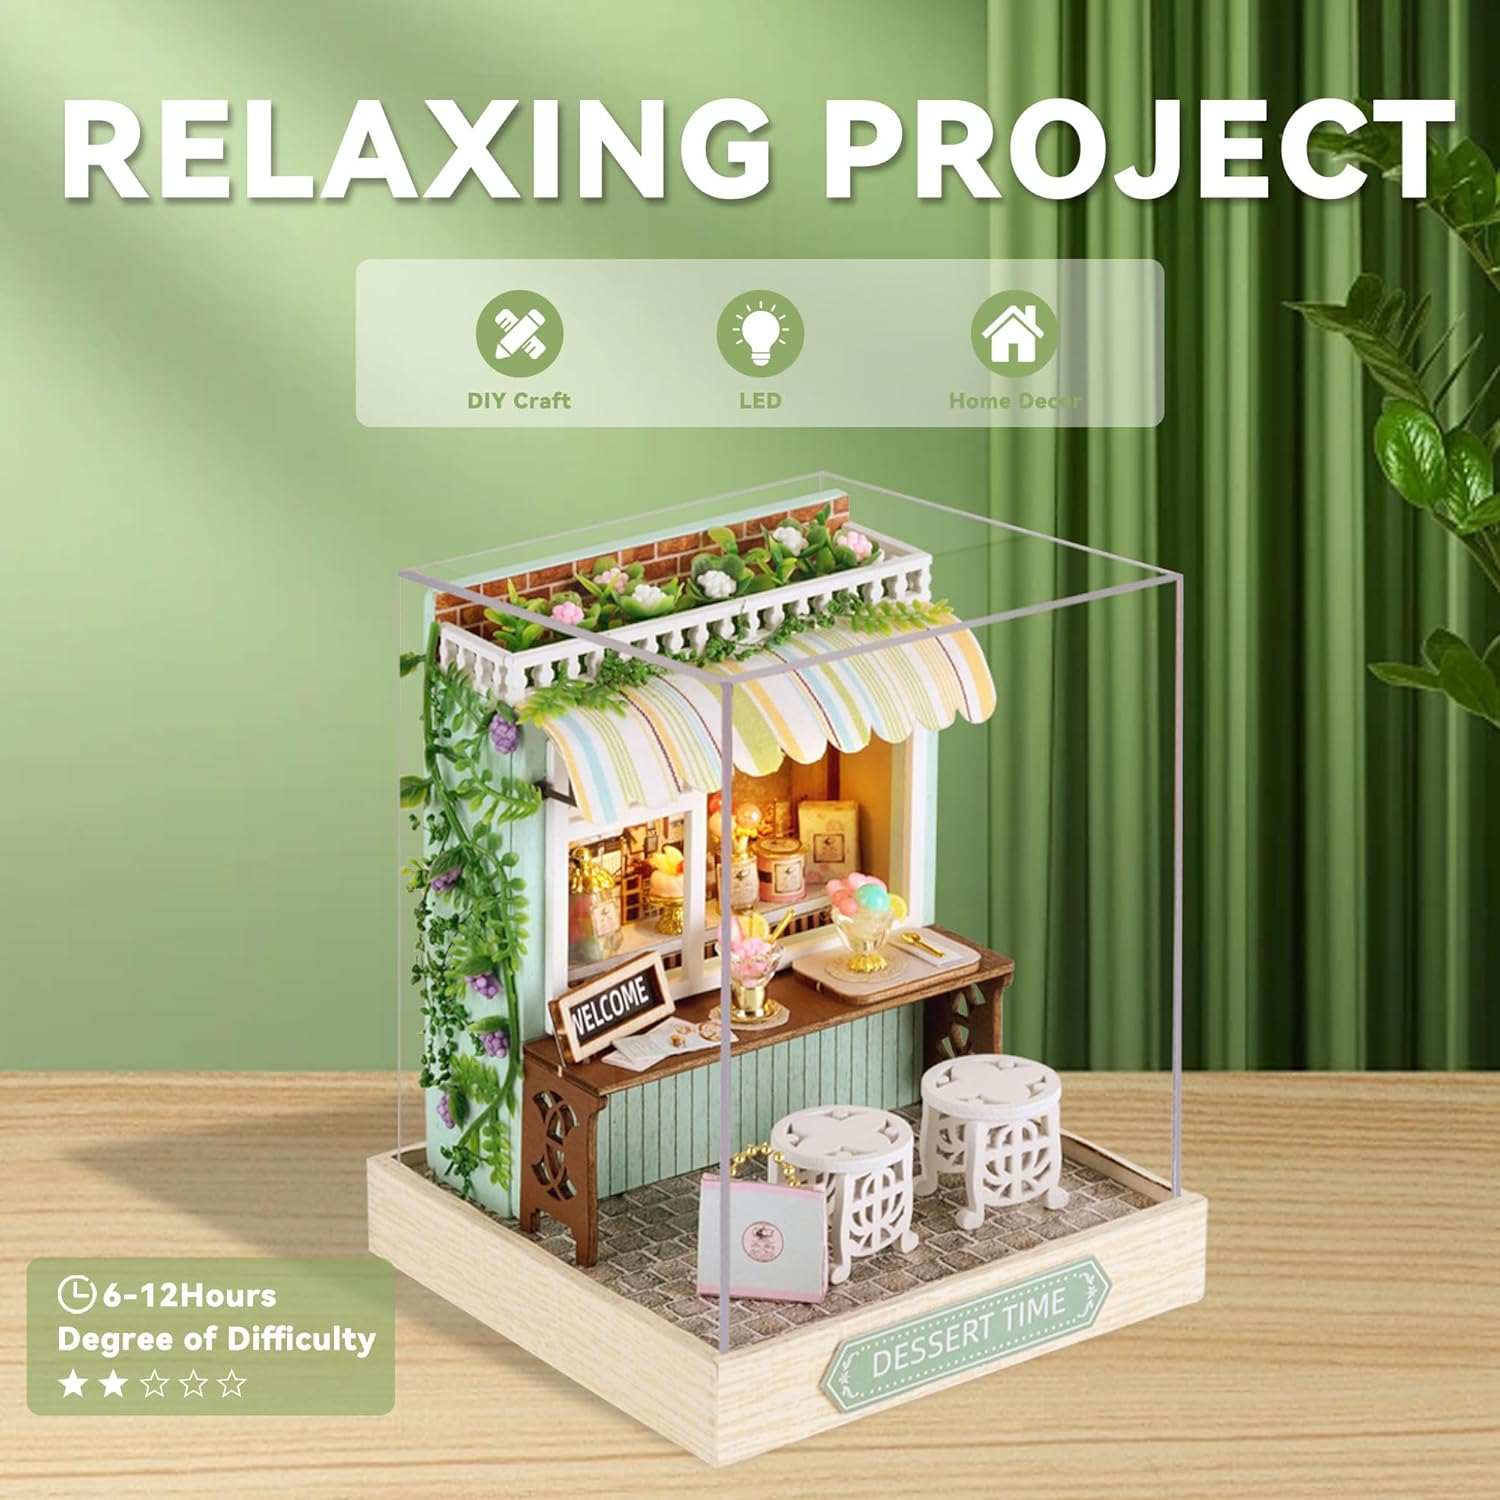
Image 8: The miniature dessert shop displayed with its clear dust cover, showcasing the effect of the LED lighting.
4.3 Assembly Video Guide
For a visual walkthrough of the assembly process, please refer to the official product video below. This video demonstrates key steps and techniques for building your miniature dollhouse kit.
Video 1: Official Flever Dollhouse assembly guide featuring various models including "Dessert Time", "Moon Magic", "Leisure Time", and "Revolving Food House". This video provides a general overview of the assembly process for these miniature kits.
5. Operation
5.1 LED Lighting
Once the assembly is complete and the wiring is connected according to the manual, insert 3 LR44 button cell batteries into the designated battery compartment. Activate the LED lights using the switch to illuminate your miniature scene.
6. Maintenance
- Cleaning: Gently dust the assembled dollhouse with a soft, dry cloth. Avoid using liquid cleaners which may damage the materials.
- Dust Cover: Utilize the provided plexiglass dust cover to protect the miniature from dust and environmental elements.
- Battery Replacement: Replace LR44 batteries as needed to maintain LED light functionality.
- Storage: Store the finished product in a stable, dry environment away from direct sunlight and extreme temperatures.
7. Troubleshooting
| Problem | Possible Cause | Solution |
|---|---|---|
| LED lights do not turn on. |
|
|
| Missing or damaged parts. | Manufacturing error or shipping damage. | Contact Flever customer support with your purchase details for assistance. |
| Pieces do not fit together properly. | Incorrect orientation or insufficient trimming. | Review the manual for correct orientation. Carefully trim edges if necessary for a snug fit. |
| Glue does not hold pieces. | Incorrect glue type or insufficient drying time. | Use quick-dry tacky glue. Allow ample drying time, especially for small or stressed joints. |
8. Specifications
- Model Number: QT-086
- Product Dimensions (Finished): 3.5" (Length) x 3.5" (Width) x 4.5" (Height)
- Scale: 1:32
- Item Weight: 4.8 ounces
- Recommended Age: 14 years and up
- Batteries Required: 3 x LR44 button cells (not included)
- Manufacturer: Flever
9. Warranty and Support
For warranty information, missing parts, or technical support, please contact Flever customer service directly through the retailer where the product was purchased or visit the official Flever website. Please have your model number (QT-086) and purchase details ready when contacting support.