
Taylor Swoden B0CZXFXDJT
Taylor Swoden 12-Cup Programmable Coffee Maker
User Manual
Model: B0CZXFXDJT
Important Safeguards
When using electrical appliances, basic safety precautions should always be followed to reduce the risk of fire, electric shock, and/or injury to persons, including the following:
- Read all instructions.
- Do not touch hot surfaces. Use handles or knobs.
- To protect against fire, electric shock, and injury to persons, do not immerse cord, plugs, or coffee maker in water or other liquid.
- Close supervision is necessary when any appliance is used by or near children.
- Unplug from outlet when not in use and before cleaning. Allow to cool before putting on or taking off parts, and before cleaning the appliance.
- Do not operate any appliance with a damaged cord or plug or after the appliance malfunctions, or has been dropped or damaged in any manner. Return appliance to the nearest authorized service facility for examination, repair, or adjustment.
- The use of accessory attachments not recommended by the appliance manufacturer may result in fire, electric shock, or injury to persons.
- Do not use outdoors.
- Do not let cord hang over edge of table or counter, or touch hot surfaces.
- Do not place on or near a hot gas or electric burner, or in a heated oven.
- Always attach plug to appliance first, then plug cord into the wall outlet. To disconnect, turn any control to "off", then remove plug from wall outlet.
- Do not use appliance for other than intended use.
- Extreme caution must be used when moving an appliance containing hot liquids.
- The carafe is designed for use with this appliance. It must never be used on a range top.
- Do not place a hot carafe on a wet or cold surface.
- Do not use a cracked carafe or a carafe having a loose or weakened handle.
- Do not clean carafe with cleansers, steel wool pads, or other abrasive material.
Product Overview
Familiarize yourself with the components of your Taylor Swoden 12-Cup Programmable Coffee Maker.

This image shows the complete Taylor Swoden 12-Cup Programmable Coffee Maker, highlighting its sleek design and digital display.
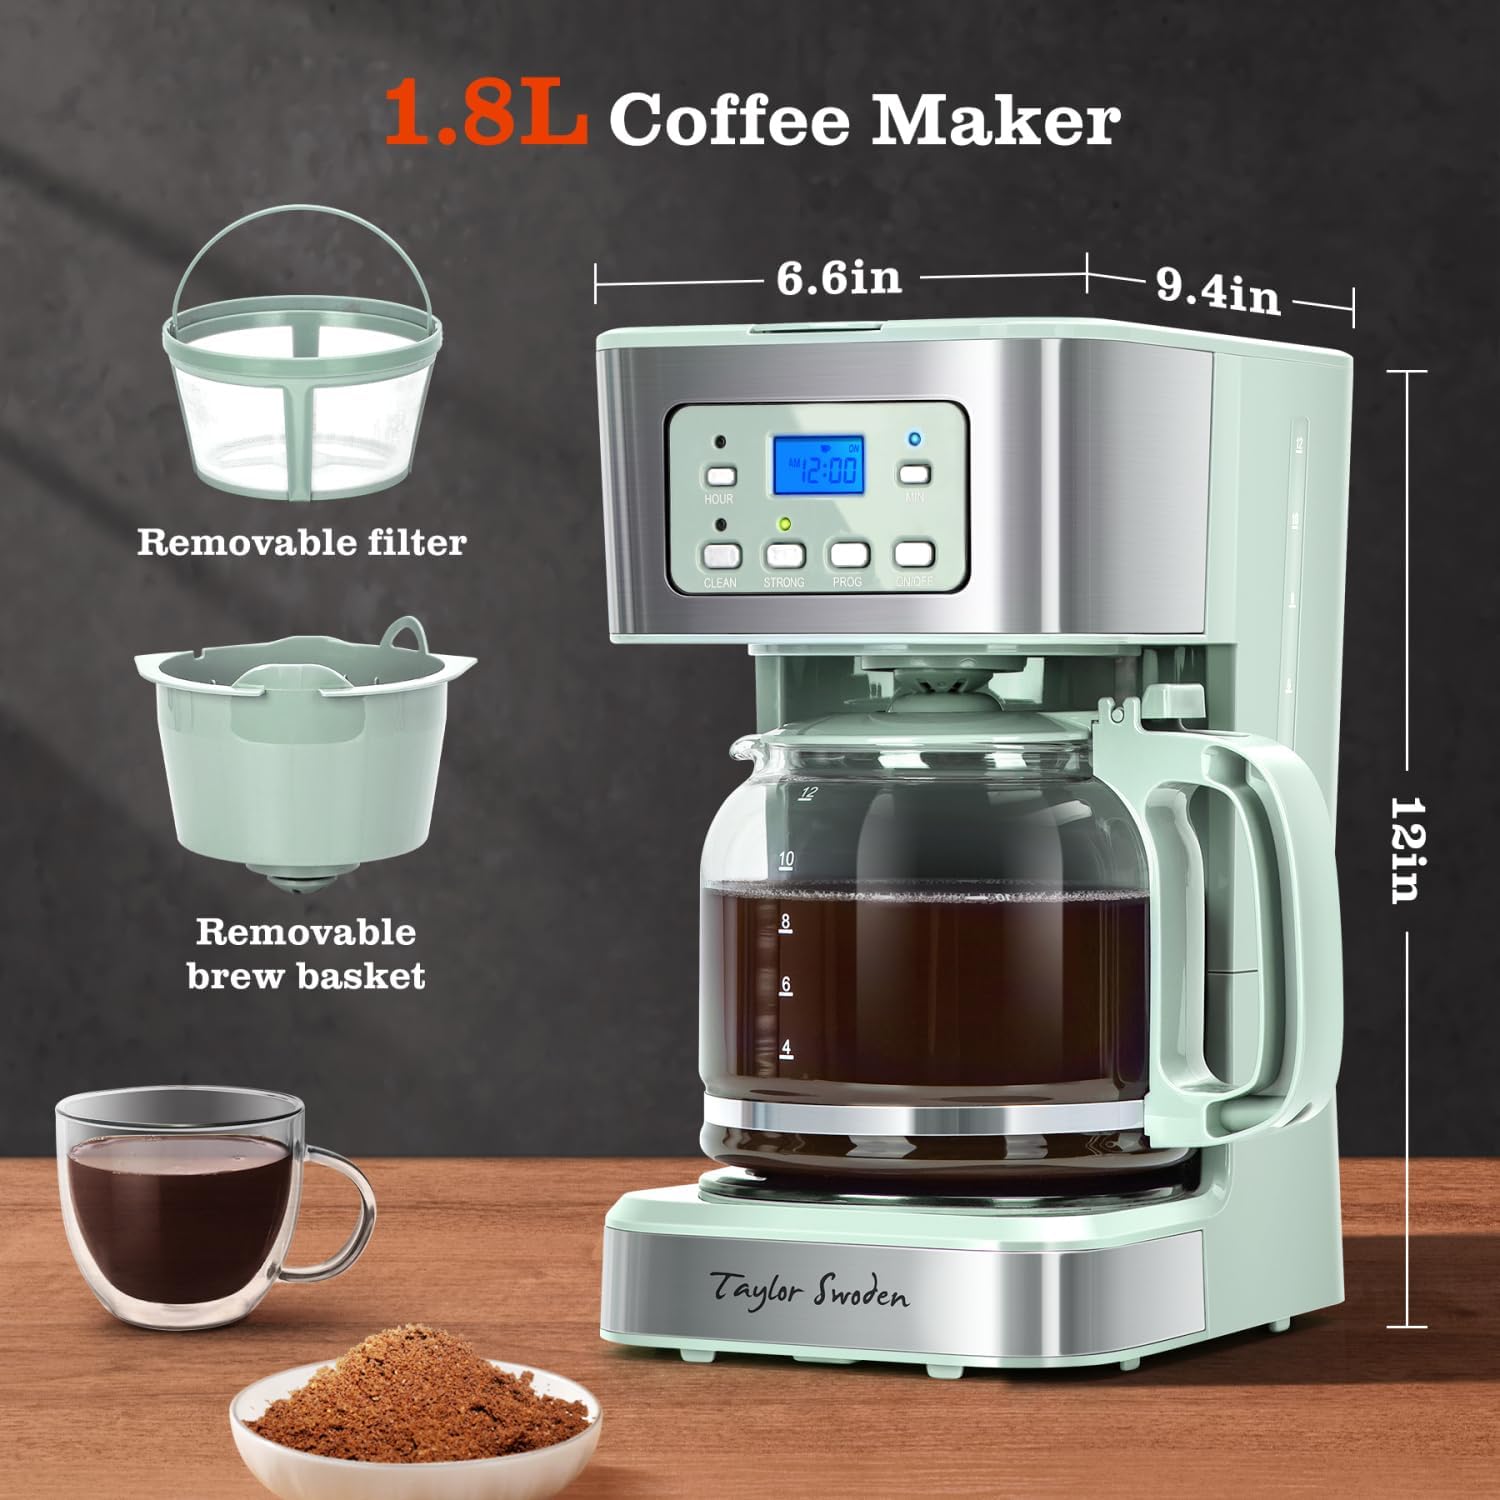
This image illustrates the dimensions of the coffee maker (6.6in D x 9.4in W x 12in H) and highlights the removable filter and removable brew basket for easy cleaning.
Key Components:
- Control Panel with LCD Screen: For programming and setting options.
- Water Reservoir: For filling with water.
- Showerhead: Ensures even saturation of coffee grounds.
- Filter Basket: Holds the permanent filter or paper filter.
- Permanent Filter: Reusable filter for coffee grounds.
- Glass Carafe: 12-cup capacity for brewed coffee.
- Warming Plate: Keeps coffee warm after brewing.
Before First Use
Before using your coffee maker for the first time, it is recommended to clean all removable parts and run a brewing cycle with only water to remove any manufacturing residues.
- Wash the glass carafe, lid, and permanent filter in warm, soapy water. Rinse thoroughly and dry.
- Fill the water reservoir with clean water up to the 12-cup mark.
- Place the permanent filter (or a paper filter) into the filter basket, but do not add coffee grounds.
- Place the carafe on the warming plate.
- Plug the coffee maker into a power outlet.
- Press the "ON/OFF" button to start a brewing cycle with only water.
- Once the cycle is complete, discard the water from the carafe.
- Repeat this process once more for optimal cleanliness.
Setup and Operation
Setting Up for Brewing:
- Add Water: Open the top lid and fill the water reservoir with fresh, cold water to the desired level, indicated by the cup markings. Do not exceed the 12-cup maximum.
- Add Coffee Grounds: Place the permanent filter into the filter basket. Add the desired amount of ground coffee. A general guideline is one tablespoon of coffee grounds per cup, but adjust to your taste. Close the top lid securely.
- Position Carafe: Place the empty glass carafe with its lid securely on the warming plate. Ensure it is properly seated to activate the drip-stop mechanism.
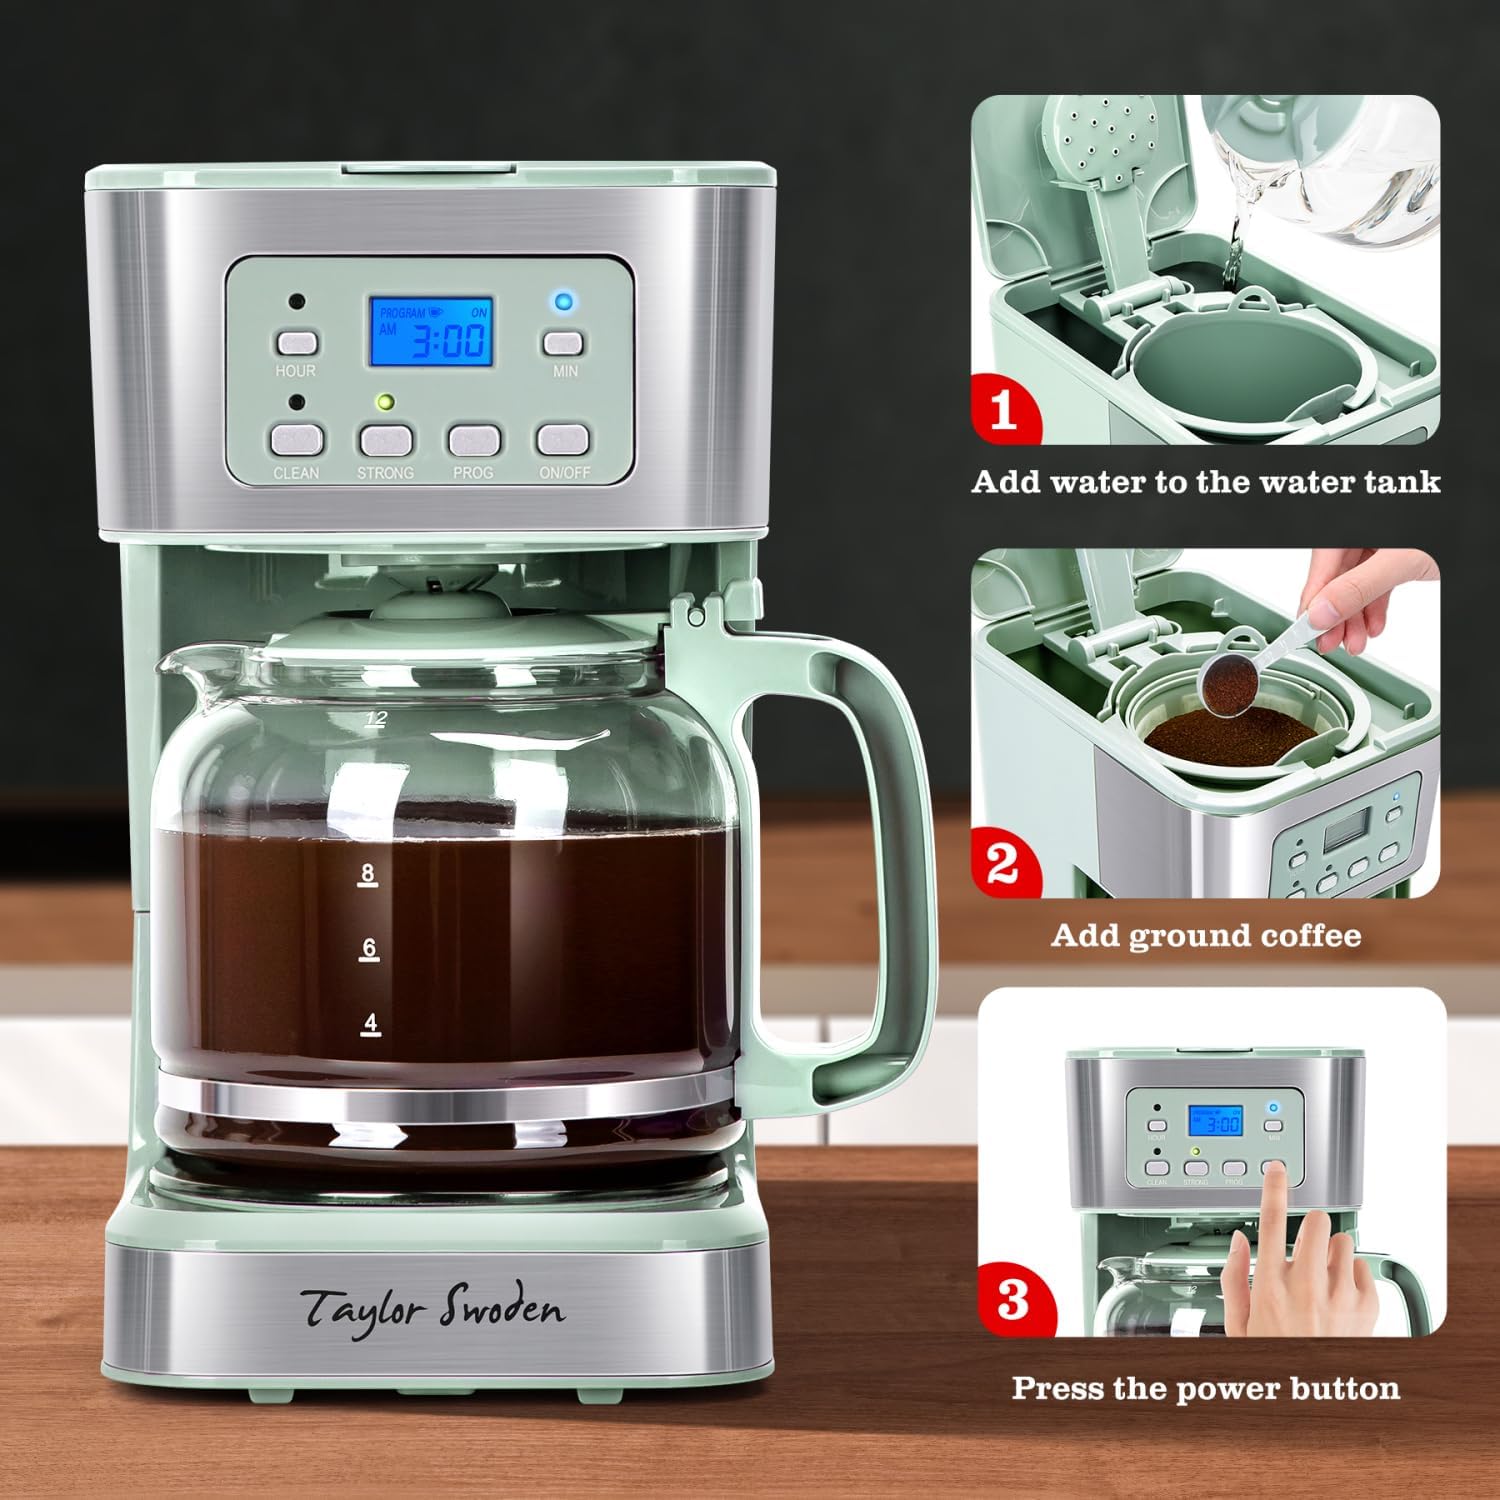
This image visually guides the user through the three main steps of brewing: adding water to the tank, adding ground coffee, and pressing the power button.
Brewing Coffee:
- Start Brewing: Press the "ON/OFF" button. The indicator light will illuminate, and the brewing process will begin.
- Adjust Brew Strength: To select between regular or bold coffee, press the "STRONG" button before brewing starts. The corresponding indicator light will show your selection.
- Pause & Serve: The anti-drip system allows you to temporarily remove the carafe (for up to 30 seconds) to pour a cup of coffee before the brewing cycle is complete. Replace the carafe within 30 seconds to prevent overflow.
- Keep Warm: After brewing, the warming plate will keep the coffee warm for up to 40 minutes.
- Auto Shut-off: For safety and energy saving, the coffee maker will automatically shut off 2 hours after the brewing cycle is complete.
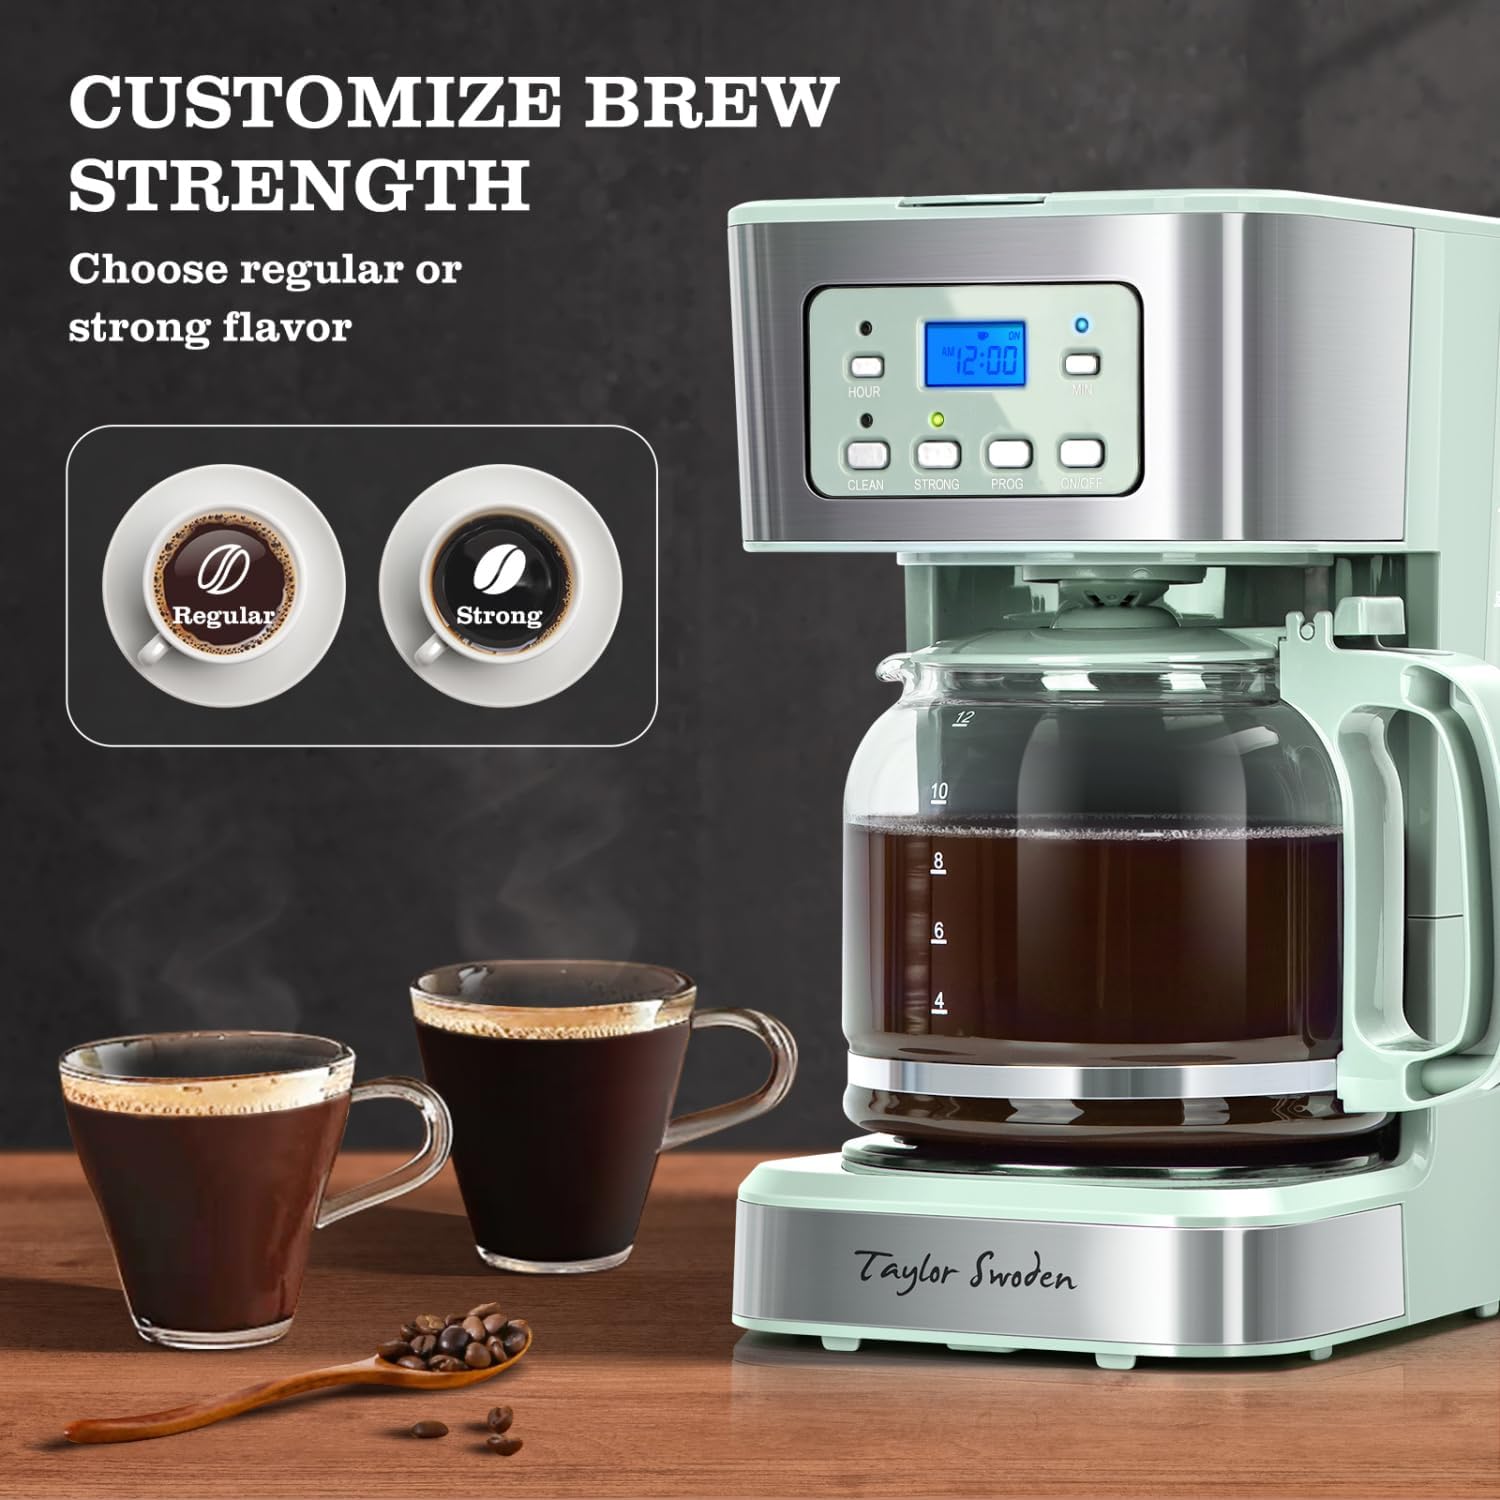
This image demonstrates the option to customize brew strength, showing icons for "Regular" and "Strong" coffee flavors.
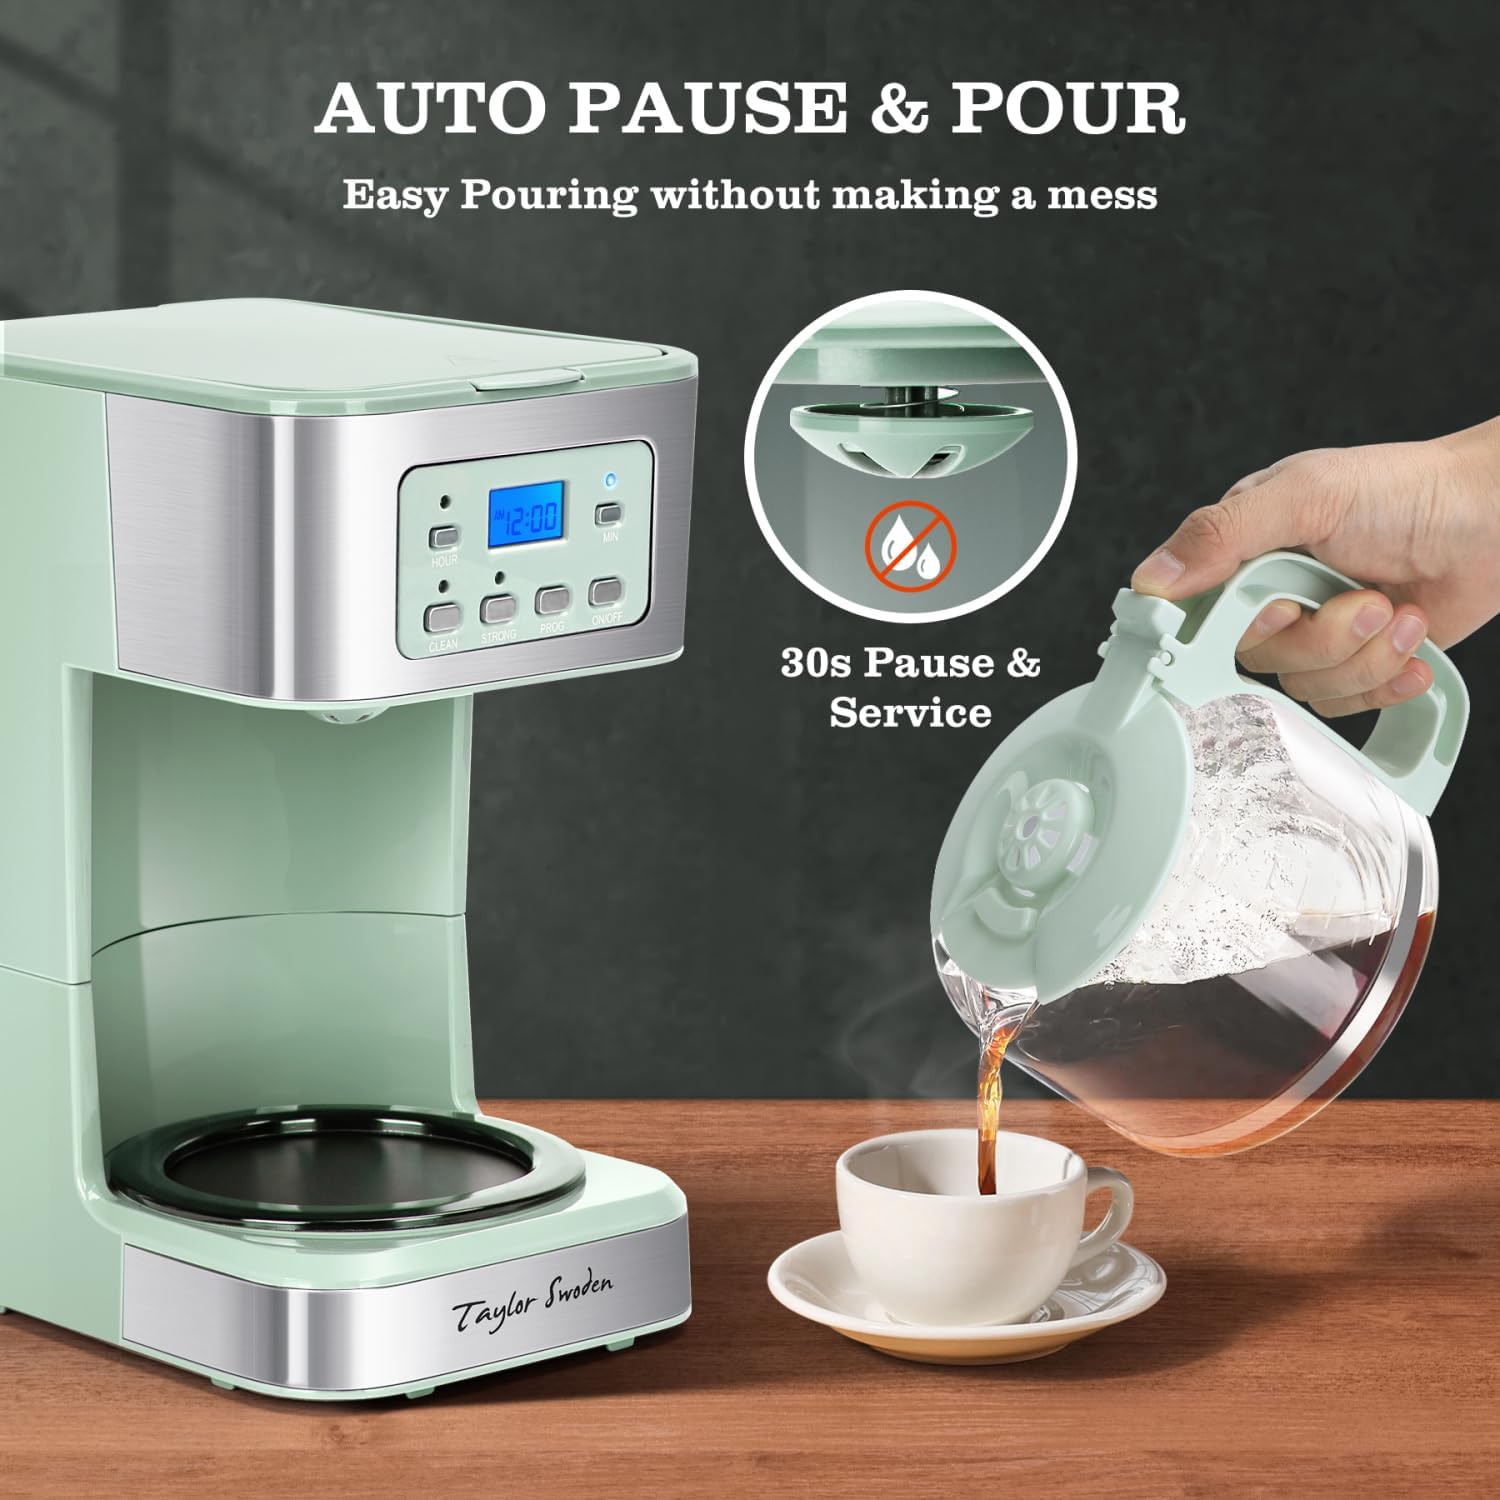
This image illustrates the "Auto Pause & Pour" feature, showing a hand pouring coffee from the carafe mid-brew, with a 30-second pause and service indication.
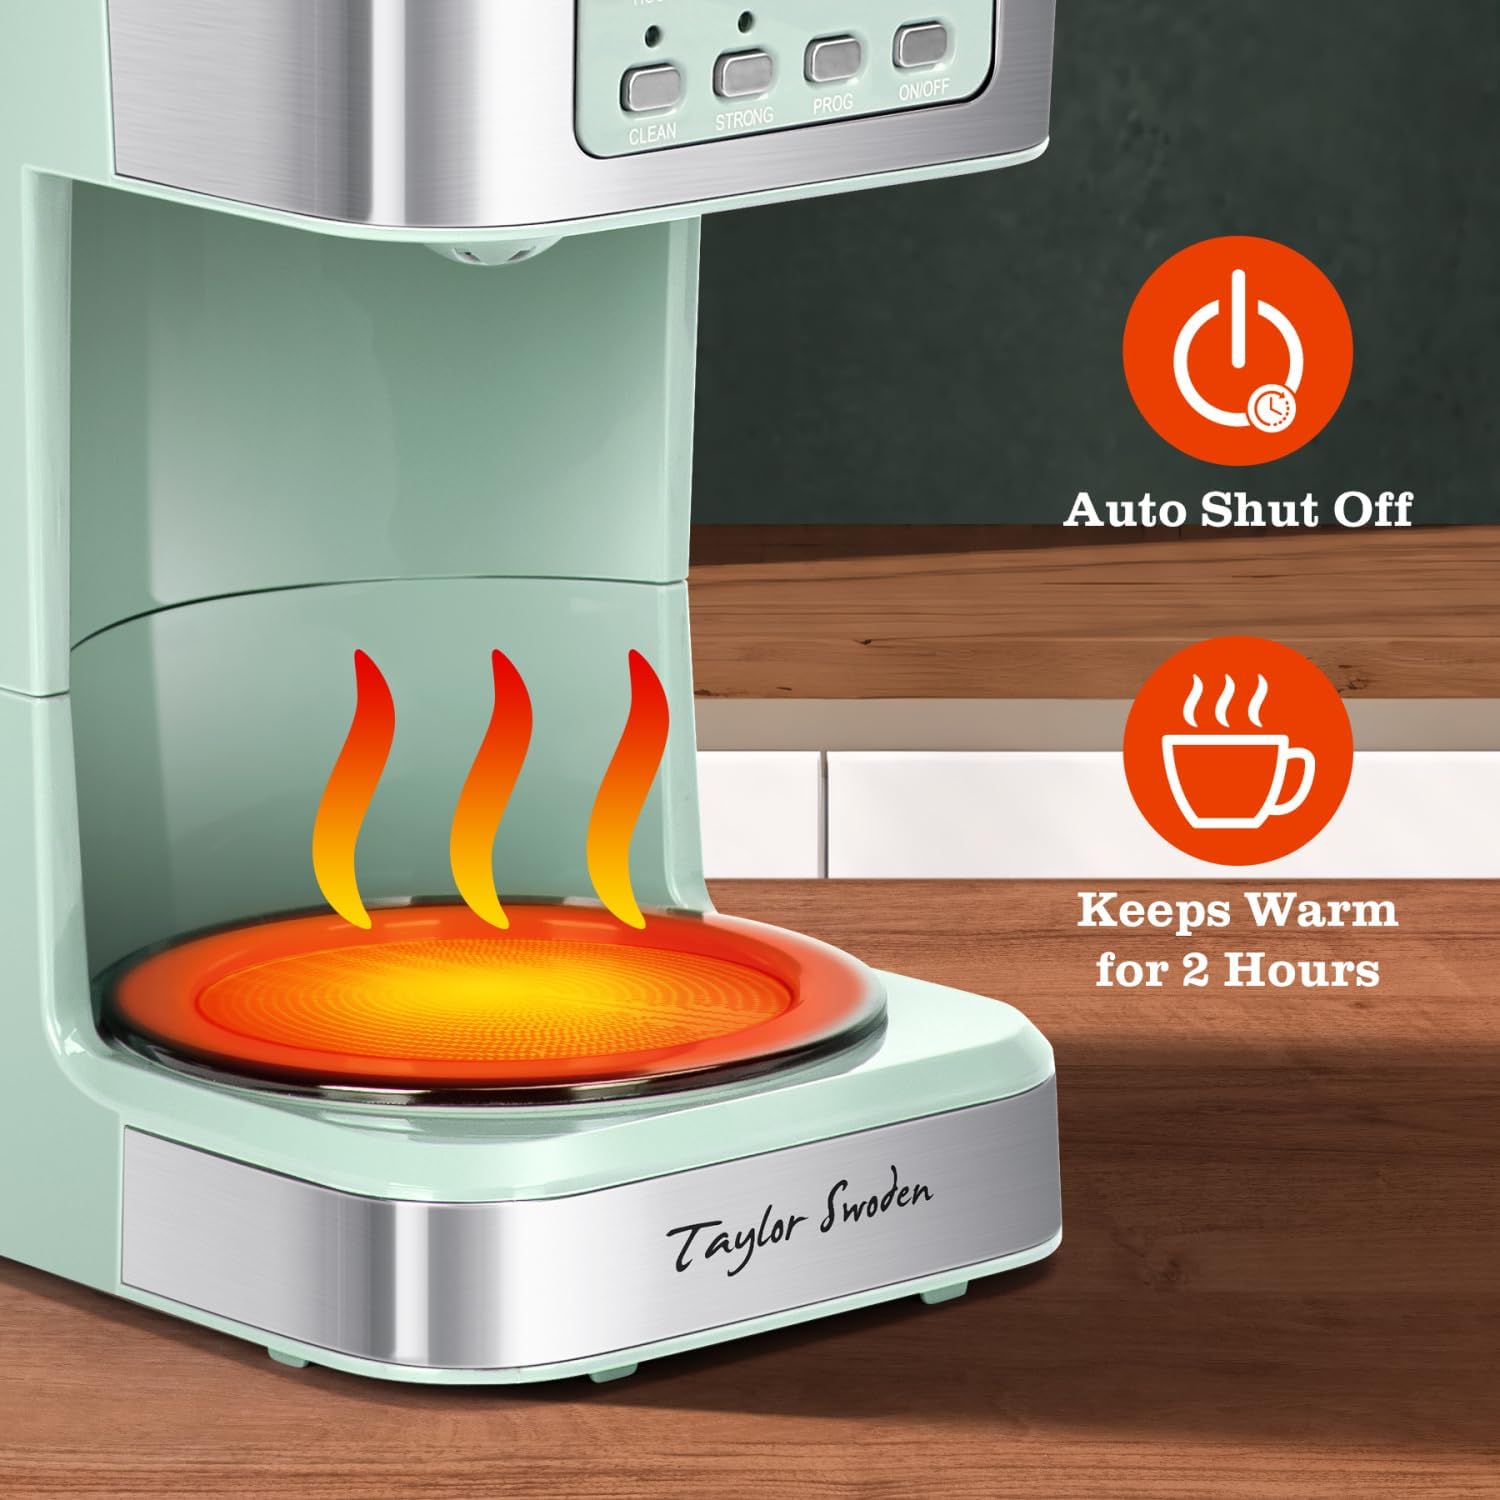
This image highlights the "Auto Shut Off" function and indicates that the warming plate keeps coffee warm for up to 2 hours.
Using the Programmable Timer:
The 24-hour programmable timer allows you to set the coffee maker to start brewing at a specific time.
- Set Current Time: With the coffee maker plugged in, press the "HOUR" button to set the hour and the "MIN" button to set the minute. The time will be displayed on the LCD screen.
- Set Program Time: Press the "PROG" button. The "PROG" indicator light will flash. Use the "HOUR" and "MIN" buttons to set your desired brew start time.
- Activate Program: Press the "PROG" button again to confirm the program time. The "PROG" indicator light will stop flashing and remain illuminated, indicating the program is set.
- Ensure water and coffee grounds are loaded into the coffee maker. The coffee maker will automatically start brewing at the set time.

This image emphasizes the "24 Hours Programmable Timer" feature, allowing users to wake up to freshly brewed coffee.
Maintenance and Cleaning
Regular cleaning ensures optimal performance and extends the life of your coffee maker.
Daily Cleaning:
- Always unplug the coffee maker before cleaning.
- Remove the permanent filter and filter basket. Discard coffee grounds.
- Wash the permanent filter, filter basket, and glass carafe in warm, soapy water. Rinse thoroughly and dry. These parts are also top-rack dishwasher safe.
- Wipe the exterior of the coffee maker with a soft, damp cloth. Do not use abrasive cleaners or scouring pads.
- Do not immerse the main unit in water or any other liquid.
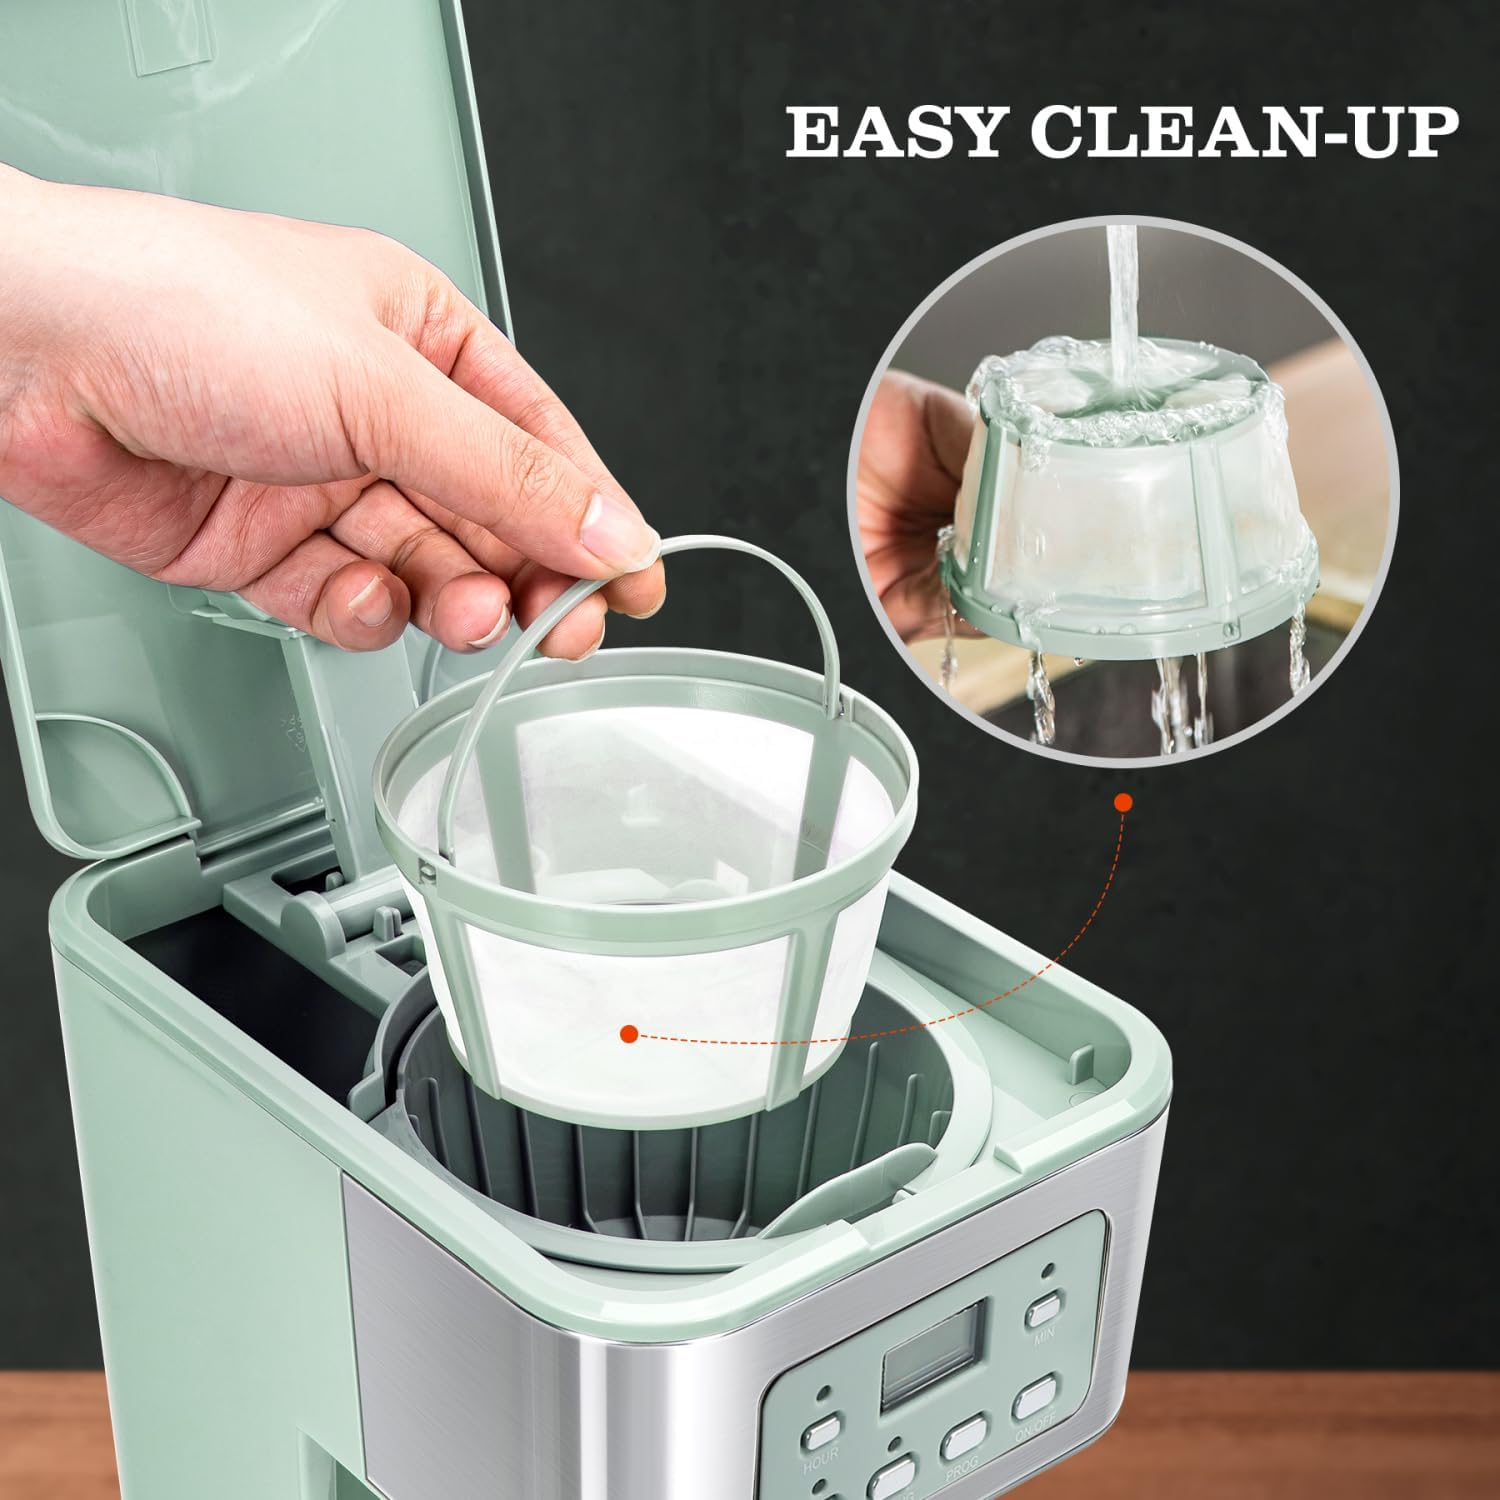
This image shows the removable filter being rinsed under water, demonstrating the ease of cleaning.
Cleaning Cycle Reminder (Descaling):
Mineral deposits from water can build up in your coffee maker over time, affecting performance. The coffee maker features a cleaning cycle reminder.
- After approximately 60 brewing cycles, the "CLEAN" light on the control panel will flash, indicating it's time to descale the unit.
- To descale, fill the water reservoir with a mixture of 1 part white vinegar and 2 parts cold water.
- Place the empty carafe on the warming plate.
- Press the "CLEAN" button. The coffee maker will run a special cleaning cycle.
- Once the cycle is complete, discard the vinegar solution.
- Run 2-3 cycles with fresh, cold water only to rinse out any remaining vinegar smell or taste.
- To turn off the screen backlight function, press and hold the "CLEAN" button for 3-5 seconds.
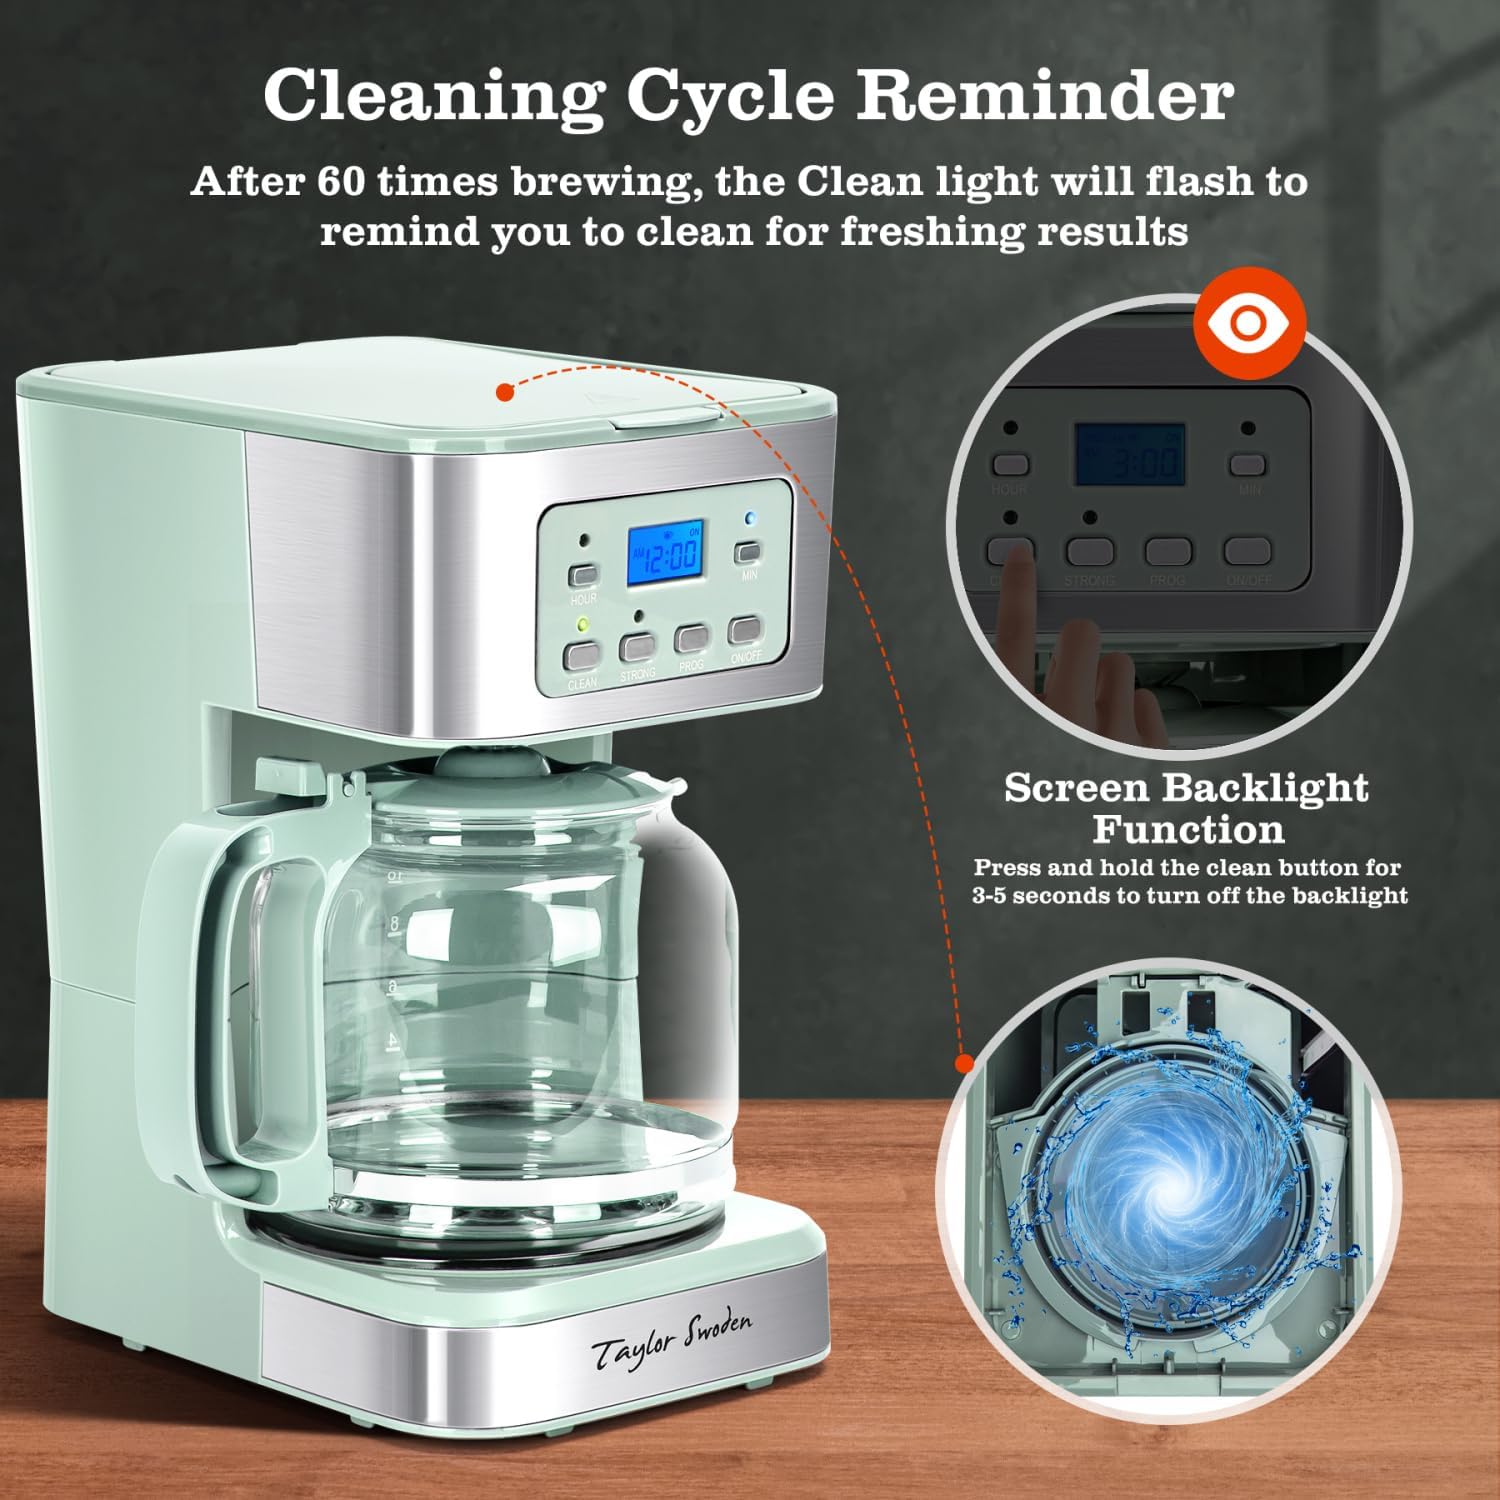
This image explains the "Cleaning Cycle Reminder" feature, where the clean light flashes after 60 brews, and also shows how to turn off the screen backlight by holding the clean button.
Troubleshooting
If you encounter issues with your coffee maker, refer to the following common problems and solutions:
| Problem | Possible Cause | Solution |
|---|---|---|
| Coffee does not brew. |
|
|
| Coffee overflows from filter basket. |
|
|
| Coffee tastes weak or too strong. |
|
|
| "CLEAN" light is flashing. | Time to descale the coffee maker. | Run a descaling cycle as described in the "Maintenance and Cleaning" section. |
Specifications
| Feature | Detail |
|---|---|
| Brand | Taylor Swoden |
| Model | B0CZXFXDJT |
| Capacity | 12 Cups (1.8L) |
| Color | Green & Stainless Steel |
| Product Dimensions | 6.6"D x 9.4"W x 12"H |
| Special Features | Programmable, 2 Brew Strengths (Regular/Bold), 2-Hour Auto Shut-off, Pause & Serve, Cleaning Cycle Reminder |
| Coffee Maker Type | Drip Coffee Machine |
Warranty and Support
Taylor Swoden products are designed for reliability and performance. For warranty information, product support, or any questions regarding your coffee maker, please contact Taylor Swoden customer service.
You can often find support contact details on the official Taylor Swoden website or through your purchase platform.
For further assistance, please visit the Taylor Swoden Store on Amazon.
Related Documents - B0CZXFXDJT
 |
Taylor Swoden 300105REU Electric Coffee Maker Instruction Manual Comprehensive instruction manual for the Taylor Swoden 300105REU electric coffee maker, covering safety, operation, cleaning, and maintenance for optimal coffee brewing. |
 |
Taylor Swoden B30203AAPQ Drip Coffee Maker Instruction Manual Instruction manual for the Taylor Swoden B30203AAPQ drip coffee maker. Provides detailed guidance on safety, operation, technical specifications, cleaning, maintenance, and troubleshooting. |
 |
Taylor Swoden 330500YXD Air Humidifier Instruction Manual This document provides comprehensive instructions for the Taylor Swoden 330500YXD Air Humidifier, including safety precautions, technical specifications, operating procedures, troubleshooting tips, and maintenance guidelines. |
 |
Taylor Swoden 300105QUK Coffee Maker Instruction Manual Comprehensive instruction manual for the Taylor Swoden 300105QUK coffee maker, covering safety instructions, product overview, technical specifications, operating instructions, coffee-making tips, cleaning and maintenance, and disposal. |
 |
Taylor Swoden B30203AAPQ Drip Coffee Maker: Instruction Manual Comprehensive instruction manual for the Taylor Swoden B30203AAPQ Drip Coffee Maker. Learn about safety, operation, cleaning, maintenance, and brewing tips for delicious coffee. |
 |
Taylor Swoden 300010YCK Electronic Air Fryer Instruction Manual Comprehensive instruction manual for the Taylor Swoden 300010YCK Electronic Air Fryer, detailing safety guidelines, operating procedures, cleaning, maintenance, and technical specifications for this 4.2L, 1400W kitchen appliance. |
Ask a question about this manual
Ask about setup, troubleshooting, compatibility, parts, safety, or missing instructions. Manuals+ will review the question and use this page’s manual context to help answer it.