1. Introduction
Thank you for choosing the CuisinAid Commercial Ice Maker Machine. This high-capacity unit is designed for commercial settings, capable of producing up to 440 pounds of ice per day with an 88-pound storage capacity. Its durable stainless steel construction ensures longevity and easy integration into various environments.
This manual provides essential information for the safe and efficient operation, maintenance, and troubleshooting of your ice maker. Please read it thoroughly before installation and use.
2. Safety Information
WARNING: To reduce the risk of fire, electric shock, or injury, observe the following basic precautions:
- Read all instructions before using the appliance.
- Connect to potable water supply only.
- Ensure the appliance is properly grounded.
- Do not operate the machine with a damaged cord or plug.
- Keep ventilation openings clear of obstruction.
- Do not store explosive substances such as aerosol cans with a flammable propellant in this appliance.
- Unplug the appliance before cleaning or servicing.
- This appliance is not intended for use by persons (including children) with reduced physical, sensory or mental capabilities, or lack of experience and knowledge, unless they have been given supervision or instruction concerning use of the appliance by a person responsible for their safety.
3. What's in the Box
Your CuisinAid Commercial Ice Maker Machine package includes the following items:
- Ice maker machine
- Water inlet hose
- Drain hose
- Ice scoop
- Four adjustable feet

Figure 3.1: Included accessories with the ice maker machine.
4. Setup and Installation
4.1 Unpacking
Carefully remove all packaging materials. Inspect the machine for any shipping damage. Report any damage to your supplier immediately.
4.2 Location Requirements
Choose a location that is:
- Level and stable to support the machine's weight when full of ice.
- Well-ventilated, with adequate clearance around the machine for air circulation (at least 6 inches from walls).
- Away from direct sunlight or heat sources.
- Within reach of a grounded electrical outlet (110-120V, 60Hz).
- Near a potable water supply with adequate pressure (15-80 PSI).
- Near a floor drain or suitable drainage point for the drain hose.

Figure 4.1: The ice maker's compact design allows for under-counter placement.
4.3 Water Connection
- Connect the provided water inlet hose to the water inlet valve on the back of the ice maker.
- Connect the other end of the water inlet hose to your potable water supply. Ensure all connections are tight to prevent leaks.
- Connect the drain hose to the drain outlet on the back of the ice maker.
- Route the drain hose to a suitable floor drain or drainage system, ensuring a continuous downward slope for proper drainage.

Figure 4.2: Rear connections for water supply and drainage.
4.4 Electrical Connection
Plug the power cord into a dedicated, grounded electrical outlet. Do not use extension cords or adapters.
5. Operating Instructions
5.1 Control Panel Overview
The ice maker features an intuitive LED control panel for easy operation.
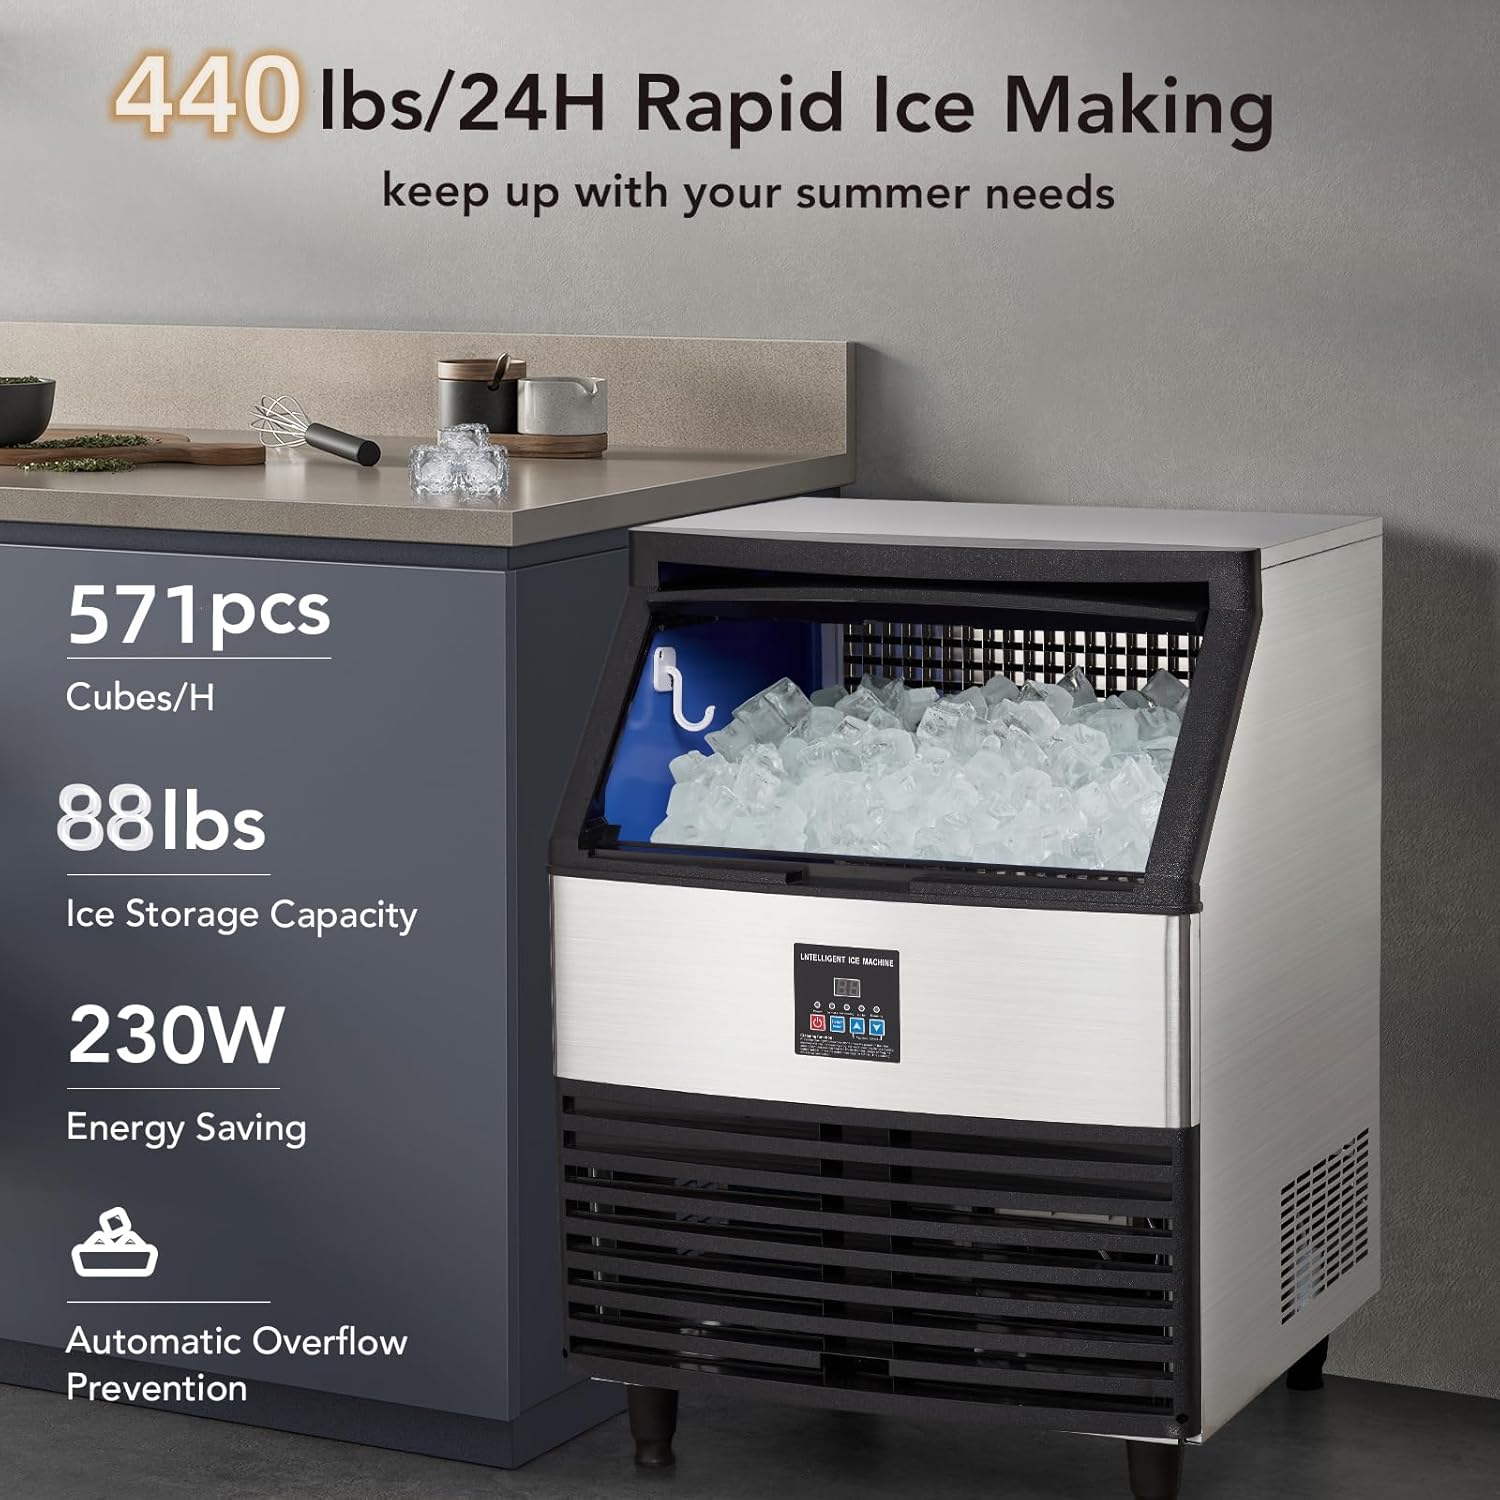
Figure 5.1: Multi-Function LCD Control Panel.
5.2 Initial Startup
- Ensure the water supply is turned on.
- Press the Power button on the control panel to turn on the machine.
- The machine will automatically begin the ice-making cycle. The display will show the current status.
5.3 Adjusting Ice Thickness
You can adjust the thickness of the ice cubes using the control panel:
- Press the Up or Down arrows to cycle through different ice thickness settings.
- The display will indicate the selected thickness. Thicker ice takes longer to produce.

Figure 5.2: Adjustable ice cube thickness options.
5.4 Ice Production and Storage
The machine will continuously produce ice until the storage bin is full. The "Ice Full" indicator will illuminate when the bin is at capacity. The machine will automatically pause ice production and resume when ice is removed.

Figure 5.3: Ice storage bin with ample capacity.
5.5 Blue Light Feature
The internal blue light illuminates the ice bin, making it easier to see and retrieve ice cubes.

Figure 5.4: Blue light for enhanced visibility.
6. Maintenance and Cleaning
6.1 Automatic Cleaning Function
The ice maker is equipped with an automatic cleaning function:
- Ensure the machine is connected to the water supply and power.
- Press and hold the Cleaning button (often combined with the Power button, refer to control panel diagram) for 3 seconds to activate the self-cleaning cycle.
- The machine will perform a water pump cycle for cleaning.
- Once the cleaning cycle is complete, drain the water from the machine and unplug it.
6.2 Regular Cleaning
To maintain hygiene and efficiency, regular manual cleaning is recommended:
- Exterior: Wipe the stainless steel exterior with a soft cloth and mild detergent. Do not use abrasive cleaners.
- Interior: Periodically clean the ice storage bin and ice-making components with a solution of water and white vinegar or a food-grade ice maker cleaner. Rinse thoroughly with clean water.
- Condenser: Clean the condenser fins regularly (e.g., monthly) using a soft brush or vacuum cleaner to remove dust and debris. This ensures efficient cooling.
6.3 Water Filter Maintenance
If an external water filter is used, follow the manufacturer's instructions for filter replacement to ensure optimal water quality and ice production.

Figure 6.1: External water filter connection for improved water quality.
7. Troubleshooting
Before contacting customer support, please refer to the following table for common issues and their solutions:
| Problem | Possible Cause | Solution |
|---|---|---|
| Machine not making ice. | No water supply; Water inlet valve closed; Clogged water filter; Ambient temperature too high. | Check water connection and supply; Open water inlet valve; Replace water filter; Ensure proper ventilation and lower room temperature. |
| Ice cubes are too small or soft. | Low water pressure; High ambient temperature; Dirty condenser. | Check water pressure; Ensure proper ventilation; Clean the condenser. |
| Machine is noisy. | Machine not level; Loose components; Compressor issue. | Adjust leveling feet; Check for loose parts and tighten; If compressor issue, contact support. |
| "Ice Full" indicator stays on. | Ice bin sensor obstructed or faulty; Ice accumulation. | Clear any ice obstructing the sensor; Remove excess ice from the bin. |

Figure 7.1: The ice maker operates with a low noise level.
8. Specifications
| Feature | Detail |
|---|---|
| Model Name | 440LBS |
| Brand | CuisinAid |
| Ice Production Capacity | 440 lbs / 24 hours |
| Ice Storage Capacity | 88 lbs |
| Product Dimensions (D x W x H) | 26.8" x 26.8" x 36" |
| Weight | 100 Pounds |
| Wattage | 512 Watt-hours |
| Ice Cube Type | 8 x 18 Ice Cube (Adjustable Thickness) |
| Material | Stainless Steel |

Figure 8.1: Key performance specifications of the ice maker.
9. Warranty and Support
CuisinAid products are manufactured to high-quality standards. For warranty information and customer support, please refer to the warranty card included with your product or visit the official CuisinAid website. Please have your model number (440LBS) and purchase date ready when contacting support.
For general inquiries or technical assistance, you may also contact your retailer or the seller directly.
Note: Warranty terms may vary by region and retailer. Keep your proof of purchase for warranty claims.