1. Important Safety Instructions
Please read and understand all safety information before using this product. Failure to follow these instructions may result in electric shock, fire, or serious injury.
- Electrical Safety: Always ensure the charger is disconnected from the power outlet before making or breaking connections to the battery. Do not expose the charger to rain or wet conditions.
- Battery Safety: Batteries can produce explosive gases. Ensure adequate ventilation when charging. Wear eye protection and protective clothing. Avoid sparks or flames near the battery.
- OBD2 Scanner Safety: Do not attempt to connect or disconnect the scanner while the vehicle's ignition is on or the engine is running. This could damage the vehicle's electronic system or the scanner.
- General Precautions: Keep out of reach of children. Do not operate if the product or cables are damaged. Use only as intended.
2. Product Overview
2.1 MOTOPOWER MP00205B 12V Battery Charger/Maintainer
The MOTOPOWER MP00205B is an automatic 12-volt battery charger and maintainer designed for lead-acid, flooded, or sealed maintenance-free batteries (AGM and gel cell). It features a compact and durable design, utilizing pulse charging technology to optimize battery performance and extend life. The charger incorporates multiple safety protections, including spark-free technology and automatic shut-off to prevent overcharging.

Figure 1: MOTOPOWER MP00205B 12V Battery Charger Maintainer in use.
2.2 MOTOPOWER MP69040 OBD2 Diagnostic Scanner
The MOTOPOWER MP69040 is an OBD2 diagnostic scanner designed to support all OBDII protocols, including KWP2000, J1850 VPW, ISO9141, J1850 PWM, and CAN. It is compatible with most 1996 US-based, 2003 EU-based, and 2008 Asian-based vehicles, as well as newer OBD2 and CAN vehicles. The scanner features a 2.8-inch TFT color screen and a user-friendly interface for efficient vehicle diagnostics.
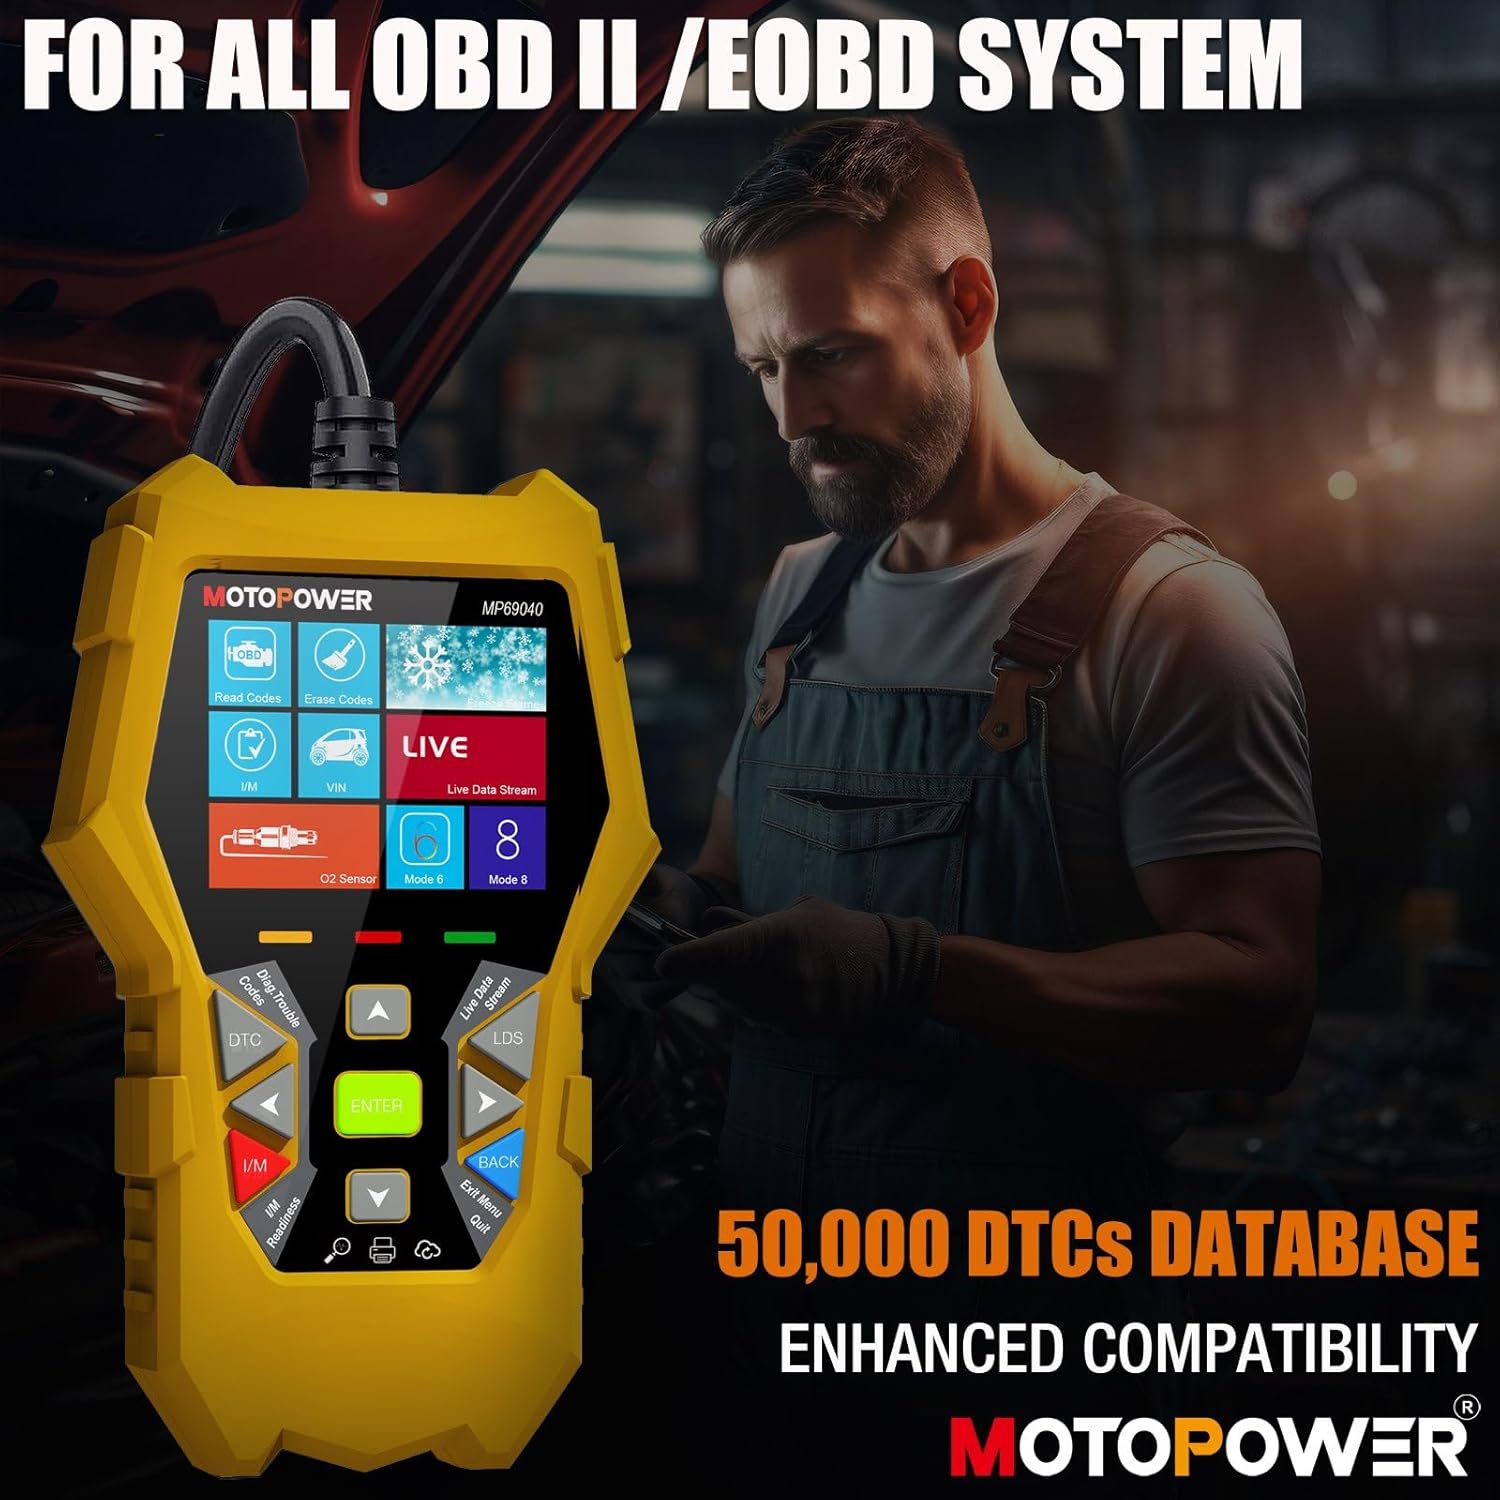
Figure 2: MOTOPOWER MP69040 OBD2 Diagnostic Scanner.
3. Package Contents
Verify that all items are present in the package:
- MOTOPOWER MP00205B 12V Battery Charger/Maintainer
- Alligator Clamp Harness (50amp)
- Ring Terminal Harness (7.5amp fuse protected)
- MOTOPOWER MP69040 OBD2 Diagnostic Scanner

Figure 3: MP00205B Charger and its accessories.
4. MOTOPOWER MP00205B Charger/Maintainer Setup and Operation
4.1 Connecting the Charger
- Ensure the charger is unplugged from the AC power outlet.
- Choose the appropriate connector:
- Alligator Clamps: Connect the red clamp to the positive (+) battery terminal and the black clamp to the negative (-) battery terminal.
- Ring Terminals: If permanently installing, connect the red ring terminal to the positive (+) battery post and the black ring terminal to the negative (-) battery post.
- Connect the SAE quick-release connector from the chosen harness to the charger's output cable.
- Plug the charger into a standard 120V AC power outlet.
4.2 Charging Process
The MP00205B operates automatically. Once connected and powered, it will begin its multi-stage charging process:
- Desulfating: If the battery is deeply discharged or sulfated, the charger may enter a desulfation stage to recover the battery.
- Charging: The charger delivers a steady current to bring the battery to a full charge.
- Absorption: The charger switches to a constant voltage, gradually reducing current as the battery approaches full capacity. This stage includes pulse charging technology to maximize battery performance.
- Charged/Maintain: Once fully charged, the charger automatically switches to maintenance mode, providing a float charge at 13.6V to keep the battery at optimal levels indefinitely without overcharging.
The LED indicators on the charger will show the current charging stage. The device features spark-free technology for enhanced safety during connection and disconnection.

Figure 4: Charger indicating Pulse Boost Technology and charging stages.

Figure 5: Charger displaying automatic operation and safety protections.
5. MOTOPOWER MP69040 OBD2 Scanner Setup and Operation
5.1 Connecting the Scanner
- Locate the vehicle's 16-pin Data Link Connector (DLC), typically under the dashboard on the driver's side.
- Ensure the vehicle's ignition is OFF.
- Plug the scanner's OBD2 cable into the vehicle's DLC.
- Turn the vehicle's ignition to the ON position (engine can be off). The scanner will power on automatically.
5.2 Basic Functions
The MP69040 scanner provides various diagnostic functions through its user-friendly interface:
- Read Codes: Retrieves Diagnostic Trouble Codes (DTCs) from the vehicle's computer.
- Erase Codes: Clears DTCs from the vehicle's computer. Note: Clearing codes does not fix the underlying problem.
- Live Data: Displays real-time data streams from the vehicle's sensors, such as Engine RPM, Fuel Pressure, and more.
- I/M Readiness: Checks the status of emission-related monitors to determine if the vehicle is ready for an emissions test.
- Vehicle Identification (VIN): Reads the Vehicle Identification Number and other vehicle information.
- DTC Library: Provides definitions for generic and manufacturer-specific codes.
- Update: Supports lifetime free online updates for the latest functions and vehicle compatibility.

Figure 6: MP69040 Scanner user interface.

Figure 7: Key features of the MP69040 Scanner.

Figure 8: Live Data display on the MP69040 Scanner.
6. Maintenance
- Cleaning: Wipe the devices with a soft, dry cloth. Do not use abrasive cleaners or solvents.
- Storage: Store both the charger and scanner in a cool, dry place away from direct sunlight and extreme temperatures. Ensure cables are neatly coiled to prevent damage.
- Cable Inspection: Regularly inspect all cables and connectors for any signs of damage, fraying, or corrosion. Replace if necessary.
7. Troubleshooting
7.1 MP00205B Charger/Maintainer
- Charger not turning on: Check the AC power connection. Ensure the outlet is functional. Verify the battery connections are secure.
- Charging indicator not lighting up: Confirm the battery voltage is above 2V. If the battery is severely discharged, it might take a few minutes for the charger to detect it. Ensure proper polarity.
- Charger not maintaining charge: Ensure the charger remains connected to both the AC outlet and the battery. Check for any loose connections.
7.2 MP69040 OBD2 Scanner
- Scanner not powering on: Ensure the OBD2 cable is securely connected to the vehicle's DLC. Verify the vehicle's ignition is in the ON position.
- Communication error: Check the vehicle's ignition status. Ensure the OBD2 cable is not damaged. Try connecting to a different vehicle (if available) to rule out a vehicle-specific issue. Verify the vehicle is OBDII compliant.
- Screen frozen: Disconnect the scanner from the vehicle, wait a few seconds, and reconnect.
8. Specifications
8.1 MOTOPOWER MP00205B Charger/Maintainer
| Specification | Value |
|---|---|
| Input Voltage | 120V AC (Standard) |
| Output Voltage | 12 Volts DC |
| Output Current | 1000mA (1A) |
| Cable Length | Up to 8.5FT (18AWG UL standard) |
| Safety Features | Spark-free, Overcharge Protection |
| Certifications | CE, FCC, UL |
8.2 MOTOPOWER MP69040 OBD2 Scanner
| Specification | Value |
|---|---|
| Display | 2.8-inch TFT Color Screen |
| Supported Protocols | KWP2000, J1850 VPW, ISO9141, J1850 PWM, CAN |
| Vehicle Compatibility | 1996 US-based, 2003 EU-based, 2008 Asian-based and newer OBD2/CAN vehicles (excluding new energy/hybrid) |
| DTC Database | 50,000+ codes |
| Languages | 10 built-in languages |
9. Warranty and Support
MOTOPOWER products are designed for reliability and performance. For warranty information, technical support, or service inquiries, please contact MOTOPOWER customer support through their official website or the retailer where the product was purchased. Please have your product model number and purchase date available when contacting support.