1. Introduction
This manual provides detailed instructions for the Riloer OBD2 II Head-Up Display (HUD). This device projects essential driving information directly onto your windshield, allowing you to monitor vehicle data without diverting your gaze from the road. It is designed to enhance driving safety and convenience by displaying speed, RPM, water temperature, and voltage, along with various warning alarms.
2. Product Features
- Multi-function Display: Shows speed, RPM, water temperature, and voltage.
- Alarm Functions: Includes low voltage alarm, high water temperature alarm, and overspeed alarm.
- Automatic Operation: Features auto on/off functionality with vehicle ignition.
- Wide Compatibility: Works with most OBDII or EUOBD compatible vehicles and trucks.
- Clear Display: Multi-color design and nano-technology enhance readability and reduce glare.
- Easy Installation: Plug and Play connectivity requires no professional installation.

Overview of the Riloer Car Head-Up Display, highlighting multiple display modes including Voltage, Speed, Water Temperature, and Mileage.

Diagram illustrating the STM32 chip, emphasizing its quality, compatibility, and intelligent start/automatic light effects.
3. Package Contents
Please verify that all items are present in your package:
- Riloer HUD Unit
- HUD Hood/Stand
- OBD-II Connection Cable
- Reflection Film
- 3M Adhesive Stickers
- User Manual
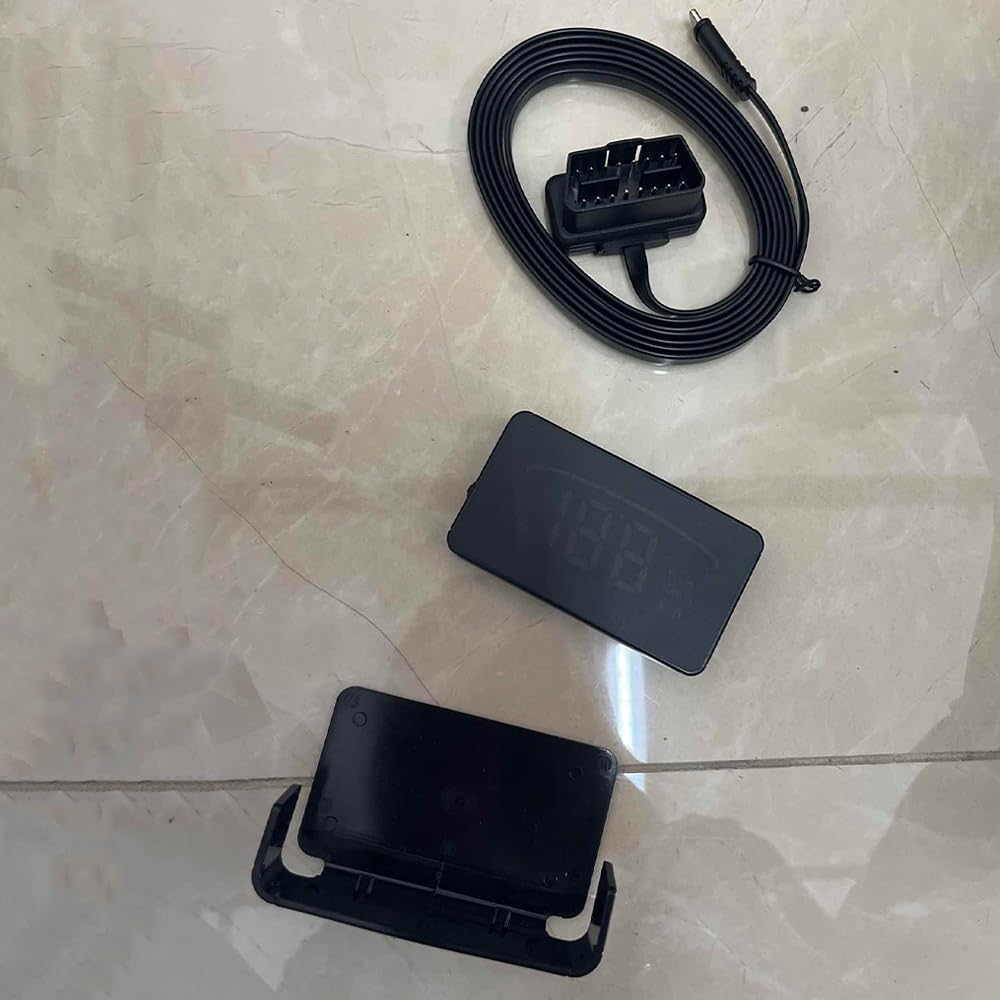
All components included in the package: the HUD unit, its hood, and the OBD cable.

Contents of the Riloer HUD package: HUD unit, hood, OBD line, reflection film, 3M stickers, and manual.
4. Setup and Installation
The Riloer HUD is designed for simple plug-and-play installation. Ensure your vehicle is OBDII or EUOBD compatible.
- Connect the HUD: Connect the small end of the provided OBD cable to the input port on the Riloer HUD unit.
- Route the Cable: Carefully route the OBD cable along the dashboard or door seam to conceal it and prevent interference with driving.
- Plug into OBD-II Port: Locate your vehicle's OBD-II diagnostic port (typically under the dashboard on the driver's side) and firmly plug in the other end of the OBD cable.
- Position the HUD: Place the HUD unit on your dashboard. You may use the included anti-slip mat or 3M stickers to secure it. For optimal visibility, apply the reflection film to your windshield directly above the HUD unit.

Three-step installation guide: connecting the OBD cable to the HUD, hiding the cable, and plugging the OBD cable into the vehicle's OBD interface.

The Riloer OBD2 II Head-Up Display unit and its connecting OBD-II cable.

The Riloer HUD unit connected to its OBD-II cable, ready for installation.

Examples of the HUD display projected onto a car's windshield, showing speed and other data.

Illustration demonstrating the Riloer HUD's compatibility with various car models.

Visual confirmation of the Riloer HUD's broad compatibility with different vehicle types.
5. Operating Instructions
5.1 Power On/Off
The HUD will automatically power on when your vehicle starts and power off when the vehicle is turned off, provided it is correctly connected to the OBD-II port.
5.2 Display Functions
The Riloer HUD can display the following information:
- Speed: Current driving speed (MPH or KM/H).
- RPM: Engine Revolutions Per Minute.
- Water Temperature: Engine coolant temperature.
- Voltage: Vehicle battery voltage.
- Travel Mileage: Distance traveled during the current trip.
The display unit (MPH/KM/H) can typically be switched via a button on the HUD or through its settings menu (refer to the physical manual for specific button functions).

Detailed view of the HUD display, showing indicators for water temperature alarm (A), digital display area (B), voltage alarm (C), and unit symbol (D) for MPH/KM/H.
6. Alarm Functions
The HUD includes several alarm functions to alert the driver to potential issues:
- Overspeed Alarm: Alerts when the vehicle exceeds a preset speed limit.
- High Water Temperature Alarm: Warns if the engine coolant temperature becomes excessively high.
- Low Voltage Alarm: Indicates when the vehicle's battery voltage drops below a safe level.
- Shift Alarm: (If applicable) Suggests optimal gear shifting points.
These alarms are designed to provide pre-warning to prevent unnecessary driving incidents.

Visual representation of the various alarm functions: Speed Alarm, Overspeed Alarm, Shift Alarm, Voltage Alarm, and Water Temperature Alarm.
7. Troubleshooting
If you encounter issues with your Riloer HUD, please refer to the following common solutions:
- No Display: Ensure the OBD-II cable is securely connected to both the HUD unit and the vehicle's OBD-II port. Check if the vehicle's ignition is on.
- Incorrect Speed Reading: The HUD may require calibration for your specific vehicle. Refer to the physical manual for instructions on speed calibration.
- Display Not Clear/Double Image: Ensure the reflection film is properly applied to the windshield. Adjust the HUD's position or angle for better clarity.
- HUD Does Not Turn Off: Verify that the vehicle's ignition is completely off. Some vehicles may supply power to the OBD-II port for a short period after shutdown. If the issue persists, disconnect the HUD when the vehicle is off for extended periods.
8. Specifications
| Feature | Detail |
|---|---|
| Brand | Riloer |
| Model Number | H847351HXYFAT |
| Item Weight | 6.3 ounces |
| Package Dimensions | 5.71 x 3.54 x 1.97 inches |
| Display Type | Digital Projector |
| Connectivity | OBD2 II / EUOBD |

Dimensions of the Riloer HUD unit: 8cm (3.15in) length, 4.5cm (1.77in) width, 1.3cm (0.51in) height.

Image showing the compact size of the HUD unit, held in a hand, illustrating its minimalist design.
9. Warranty and Support
For warranty information or technical support, please refer to the contact details provided with your purchase documentation or visit the official Riloer website. Keep your purchase receipt as proof of purchase for any warranty claims.