1. Introduction
This user manual provides comprehensive instructions for the installation and proper handling of the HWszyss LCD Screen Replacement Kit for the Motorola Moto G Play 2024. Please read this manual thoroughly before beginning the installation process to ensure a successful repair and to prevent damage to your device or the replacement part.
2. Product Overview
The HWszyss LCD Screen Replacement Kit is designed to restore the display functionality of your Motorola Moto G Play 2024. It includes a complete LCD screen with a pre-attached frame and a set of essential repair tools. This assembly replaces faulty screens exhibiting issues such as non-responsive touch, display problems, pixel distortion, cracks, color errors, or aging.
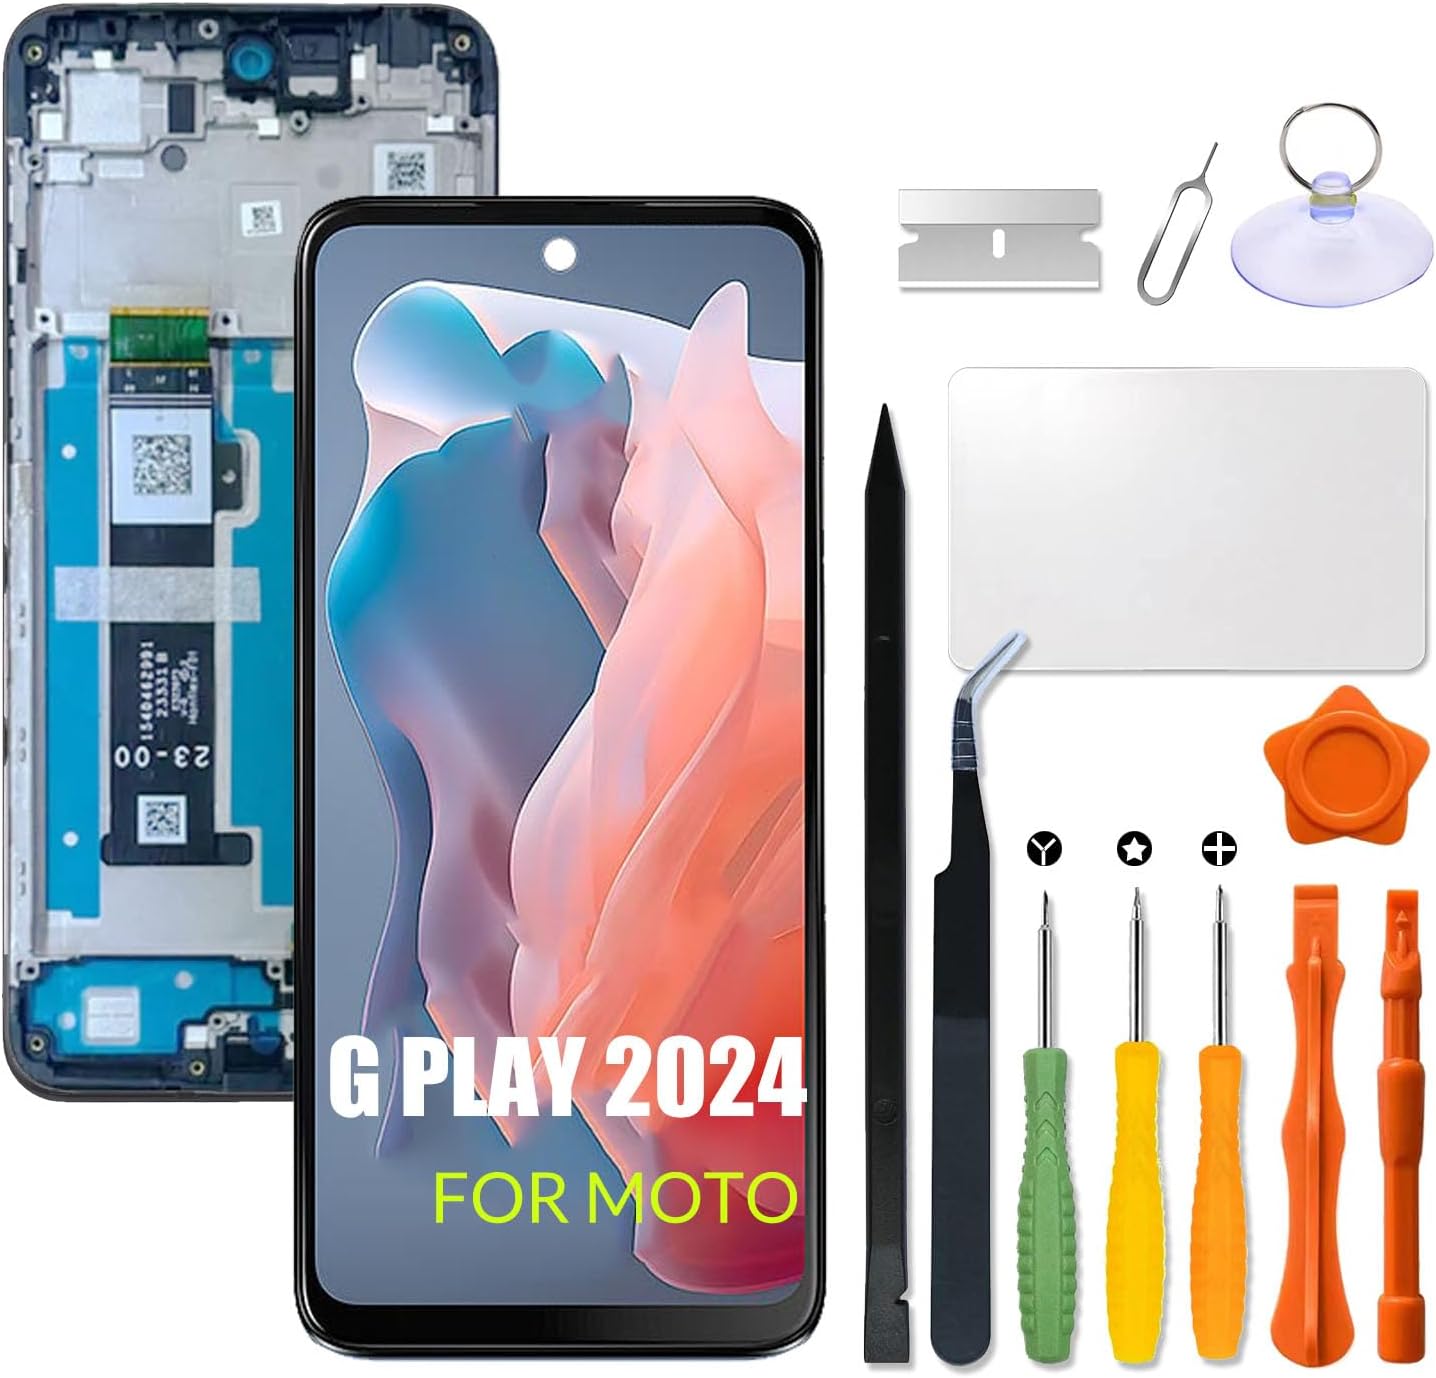
Figure 1: Complete LCD Screen Replacement Kit including the screen assembly and repair tools.
3. Compatibility
This replacement screen is specifically designed for the Motorola Moto G Play 2024. Please verify your phone's model number before proceeding with the installation. Using an incorrect model may result in incompatibility or damage to your device.
- Compatible Models:
- G Play-2024
- G 2024 Play

Figure 2: Visual confirmation of compatible Motorola Moto G Play 2024 models.
4. Safety Precautions and Important Notes
- Professional Installation Recommended: It is highly recommended that installation be performed by experienced individuals or professional technicians. Improper installation can lead to screen damage or device malfunction.
- Power Off Device: Always ensure the device is completely powered off before starting any disassembly or installation. If possible, disconnect the battery to prevent accidental short circuits.
- Fragile Component: The LCD screen is very fragile. Handle it with extreme care during the entire process to prevent bumping, dropping, or applying excessive force.
- Screw Management: Keep track of all screws and their original positions. Screws often vary in size; misplacing them can cause damage to internal components.
- Flex Cable Handling: The LCD cable is delicate. Do not bend it excessively, especially beyond 90 degrees, as this can result in a black display or other display issues.
- Static Electricity: Take precautions against static electricity, which can damage electronic components. Consider using an anti-static wrist strap.
- Online Resources: Before beginning, search for and watch relevant tutorial videos on platforms like YouTube for visual guidance specific to the Motorola Moto G Play 2024 screen replacement.
5. What's in the Box
Your HWszyss LCD Screen Replacement Kit includes the following components:
- 1 x LCD Replacement Screen with Frame
- 1 x Repair Kit (typically includes screwdrivers, prying tools, suction cup, tweezers, etc.)

Figure 3: Contents of the included repair kit.
6. Installation Guide (Setup)
Follow these general steps for installing your new LCD screen. Refer to online video tutorials for detailed visual instructions specific to your phone model.
- Preparation: Power off your Motorola Moto G Play 2024 completely. Gather all tools from the repair kit.
- Remove Back Cover: Carefully heat the edges of the phone's back cover to loosen the adhesive. Use a suction cup and prying tools to gently separate the back cover from the frame.
- Disconnect Battery: Locate and disconnect the battery flex cable to ensure no power is supplied to the device during the repair.
- Remove Old Screen Assembly: Disconnect all flex cables connected to the old screen assembly (LCD, digitizer, etc.). Carefully remove any screws securing the old screen and frame. Gently pry the old screen assembly away from the phone's chassis.
- Inspect New Screen: Before full installation, carefully inspect the new LCD screen for any visible damage.
- Test New Screen (Optional but Recommended): Connect the new screen's flex cables to the motherboard without fully installing it. Reconnect the battery and power on the phone to test display functionality, touch response, and color accuracy. Power off and disconnect the battery again after testing.
- Install New Screen Assembly: Carefully align the new LCD screen with its pre-attached frame into the phone's chassis. Ensure all flex cables are properly routed and connected. Secure with screws if applicable.
- Reconnect Components: Reconnect the battery flex cable and any other components that were disconnected.
- Reattach Back Cover: Apply new adhesive if necessary and carefully reattach the back cover, ensuring a secure fit.
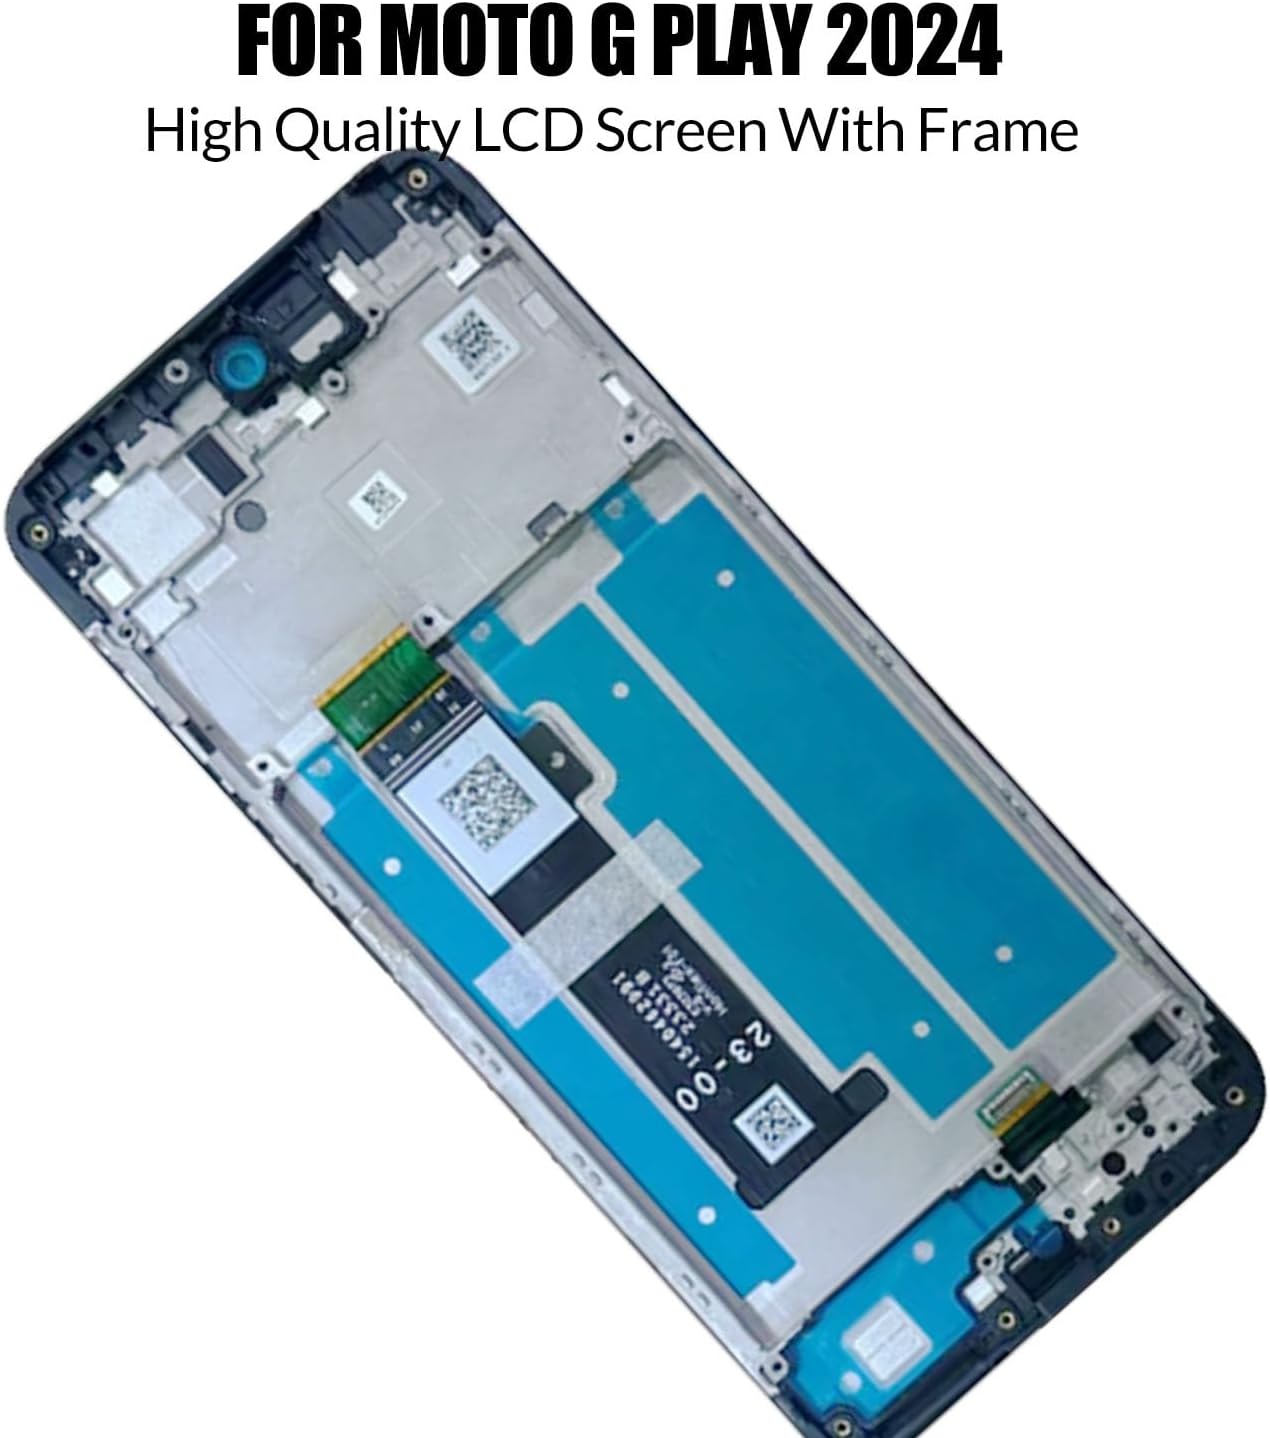
Figure 4: The replacement LCD screen with integrated frame.

Figure 5: Detail of the flex cable and camera hole, ensuring proper alignment.
7. Post-Installation Check (Operating)
After installation, perform the following checks to ensure proper functionality:
- Power On: Turn on your phone.
- Display Check: Verify that the screen displays images correctly, without dead pixels, lines, or discoloration.
- Touch Functionality: Test the touch screen across the entire display area. Open an application that allows drawing or typing to ensure all areas respond accurately.
- Brightness and Color: Adjust brightness settings and check for proper color reproduction.
- Camera Function: Open the camera app to ensure the front camera is unobstructed and functions correctly through the camera hole.
8. Maintenance
To prolong the life of your new screen:
- Avoid dropping your phone or exposing it to strong impacts.
- Keep the screen clean using a soft, lint-free cloth. Avoid harsh chemicals.
- Protect the screen with a screen protector and a protective case.
- Avoid extreme temperatures.
9. Troubleshooting
If you encounter issues after installation, consider the following:
- Black Display: Ensure the LCD flex cable is securely connected and not bent excessively (beyond 90 degrees). Recheck all connections.
- Non-Responsive Touch: Verify the digitizer flex cable is properly connected. Ensure there is no debris or damage to the connector.
- Display Anomalies (lines, pixels): Recheck all flex cable connections. If the issue persists, the screen itself might be faulty.
- Screen Not Fitting Properly: Ensure all old adhesive residue is removed and the new screen is correctly aligned within the frame.
If troubleshooting steps do not resolve the issue, contact customer support.
10. Specifications
| Feature | Detail |
|---|---|
| Product Type | LCD Screen with Frame Display Touch Digitizer Assembly |
| Compatibility | Motorola Moto G Play 2024 |
| Included | LCD Replacement Screen *1, Repair kit *1 |
| Manufacturer | HWszyss |
| Item Weight | 6.7 ounces |
| Package Dimensions | 7.48 x 3.94 x 1.18 inches |
11. Warranty and Support
This product comes with a 6-month after-sales service. This warranty covers product quality problems that are not caused by human error. During this period, support for replacement or refund is available.
If you have any questions regarding your order, installation, or product functionality, please contact the HWszyss customer service team. They are available to provide assistance within 24 hours.
Note: Screen damage caused during installation is not covered under the after-sales responsibility.


