1. Product Overview
This manual provides instructions for the installation, operation, and maintenance of the Generic Mini PC CPU Fan, designed for the AWOW AK34 Pro Celeron J3450 Mini PC. This fan is a critical component for maintaining optimal operating temperatures within your Mini PC, ensuring stable performance and longevity of the Celeron J3450 processor.
The fan operates at DC5V and 0.22A, providing efficient cooling for compatible systems.
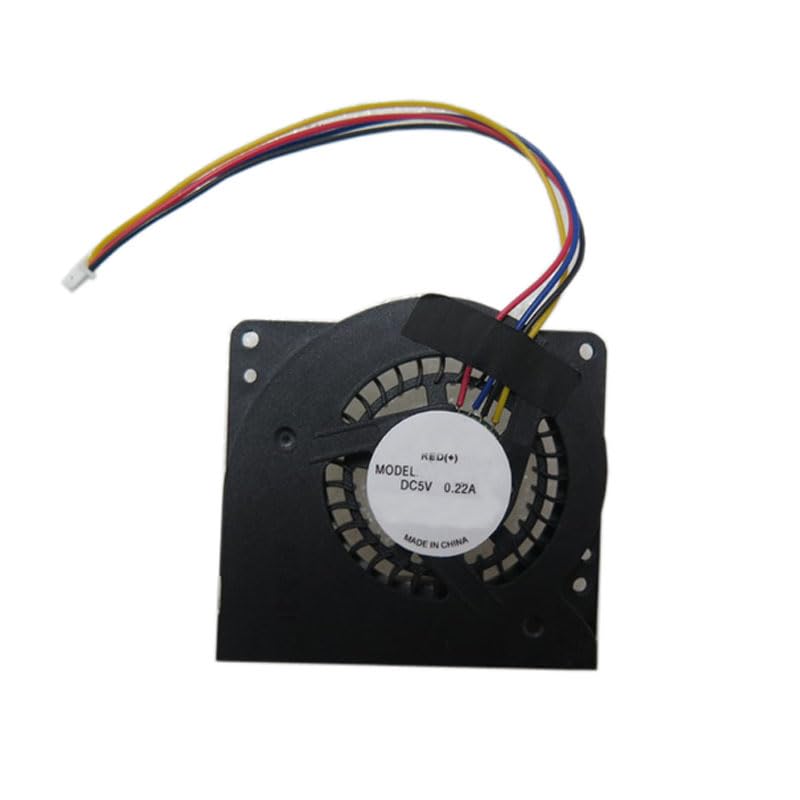
Figure 1: Top view of the CPU fan, showing the fan blades, motor housing, and power connector wires (red, yellow, blue, green).
2. Setup and Installation
Proper installation is crucial for the fan's performance and the Mini PC's cooling efficiency. Always ensure the Mini PC is powered off and disconnected from the power source before beginning installation.
- Prepare the Mini PC: Power off your AWOW AK34 Pro Mini PC and unplug all cables.
- Access the CPU Fan Area: Carefully open the Mini PC casing to access the internal components. Refer to your Mini PC's specific service manual for instructions on how to safely open the case.
- Remove the Old Fan (if applicable): If replacing an existing fan, gently disconnect its power cable from the motherboard and unscrew any mounting screws. Carefully lift the old fan out.
- Position the New Fan: Place the new Generic Mini PC CPU Fan into the designated fan slot. Ensure the fan is oriented correctly for optimal airflow, typically drawing air away from the CPU heatsink.
- Secure the Fan: Use the appropriate screws to secure the fan to the Mini PC's chassis or motherboard. Do not overtighten.
- Connect Power: Carefully connect the fan's power cable to the corresponding fan header on the Mini PC's motherboard. Ensure the connector is fully seated.
- Close the Casing: Once the fan is securely installed and connected, carefully reassemble the Mini PC casing.
- Test Functionality: Reconnect all cables and power on the Mini PC. Observe if the fan spins and operates quietly.
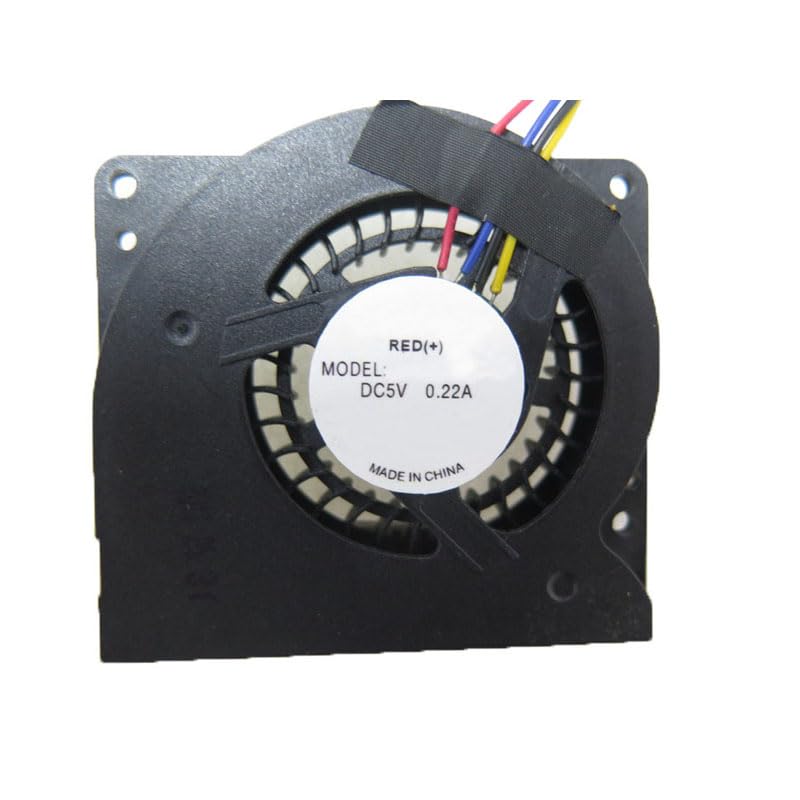
Figure 2: Bottom view of the CPU fan, highlighting the mounting points and the fan's structural design.
3. Operating Instructions
The Generic Mini PC CPU Fan operates automatically once installed and the Mini PC is powered on. Its speed is typically controlled by the Mini PC's BIOS/UEFI or operating system based on CPU temperature readings. No manual intervention is generally required for its operation.
- Automatic Control: The fan speed adjusts dynamically to maintain optimal CPU temperatures.
- Monitoring: You can monitor CPU temperatures and fan speeds using system monitoring software available for your operating system.
4. Maintenance
Regular maintenance helps ensure the longevity and efficiency of your CPU fan and Mini PC.
- Dust Removal: Periodically (e.g., every 3-6 months), power off and unplug your Mini PC. Open the casing and use compressed air to gently blow dust out of the fan blades and heatsink fins. Hold the fan blades to prevent them from spinning rapidly during cleaning, which can damage the bearings.
- Inspection: Visually inspect the fan for any signs of damage, loose wires, or excessive wear.
- Noise Check: Listen for unusual noises (e.g., grinding, rattling) during operation, which may indicate a failing fan bearing.
5. Troubleshooting
If you encounter issues with your CPU fan, consider the following troubleshooting steps:
| Problem | Possible Cause | Solution |
|---|---|---|
| Fan not spinning |
|
|
| Excessive noise from fan |
|
|
| High CPU temperatures |
|
|
If these steps do not resolve the issue, consider contacting a qualified technician or the Mini PC manufacturer for further assistance.
6. Specifications
- Model: AK34 Pro Celeron J3450 (Fan compatible with this model)
- Voltage: DC5V
- Current: 0.22A
- Product Dimensions: 11.81 x 7.87 x 3.94 inches (Packaging/Shipping dimensions, not fan itself)
- Item Weight: 1.32 pounds (Shipping weight, not fan itself)
- Manufacturer: Generic
- ASIN: B0CZL4VHYY
- Date First Available: December 23, 2023
Note: Product dimensions and item weight refer to the shipping package, not the fan unit itself.
7. Warranty Information
This product comes with a 90-day warranty from the date of purchase. This warranty covers manufacturing defects and material faults under normal use. It does not cover damage caused by improper installation, misuse, accidents, unauthorized repairs, or modifications.
For warranty claims, please retain your proof of purchase and contact your retailer or seller.
8. Support
For technical assistance or further inquiries regarding the Generic Mini PC CPU Fan, please refer to the following resources:
- Mini PC Manufacturer's Documentation: Consult the official documentation for your AWOW AK34 Pro Mini PC for specific fan replacement procedures or system-level troubleshooting.
- Online Resources: Search for community forums or technical guides related to Mini PC component replacement.
- Retailer Support: Contact the seller or retailer from whom you purchased this fan for product-specific support.