1. Important Safety Instructions
Please read all instructions carefully before using the appliance. Keep this manual for future reference.
- Ensure the voltage rating on the appliance matches your local power supply (220V, 50Hz).
- Do not immerse the appliance, cord, or plug in water or any other liquid.
- Always place the heating plate on a stable, heat-resistant surface, away from flammable materials.
- Do not touch hot surfaces. Use handles or knobs.
- Unplug from the outlet when not in use and before cleaning. Allow to cool before handling.
- Close supervision is necessary when any appliance is used by or near children.
- Do not operate any appliance with a damaged cord or plug, or after the appliance malfunctions or has been damaged in any manner.
- Do not use outdoors.
- Do not place on or near a hot gas or electric burner, or in a heated oven.
- Do not use the appliance for anything other than its intended use.
2. Product Overview
The RAF R.8088 is a compact and lightweight 2-burner electric heating plate designed for efficient cooking. It features two radiant heating elements controlled by individual knobs.
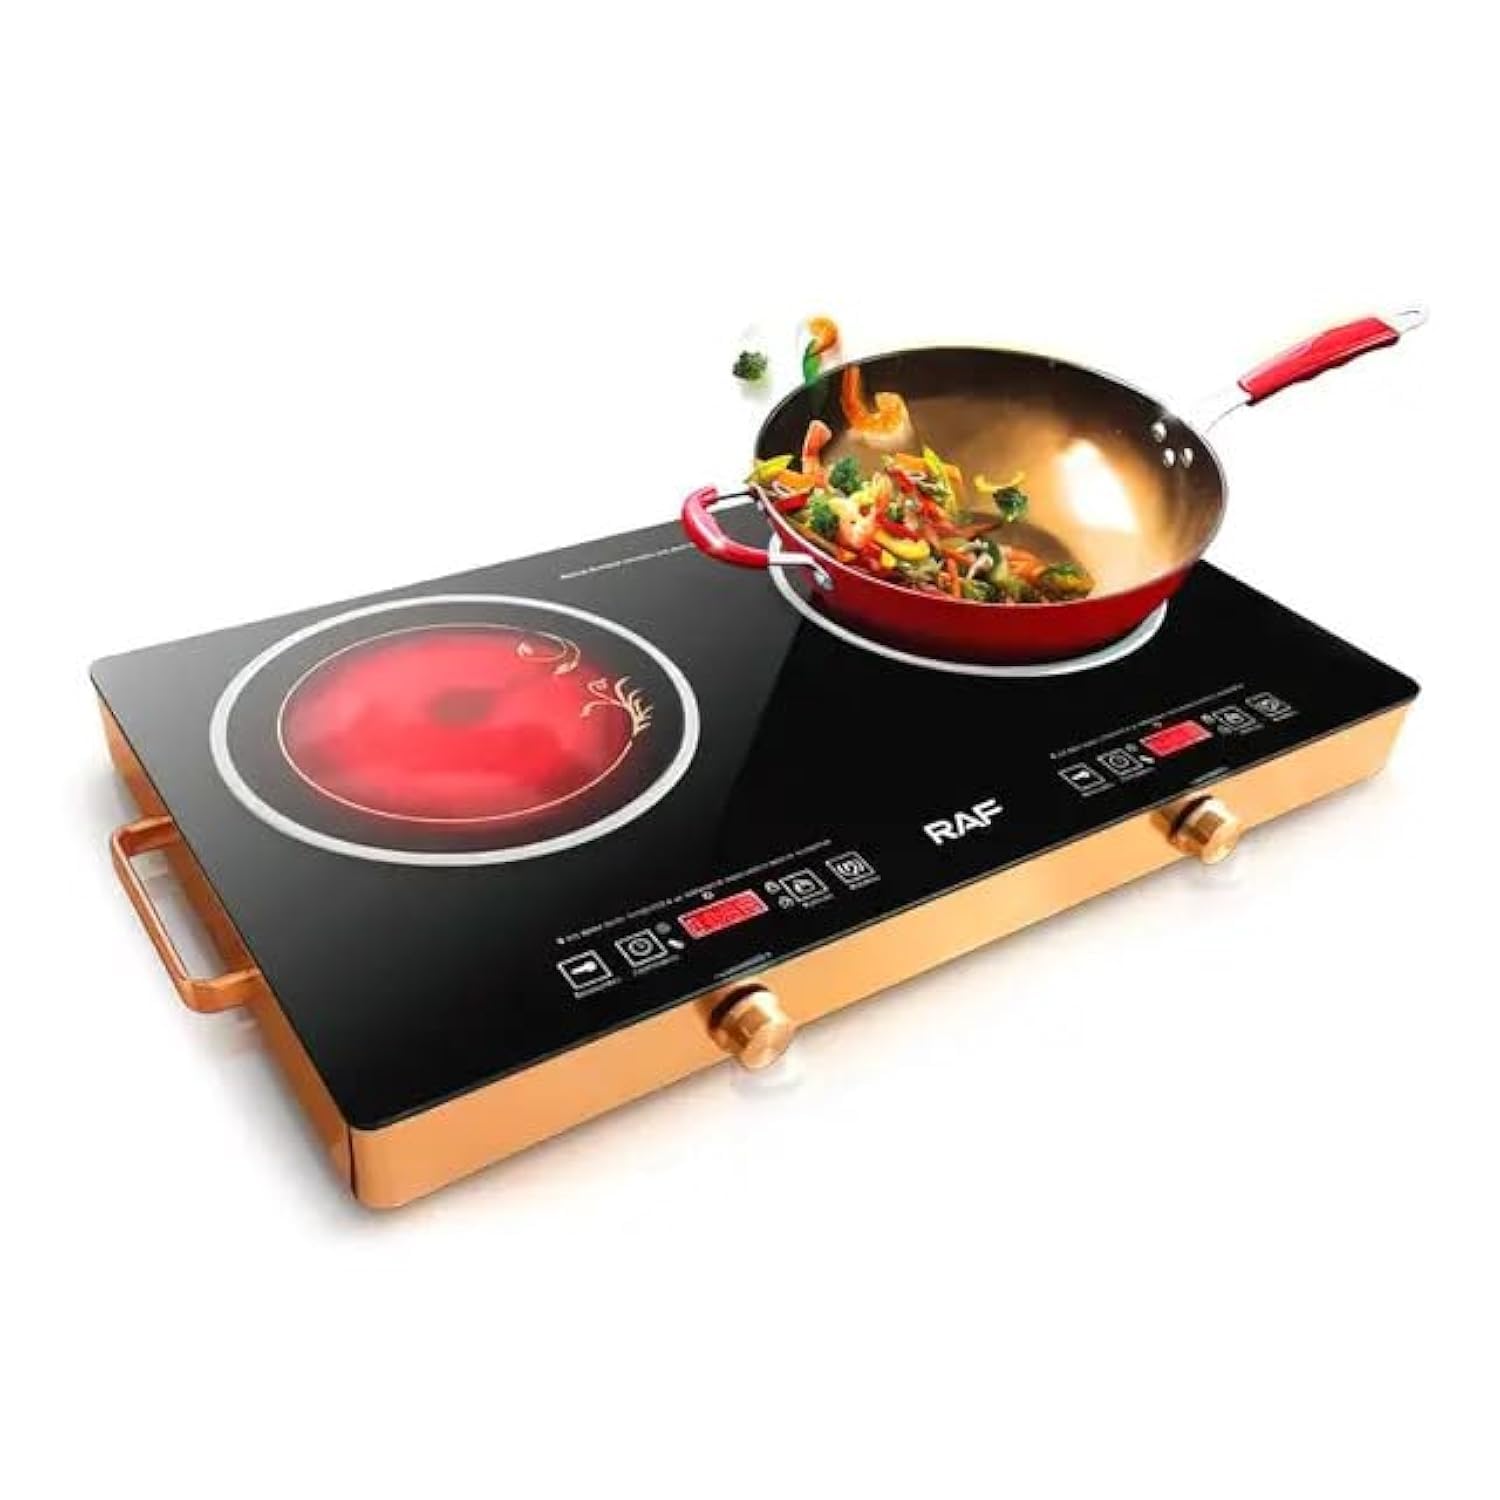
Image 1: The RAF R.8088 2-Burner Electric Heating Plate shown with its product packaging.
Components:
- Two Radiant Heating Elements
- Individual Control Knobs
- Power Indicator Lights
- Heat-Resistant Housing (Cast Iron)
- Power Cord and Plug

Image 2: Close-up of the RAF R.8088 showing the digital LED display area and control knobs.
3. Setup
- Unpack: Carefully remove the heating plate from its packaging. Retain packaging for storage or future transport.
- Placement: Place the appliance on a flat, stable, and heat-resistant surface. Ensure there is adequate ventilation around the unit (at least 10 cm clearance from walls or other appliances).
- Power Connection: Ensure the control knobs are in the 'OFF' position. Plug the power cord into a grounded 220V, 50Hz electrical outlet.
- First Use (Burn-in): Before cooking, turn each burner to its maximum setting for approximately 3-5 minutes without any cookware. This will burn off any manufacturing residues. A slight odor or smoke may occur during this process; this is normal. Ensure the area is well-ventilated.
4. Operating Instructions
The RAF R.8088 features two independent heating elements, each with its own control knob.
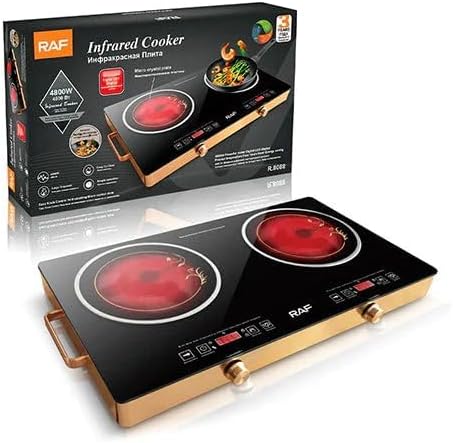
Image 3: The electric heating plate in use, demonstrating its cooking capability with a wok.
- Select Cookware: Use flat-bottomed, heat-resistant cookware suitable for electric stoves. Ensure the cookware base covers the heating element for optimal efficiency.
- Place Cookware: Place your pot or pan centrally on the desired heating element.
- Turn On: Rotate the control knob for the selected burner clockwise to the desired heat setting. The power indicator light for that burner will illuminate.
- Adjust Heat: The knobs allow for variable heat control, from low to high. Adjust as needed for your cooking requirements.
- Turn Off: After cooking, rotate the control knob counter-clockwise back to the 'OFF' position. The indicator light will turn off.
- Cool Down: Allow the heating plate to cool completely before cleaning or moving. The surface will remain hot for some time after use.
5. Maintenance and Cleaning
Proper maintenance ensures the longevity and safe operation of your heating plate.
- Always Unplug: Before cleaning, ensure the appliance is unplugged from the power outlet and has cooled down completely.
- Cleaning Surfaces: Wipe the exterior surfaces with a damp cloth and mild detergent. Do not use abrasive cleaners, scouring pads, or harsh chemicals, as these can damage the finish.
- Heating Elements: For stubborn stains on the heating elements, a non-abrasive cleaner specifically designed for electric cooktops can be used. Follow the cleaner's instructions.
- Do Not Immerse: Never immerse the heating plate in water or any other liquid.
- Storage: When not in use, store the appliance in a dry place, away from direct sunlight and moisture.
6. Troubleshooting
If you encounter issues, refer to the following common problems and solutions:
| Problem | Possible Cause | Solution |
|---|---|---|
| Appliance does not turn on. | Not plugged in; power outlet malfunction; control knob not turned. | Ensure plug is securely in outlet; test outlet with another appliance; turn control knob to desired setting. |
| Heating elements not heating properly. | Incorrect heat setting; cookware not suitable; internal fault. | Adjust heat setting higher; use flat-bottomed, appropriate cookware; if problem persists, contact support. |
| Smoke or odor during first use. | Manufacturing residues burning off. | This is normal for first use. Ensure good ventilation. It should dissipate quickly. |
| Indicator light not working. | Bulb failure; internal wiring issue. | If the burner still heats, the appliance may be functional but the light faulty. Contact support for repair. |
If the problem persists after trying these solutions, please contact customer support.
7. Specifications
Technical details for the RAF R.8088 Electric Heating Plate:

Image 4: Dimensions of the RAF R.8088 Electric Heating Plate.
- Brand: RAF
- Model Number: R.8088
- Color: Black
- Product Dimensions: Approximately 70 cm (Width) x 40 cm (Depth) x 6 cm (Height)
- Power/Wattage: 750 Watts
- Voltage: 220 Volts
- Frequency: 50 Hz
- Material: Cast Iron
- Special Features: Lightweight
- Item Weight: 1 Kilogram
- Number of Heating Elements: 2
- Control Type: Knob
- Heating Element Type: Radiant
- Included Components: Two burners
8. Warranty and Support
For warranty information or technical support, please refer to the warranty card included with your product or contact the retailer where the product was purchased. Keep your proof of purchase for any warranty claims.