1. Introduction
Thank you for choosing the RAF 2-in-1 Travel Steam Iron, Model R.1142H. This compact and versatile appliance is designed for both upright steaming and traditional flat ironing, making it ideal for home use and travel. Please read this manual carefully before operating the iron to ensure safe and efficient use. Keep this manual for future reference.
2. Important Safety Instructions
When using electrical appliances, basic safety precautions should always be followed, including the following:
- Read all instructions before use.
- Do not immerse the iron, power cord, or plug in water or other liquids.
- Always turn the iron OFF before plugging or unplugging from the electrical outlet.
- Never pull on the cord to disconnect from the outlet; instead, grasp the plug and pull to disconnect.
- Do not allow the cord to touch hot surfaces. Let the iron cool completely before storing.
- Always disconnect the iron from the electrical outlet when filling with water or emptying, and when not in use.
- Do not operate the iron with a damaged cord or if the iron has been dropped or damaged. Contact customer service for examination and repair.
- Close supervision is necessary for any appliance used by or near children.
- Do not leave the iron unattended while it is connected or on an ironing board.
- Burns can occur from touching hot metal parts, hot water, or steam. Use caution when turning the iron upside down or when using the steam function.
- Use the iron only for its intended purpose.
3. Product Components
Familiarize yourself with the parts of your RAF 2-in-1 Travel Steam Iron:
- Non-stick Soleplate: For smooth gliding over fabrics.
- Water Tank: 160ml capacity for steam generation.
- Handle: Ergonomically designed, rotates 180 degrees for versatile use.
- Power Indicator Light: Illuminates when the iron is heating.
- Steam Button/Switch: Activates the steam function.
- Temperature Control Dial: Adjusts heat settings for different fabrics.
- Water Inlet Cap: For filling the water tank.
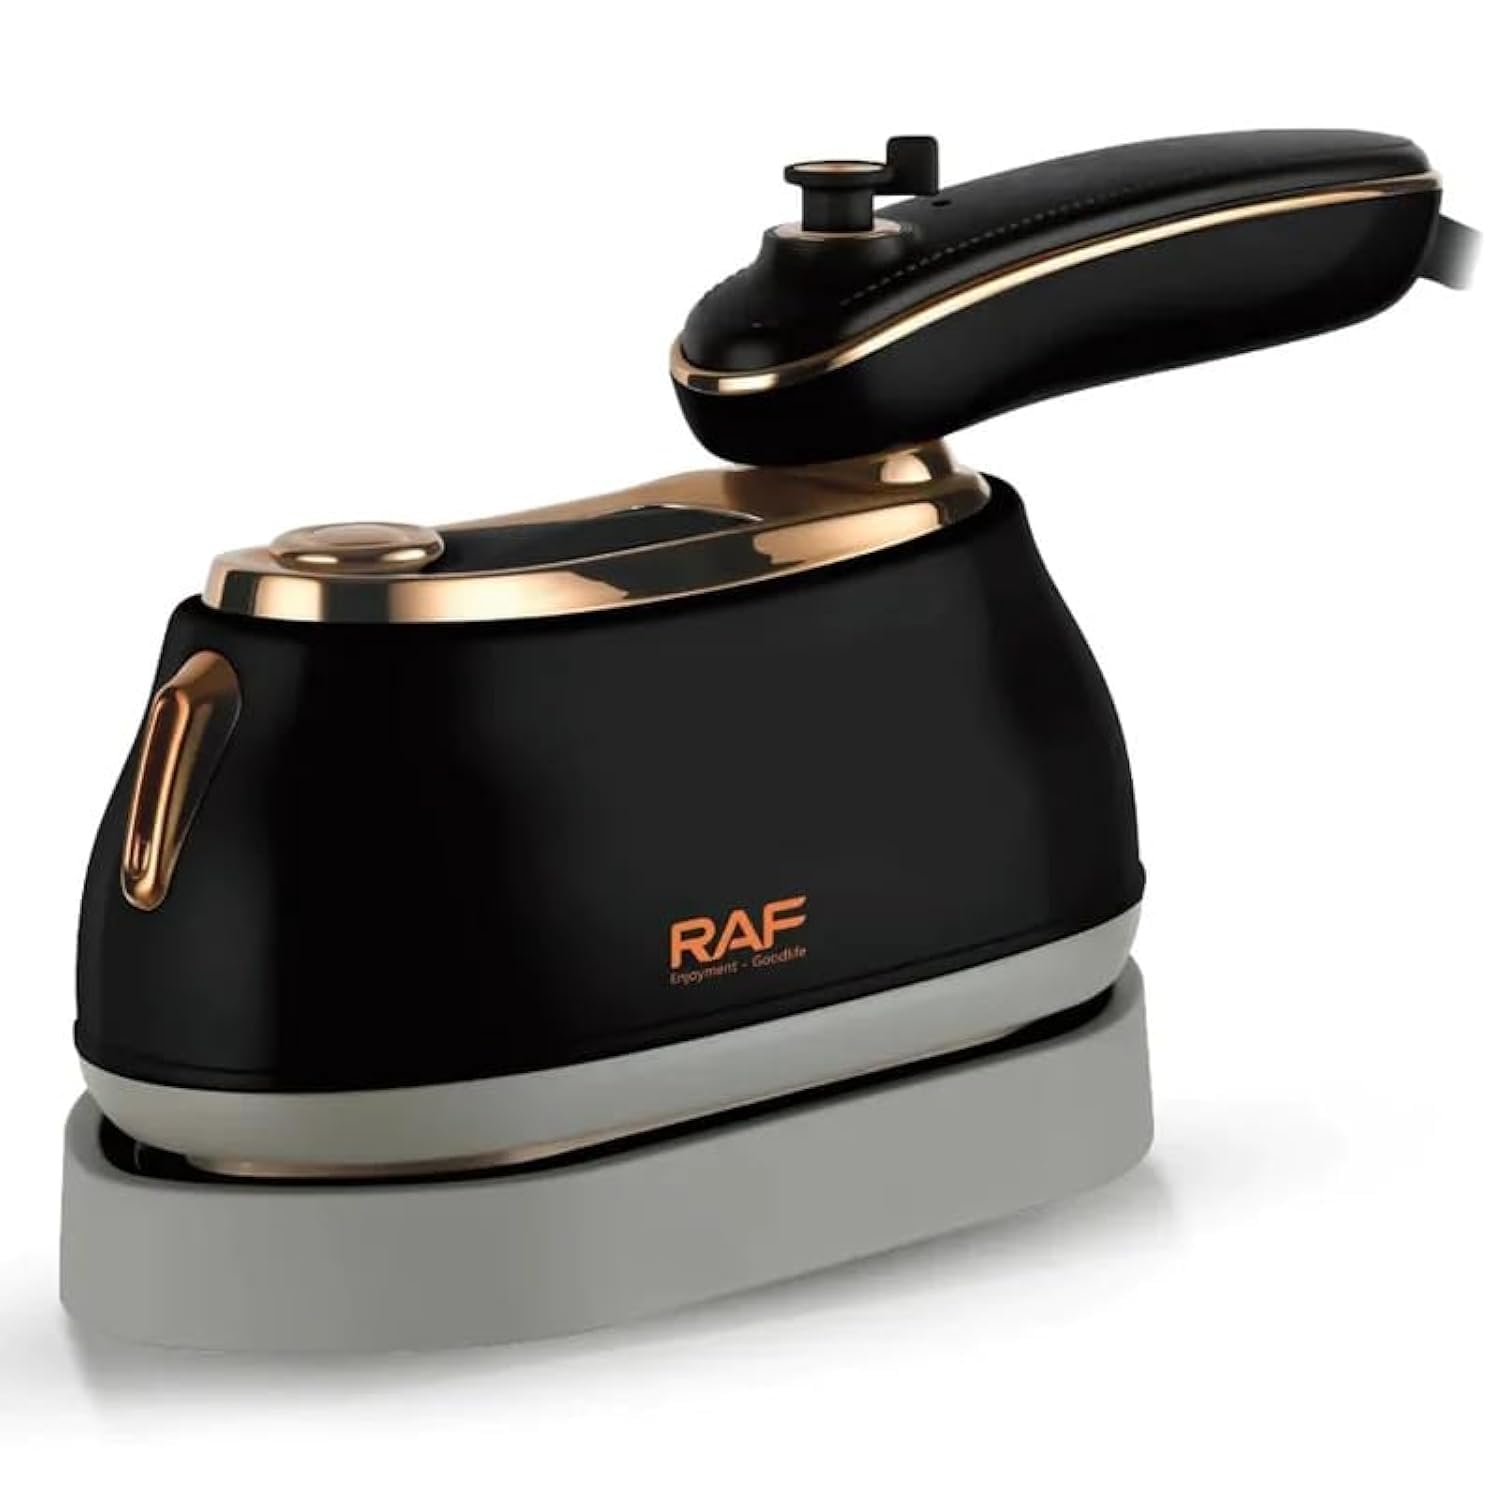
Image 1: The RAF 2-in-1 Travel Steam Iron R.1142H, showcasing its compact design, non-stick soleplate, and rotatable handle. The water tank capacity is 160ml and it operates at 1000W.
4. Setup
- Unpacking: Carefully remove the iron from its packaging. Retain the packaging for storage or future transport.
- First Use Preparation: Before first use, wipe the soleplate with a soft, damp cloth to remove any manufacturing residue.
- Filling the Water Tank:
- Ensure the iron is unplugged and cool.
- Open the water inlet cap.
- Using a measuring cup, carefully pour clean tap water into the 160ml water tank. Do not overfill.
- Close the water inlet cap securely.
- Handle Rotation: The handle can rotate 180 degrees. Gently press the release button (if present) or rotate the handle until it clicks into the desired position for either flat ironing or vertical steaming.
5. Operating Instructions
This iron offers both dry ironing and steam ironing functions.
Dry Ironing
- Ensure the water tank is empty or the steam function is off.
- Plug the iron into a 220V, 50Hz electrical outlet.
- Set the temperature control dial to the desired fabric setting. The power indicator light will illuminate.
- Wait for the indicator light to turn off, indicating the iron has reached the set temperature.
- Begin ironing.
Steam Ironing (Flat)
- Fill the water tank as described in the Setup section.
- Plug the iron into a 220V, 50Hz electrical outlet.
- Set the temperature control dial to a steam-appropriate setting (usually indicated on the dial or for cotton/linen). The power indicator light will illuminate.
- Wait for the indicator light to turn off, indicating the iron has reached the set temperature.
- Press the steam button to release steam while ironing. For continuous steam, ensure the steam switch is in the 'on' position (if applicable).
Vertical Steaming
- Fill the water tank.
- Plug the iron in and set the temperature to a high setting suitable for steam.
- Allow the iron to heat up until the indicator light turns off.
- Hold the iron vertically, a few inches away from the fabric.
- Press the steam button repeatedly or engage the continuous steam function to release bursts of steam onto the garment.
- Move the iron up and down the garment to remove wrinkles.

Image 2: The RAF 2-in-1 Travel Steam Iron shown in both flat ironing and vertical steaming modes, demonstrating its versatility.
6. Maintenance and Cleaning
Cleaning the Soleplate
- Ensure the iron is unplugged and completely cool.
- Wipe the non-stick soleplate with a soft, damp cloth. For stubborn stains, use a mild, non-abrasive cleaner specifically designed for iron soleplates.
- Never use abrasive scouring pads or harsh chemicals, as these can damage the non-stick coating.
Draining the Water Tank
- After each use, ensure the iron is unplugged and cool.
- Open the water inlet cap and carefully invert the iron over a sink to drain any remaining water from the tank.
- Close the cap and store the iron upright.
Storage
Store the iron in a cool, dry place, away from direct sunlight and moisture. Ensure the cord is neatly wrapped and not kinked.
7. Troubleshooting
| Problem | Possible Cause | Solution |
|---|---|---|
| Iron does not heat up. | Not plugged in; power outlet fault; temperature dial set to OFF. | Check power connection; try another outlet; turn temperature dial to a heat setting. |
| No steam or insufficient steam. | Water tank empty; temperature too low; steam vents clogged. | Fill water tank; set temperature to steam-appropriate level; clean soleplate vents. |
| Water leaks from soleplate. | Temperature too low for steam; water tank overfilled; iron left horizontally with water. | Increase temperature; do not overfill tank; store iron upright after use. |
| Soleplate is dirty. | Residue from fabrics or starch. | Clean soleplate as per maintenance instructions. |
8. Specifications
- Model: R.1142H
- Brand: RAF
- Power: 1000 Watts
- Voltage: 220 Volts
- Frequency: 50 Hz
- Water Tank Capacity: 160 ml
- Soleplate Material: Ceramic, Non-stick
- Color: Black
- Product Dimensions (L x W x H): Approximately 30 x 10 x 0.1 cm
- Item Weight: Approximately 600 g
- Special Features: Lightweight, 2-in-1 (Upright & Flat Ironing), 180° Rotatable Handle, Compact, Travel-friendly
9. Warranty and Support
For warranty information and customer support, please refer to the documentation provided at the time of purchase or contact your retailer. Keep your proof of purchase for any warranty claims.


