
Professional Air Acetylene Torch Kit
User Instruction Manual
Brand: Znnam | Model: Air Acetylene Torch Kit
1. Introduction
This manual provides essential information for the safe and effective use of your Znnam Professional Air Acetylene Torch Kit. This kit is designed for precision soldering, brazing, HVAC, and various welding applications, offering reliable performance with its G-4 handle, quick-disconnect nozzles, and versatile CGA200/CGA520 regulator system. Please read this manual thoroughly before operation and retain it for future reference.

Figure 1.1: Overview of the Znnam Professional Air Acetylene Torch Kit, showing the handle, hose, regulator, and various tips.
2. Safety Information
WARNING: Failure to follow these safety instructions can result in serious injury, property damage, or death. Acetylene gas is highly flammable and requires extreme caution.
- Personal Protective Equipment (PPE): Always wear appropriate PPE, including welding gloves, safety glasses or a welding shield, and protective clothing, to prevent burns and eye injuries.
- Ventilation: Use the torch in a well-ventilated area to prevent the accumulation of flammable gases and fumes.
- Leak Detection: Before each use, check all connections for gas leaks using a leak detection solution (e.g., soapy water). Never use an open flame for leak detection. If a leak is detected, immediately shut off the gas supply and do not use the kit until the leak is resolved.
- Gas Cylinder Handling: Secure acetylene cylinders upright to prevent tipping. Ensure valves are closed when not in use or when changing cylinders.
- Flammable Materials: Keep the work area clear of flammable materials, liquids, and vapors.
- Torch Striker: Use only a proper torch striker or approved igniter to light the torch. Do not use matches or lighters.
- Pressure Settings: Do not exceed the maximum recommended operating pressures for the regulator and torch components.
- Storage: Store the torch kit and gas cylinders in a cool, dry, well-ventilated area, away from ignition sources and unauthorized personnel.
3. Package Contents
Verify that all items listed below are present in your kit:
- CGA 200 Acetylene Regulator
- G-4 Handle
- AH-12 Turbo Torch Hose
- A-3 Tip
- A-5 Tip
- A-11 Tip
- A-14 Tip
- Acetylene Adaptor CGA200 (MC) to CGA520 (B)
- Tank Key
- Torch Striker
- Storage Package

Figure 3.1: The complete 11-piece kit, including regulator, handle, hose, various tips, adapter, tank key, and torch striker.
4. Setup Instructions
- Attach Regulator:
Connect the CGA 200 Acetylene Regulator to your acetylene tank. If using a large CGA 520 cylinder with an MC CGA-200 portable cylinder, first attach the CGA200 (MC) to CGA520 (B) adapter to the tank, then connect the regulator. Ensure a tight, leak-free connection using the tank key.

Figure 4.1: The CGA200 Acetylene Regulator, featuring easy-to-read gauges and a control knob.
- Connect Hose:
Attach the AH-12 Turbo Torch Hose to the outlet of the acetylene regulator. The hose features 3/8"-24 LH threads for secure connection. Then, connect the other end of the hose to the G-4 handle.
- Install Torch Tip:
Select the appropriate A-series tip (A-3, A-5, A-11, or A-14) for your application. The G-4 handle features a quick-disconnect mechanism. Simply insert the desired tip into the handle until it clicks securely into place.
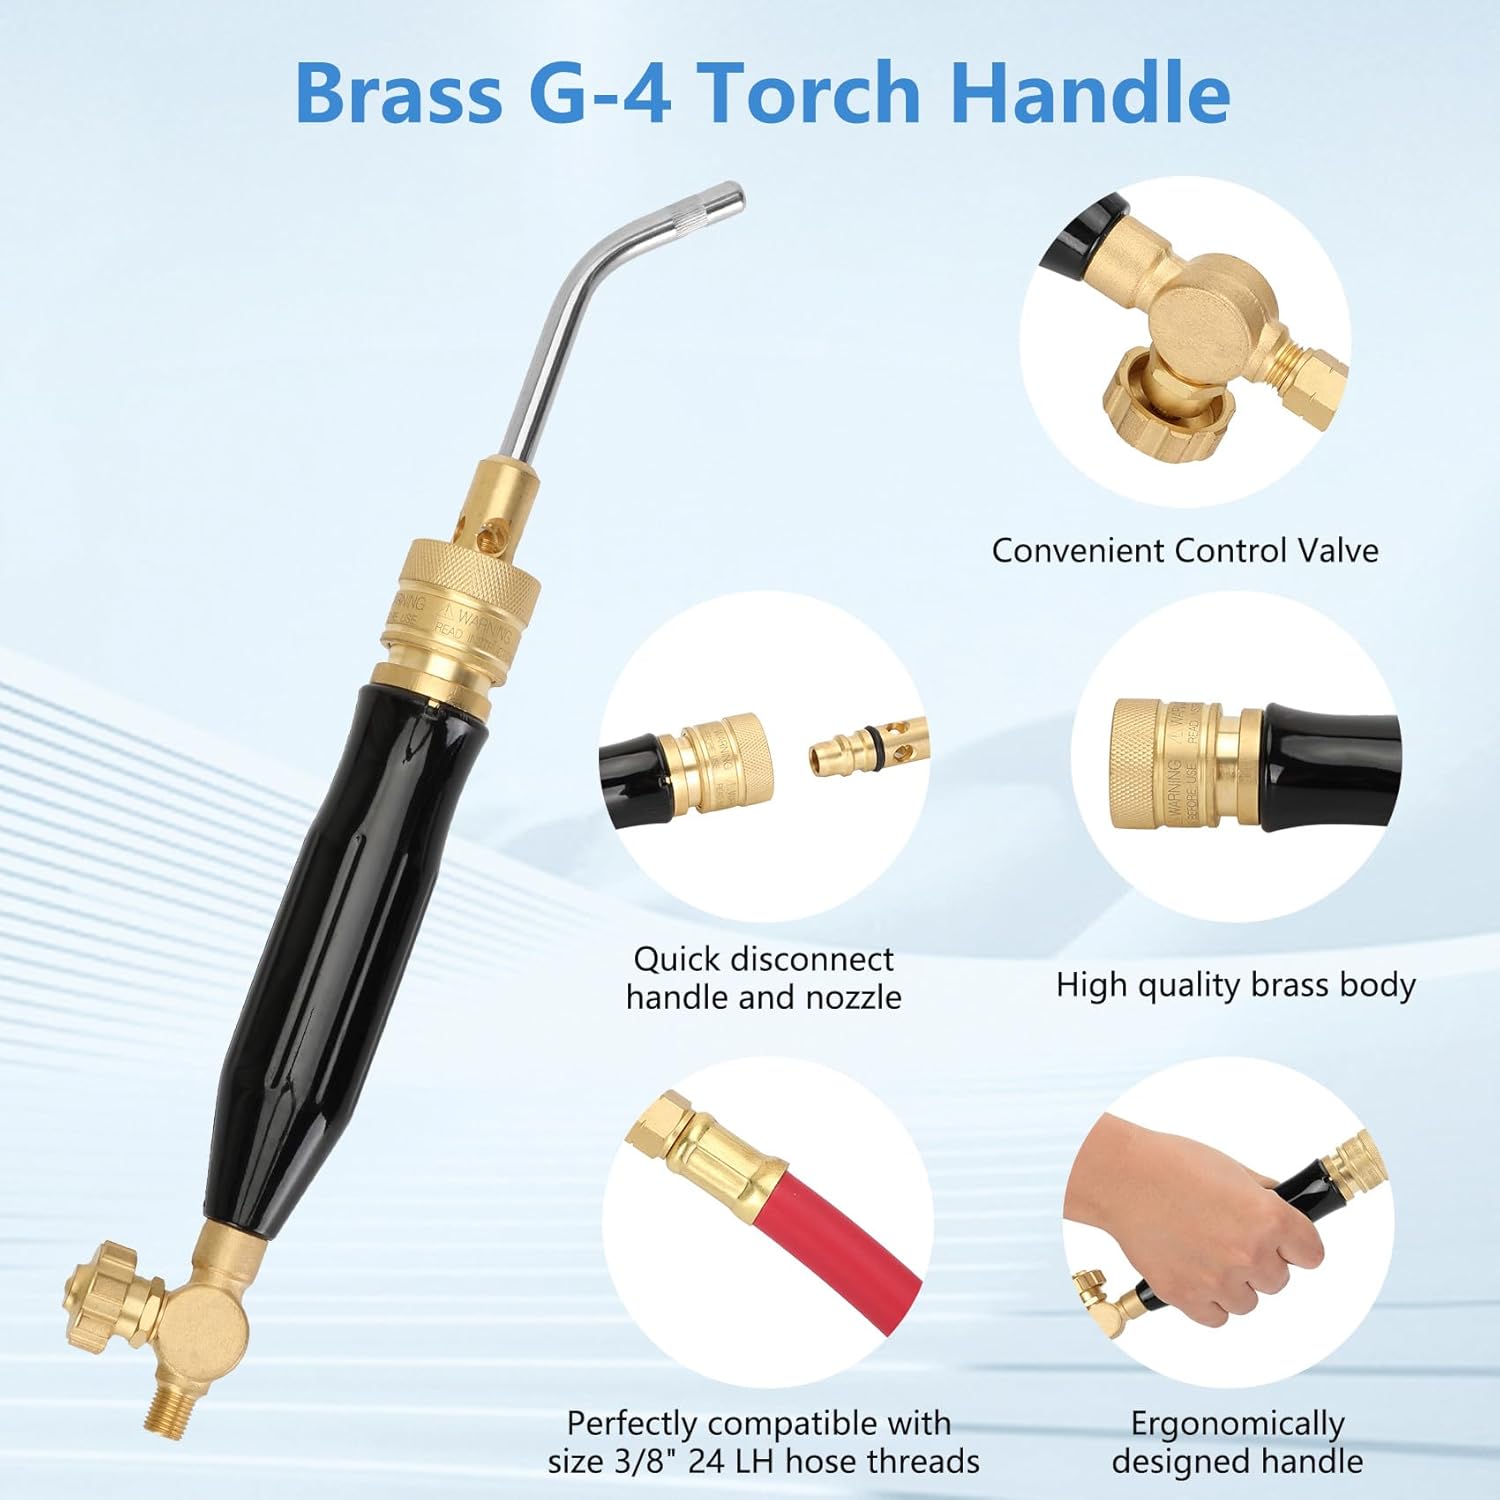
Figure 4.2: The G-4 Torch Handle, showing its brass body, convenient control valve, and quick-disconnect design for tips.
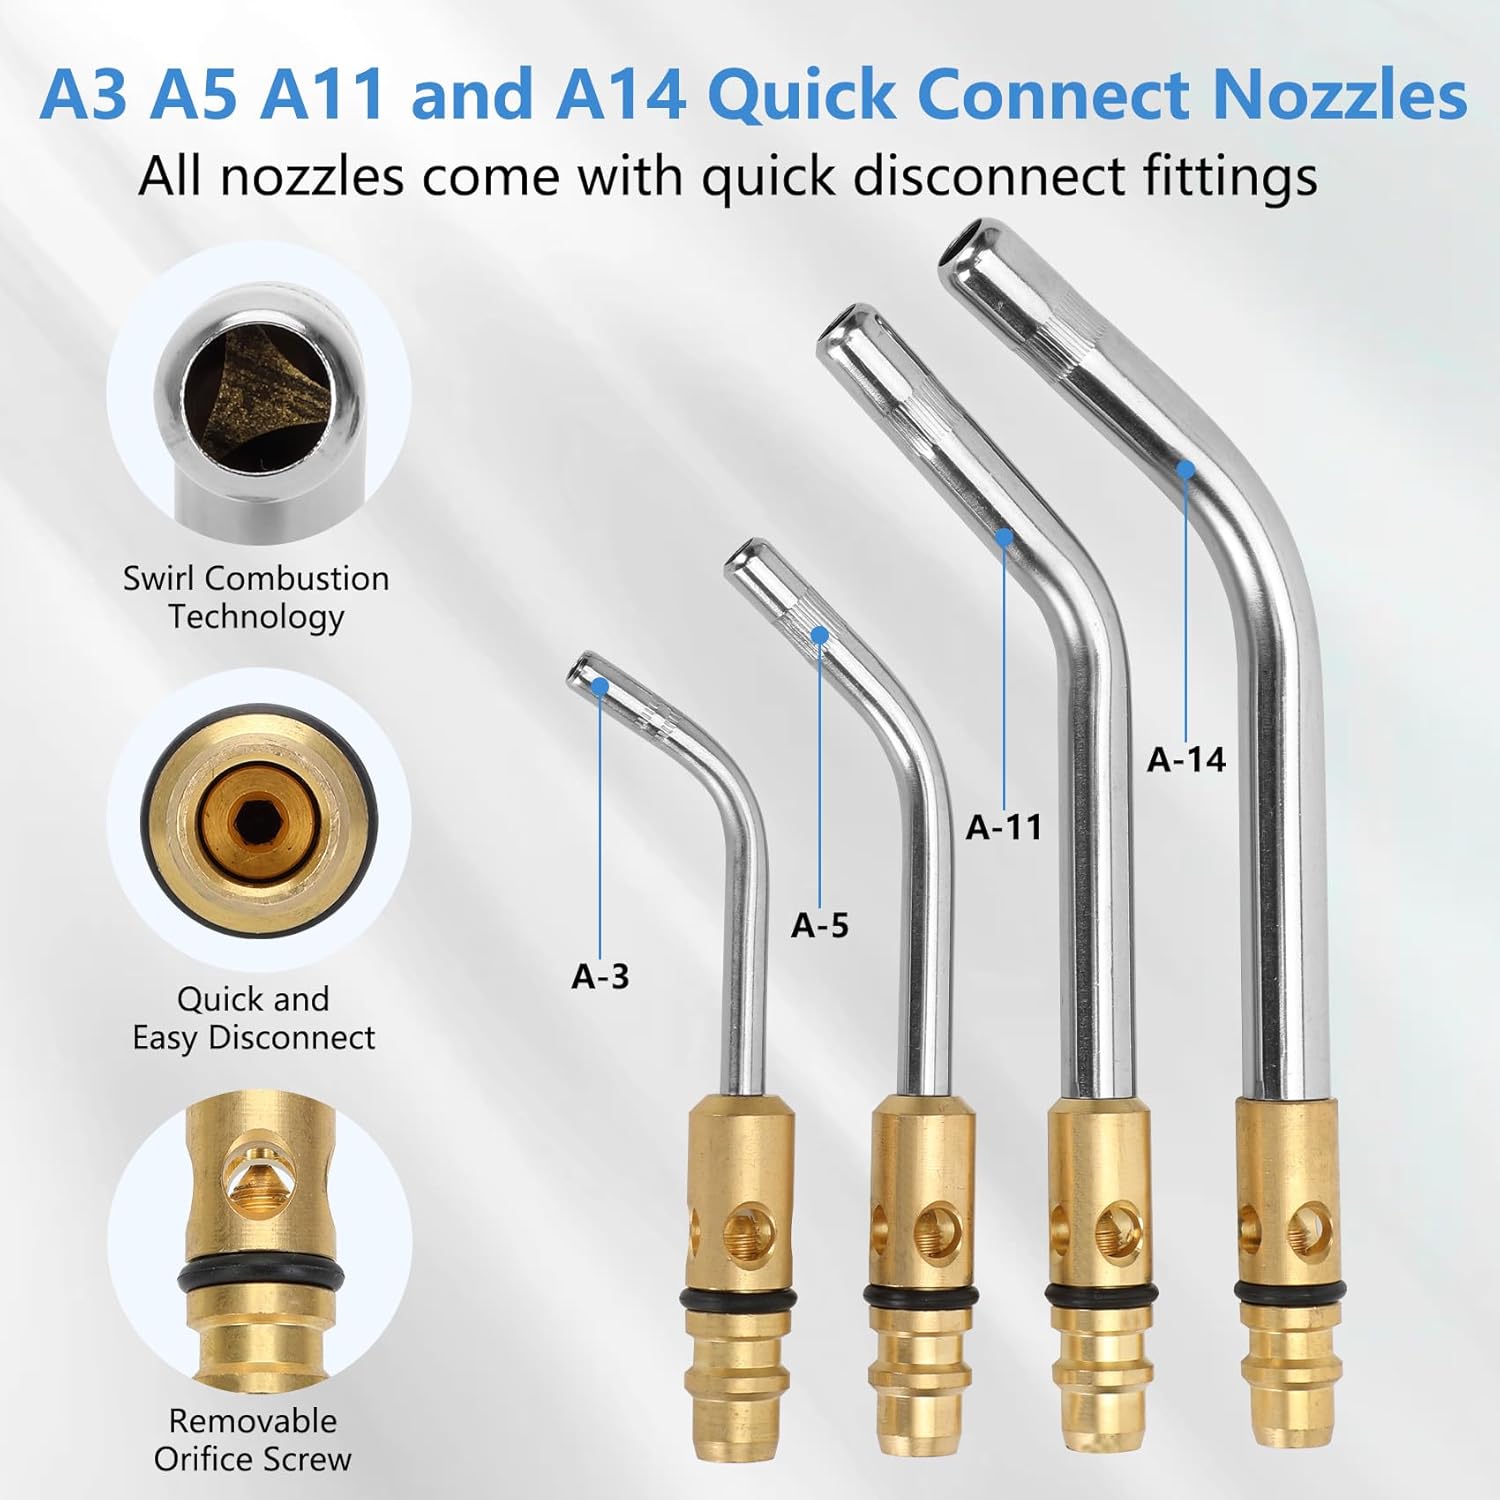
Figure 4.3: A-series quick connect nozzles (A-3, A-5, A-11, A-14) designed for swirl combustion and easy interchangeability.
- Perform Leak Check:
Before opening the gas supply, ensure all connections are hand-tight. Slowly open the acetylene tank valve. Apply a leak detection solution to all connections (regulator to tank, hose to regulator, hose to handle, tip to handle). Look for bubbles, which indicate a leak. If leaks are found, close the tank valve, tighten connections, and re-test. Do not proceed if leaks persist.
5. Operating Instructions
- Open Gas Supply:
Slowly open the acetylene tank valve fully. Then, slowly open the regulator's control knob to set the desired outlet pressure (typically 5-15 PSI for most applications, not exceeding 30 PSI). Finally, slightly open the gas control valve on the G-4 handle.
- Light the Torch:
Hold the torch tip away from your body and any flammable materials. Use the provided torch striker to ignite the gas at the tip. If the flame does not ignite immediately, close the handle valve, wait a few seconds, and try again.
- Adjust Flame:
Adjust the gas control valve on the G-4 handle to achieve the desired flame size and intensity. The turbo torch design produces a swirl flame capable of reaching temperatures up to 3000°C.
- Perform Work:
Direct the flame to the workpiece. Maintain a safe distance and angle appropriate for the task (welding, brazing, heating, etc.).
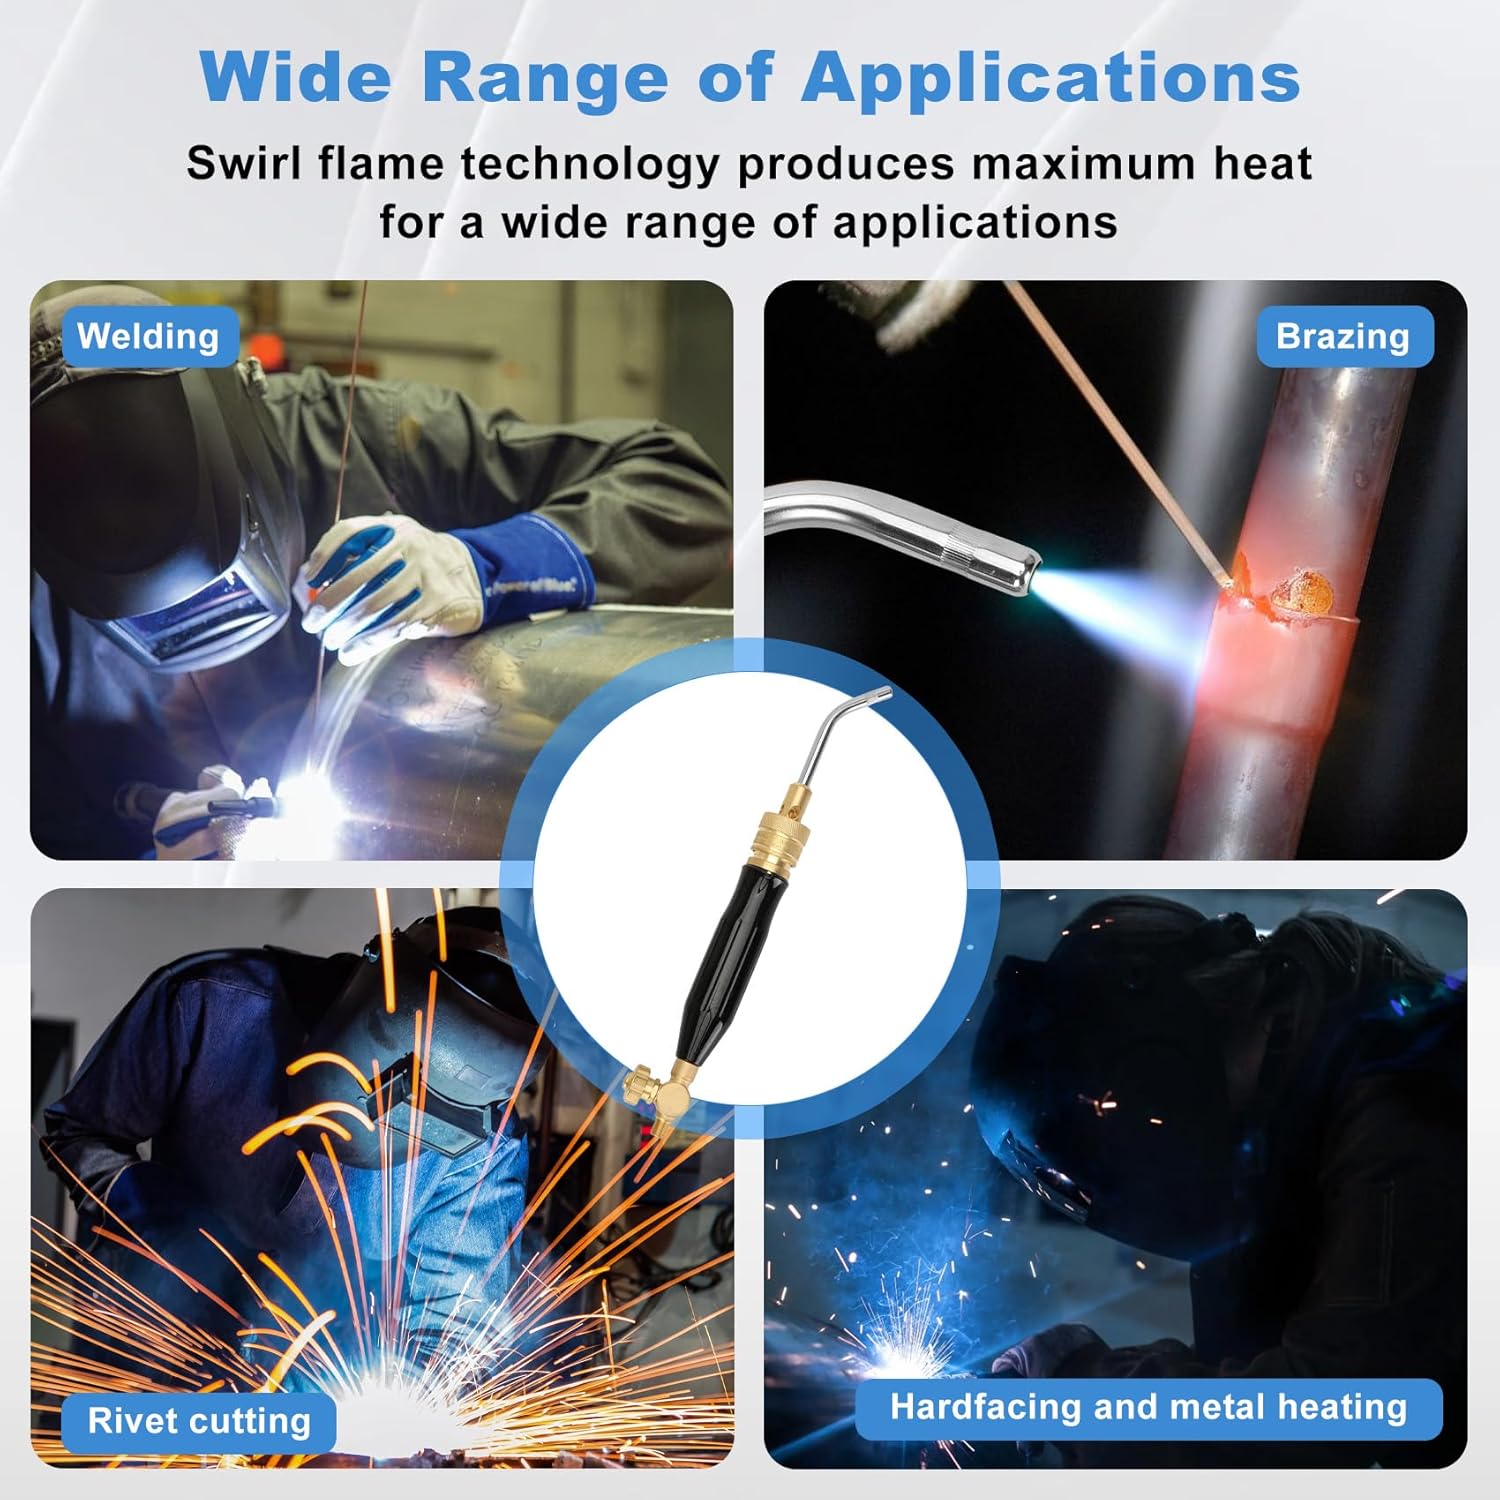
Figure 5.1: Examples of wide-ranging applications for the torch kit, demonstrating its versatility in welding, brazing, and heating tasks.
- Shut Down:
When finished, first close the gas control valve on the G-4 handle. Then, close the acetylene tank valve completely. Finally, bleed any remaining gas from the system by briefly opening the torch handle valve until the regulator gauges read zero, then close the handle valve again.
6. Maintenance
- Tip Cleaning: Regularly inspect torch tips for carbon buildup or blockages. Use appropriate tip cleaners to clear orifices. Do not use hard objects that could damage the tip.
- Hose Inspection: Periodically check the AH-12 hose for cuts, abrasions, or signs of wear. Replace the hose immediately if any damage is found.
- Regulator Inspection: Inspect the regulator gauges and connections for damage. Ensure the control knob turns smoothly.
- Leak Checks: Perform a leak check on all connections before each use, as described in the Setup section.
- Storage: After use, disconnect the kit from the gas cylinder and store all components in the provided storage package in a clean, dry, and secure location.
7. Troubleshooting
| Problem | Possible Cause | Solution |
|---|---|---|
| No flame or weak flame |
|
|
| Unstable or sputtering flame |
|
|
| Gas leak detected (e.g., smell of gas, bubbles with leak solution) |
|
|
8. Specifications
| Brand | Znnam |
| Model Number | Air Acetylene Torch Kit |
| Material | Brass |
| Product Dimensions | 6"L x 4"W |
| Item Weight | 4.5 Pounds |
| Maximum Outlet Pressure | 30 PSI (Regulator) |
| Included Components | CGA 200 Acetylene Regulator, G-4 Handle, AH-12 Hose, A-3, A-5, A-11, A-14 Tips, CGA200 (MC) to CGA520 (B) Adapter, Tank Key, Torch Striker |
| UPC | 764046757327 |
9. Warranty and Support
The Znnam Professional Air Acetylene Torch Kit comes with a one-year warranty from the date of purchase. This warranty covers manufacturing defects and ensures the product meets quality standards under normal use.
For warranty claims, technical assistance, or any questions regarding the operation or maintenance of your torch kit, please contact Znnam customer support. Refer to your purchase documentation or the official Znnam website for contact information.
When contacting support, please have your product model number (Air Acetylene Torch Kit) and proof of purchase readily available.