
1. Introduction
Thank you for purchasing the QcuGvy Portable Infrared Burner. This 3500W electric burner is designed for efficient and versatile cooking, featuring a touch control panel, adjustable heating, and a durable glass plate cooktop. Please read this manual thoroughly before use to ensure safe and optimal operation of your appliance.
2. Important Safety Instructions
WARNING: To reduce the risk of fire, electric shock, injury to persons, or damage to the appliance, basic safety precautions should always be followed.
- Read all instructions before using the appliance.
- Do not touch hot surfaces. Use handles or knobs.
- To protect against electrical shock, do not immerse cord, plugs, or the appliance in water or other liquid.
- Close supervision is necessary when any appliance is used by or near children.
- Unplug from outlet when not in use and before cleaning. Allow to cool before putting on or taking off parts.
- Do not operate any appliance with a damaged cord or plug, or after the appliance malfunctions or has been damaged in any manner.
- The use of accessory attachments not recommended by the appliance manufacturer may cause injuries.
- Do not use outdoors.
- Do not let cord hang over edge of table or counter, or touch hot surfaces.
- Do not place on or near a hot gas or electric burner, or in a heated oven.
- Extreme caution must be used when moving an appliance containing hot oil or other hot liquids.
- Always attach plug to appliance first, then plug cord into the wall outlet. To disconnect, turn any control to "off", then remove plug from wall outlet.
- Do not use appliance for other than intended use.
- Ensure proper ventilation around the unit during operation.
- The ceramic plate remains hot after cooking. Do not touch with bare hands until it has completely cooled down.
3. Package Contents
- 1 x Digital Cooker (Portable Infrared Burner)
- 1 x User Manual
4. Product Overview
Familiarize yourself with the components of your QcuGvy Portable Infrared Burner.

Figure 4.1: Front View of the Burner. This image shows the overall design of the QcuGvy Portable Infrared Burner, highlighting the central heating element, the digital display, and the touch control panel on the right, along with the rotary knob for power/timer settings.

Figure 4.2: Detailed Features. This composite image provides close-up views of key features: the smooth crystal glass surface, the multifunction touch control panel, the precise knob control for adjustments, and the inner and outer heating circles of the radiant element.

Figure 4.3: Bottom Cooling Fan. This image illustrates the integrated cooling fan located on the underside of the burner, essential for dissipating heat and ensuring the longevity of the appliance.
Control Panel Functions:
- Digital Display: Shows power level, temperature, or timer settings.
- Fried: Preset mode for frying.
- BBQ: Preset mode for barbecue-style cooking.
- Soup: Preset mode for simmering soups.
- Function: Cycles through additional cooking functions or settings.
- Timer: Activates and adjusts the cooking timer (up to 3 hours).
- ON/OFF: Powers the unit on or off.
- Rotary Knob: Adjusts power/temperature levels and timer settings.
5. Setup
- Unpacking: Carefully remove the burner from its packaging. Retain packaging for future storage or transport.
- Placement: Place the burner on a stable, flat, heat-resistant surface. Ensure there is adequate space (at least 4 inches) around all sides for proper ventilation. Do not place on tablecloths or other flammable materials.
- Power Connection: Ensure the voltage of your power outlet matches the specifications of the burner (refer to Section 8: Specifications). Plug the power cord into a grounded electrical outlet.
6. Operating Instructions
6.1 Basic Operation
- Power On: Press the "ON/OFF" button. The digital display will illuminate.
- Place Cookware: Place a suitable pot or pan centrally on the glass cooktop. This infrared burner is compatible with various types of pots and pans, including stainless steel, cast iron, ceramic, and glass.
- Select Mode/Adjust Power:

Figure 6.1: High Power and Cooking Modes. This image highlights the 3500W high power capability for quick heating and illustrates various cooking applications such as frying, boosting heat, inner circle cooking, and barbecue, demonstrating the burner's versatility.

Figure 6.2: Compatible with Various Pots. This image shows the burner in use with a large wok, emphasizing its compatibility with a wide range of cookware materials and sizes, making it suitable for diverse cooking needs.
- Use the rotary knob to adjust the heating power level. The digital display will show the current power setting.
- Alternatively, press one of the preset function buttons (Fried, BBQ, Soup) for optimized cooking settings.
- Press the "Function" button to cycle through other available cooking modes or settings.
- Using the Timer: Press the "Timer" button, then use the rotary knob to set the desired cooking time (up to 3 hours). The burner will automatically turn off once the timer expires.
- Power Off: Press the "ON/OFF" button to turn off the burner. The heating element will cool down, and the display may show a hot surface indicator until it is safe to touch.
7. Maintenance and Cleaning
Regular cleaning ensures the longevity and optimal performance of your burner.
- Cool Down: Always ensure the burner has completely cooled down before cleaning. A hot surface indicator light will typically remain on until it is safe to touch.
- Cleaning the Glass Surface:
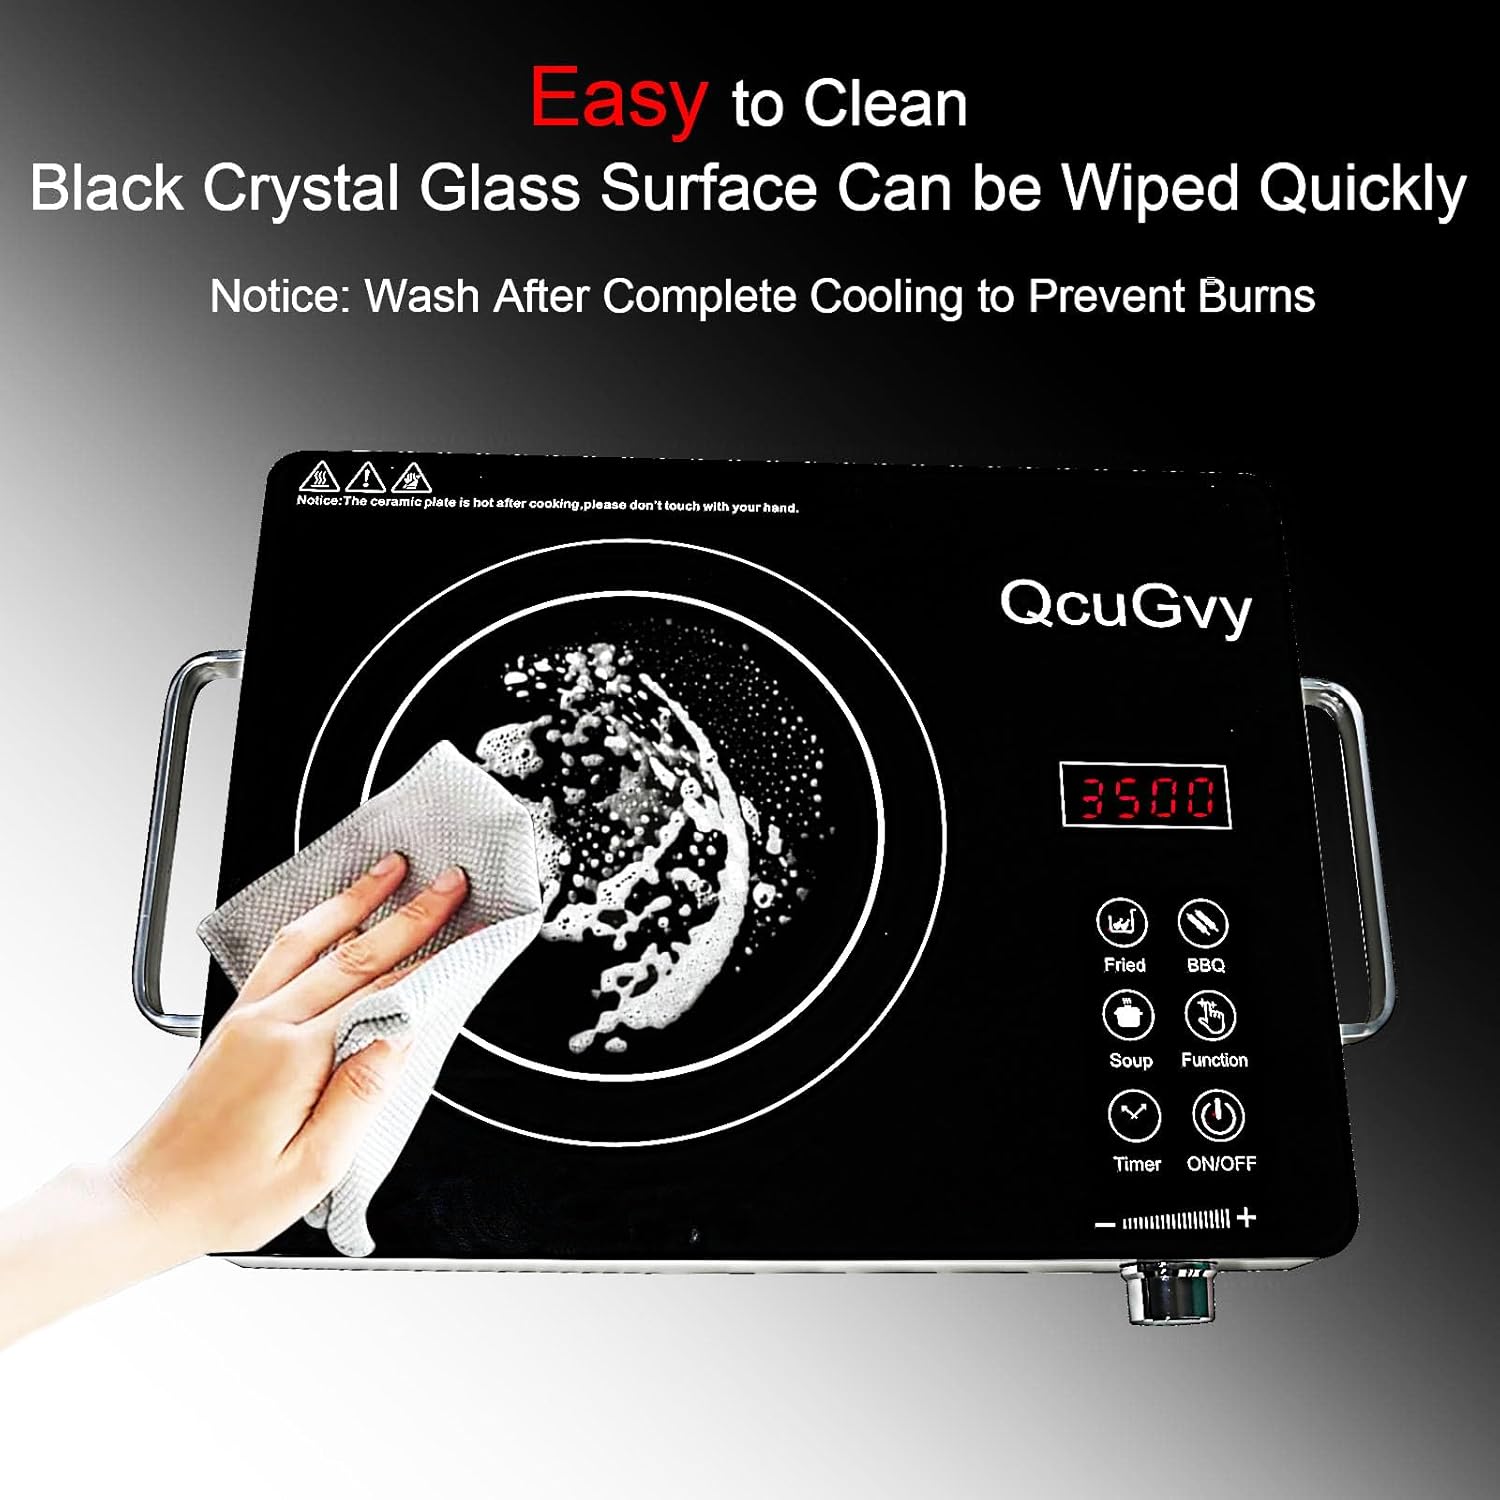
Figure 7.1: Easy to Clean Surface. This image demonstrates the ease of cleaning the black crystal glass surface of the burner. It can be quickly wiped down with a cloth after cooling to prevent burns.
- Wipe the black crystal glass surface with a soft, damp cloth and mild detergent.
- For stubborn stains, use a non-abrasive ceramic cooktop cleaner.
- Do not use abrasive pads, harsh chemicals, or steel wool, as these can scratch the surface.
- Cleaning the Body: Wipe the exterior body with a soft, damp cloth. Do not immerse the unit in water or any other liquid.
- Storage: When not in use, store the burner in a cool, dry place, away from direct sunlight and moisture.
8. Troubleshooting
If you encounter issues with your burner, please refer to the following common problems and solutions:
| Problem | Possible Cause | Solution |
|---|---|---|
| Burner does not turn on. | No power supply. | Check if the power cord is securely plugged into a working outlet. Check circuit breaker. |
| Burner not heating. | Incorrect power setting or function selected. | Adjust power level using the rotary knob or select a cooking function. |
| Error Code E1-E4 displayed. | Internal sensor error or overheating. | Unplug the unit, allow it to cool down for 10-15 minutes, then plug it back in. Ensure proper ventilation. |
| Error Code E7 displayed. | This error code typically indicates an internal fault or a sensor malfunction not covered by standard E1-E4 codes. | Unplug the unit immediately. Wait for 30 minutes, then plug it back in. If the error persists, contact customer support. Do not attempt to repair the unit yourself. |
| Unit beeps continuously. | Error condition or improper operation. | Refer to error codes. If no code is displayed, try unplugging and re-plugging the unit. |
If the problem persists after trying these solutions, please contact customer support.
9. Specifications

Figure 9.1: Product Dimensions. This image provides a clear visual representation of the burner's dimensions, showing a width of 14.1 inches, a depth of 11 inches, and a height of 2.5 inches.
| Feature | Detail |
|---|---|
| Brand | QcuGvy |
| Model Number | DL-012 |
| Power Source | Electric |
| Heating Elements | 1 |
| Controls Type | Touch |
| Burner Type | Radiant (Infrared) |
| Power Output | 3500W |
| Product Dimensions | 16.4 x 12.9 x 3.5 inches (approx. 41.6 x 32.8 x 8.9 cm) |
| Item Weight | 5.28 pounds (approx. 2.39 kg) |
| UPC | 752496933675 |
| ASIN | B0CZ7DPQN9 |
10. Warranty Information
This QcuGvy product is covered by a limited manufacturer's warranty. Please refer to the product packaging or contact customer support for specific warranty terms and conditions. The warranty typically covers defects in materials and workmanship under normal use.
11. Customer Support
For any questions, technical assistance, or warranty claims, please contact QcuGvy customer support. Refer to the product packaging or the official QcuGvy website for the most up-to-date contact information.
We are committed to providing high-quality products and excellent customer service.