SOTEFE HY320 Pro
SOTEFE HY320 Pro Smart Android Projector User Manual
Model: HY320 Pro | Brand: SOTEFE
1. Introduction
This manual provides essential information for the safe and efficient operation of your SOTEFE HY320 Pro Smart Android Projector. Please read it thoroughly before using the product and retain it for future reference.
Product Overview
The SOTEFE HY320 Pro is a versatile smart projector featuring a 180° flexible projection angle, 280 ANSI Lumens brightness, and an integrated Android smart system (version 11.0 or 12.0 depending on manufacturing batch). It supports Full HD 1080P resolution and 4K video input, offering a vivid viewing experience with a 15000:1 contrast ratio. Equipped with dual-band WiFi (2.4G/5.8G) and Bluetooth 5.2, it ensures stable connectivity for streaming and audio output. Automatic keystone correction simplifies setup, allowing for quick image adjustment.
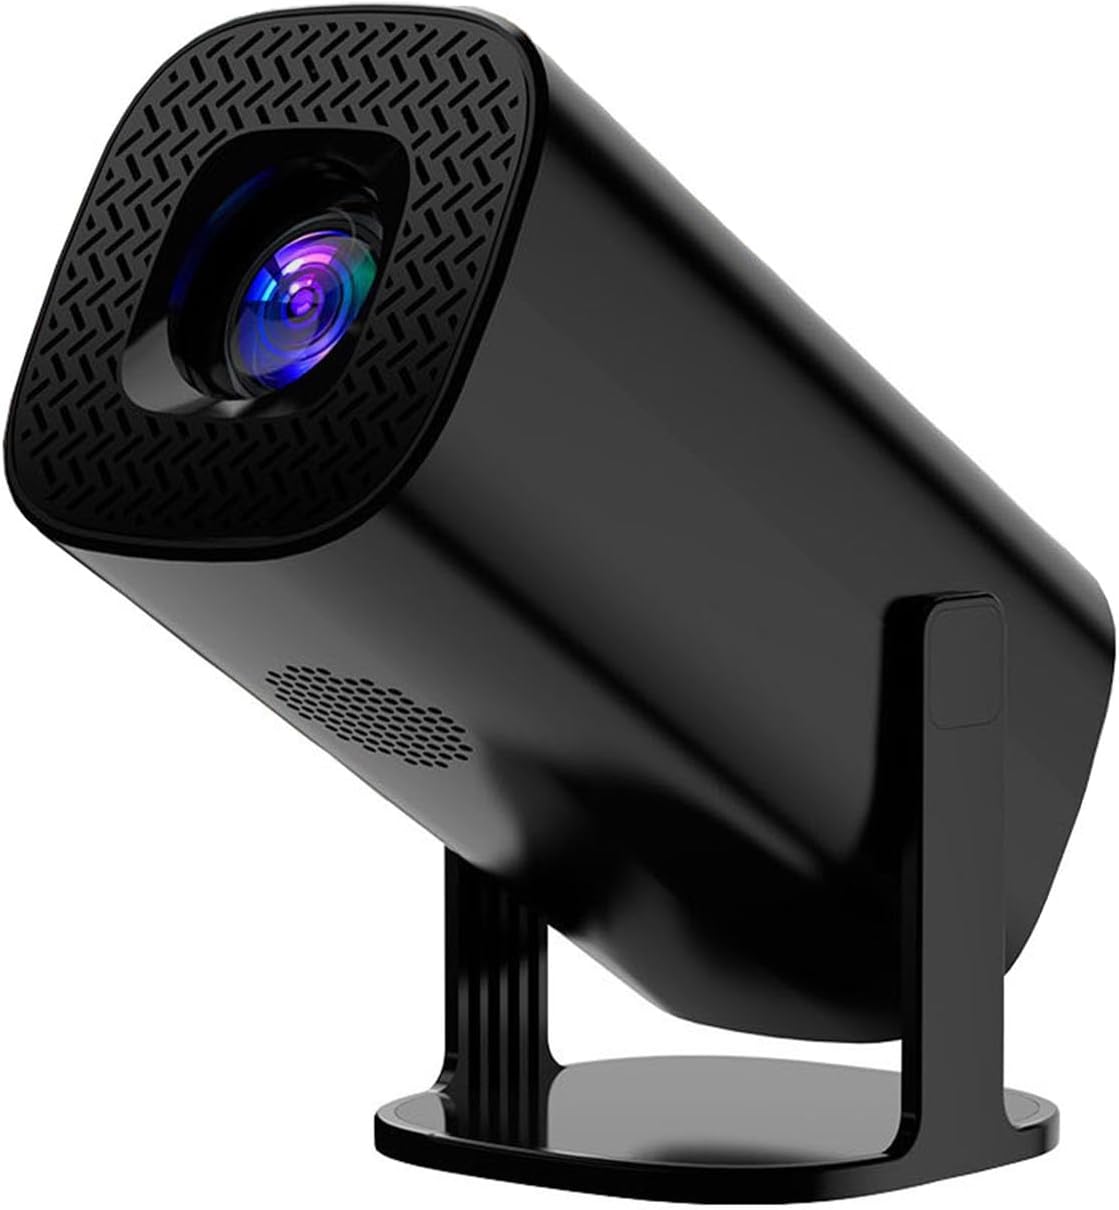
Image 1.1: Front view of the SOTEFE HY320 Pro Smart Android Projector, showcasing its compact design and adjustable stand.
Package Contents
Verify that all items are present in the package:
- SOTEFE HY320 Pro Projector
- Power Plug
- Remote Control
- HDMI Cable
- User Manual (this document)
2. Setup
2.1 Placement
Position the projector on a stable, flat surface. The unique 180° rotation feature allows projection onto walls, ceilings, or floors. For optimal viewing, ensure the projection surface is smooth and light-colored.
- Projection Distance: The projector can display an image size from 40 to 300 inches with a projection distance between 4.9 feet (1.5 meters) and 18.4 feet (7.9 meters). Adjust the distance to achieve your desired screen size.

Image 2.1: The projector demonstrating its 180° flexible projection, allowing content to be displayed on both walls and ceilings.
2.2 Power Connection
- Connect the power plug to the projector's power input port.
- Plug the power adapter into a suitable electrical outlet (110-240V, 50/60Hz).
- Press the power button on the projector or remote control to turn it on.
2.3 Image Adjustment
After powering on, adjust the image for clarity and proper geometry.
- Focus: Rotate the focus ring on the projector lens until the image appears sharp and clear.
- Keystone Correction: The projector features automatic vertical keystone correction. It will attempt to correct skewed images automatically. For further adjustments, manual keystone correction options are available in the settings menu.
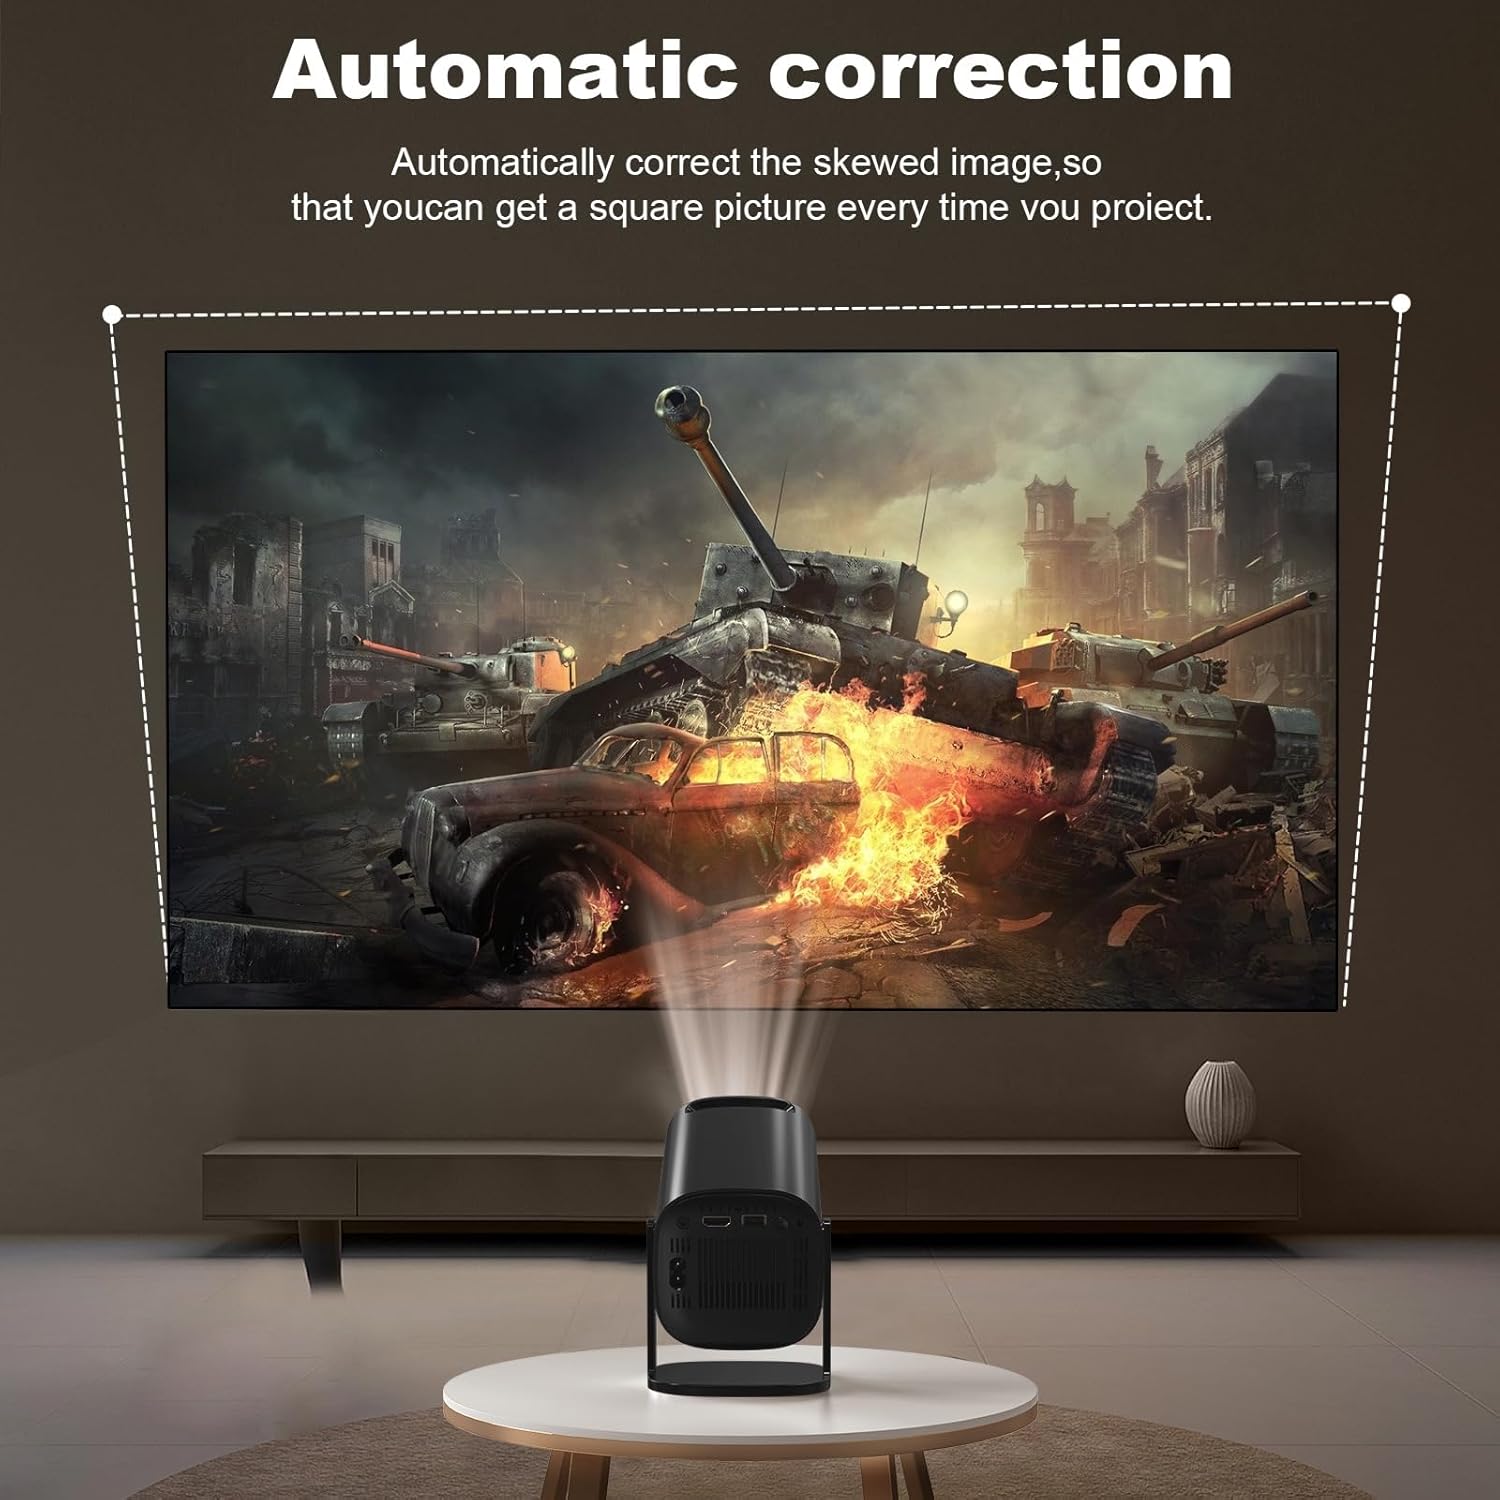
Image 2.2: Demonstration of the automatic keystone correction feature, which adjusts the image to be rectangular even when projected at an angle.
3. Operating Instructions
3.1 Smart Android System
The projector runs on an integrated Android smart system, providing access to various applications and online content.
- Navigation: Use the remote control to navigate the Android interface.
- Applications: Pre-installed applications like Netflix and YouTube are available. You can also download additional applications from the integrated app store.

Image 3.1: The Android smart system interface, showing various applications for entertainment and productivity.
3.2 Network Connectivity (WiFi)
Connect the projector to your wireless network for online features and content streaming.
- Go to the 'Settings' menu on the Android interface.
- Select 'Network & Internet' or 'WiFi'.
- Turn on WiFi and select your desired network from the list.
- Enter the password if prompted and connect. The projector supports both 2.4G and 5.8G WiFi for stable and fast transmission.
3.3 Bluetooth Connection
Pair Bluetooth audio devices like speakers or headphones for an enhanced audio experience.
- Go to the 'Settings' menu.
- Select 'Connected Devices' or 'Bluetooth'.
- Turn on Bluetooth and put your audio device into pairing mode.
- Select your device from the list of available devices to pair.
3.4 Screen Mirroring
Mirror content from your smartphone or tablet to the projector using Airplay (for iOS) or Miracast/DLNA (for Android).
- Ensure both your mobile device and the projector are connected to the same WiFi network.
- On the projector, open the screen mirroring application (e.g., 'Airplay' or 'Miracast').
- On your mobile device, activate the screen mirroring function (e.g., 'Screen Mirroring', 'Smart View', 'Cast').
- Select the projector from the list of available devices.

Image 3.2: The convenient screen mirror feature, allowing wireless display from various smart devices.
3.5 Multi-Device Connection
The projector offers multiple ports for connecting external devices.
- HDMI Port: Connect TV sticks/boxes, game consoles (PS5), PCs, laptops, or DVD players using the included HDMI cable.
- USB Port: Connect USB drives for playing local media files. The projector has one USB port.
- 3.5mm Audio Port: Connect external wired speakers or headphones.
- AV Port: Connect older devices using an AV cable (not included).

Image 3.3: The projector's portability makes it suitable for outdoor projection, enhancing entertainment options.
4. Maintenance
4.1 Cleaning
- Lens: Use a soft, lint-free cloth or lens cleaning paper to gently wipe the projector lens. Avoid abrasive materials that could scratch the lens.
- Exterior: Wipe the projector's exterior with a soft, dry cloth. Do not use liquid cleaners or solvents.
- Ventilation: Ensure the ventilation openings are clear of dust and obstructions to prevent overheating.
4.2 Lamp Life
The projector utilizes a long-lasting LED light source with an estimated lifespan of up to 150,000 hours, minimizing the need for lamp replacement.
5. Troubleshooting
If you encounter issues with your projector, refer to the following common problems and solutions:
- No Image:
- Ensure the power cable is securely connected and the projector is turned on.
- Check the input source. Make sure the correct HDMI, AV, or USB input is selected.
- If using screen mirroring, ensure both devices are on the same WiFi network and mirroring is activated correctly.
- Blurry Image:
- Adjust the focus ring on the lens until the image is sharp.
- Ensure the projection distance is within the recommended range (4.9ft - 18.4ft).
- Clean the projector lens if it appears dirty.
- Skewed Image:
- The projector has automatic vertical keystone correction. If the image is still skewed, check the manual keystone settings in the menu.
- Ensure the projector is placed on a level surface.
- No Sound:
- Check the volume settings on the projector and the connected source device.
- If using Bluetooth, ensure the external speaker/headphone is properly paired and connected.
- If using HDMI, ensure the audio output is correctly configured on the source device.
- WiFi Connection Issues:
- Ensure the WiFi password is entered correctly.
- Restart the projector and your WiFi router.
- Try connecting to a different WiFi band (2.4G or 5.8G) if available.
6. Specifications
| Brand | SOTEFE |
| Model Number | HY320 Pro |
| Color | Black |
| Native Resolution | 1280 x 720P (Supports 1080P Full HD, 4K input) |
| Brightness | 280 ANSI Lumens (12000 Marketing Lumens) |
| Contrast Ratio | 15000:1 |
| Projection Size | 40 - 300 inches |
| Projection Distance | 4.9 - 18.4 feet (1.5 - 7.9 meters) |
| Operating System | Android Smart System (Version 11.0/12.0) |
| GPU | ARM Mali-G31 MP2 |
| Connectivity | Wi-Fi (2.4G/5.8G), Bluetooth 5.2 |
| Input Ports | HDMI, USB (1 port), AV, 3.5mm Audio Out |
| Noise Level | <25 dB |
| Power Supply | 110-240 V / 50-60 Hz |
| Lamp Life | Up to 150,000 hours |
7. Warranty and Support
7.1 Product Warranty
The SOTEFE HY320 Pro Projector comes with a 3-year warranty from the date of purchase. This warranty covers manufacturing defects and malfunctions under normal use. Please retain your proof of purchase for warranty claims.
7.2 Customer Support
For any questions, technical assistance, or warranty inquiries, please contact SOTEFE customer service. Refer to the contact information provided with your purchase or on the official SOTEFE website. Our goal is to provide high-quality products and excellent service.
Related Documents - HY320 Pro
 |
Alwtniet HY320 HDTV LCD Projector: Specifications and Features Detailed overview of the Alwtniet HY320 HDTV LCD projector, featuring 1280x720 resolution, 390 Ansi lumens, 10000:1 contrast, 30,000-hour LED life, integrated media player, Wi-Fi, Bluetooth, and Airplay/Miracast support. |
 |
LQWELL HY320-A Projector User Manual This manual provides comprehensive instructions for the LQWELL HY320-A projector, covering setup, operation, settings, and troubleshooting. Learn how to connect devices, adjust settings like network, Bluetooth, language, and display, and ensure proper usage and maintenance for optimal performance. |
 |
Yaber Pro V9 Projector User Manual and Guide Comprehensive user manual for the Yaber Pro V9 projector, detailing installation, setup, features, connectivity options, image and sound settings, wireless connections, and troubleshooting. Learn how to optimize your home theater experience with the Yaber Pro V9. |
 |
Magcubic HY320 Smart Projector: Quick Installation Guide Comprehensive quick installation and user guide for the Magcubic HY320 Smart Projector. Learn about setup, remote functions, connectivity options (Wi-Fi, Bluetooth, Miracast, Airplay), settings, and essential safety precautions. Optimize your home theater experience with this detailed manual. |
 |
Smart Projector Quick Installation Guide - HY320mini Quick installation guide for the Hotack Smart Projector HY320mini, covering setup, settings, safety, and connectivity features like Miracast and Airplay. |
 |
Magcubic HY320 Smart Projector User Manual User guide for the Magcubic HY320 Smart Projector, covering setup, safety, remote functions, settings (network, Bluetooth, projection), wireless projection (Miracast, Airplay), and FCC compliance. |
Ask a question about this manual
Ask about setup, troubleshooting, compatibility, parts, safety, or missing instructions. Manuals+ will review the question and use this page’s manual context to help answer it.