Product Overview
This manual provides essential information for the installation, operation, and maintenance of the Partslost Genuine Kit Platen Roller, designed for Datamax H-Class H-4210, H-4310, and HX Thermal Label Printers.
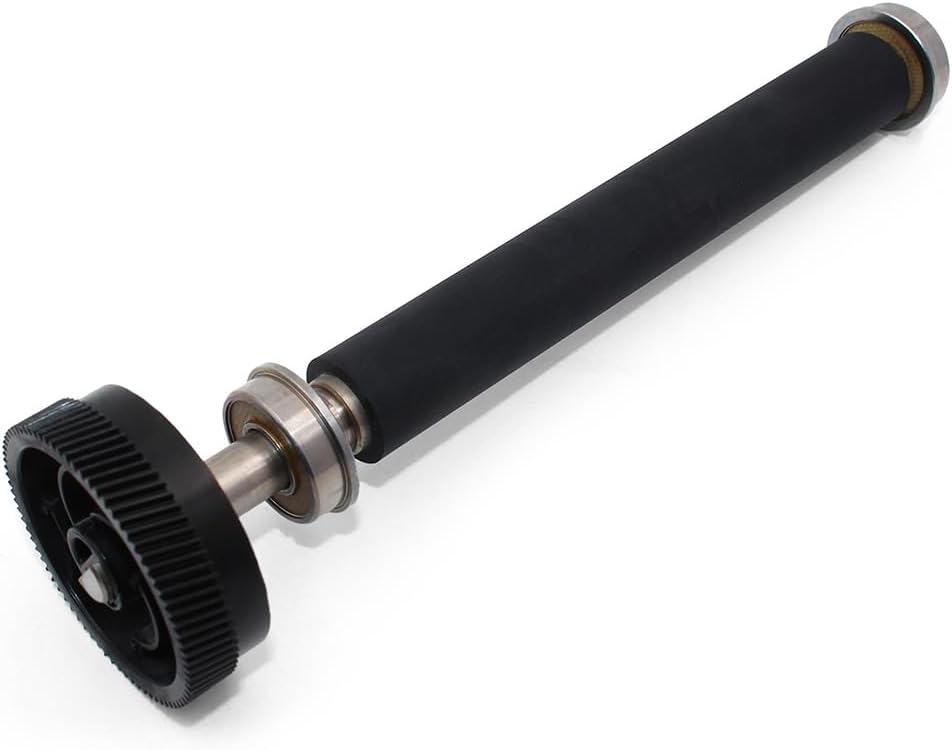
Image 1: Genuine Kit Platen Roller for Datamax H-Class Printers. This image shows the complete platen roller assembly, featuring the rubber roller surface and the integrated gear mechanism.
What's in the Box
- 1 x Genuine Kit Platen Roller (Part Number: ROL15-3058-02)
Specifications
| Brand | Partslost |
| Model Number | H-Class H-4210 H-4310 HX |
| Part Number | ROL15-3058-02 |
| UPC | 704444832011 |
| Compatible Devices | Datamax H-Class H-4210, H-4310, HX Thermal Label Printers |
| Warranty Type | Lifetime |
Installation and Setup
The platen roller is a critical component in thermal label printers, responsible for providing a stable surface for the print head and guiding the label media. Proper installation is essential for optimal printer performance and print quality.
Safety Precautions
- Always power off and unplug the printer before attempting any installation or maintenance.
- Allow the printer to cool down if it has been recently in use.
- Wear appropriate personal protective equipment (PPE) if necessary, such as gloves, to prevent injury or contamination.
- Refer to your specific Datamax H-Class printer's service manual for detailed disassembly and reassembly instructions.
Installation Steps (General Guide)
Note: These are general steps. Always consult your printer's official service manual for precise, model-specific instructions.
- Prepare the Printer: Power off the Datamax H-Class printer and disconnect it from the power source. Open the printer cover to access the internal components.
- Locate the Old Platen Roller: Identify the existing platen roller. It is typically located directly beneath the print head.
- Remove the Old Roller: Carefully follow your printer's manual to release and remove the old platen roller. This may involve releasing clips, screws, or levers.
- Inspect the Area: Clean any dust, debris, or adhesive residue from the platen roller area within the printer.
- Install the New Platen Roller: Gently insert the new Partslost platen roller (ROL15-3058-02) into its designated position. Ensure it seats correctly and all securing mechanisms (clips, screws) are engaged.
- Verify Installation: Rotate the new platen roller manually to ensure it spins freely and is properly aligned.
- Close the Printer: Close the printer cover and reconnect the power source.

Image 2: Side view of the platen roller. This image highlights the smooth rubber surface and the metal shaft with bearings, crucial for proper media feeding.
Operating Considerations
Once the new platen roller is installed, the printer should operate as normal. The platen roller works in conjunction with the print head to ensure accurate label feeding and consistent print quality.
Key Operational Aspects
- Media Loading: Ensure label media is loaded correctly and aligned with the guides to prevent skewing and wear on the roller.
- Print Quality: A properly functioning platen roller contributes to sharp, clear prints by providing consistent pressure against the print head.
- Media Compatibility: Use only media types recommended by Datamax for your specific printer model to avoid premature wear on the platen roller.

Image 3: Angled view of the platen roller, showing the gear and roller surface. This perspective emphasizes the robust construction designed for durability.
Maintenance
Regular maintenance of the platen roller extends its lifespan and ensures consistent print quality. The platen roller is designed to be durable and strong.
Cleaning the Platen Roller
- Power Off: Turn off and unplug the printer.
- Access Roller: Open the printer cover to access the platen roller.
- Clean Surface: Use a lint-free cloth dampened with isopropyl alcohol (IPA) to gently wipe the rubber surface of the platen roller. Rotate the roller to clean the entire surface.
- Remove Residue: Pay attention to any adhesive residue from labels that may have transferred to the roller. This residue can cause labels to stick or misfeed.
- Dry Thoroughly: Allow the roller to air dry completely before closing the printer and resuming operation.
Inspection
- Periodically inspect the platen roller for signs of wear, such as cracks, flat spots, or excessive stickiness.
- A worn platen roller can lead to print quality issues, media jams, or inconsistent feeding.

Image 4: Close-up view of the platen roller's gear mechanism. This image shows the precision engineering of the gear, ensuring smooth and accurate rotation within the printer.
Troubleshooting
If you experience issues after installing the new platen roller, consider the following common troubleshooting steps:
| Problem | Possible Cause | Solution |
|---|---|---|
| Labels not feeding correctly / Jams | Improper installation; Roller not seated correctly; Debris on roller; Worn roller (if not new) | Re-check installation; Clean the roller; Ensure media guides are properly set. |
| Poor print quality (fading, streaks) | Roller surface dirty; Print head issues (not related to roller); Incorrect media pressure | Clean the roller; Consult printer manual for print head cleaning/adjustment. |
| Roller making unusual noise | Improper installation; Damaged bearings; Foreign object | Re-check installation; Inspect for foreign objects; If noise persists, contact support. |

Image 5: Close-up view of the platen roller's end cap and bearing. This detail shows the quality of the bearing, which allows for smooth and consistent rotation of the roller.
Warranty and Support
Warranty Information
This Partslost Genuine Kit Platen Roller comes with a Lifetime Warranty. This warranty covers manufacturing defects and ensures the product's reliability under normal use.
Customer Support
All "PARTSLOST" customers enjoy complete customer service for our products. We offer dedicated after-sale service for our "Printer Accessories", ensuring that every purchase is backed by our commitment to quality. We prioritize both the quality of our products and the satisfaction of our customers. For any questions, our customer service team is readily available to assist you.
Please refer to the Partslost Store on Amazon for contact information or further assistance.