Introduction
This manual provides detailed instructions for the safe installation, operation, and maintenance of your KCO Lighting Model L1141-B 3-Light Globe Cluster Pendant Light. Please read this manual thoroughly before beginning installation and retain it for future reference.
Product Overview
The KCO Lighting Model L1141-B is a modern 3-light pendant fixture featuring white globe glass shades and a matte black finish. It is designed to provide ambient lighting in various indoor settings.
Key Features:
- 3 white globe glass shades with a matte black canopy and lamp body.
- Adjustable hanging cord length (up to 59.1 inches) for customizable arrangement.
- Compatible with E26 base bulbs (110-220V, max 60W per bulb).
- Suitable for various ceiling types, including sloped, vaulted, and flat ceilings.
- Dimmable when used with dimmable bulbs and a compatible dimmer switch (not included).
What's in the Box:
- Pendant Light Fixture (Canopy, Lamp Body, 3 Glass Shades)
- 3 E26 Bulbs
- Mounting Hardware
- Instruction Manual
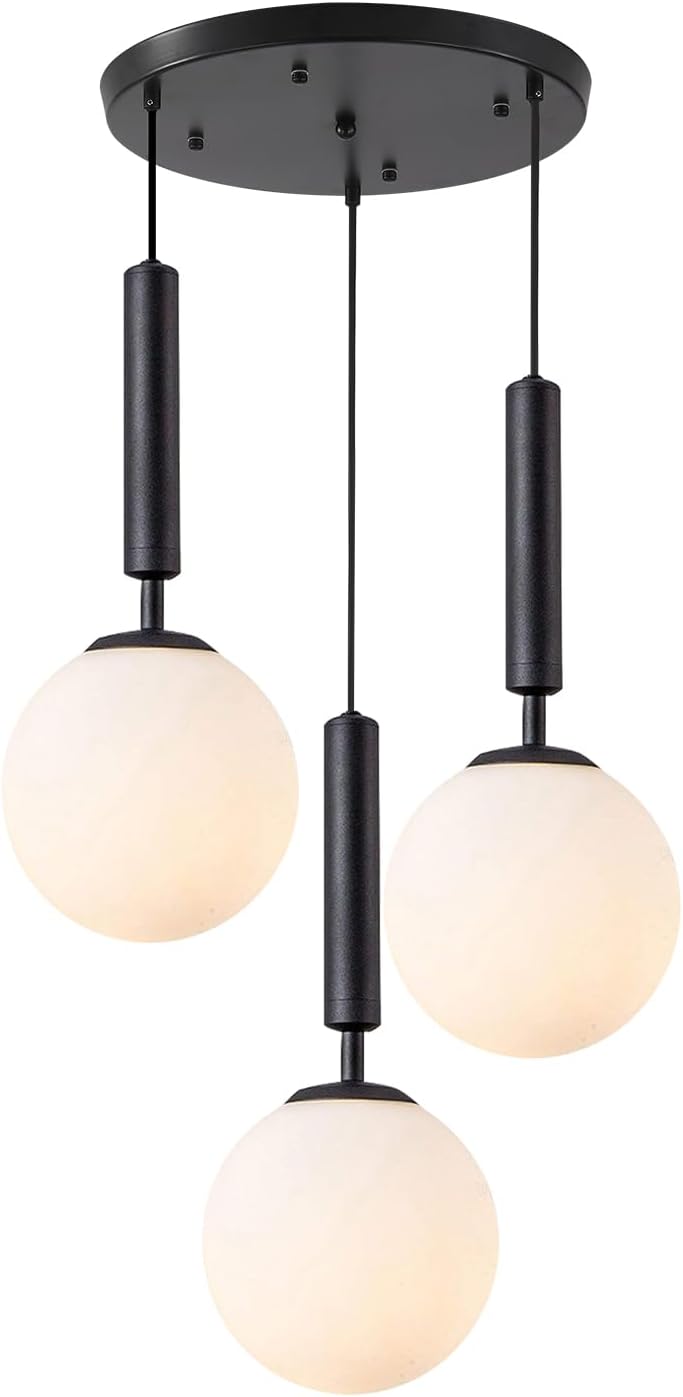
Figure 1: KCO Lighting 3-Light Globe Cluster Pendant Light, showing the three white globe shades and black finish.
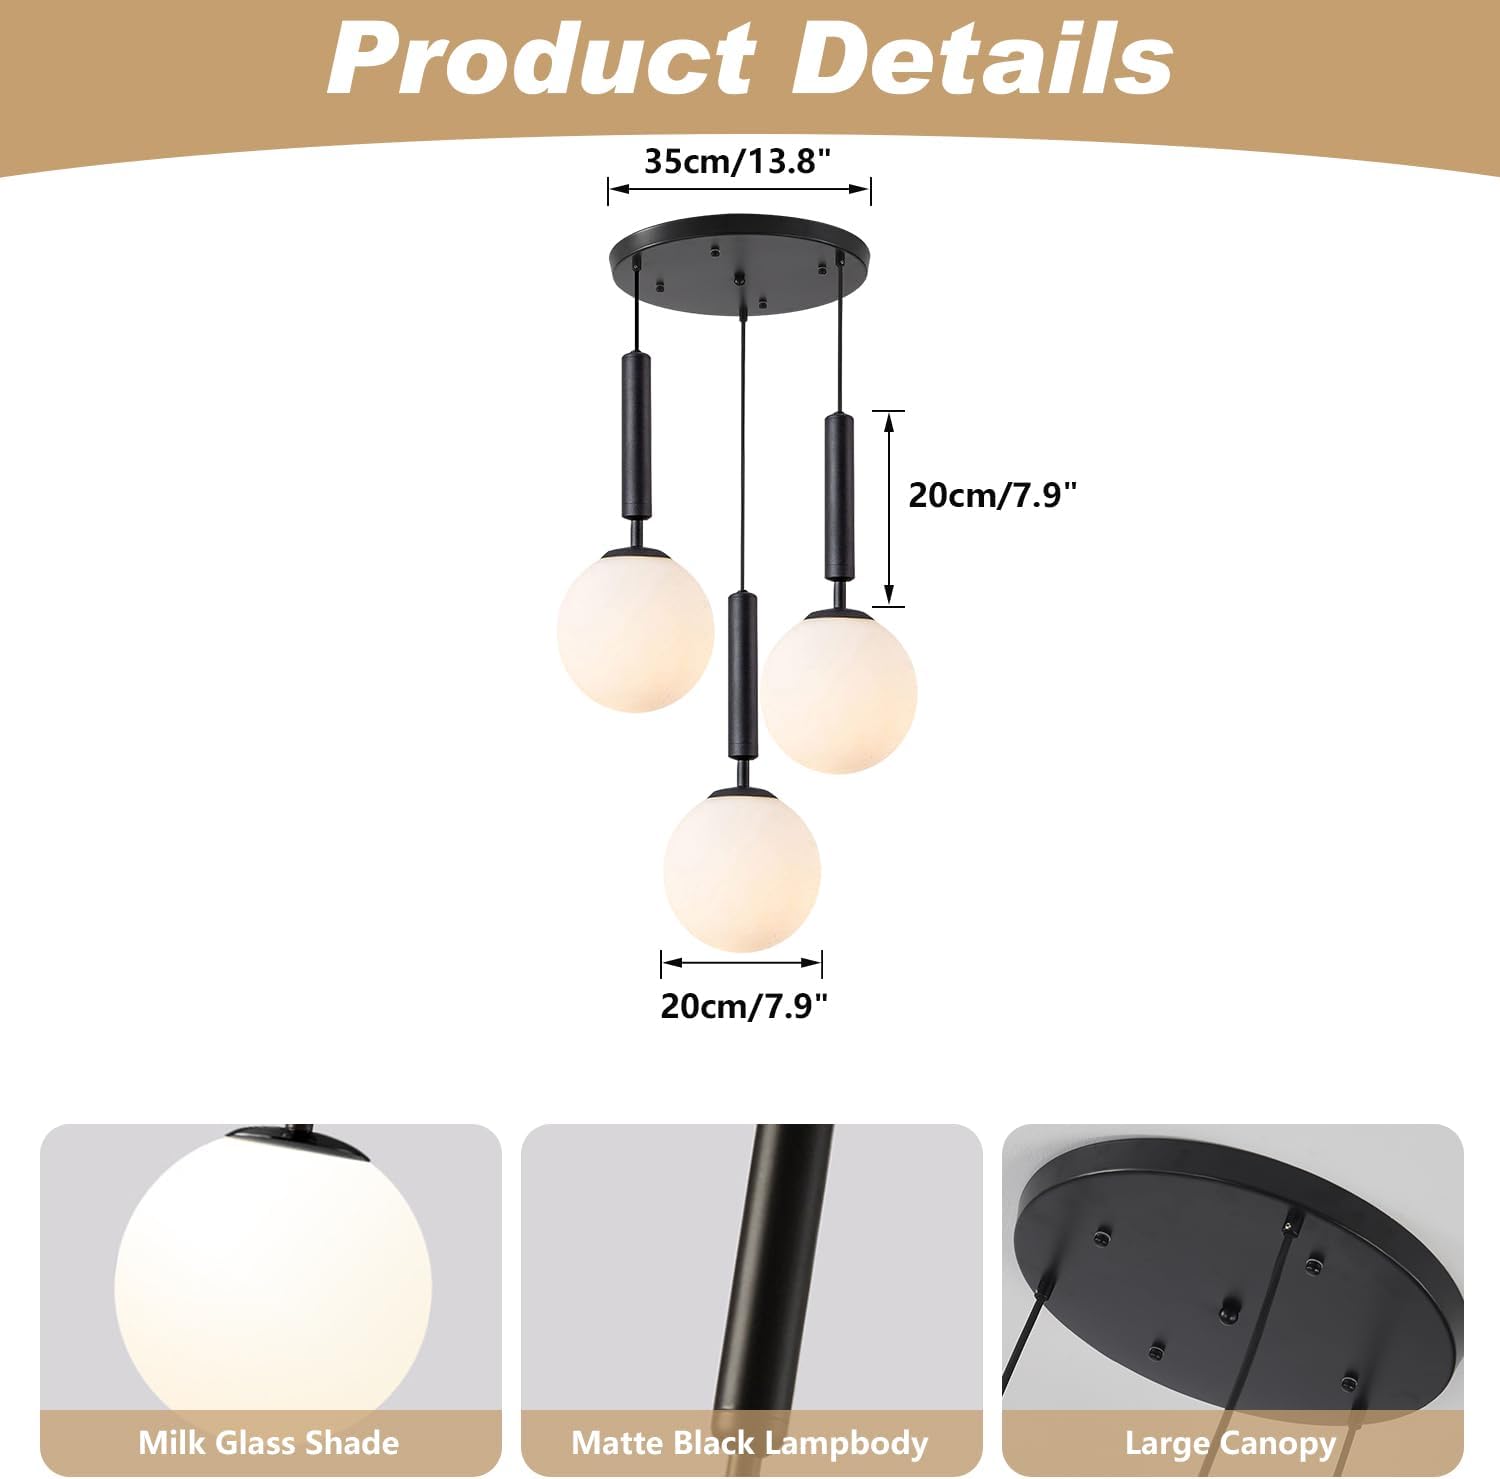
Figure 2: Product details including dimensions (canopy diameter 13.8 inches, globe diameter 7.9 inches) and key components: milk glass shade, matte black lamp body, and large canopy.
Specifications
| Attribute | Detail |
|---|---|
| Brand | KCO |
| Model Name | L1141-B |
| Color | Black-3-Light |
| Material | Glass, Iron |
| Style | Farmhouse / Modern |
| Light Fixture Form | Pendant |
| Product Dimensions | 15"L x 15"W x 16.5"H (overall) |
| Globe Diameter | 7.9 inches (20cm) |
| Ceiling Plate Diameter | 13.8 inches (35cm) |
| Hanging Cord Length | 59.1 inches (150cm), adjustable |
| Power Source | Corded Electric |
| Voltage | 110-220 Volts |
| Light Source Type | LED (Bulbs included) |
| Bulb Base | E26 |
| Wattage | 7 watts (per bulb) |
| Brightness | 1500 lumen (total) |
| Color Temperature | 3000 Kelvin (Warm White) |
| Indoor/Outdoor Usage | Indoor |
| Assembly Required | Yes |
Safety Information
WARNING: Risk of Electric Shock. Disconnect power at the fuse box or circuit breaker before installing or servicing.
- Read all instructions carefully before installation.
- Ensure the electrical supply is turned off at the main circuit breaker or fuse box before installation.
- All electrical connections must be in accordance with local codes, ordinances, or the National Electric Code (NEC). Consult a qualified electrician if you are unsure about wiring.
- Use only the specified bulb type and wattage. Exceeding the maximum wattage may cause overheating and damage to the fixture.
- Do not install this fixture in wet or damp locations. It is designed for indoor use only.
- Handle glass components with care to prevent breakage.
- Ensure the fixture is securely mounted to a structural element of the ceiling.
Setup and Installation
Tools Required (Not Included):
- Phillips Head Screwdriver
- Flathead Screwdriver
- Wire Strippers
- Electrical Tape
- Ladder
- Safety Glasses
Installation Steps:
- Turn Off Power: Before starting, ensure the power to the circuit is turned off at the main electrical panel to prevent electric shock.
- Prepare Mounting Plate: Attach the mounting plate to the junction box in the ceiling using the provided screws. Ensure it is securely fastened.
- Adjust Cord Length: The pendant cords are adjustable. Determine the desired hanging height for each globe. Loosen the set screw on the canopy where the cord enters, adjust the cord to the desired length, and then tighten the set screw to secure it. Repeat for all three cords.
- Make Electrical Connections:
- Connect the fixture's ground wire (usually bare copper or green) to the house ground wire.
- Connect the fixture's neutral wire (usually white) to the house neutral wire (white).
- Connect the fixture's hot wire (usually black) to the house hot wire (black).
- Secure all connections with wire nuts and wrap with electrical tape for added safety.
- Mount the Canopy: Carefully push the canopy up to the ceiling, aligning the mounting holes with the screws on the mounting plate. Secure the canopy with the decorative nuts or screws provided.
- Install Glass Shades: Carefully attach each milk glass globe shade to its respective lamp body. Ensure they are securely threaded or fastened according to the design.
- Install Bulbs: Screw the provided E26 bulbs into the sockets. Do not overtighten.
- Restore Power: Once installation is complete and all components are secure, restore power at the main electrical panel.
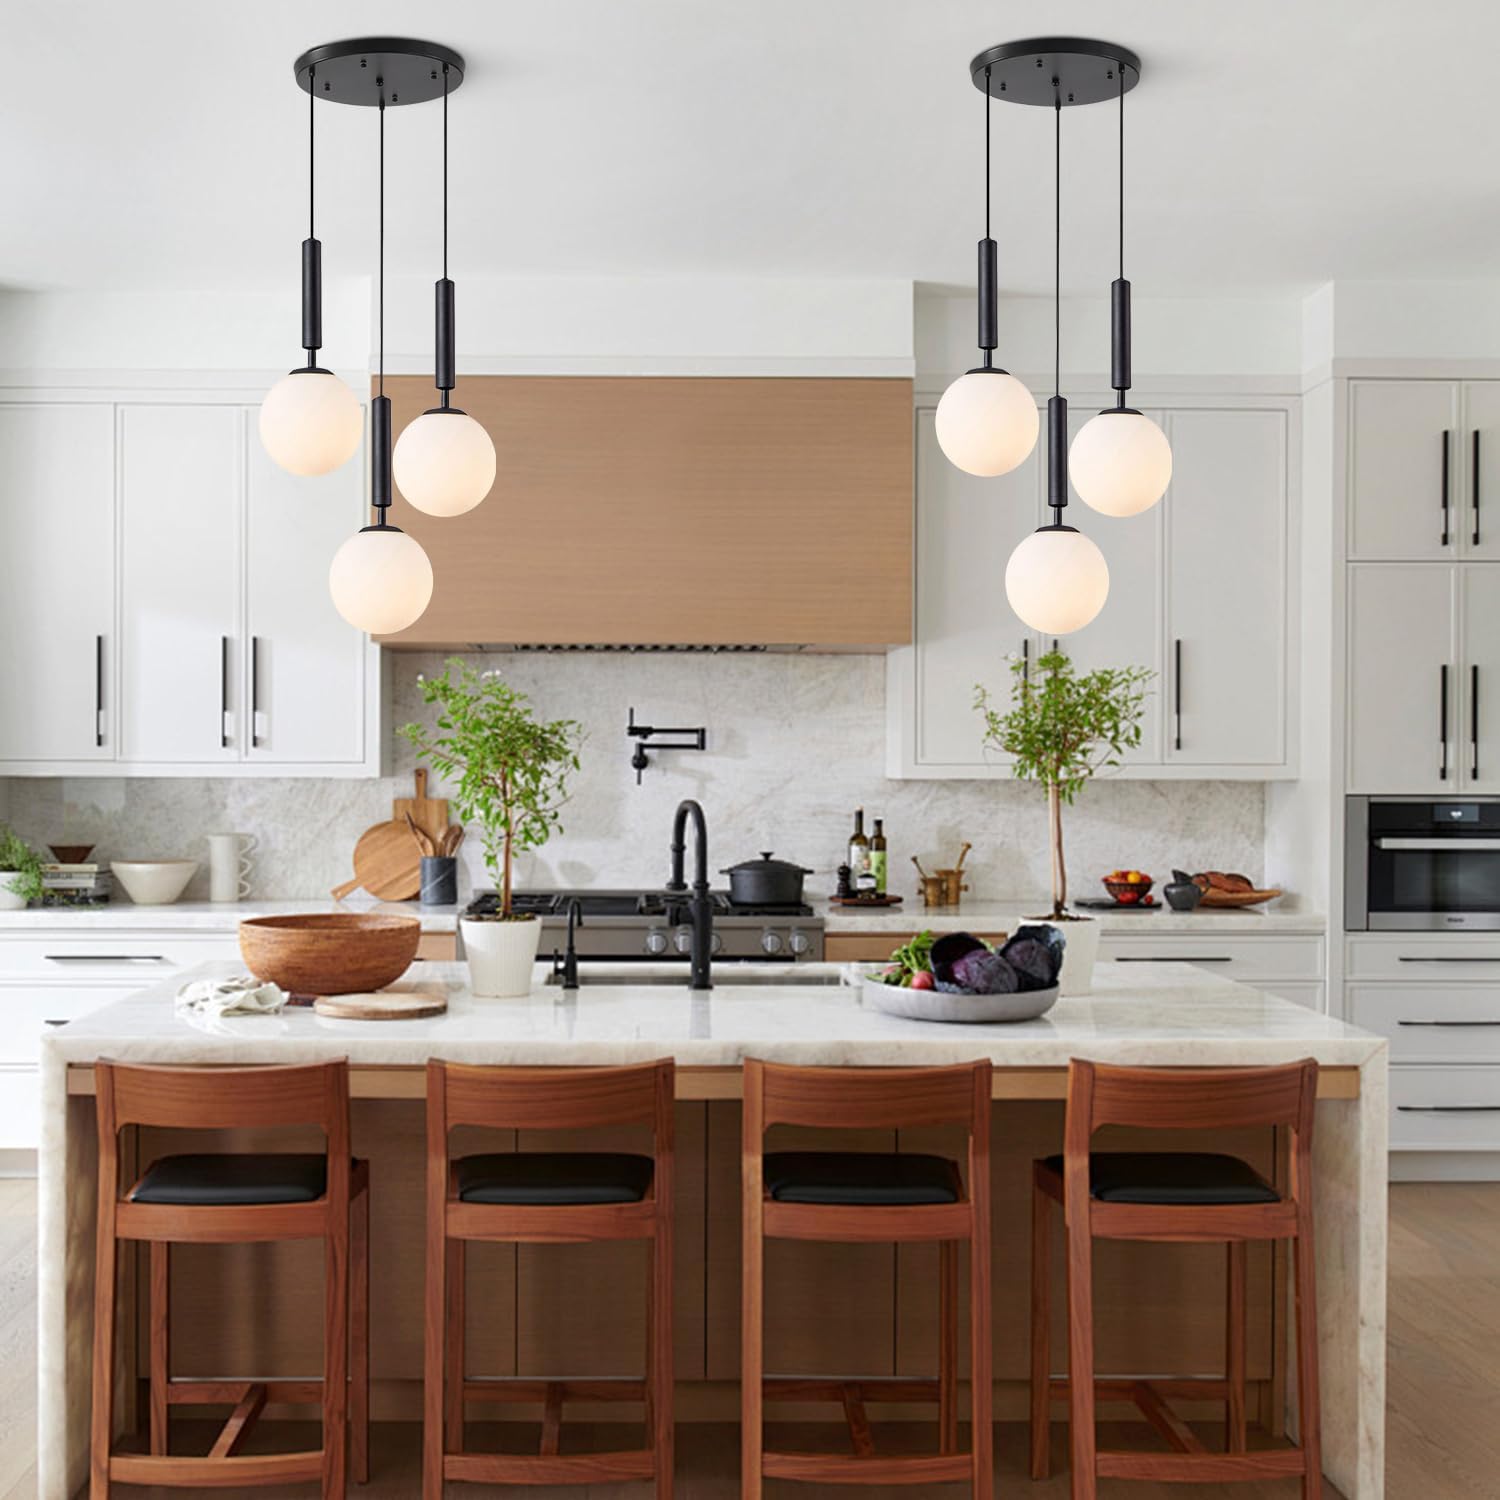
Figure 3: Example installation of the pendant light over a kitchen island, demonstrating adjustable cord lengths.
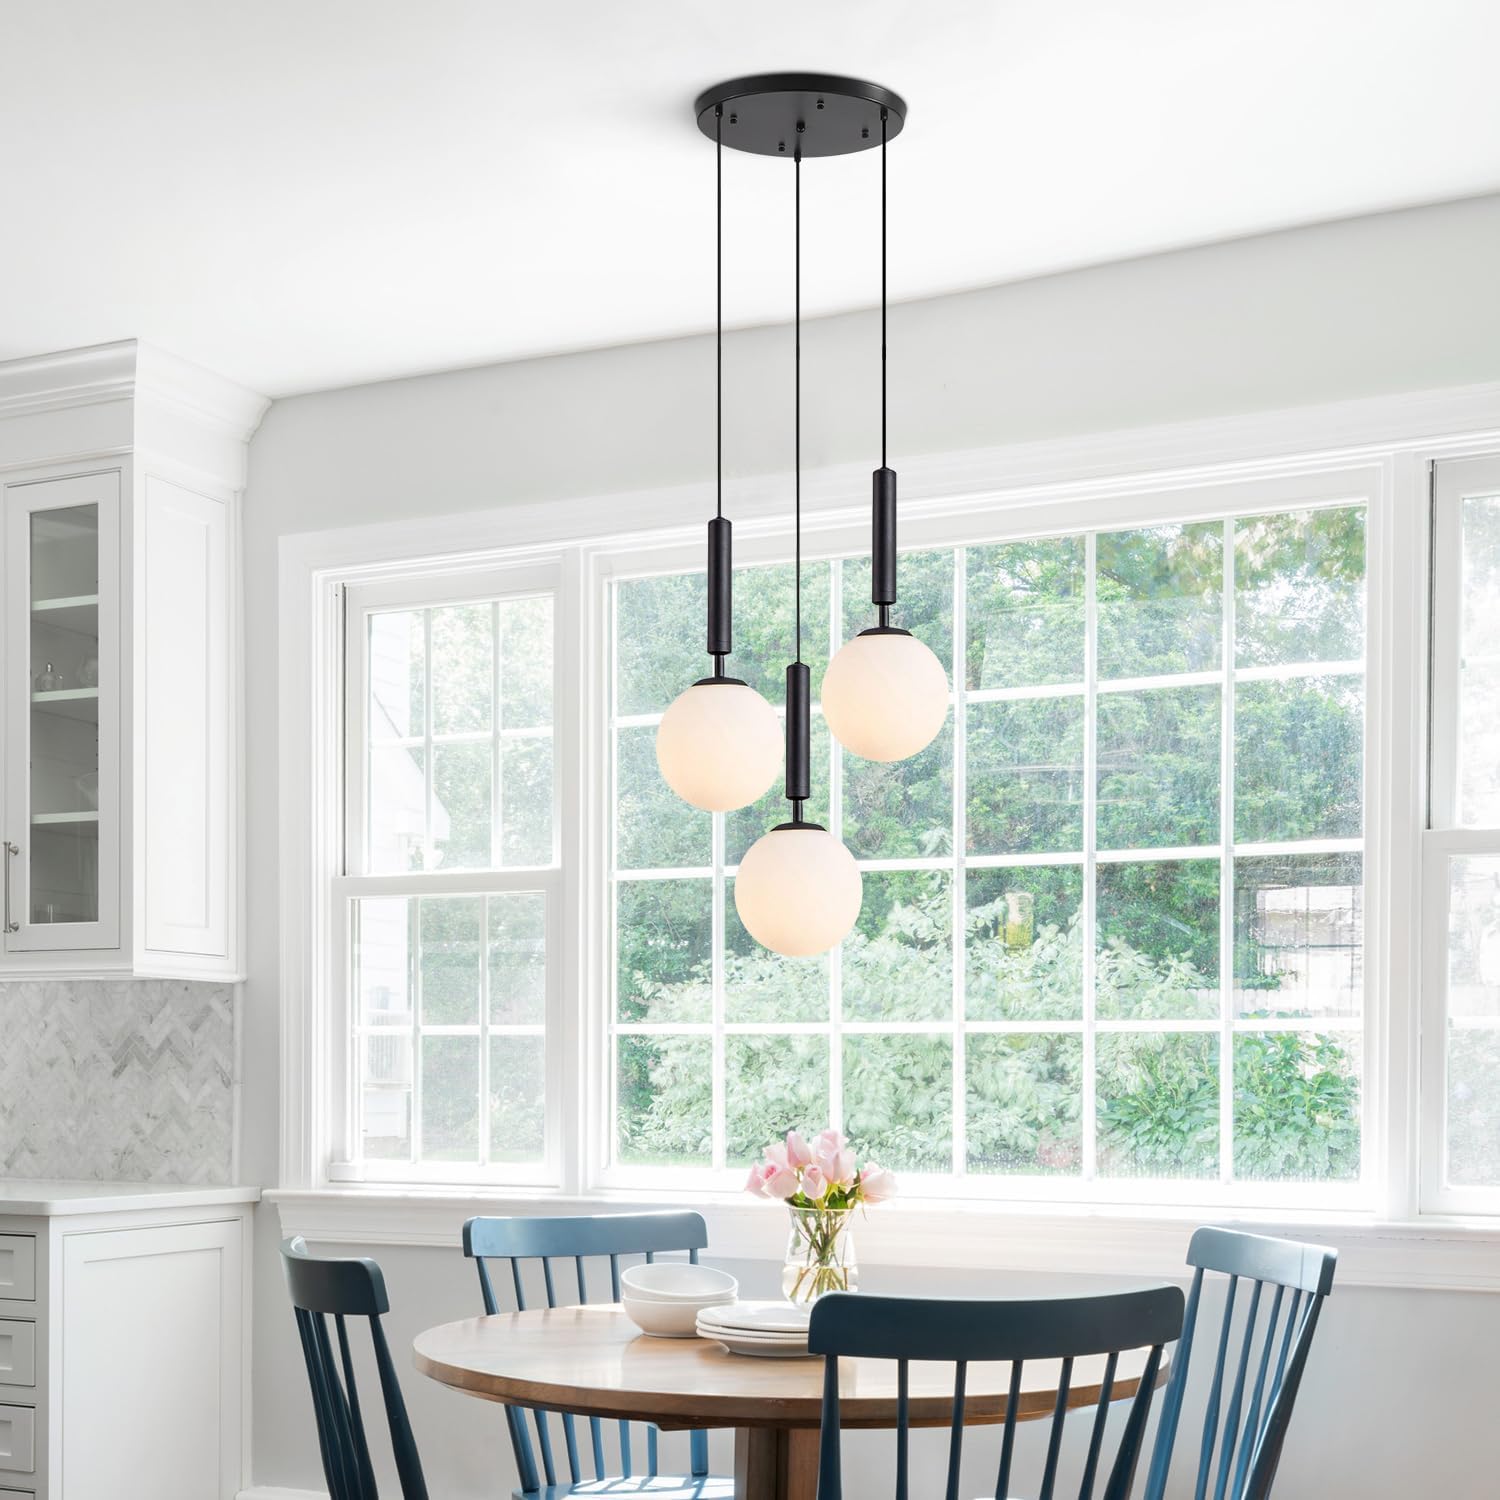
Figure 4: Example installation of the pendant light over a dining table, showcasing its versatility in different room settings.
Operating Instructions
This pendant light operates like a standard ceiling fixture. Once installed and wired correctly, it can be controlled via a wall switch.
- Turning On/Off: Use the wall switch connected to the fixture to turn the lights on or off.
- Dimming Functionality: The fixture itself is not dimmable. However, if you wish to use a dimming function, you must install dimmable E26 LED bulbs and a compatible dimmer switch (both sold separately). Follow the manufacturer's instructions for the dimmer switch and bulbs.
Maintenance
Cleaning:
- Always disconnect power before cleaning.
- Wipe the fixture with a soft, dry cloth.
- Do not use abrasive cleaners, solvents, or polishes as they may damage the finish or glass.
- For glass shades, a mild glass cleaner can be used, applied to a cloth first, not directly to the shade.
Bulb Replacement:
- Ensure power is disconnected before replacing bulbs.
- Allow bulbs to cool completely before touching them.
- Unscrew the old bulb counter-clockwise.
- Screw in a new E26 base bulb, ensuring it does not exceed the maximum wattage of 60W per bulb.
Troubleshooting
| Problem | Possible Cause | Solution |
|---|---|---|
| Light does not turn on. |
|
|
| Light flickers. |
|
|
| Glass shade is cracked or damaged. | Shipping damage or accidental impact. | Contact KCO Lighting customer service for a replacement. |
Warranty and Support
KCO Lighting offers a 3-year warranty for this product. If you encounter any quality issues, or receive broken, damaged, or cracked globe glass lampshades, please contact KCO Lighting customer service.
For professional after-sales service or if you require a longer hanging cord replacement or are missing a light bulb, please contact KCO Lighting directly via your order number. They aim to provide solutions within 24 hours.
For further assistance, please visit the KCO Lighting Store on Amazon.