Important Safety Information
Please read all instructions carefully before assembly and use. Failure to follow these instructions may result in injury or damage to the product.
- Assembly requires two people.
- Use caution when handling sharp edges during assembly.
- Keep doors locked when not in use to prevent unauthorized access.
- Ensure the shed is placed on a level, stable surface.
- Regularly check all fasteners for tightness to maintain structural integrity.
Product Overview
The Clihome 8x6ft Metal Outdoor Storage Shed is designed for versatile outdoor storage. Its durable metal construction provides waterproof and UV-resistant properties, ensuring longevity and protection for your belongings.
- Material: High-grade Metal
- Color: Brown (Imitation Wood Grain)
- Dimensions: 89''L x 63.8''W x 67.7''H
- Features: Pitched roof for water drainage, reliable door lock, ventilation openings.
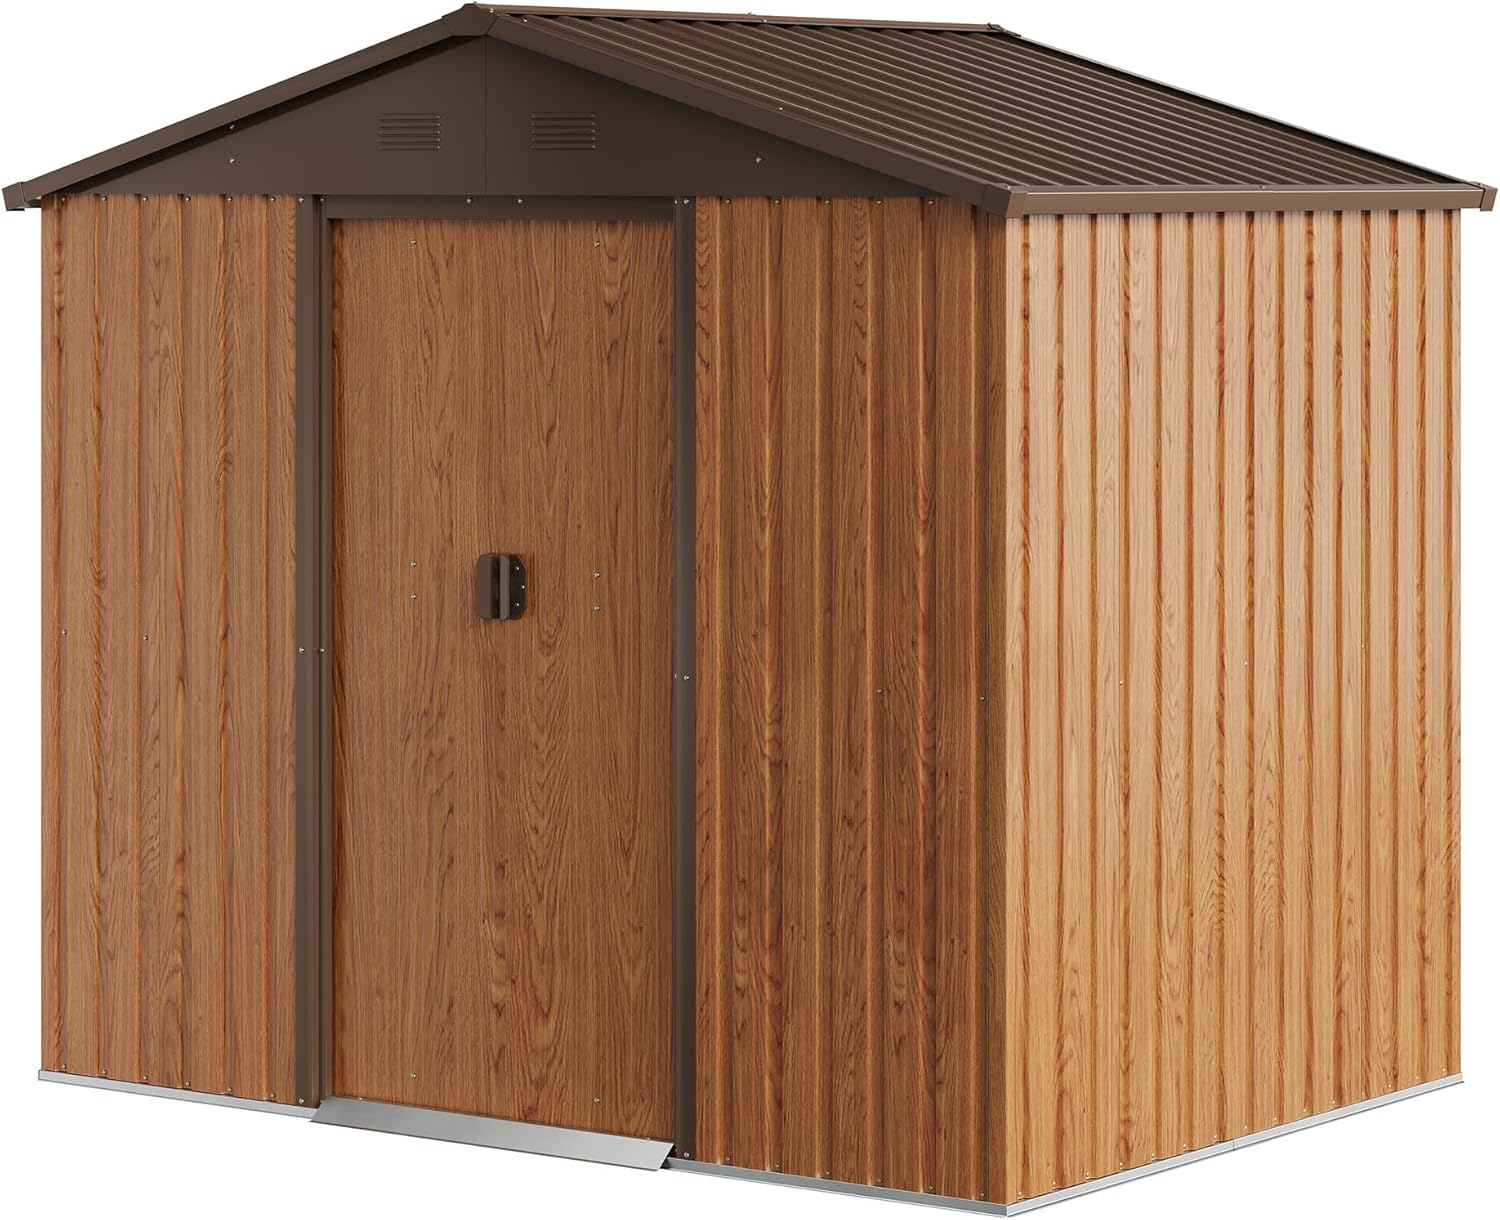
This image shows the shed in its assembled state, featuring its brown imitation wood grain finish and pitched roof.

This image illustrates the spacious interior of the shed, capable of storing various garden tools and equipment.
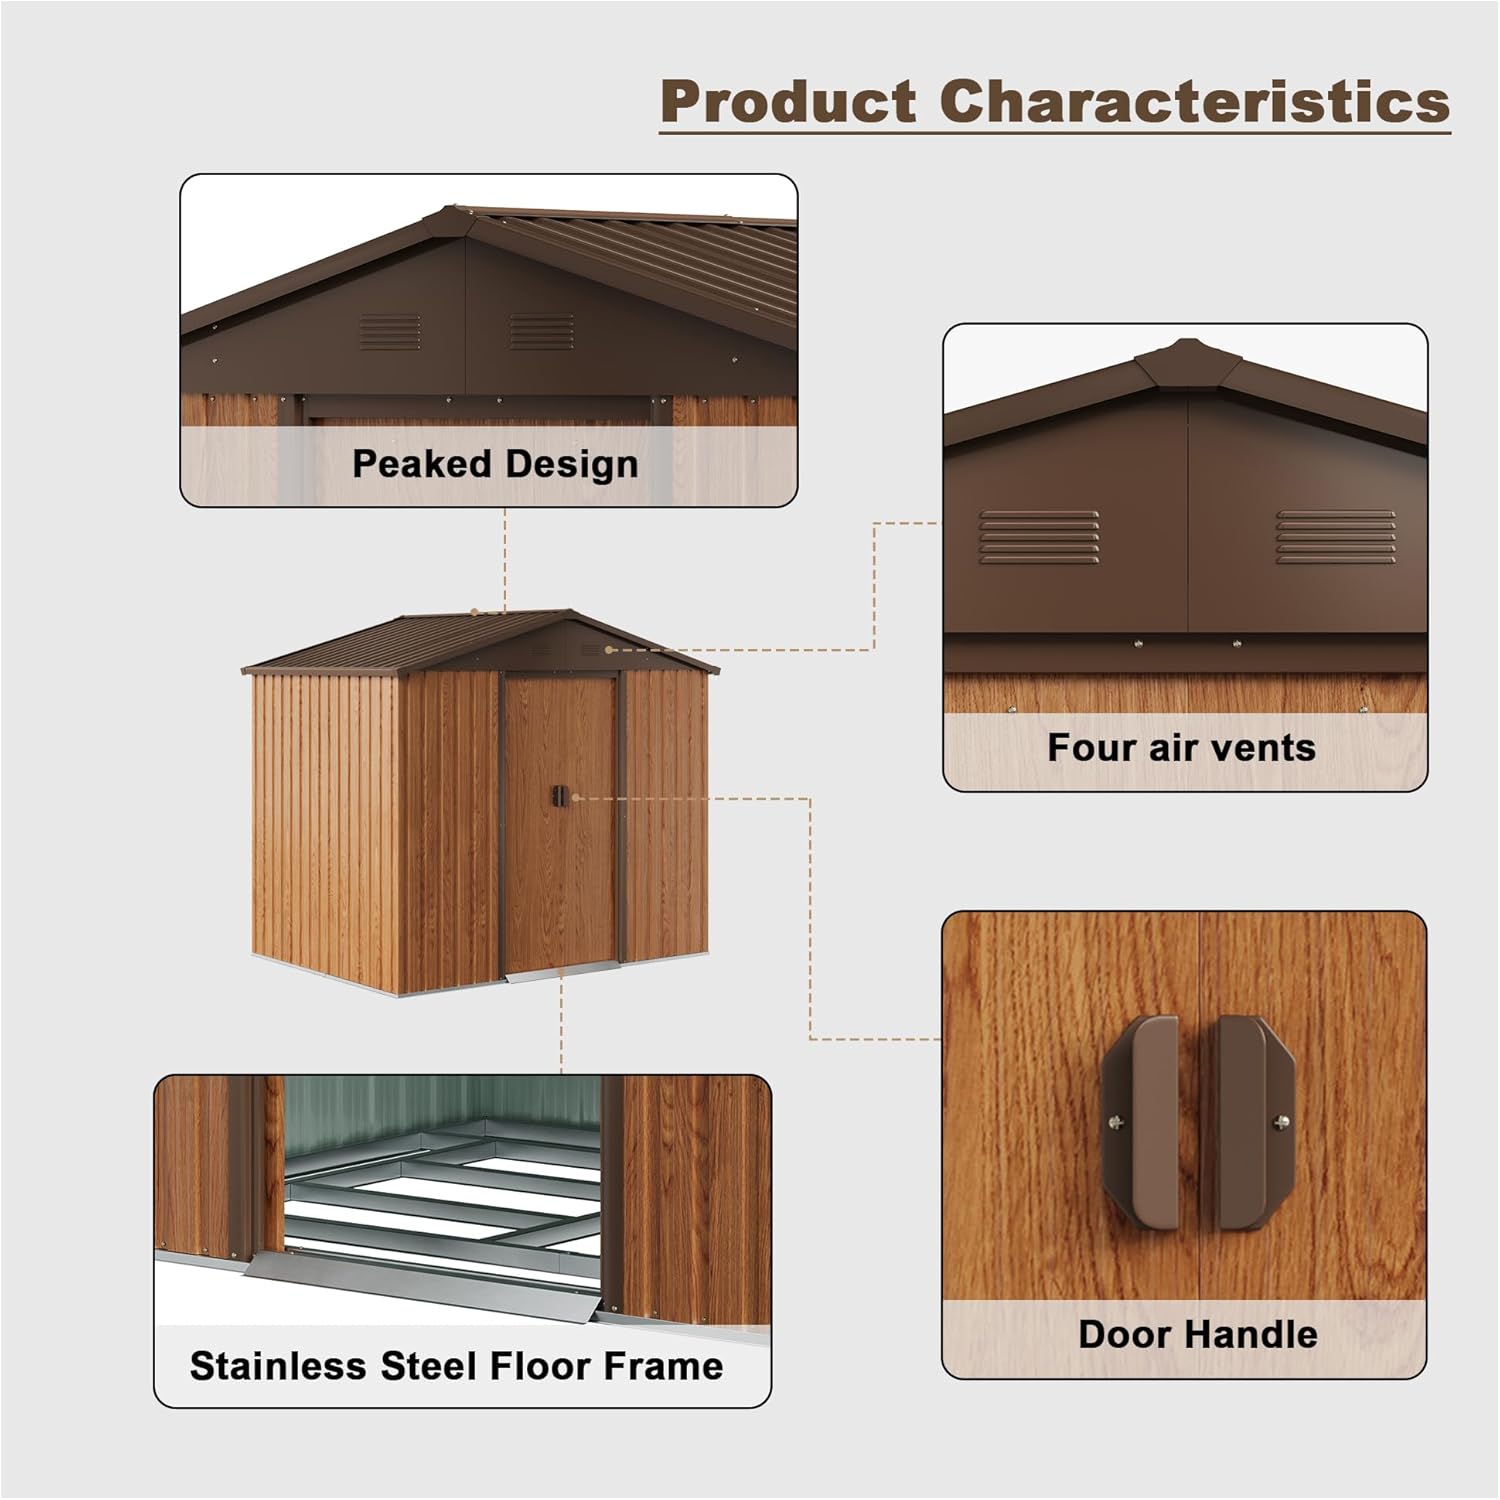
This image highlights the peaked roof design for efficient water runoff and the four integrated air vents for improved air circulation.

This diagram provides a clear overview of the shed's external dimensions, including length, width, and height.
Assembly Instructions
Follow these steps carefully for proper assembly. It is recommended to have two people for this process.
This video demonstrates the complete assembly process of the Clihome 8x6ft Metal Outdoor Storage Shed, from the base frame to the final roof installation.
Step 1: Base Frame Assembly
Assemble the base frame components (W1, W2, W3) as shown in the video. Ensure all connections are secure using the provided fasteners (F1).
Step 2: Wall Panel Installation
Attach the wall panels (P3, P4, P9) to the assembled base frame. Secure them using the specified fasteners (F1+S3).
Step 3: Roof Frame and Gable Assembly
Install the roof frame components (9, 10L, 10R, 11) and the gable sections (21L, 21R). Secure with fasteners (F2+S3).
Step 4: Roof Panel Installation
Place the roof panels (P7) onto the roof frame, ensuring proper overlap for weather resistance. Secure them with fasteners (F1+S3).
Step 5: Door Assembly and Installation
Assemble the sliding doors (D1, D2) by attaching the door guides (GB) and handles. Install the assembled doors onto the shed's track system. Secure with fasteners (F2+S3).
Step 6: Finishing Touches
Install any remaining trim pieces (15-1, 15-2, 16, 16-1, 17L, 17R, 19) and ensure all connections are tight. Attach the corner protectors (GC) and door stoppers (GE).
Operating Instructions
Opening and Closing Doors
The shed features sliding doors for easy access. To open, gently slide the doors along their tracks. To close, slide them back until they meet in the center.
Locking Mechanism
The shed is equipped with a lockable door for security. Use a padlock (not included) through the designated holes on the door handles to secure your belongings.
Maintenance
Cleaning
Clean the shed periodically with mild soap and water. Avoid abrasive cleaners or harsh chemicals that could damage the finish. Rinse thoroughly with clean water.
Weather Protection
While the shed is weather-proof and fade-resistant, regular inspection for any signs of wear or damage is recommended, especially after severe weather conditions. Ensure the pitched roof remains clear of excessive debris to maintain proper water drainage.
Fastener Check
Periodically check all screws and bolts to ensure they remain tight. Tighten any loose fasteners to maintain the structural integrity of the shed.
Troubleshooting
Doors Sticking
If the sliding doors become difficult to open or close, check the tracks for any obstructions or debris. Clean the tracks and apply a silicone-based lubricant if necessary. Ensure the shed is on a level surface, as uneven ground can affect door operation.
Water Accumulation Inside
If water is found inside the shed, inspect the roof panels and wall seams for any gaps or loose fasteners. Ensure the pitched roof is clear of debris that might impede water runoff. Verify that the shed is installed on a properly leveled foundation.
Rust Spots
Although made from rust-resistant metal, minor rust spots can occur over time, especially in humid environments. Clean any rust spots with a wire brush and apply a rust-inhibiting primer and paint to prevent further corrosion.
Specifications
| Feature | Detail |
|---|---|
| Brand | Clihome |
| Model | Brown-8x6ft |
| Material | Metal |
| Color | Brown (Imitation Wood Grain) |
| Product Dimensions | 89''L x 63.8''W x 67.7''H |
| Door Style | Sliding, Lockable Metal Doors |
| Water Resistance | Waterproof |
| Assembly Required | Yes (Two people recommended) |
Warranty and Support
Clihome is confident in the quality of its outdoor storage shed. For any issues or inquiries regarding your product, please contact Clihome customer support.
Our dedicated team is committed to providing excellent after-sales service and will make every effort to offer a satisfactory solution within 24 hours.
For further assistance, please refer to the contact information provided at the point of purchase or visit the official Clihome store online: