
1. Important Safety Information
Always prioritize safety when operating welding equipment. Failure to follow safety precautions can result in serious injury or death. Read and understand all instructions before use.
- Electric Shock: Welding current can cause fatal electric shock. Ensure proper grounding. Do not touch live electrical parts. Wear dry welding gloves and protective clothing.
- Fumes and Gases: Welding fumes and gases can be hazardous to your health. Work in a well-ventilated area. Use a fume extractor if necessary.
- Arc Rays: Arc rays can burn eyes and skin. Wear a welding helmet with appropriate shade filter and protective clothing. Protect bystanders with welding screens.
- Fire and Explosion: Welding sparks and hot metal can cause fires. Keep flammable materials away from the welding area. Have a fire extinguisher readily available.
- Burns: Hot metal and sparks can cause severe burns. Wear protective clothing, including long sleeves, pants, and welding gloves.
- Moving Parts: Keep hands and body clear of moving parts like wire feed rollers.
Consult local safety regulations and standards for additional guidance.
2. Product Overview
The HERZO HWD40E is a versatile 140A MAG Welder designed for both DIY enthusiasts and professionals. It supports multiple welding processes including Flux Core, MMA (Stick), Lift TIG, and Flux MIG welding, making it suitable for various materials, particularly mild steel up to 1/8 inch (3 mm).
This welder incorporates IGBT Inverter technology for stable arc performance, reduced spatter, and deep penetration. It features automatic thermal and overload protection for enhanced safety during operation.
2.1 Welding Capabilities
The HWD40E supports the following welding processes:
- Flux Core Welding: Utilizes flux-cored wire, eliminating the need for external shielding gas.
- MMA (Manual Metal Arc) / Stick Welding: Uses coated electrodes.
- Lift TIG Welding: Provides precise welding with a tungsten electrode and shielding gas (TIG torch and gas regulator not included).
- Flux MIG Welding: Combines the benefits of MIG with flux-cored wire for specific applications.
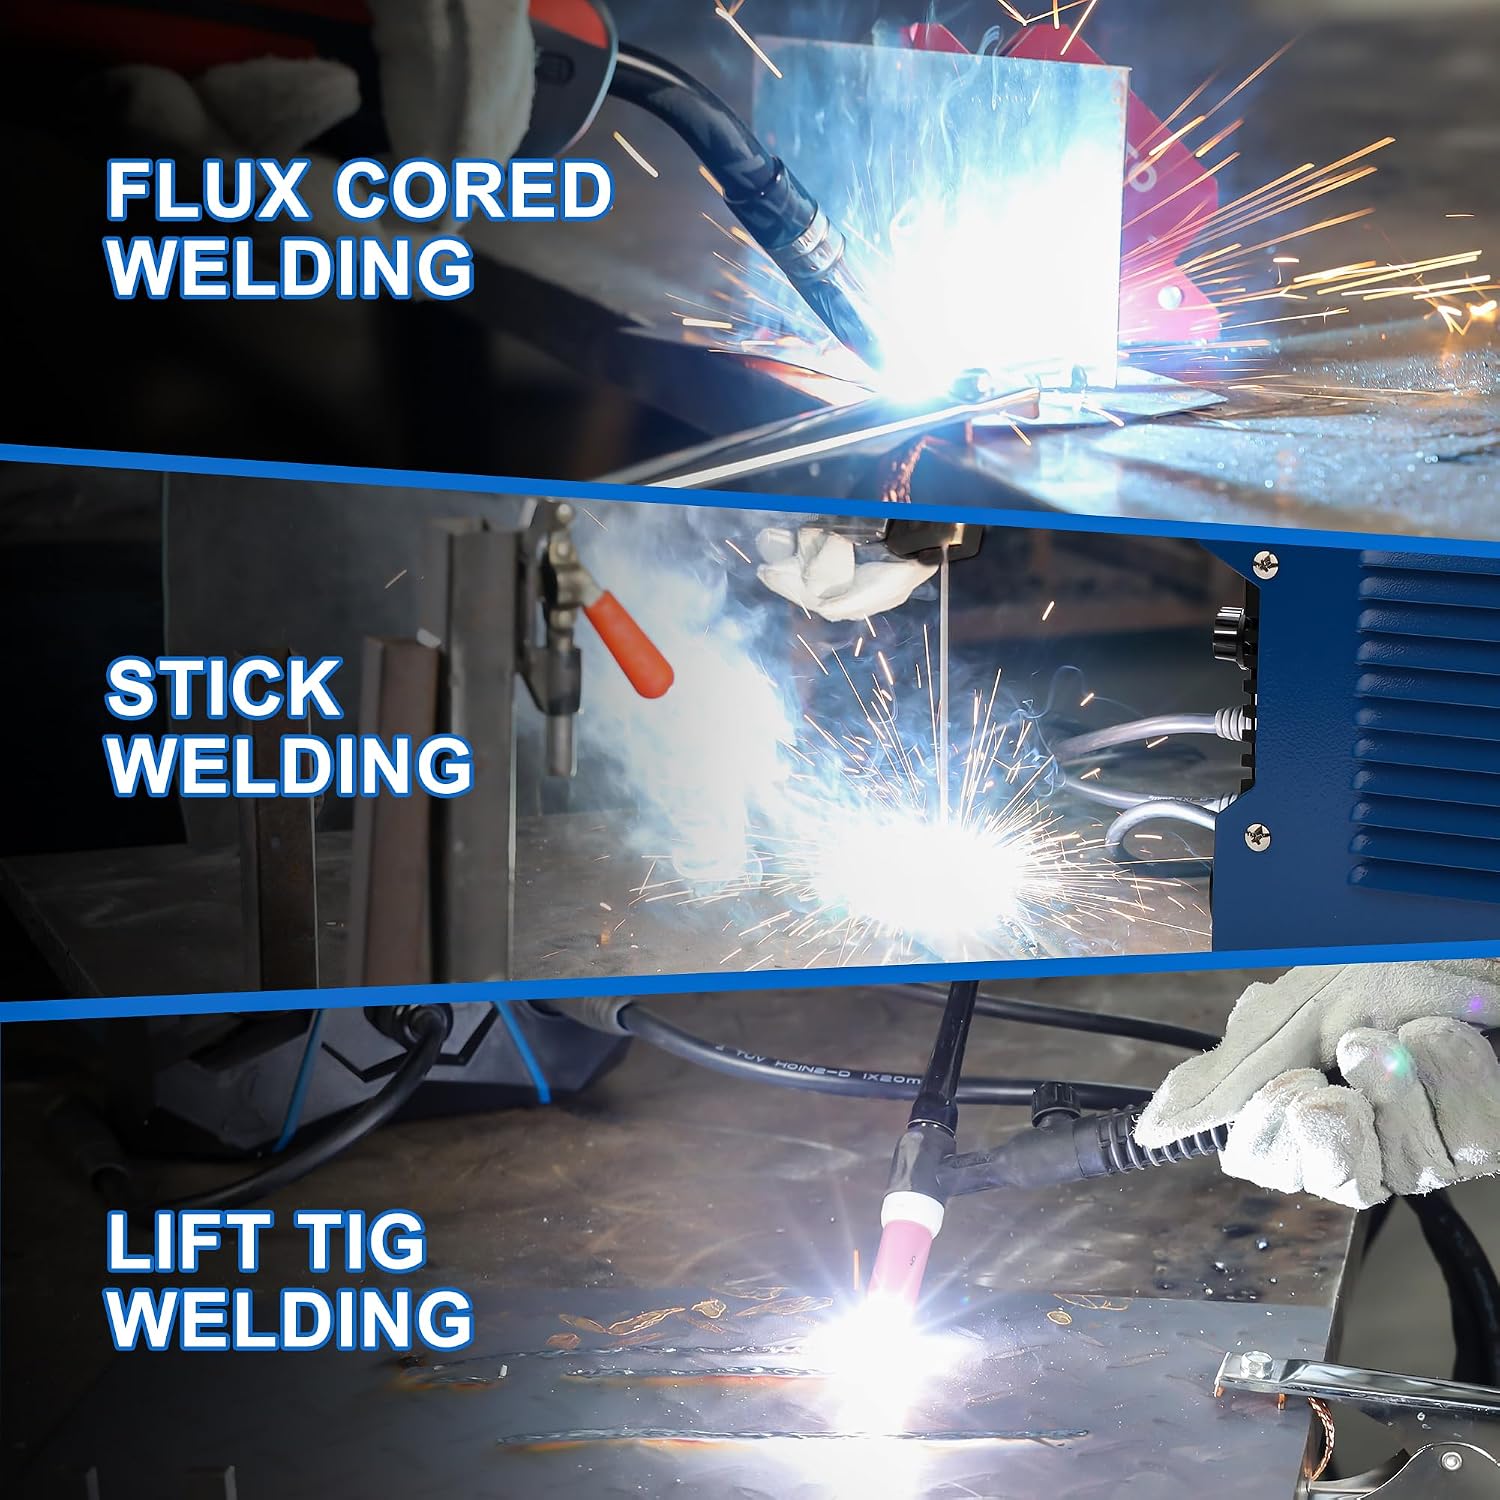
Figure 2.1: The HERZO HWD40E welder demonstrating its versatility across Flux Cored, Stick, and Lift TIG welding applications.
2.2 Key Features
- IGBT Inverter Technology: Ensures stable arc and efficient power usage.
- Electric Choke Control: Reduces spatter and improves weld quality.
- Automatic Thermal and Overload Protection: Enhances safety by preventing overheating and circuit damage.
- Effortless Operation: Automatically adjusts voltage and wire feeding speed based on amperage.

Figure 2.2: Visual representation of the HERZO HWD40E welder's core features, including high efficiency, IGBT inverter technology, overheating protection, and suitability for extensive use.
2.3 Control Panel and Connections
Familiarize yourself with the control panel and connection points before operation.

Figure 2.3: Detailed diagram of the HERZO HWD40E control panel, indicating the Wire Feeding Speed and Current Adjustable Knob, Function Select Button, Voltage Adjustable Knob, Earth Clamp Sockets, and MIG Torch Switch Socket.
- Wire Feeding Speed and Current Adjustable Knob: Controls the wire feed rate and welding current.
- Function Select Button: Toggles between welding modes (MIG/MAG, MMA, Lift TIG).
- Voltage Adjustable Knob: Fine-tunes the welding voltage.
- Earth Clamp Sockets (-): Connect the ground clamp cable.
- MIG Torch Switch Socket: Connect the MIG torch trigger cable.
- MAG/MIG Torch Connection: Connect the MIG/MAG torch.
- Electrode Holder Connection (+): Connect the electrode holder for MMA welding.
3. Setup
3.1 Unpacking and Inspection
Carefully remove the welder and all accessories from the packaging. Inspect for any shipping damage. If any damage is found, contact your supplier immediately.
The complete kit includes:

Figure 3.1: The HERZO HWD40E welder shown with its included accessories, clearly numbered and labeled for easy identification during setup.
- Ground clamp
- Electrode holder
- Gun tip
- Face mask (basic, for initial protection)
- Brush
- Welding head and core (likely referring to MIG torch components)
- Plug (power cord)
- Canvas strap
- 1.0mm Flux cored wire
Note: A proper welding helmet and gloves are essential safety equipment and should be acquired separately if not included or if the provided mask is insufficient for your needs.
3.2 Power Connection
- Ensure the welder's power switch is in the OFF position.
- Connect the power plug to a suitable electrical outlet. The welder operates on 110-220V AC. Ensure the power supply matches the welder's requirements and is properly grounded.
3.3 Connecting Welding Cables
- Ground Clamp: Connect the ground clamp cable to one of the (-) Earth clamp sockets on the front panel. Secure the ground clamp to the workpiece or welding table, ensuring good electrical contact.
- MIG Torch: Connect the MIG torch cable to the MAG/MIG Torch Connection. Connect the MIG torch trigger cable to the MIG torch switch socket.
- Electrode Holder (for MMA/Stick Welding): If performing MMA welding, connect the electrode holder cable to the (+) connection point.
- TIG Torch (for Lift TIG Welding - optional): If performing Lift TIG welding, connect the TIG torch cable to the appropriate connection (usually negative polarity for DC TIG). A separate TIG torch and gas regulator are required and not included.
3.4 Loading Flux Core Wire
- Open the wire feed compartment.
- Place the wire spool onto the spindle, ensuring it rotates freely.
- Thread the wire through the guide tube and into the drive rollers.
- Close the drive roller tension arm, adjusting the tension so the wire feeds smoothly without slipping or crushing.
- Ensure the correct drive roller size is selected for your wire diameter (e.g., 0.8mm or 0.9mm).
- With the MIG torch pointed away from yourself and others, press the trigger to feed the wire through the torch liner and out of the contact tip. Trim any excess wire.
4. Operating Instructions
4.1 Powering On and Mode Selection
- Ensure all connections are secure and safety gear is worn.
- Turn the power switch to the ON position. The digital display will illuminate.
- Use the Function Select Button to choose your desired welding mode (MIG/MAG, MMA, or Lift TIG). The corresponding indicator light will illuminate.
4.2 Adjusting Welding Parameters
The HWD40E features an "Effortless Operation" system that automatically adjusts voltage and wire feeding speed based on the amperage setting. However, fine-tuning is possible.
- Amperage (Current) Adjustment: Use the Wire Feeding Speed and Current Adjustable Knob to set the desired welding amperage. The display will show the current setting.
- Voltage Adjustment: Use the Voltage Adjustable Knob for fine-tuning the voltage. This knob allows for minor adjustments around the automatically set voltage to optimize arc characteristics.
- Refer to welding charts or practice on scrap material to find optimal settings for your specific material thickness and wire/electrode type.
4.3 Welding Process (General Guidelines)
- Prepare Workpiece: Clean the workpiece thoroughly, removing rust, paint, and grease.
- Ground Connection: Ensure the ground clamp has a solid connection to the workpiece.
- Arc Starting:
- MIG/Flux Core: Position the torch nozzle close to the workpiece (approx. 1/2 inch or 12mm). Press the trigger to start the arc and wire feed.
- MMA/Stick: Strike the electrode against the workpiece to initiate the arc, then maintain a consistent arc length.
- Lift TIG: Gently touch the tungsten electrode to the workpiece, then lift slightly to initiate the arc.
- Welding Technique: Maintain a consistent travel speed, arc length, and torch/electrode angle for optimal weld quality.
- Stopping: Release the trigger (MIG/Flux Core) or pull the electrode away (MMA/Lift TIG) to stop welding.
5. Maintenance
Regular maintenance ensures the longevity and optimal performance of your HERZO HWD40E welder. Always disconnect the power supply before performing any maintenance.
5.1 Daily/Before Use
- Inspect all cables for damage (cuts, fraying). Replace damaged cables immediately.
- Check the ground clamp for good contact surfaces.
- For MIG/Flux Core: Inspect the contact tip and nozzle for spatter buildup. Clean or replace as needed.
- Ensure the wire feed rollers are clean and free of debris.
5.2 Monthly/After Extensive Use
- Clean the interior of the welder using dry compressed air to remove dust and metal particles. Pay attention to cooling fins and fan blades.
- Check all electrical connections for tightness.
- Inspect the wire feed liner for wear or kinks. Replace if necessary to ensure smooth wire feeding.
5.3 Rapid Heat Dissipation System
The HWD40E is equipped with a rapid heat dissipation system, including a high-speed cooling fan, to maintain optimal operating temperature and allow for extended welding sessions. Ensure the air vents are clear and unobstructed at all times.

Figure 5.1: The HERZO HWD40E welder illustrating its rapid heat dissipation system, featuring a high-speed cooling fan for continuous operation.
6. Troubleshooting
This section provides solutions to common issues you might encounter. For problems not listed here, contact customer support.
| Problem | Possible Cause | Solution |
|---|---|---|
| Welder does not power on. | No power supply; Power switch off; Faulty power cord. | Check power outlet and circuit breaker. Ensure power switch is ON. Inspect power cord for damage. |
| No welding arc. | Poor ground connection; Incorrect welding mode; Wire feed issue (MIG); Electrode not making contact (MMA). | Ensure ground clamp has good contact. Select correct welding mode. Check wire feed path and contact tip. Ensure electrode is clean and making contact. |
| Wire not feeding (MIG/Flux Core). | Wire spool tangled; Drive rollers not engaged or tension incorrect; Clogged contact tip; Kinked liner. | Untangle wire. Adjust drive roller tension. Clean or replace contact tip. Inspect and clear/replace liner. |
| Poor weld quality (excessive spatter, weak penetration). | Incorrect voltage/amperage settings; Improper travel speed or arc length; Dirty workpiece. | Adjust voltage and amperage. Practice consistent technique. Clean workpiece thoroughly. |
| Welder shuts off during operation. | Overheating (thermal protection activated); Overload protection activated. | Allow welder to cool down. Ensure proper ventilation and clear air vents. Reduce duty cycle or welding current. |
7. Specifications
| Feature | Detail |
|---|---|
| Model Number | HWD40E |
| Brand | HERZO |
| Max Output Current | 140A (Supports up to 120A for specific processes as per product features) |
| Welding Processes | Flux Core, MMA, Lift TIG, Flux MIG |
| Power Source | AC (110-220V) |
| Compatible Wire Sizes | 0.030" (0.8mm), 0.035" (0.9mm) Flux Core |
| Max Material Thickness | Up to 1/8 inch (3 mm) mild steel |
| Item Weight | 8.47 kg |
| Parcel Dimensions | 43.41 x 30.81 x 30 cm |
| Included Components | MIG Welder, torch, ground clamp, mask, brush, 2 nozzles, user manual |
8. Warranty and Support
For warranty information, technical support, or service inquiries, please contact HERZO customer service. Refer to the product packaging or the official HERZO website for the most current contact details.
When contacting support, please have your product model number (HWD40E) and purchase date available.