
1. Introduction
This manual provides essential instructions for the safe and efficient installation, operation, and maintenance of your iMeshbean 2.5-inch 1HP 110V Submersible Deep Well Pump. Please read this manual thoroughly before installation and operation to ensure proper function and to prevent injury or damage.
The iMeshbean submersible well pump is designed for extracting water from deep wells, suitable for various applications including household water supply, irrigation, and livestock watering. It features a durable stainless steel construction, a 1HP permanent magnet motor, and a 50-foot power cord for convenient connection.
2. Safety Information
WARNING: Failure to follow these safety instructions could result in electric shock, fire, serious injury, or death.
- Always disconnect power before installing, servicing, or performing any maintenance on the pump.
- Ensure the power supply matches the pump's voltage requirements (110V/60Hz).
- Do not operate the pump dry. Ensure the pump is fully submerged in water before starting.
- Install the pump in a well casing of 3 inches or larger.
- Use only approved electrical wiring and connections. All electrical work should be performed by a qualified electrician.
- Protect the power cord from sharp objects, heat, and oil. Do not use the power cord to lift the pump.
- An additional check valve is recommended for optimal performance, even though the pump has a built-in check valve.
- Keep children and unauthorized persons away from the pump and its operating area.
3. Product Components
The iMeshbean Submersible Well Pump package includes the following main components:
- Submersible Well Pump (2.5-inch diameter, 1HP)
- External Control Box with ON/OFF switch
- 50-foot Power Cord (pre-attached to pump)
- Built-in Check Valve

Figure 1: Overview of the iMeshbean Submersible Well Pump system, showing the pump unit, the external control box, and the 50-foot power cord.
4. Technical Specifications
| Feature | Specification |
|---|---|
| Model | 2.5"-1HP-110V |
| Power | 1 HP |
| Voltage | 110V / 60Hz |
| Amperage | 10.2 Amps |
| Maximum Flow Rate | 13 Gallons Per Minute (GPM) |
| Maximum Lifting Height (Head) | 311 Feet |
| Discharge Outlet | 1" NPT |
| Impellers | 26 (Multi-stage thermoplastic) |
| Casing Requirement | 3" or larger |
| Power Cord Length | 50 feet |
| Material | Stainless Steel Body & Discharge Head |
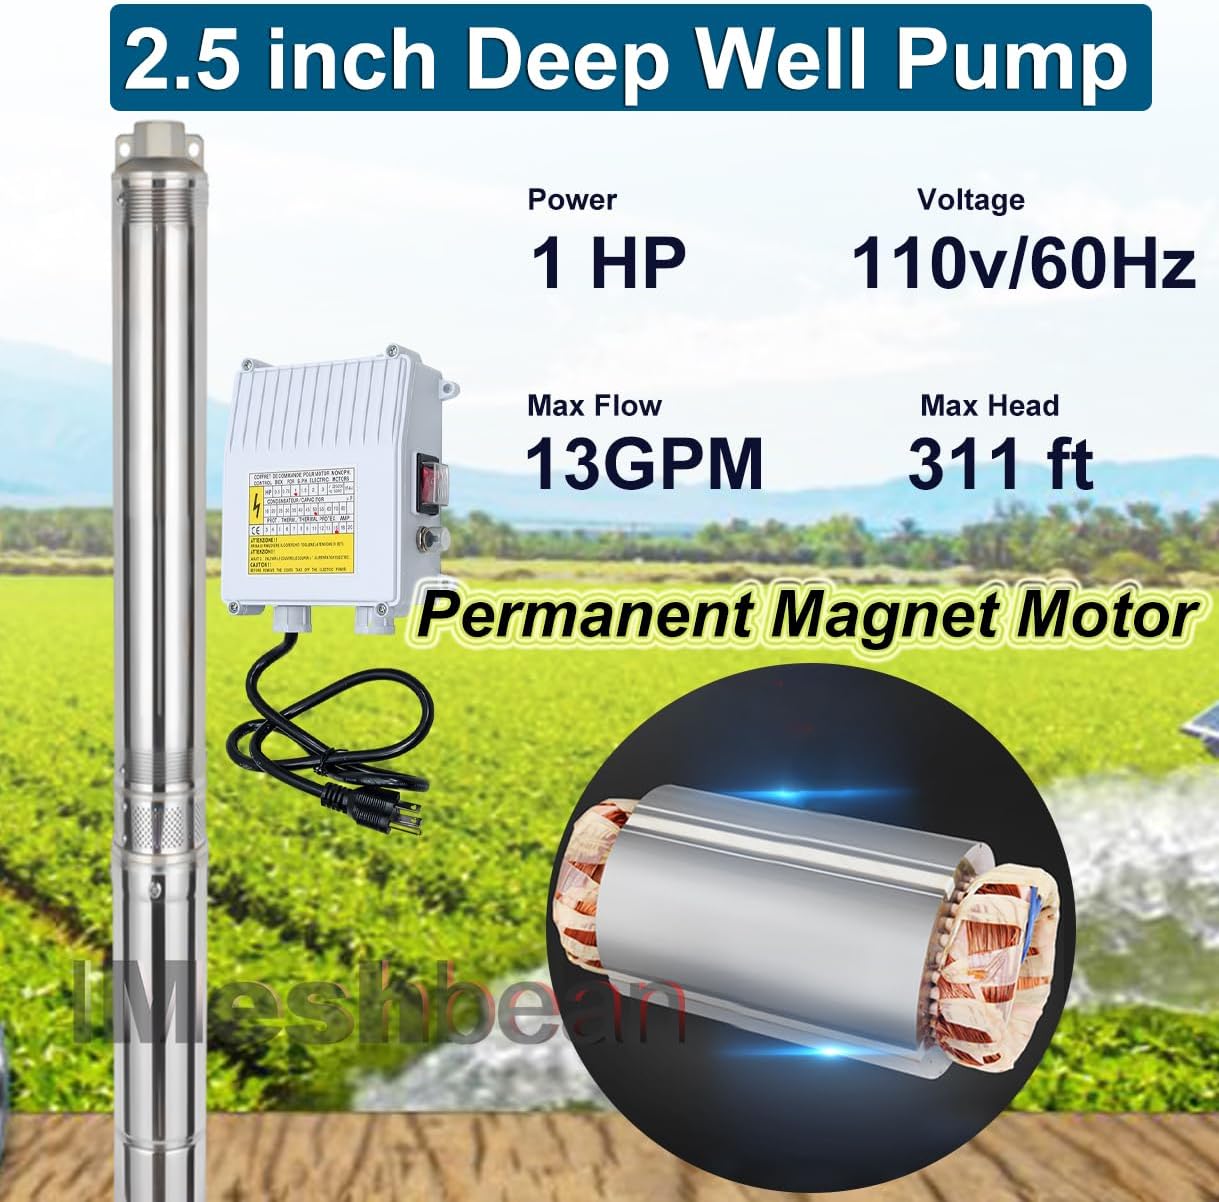
Figure 2: Key technical specifications of the pump, highlighting its 1HP power, 110V voltage, 13 GPM max flow, and 311 ft max head.
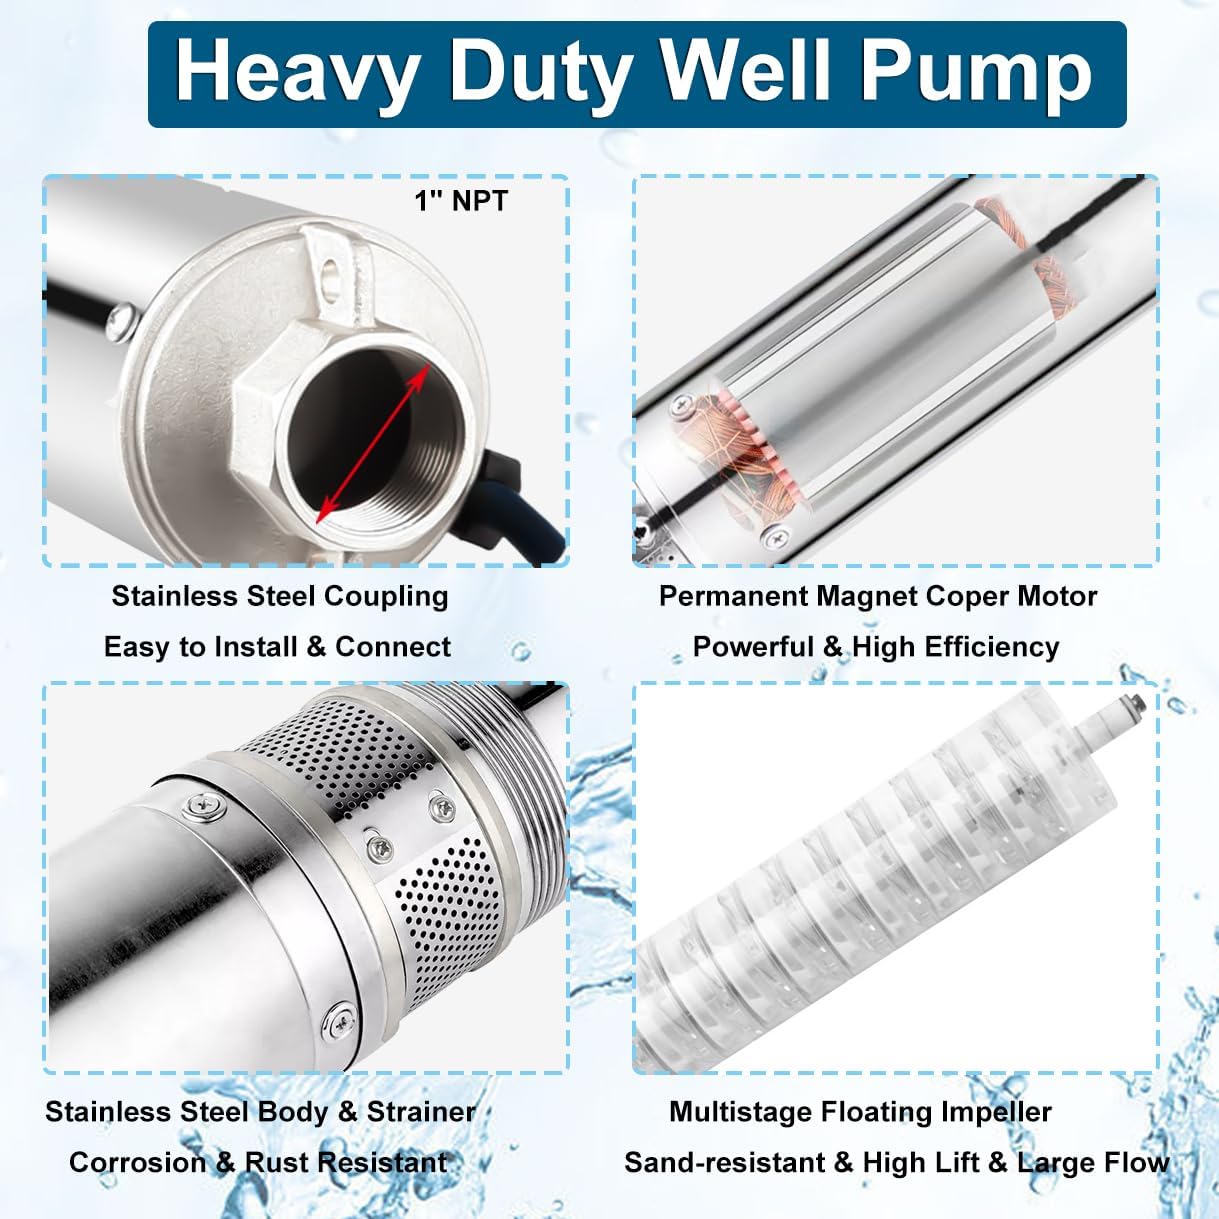
Figure 3: Close-up view of the pump's construction, showing the 1" NPT stainless steel coupling, permanent magnet motor, stainless steel body and strainer for corrosion resistance, and the multi-stage floating impeller for sand resistance and high lift.
5. Setup and Installation
Proper installation is crucial for the pump's performance and longevity. If you are unsure about any steps, consult a qualified professional.
- Prepare the Well: Ensure the well casing is at least 3 inches in diameter and free of debris. The pump must be installed below the water level.
- Connect Discharge Pipe: Attach a suitable discharge pipe (1" NPT) to the pump's outlet. Use thread sealant for a watertight connection.
- Install Check Valve (Recommended): Although the pump has a built-in check valve, installing an additional check valve in the discharge line above the pump is recommended to prevent water hammer and backflow.
- Secure the Pump: Use a safety rope or cable (not the power cord) attached to the pump's lifting eye to lower the pump into the well. Ensure the pump hangs freely and does not touch the sides of the casing.
- Route Power Cord: Carefully route the 50-foot power cord alongside the discharge pipe, securing it at intervals to prevent chafing. Ensure the cord is not stretched or kinked.
- Mount Control Box: Mount the external control box in a dry, accessible location near the wellhead, protected from weather.
- Connect to Control Box: Connect the pump's power cord to the designated terminals inside the control box. Follow the wiring diagram provided on the control box cover.
- Connect to Power Supply: Connect the control box to a dedicated 110V/60Hz power supply circuit. Ensure proper grounding.
- Test System: Before sealing the well, temporarily connect the power and briefly run the pump to check for proper operation and water flow. Disconnect power before final well sealing.
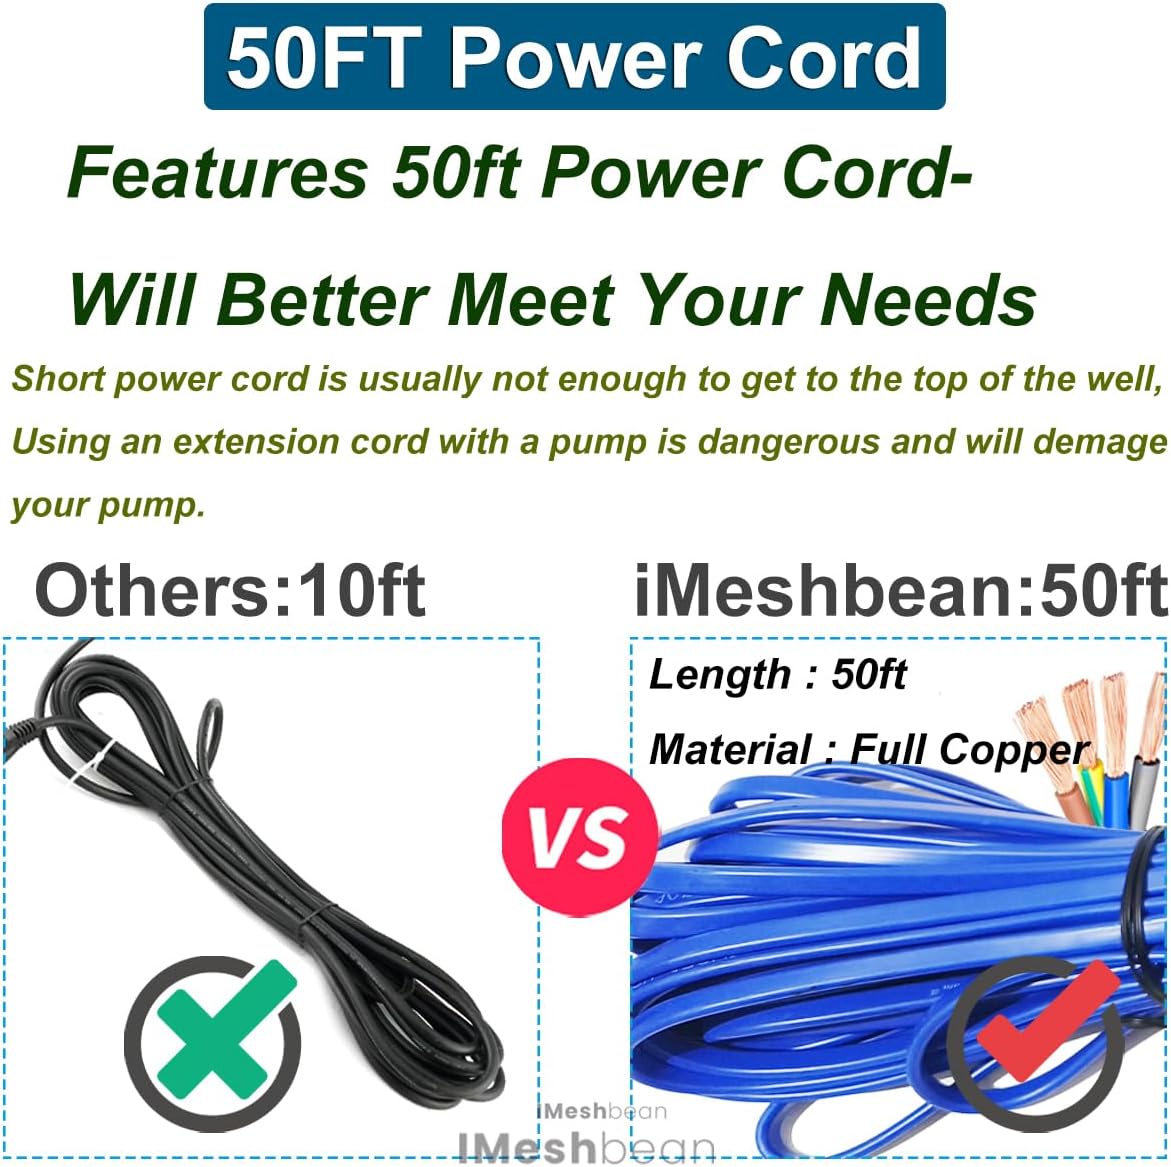
Figure 4: The 50-foot power cord provided with the iMeshbean pump, designed to reach deep into wells without the need for hazardous extension cords.
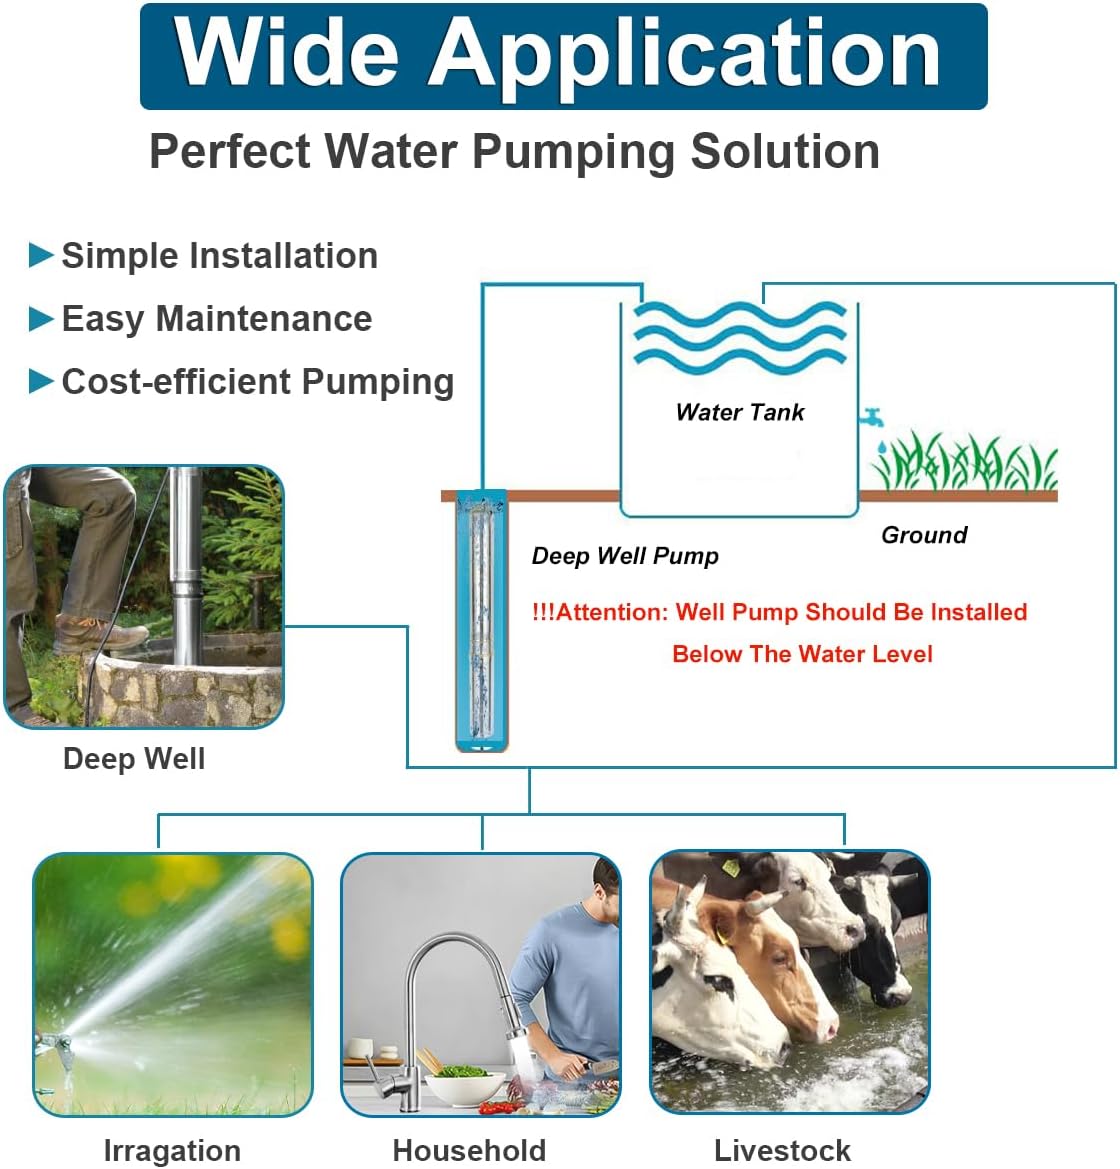
Figure 5: The external control box, featuring an ON/OFF switch for easy operation and built-in protection against overload and short circuits.
6. Operating Instructions
Once the pump is correctly installed and connected to the power supply:
- Initial Start-up: Ensure the pump is fully submerged in water. Turn the ON/OFF switch on the control box to the "ON" position. The pump should start operating and deliver water.
- Monitoring: Observe the water flow and pressure. If the pump runs but does not deliver water, or if the flow is weak, refer to the Troubleshooting section.
- Shut-down: To stop the pump, turn the ON/OFF switch on the control box to the "OFF" position.
- Avoid Dry Running: Never operate the pump without water. Dry running can cause severe damage to the motor and impellers. The built-in thermal protection will shut off the pump if it overheats, but continuous dry running should be avoided.

Figure 6: Illustrates the versatility of the pump for various applications, including agricultural irrigation, domestic water supply, and providing water for livestock.
7. Maintenance
Regular maintenance ensures the longevity and efficient operation of your pump.
- Periodic Inspection: Periodically check the control box for any signs of damage or loose connections.
- Power Cord: Inspect the power cord for any cuts, abrasions, or damage. Replace if necessary.
- Well Water Quality: If the well water contains excessive sand or sediment, consider installing a pre-filter to protect the pump. The pump's multi-stage floating impellers are designed to be sand-resistant, but extreme conditions can still affect performance.
- Winterization (for cold climates): If the pump is installed in an area subject to freezing temperatures and will not be used during winter, it must be removed from the well and stored in a frost-free location. Drain all water from the pump and discharge pipe to prevent freezing damage.
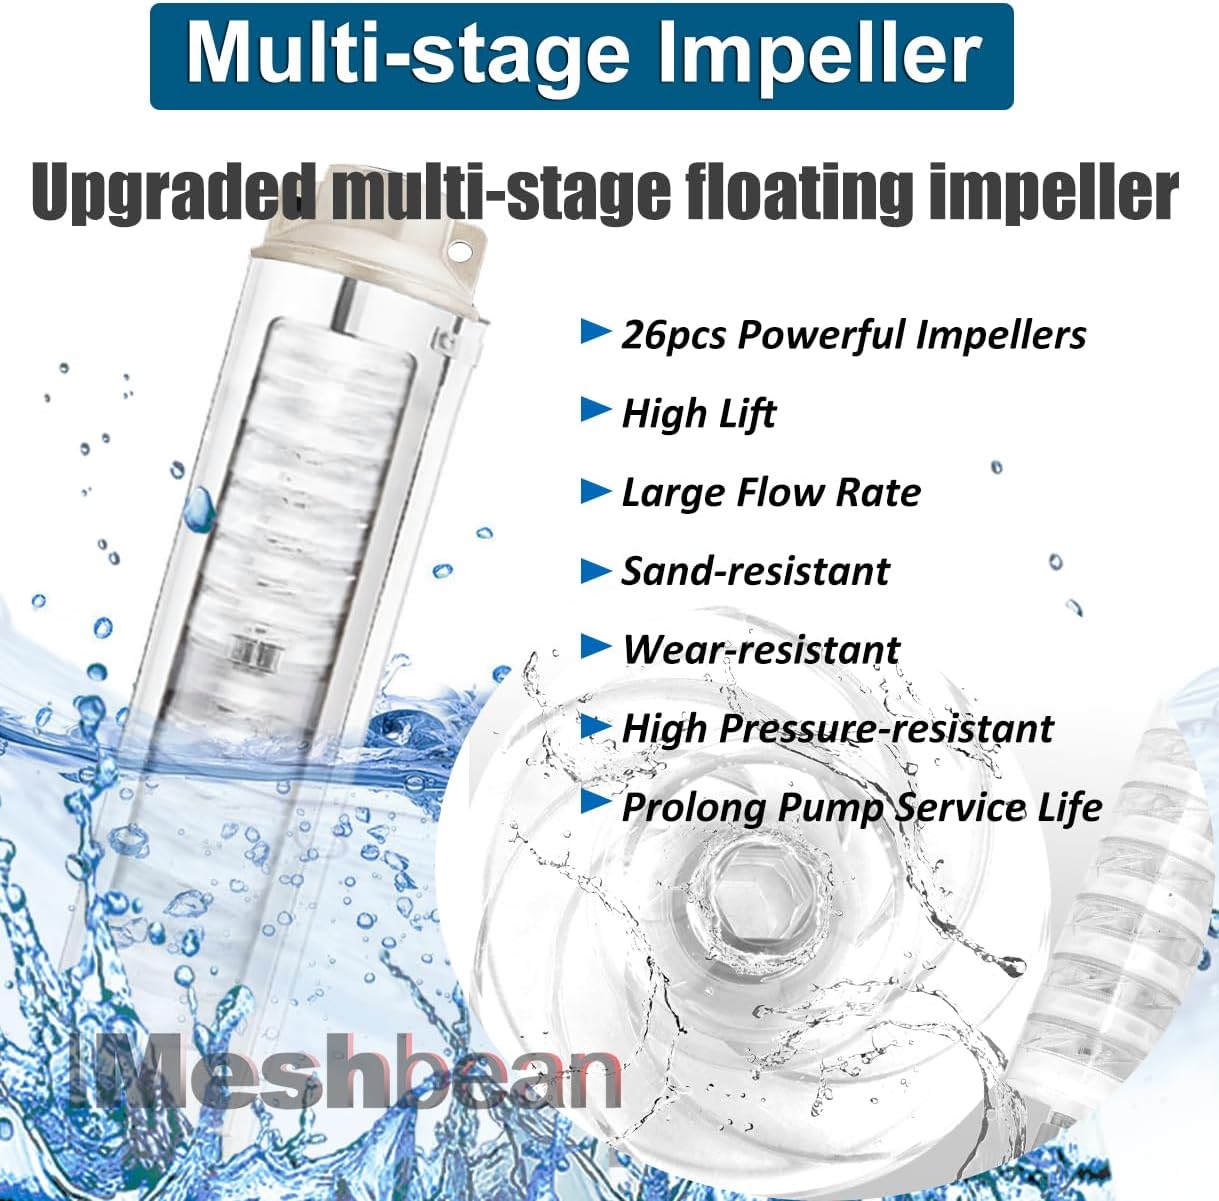
Figure 7: The multi-stage floating impeller system, designed for durability and efficient water transfer even in sandy conditions, contributing to extended pump life.
8. Troubleshooting
Before contacting customer support, review the following common issues and solutions:
| Problem | Possible Cause | Solution |
|---|---|---|
| Pump does not start | No power; tripped circuit breaker; faulty control box; motor failure. | Check power supply and circuit breaker. Inspect control box wiring. If issues persist, consult a qualified technician. |
| Pump runs but no water or low flow | Pump not submerged; clogged intake/impellers; air lock; damaged impellers/pump. | Ensure pump is below water level. Disconnect power, remove pump, and clear any blockages. Check for leaks in discharge pipe. |
| Pump cycles on and off frequently | Leaking check valve; pressure tank issue (if applicable); low water level in well. | Inspect check valve for proper function. Check well water level. Consult a plumber for pressure tank issues. |
| Excessive noise or vibration | Pump rubbing against casing; damaged impellers/bearings; cavitation. | Ensure pump is centered in well. Disconnect power and inspect pump for damage. Ensure pump is fully submerged. |
9. Warranty and Support
For warranty information and customer support, please refer to the documentation included with your purchase or contact iMeshbean directly through their official website or authorized retailers. Keep your purchase receipt as proof of purchase for warranty claims.
Protection plans are available for extended coverage. Please check with your retailer for details on available protection plans.