1. Introduction
This manual provides comprehensive instructions for the safe and effective installation, operation, and maintenance of the Generic OEM Replacement Control Board, model HG2090429-D. This control board is designed as a direct replacement part for specific Hisense refrigerator models. Please read this manual thoroughly before attempting any installation or service.
2. Safety Information
WARNING: Risk of Electric Shock. Disconnect power before servicing.
- Always disconnect the refrigerator from its power source before attempting any installation, repair, or maintenance. Failure to do so can result in serious injury or death.
- Installation should only be performed by a qualified technician or individuals with experience in appliance repair.
- Wear appropriate personal protective equipment, including safety glasses and gloves.
- Ensure all connections are secure and correctly wired according to the refrigerator's service manual.
- Do not operate the refrigerator with damaged wiring or components.
3. Product Overview
The HG2090429-D is an electric control board designed to manage various functions within a Hisense refrigerator, including temperature regulation, defrost cycles, and compressor operation. It is a critical component for the proper functioning of the appliance.

Figure 3.1: Top view of the HG2090429-D control board, showing various electronic components including capacitors, transformers, and heat sinks. This board is essential for managing refrigerator functions.
4. Setup and Installation
Follow these steps carefully to replace the control board. Refer to your specific refrigerator's service manual for exact panel removal and wiring diagrams.
- Disconnect Power: Unplug the refrigerator from the wall outlet or turn off the circuit breaker supplying power to the appliance. Verify power is off before proceeding.
- Access the Control Board: Locate the existing control board. This typically involves removing a rear access panel or a panel within the refrigerator compartment. Refer to your refrigerator's service manual for precise location and panel removal instructions.
- Document Connections: Before disconnecting any wires, take clear photos or make a detailed diagram of all wire connections to the old control board. Note the color and position of each wire.
- Disconnect Wires: Carefully disconnect all wire harnesses and connectors from the old control board. Be gentle to avoid damaging the connectors or wires.
- Remove Old Board: Unscrew or unclip the old control board from its mounting location.
- Install New Board: Position the new HG2090429-D control board in the same location as the old one. Secure it with the original screws or clips.
- Reconnect Wires: Using your photos or diagram, carefully reconnect all wire harnesses and connectors to the new control board. Ensure each connection is firm and correctly seated.
- Verify Model Number: Confirm the model number on the new board matches the required replacement part.

Figure 4.1: Close-up view of the label on the control board, clearly displaying the model number HG2090429-D and other identification codes. Verify this matches your required replacement part.
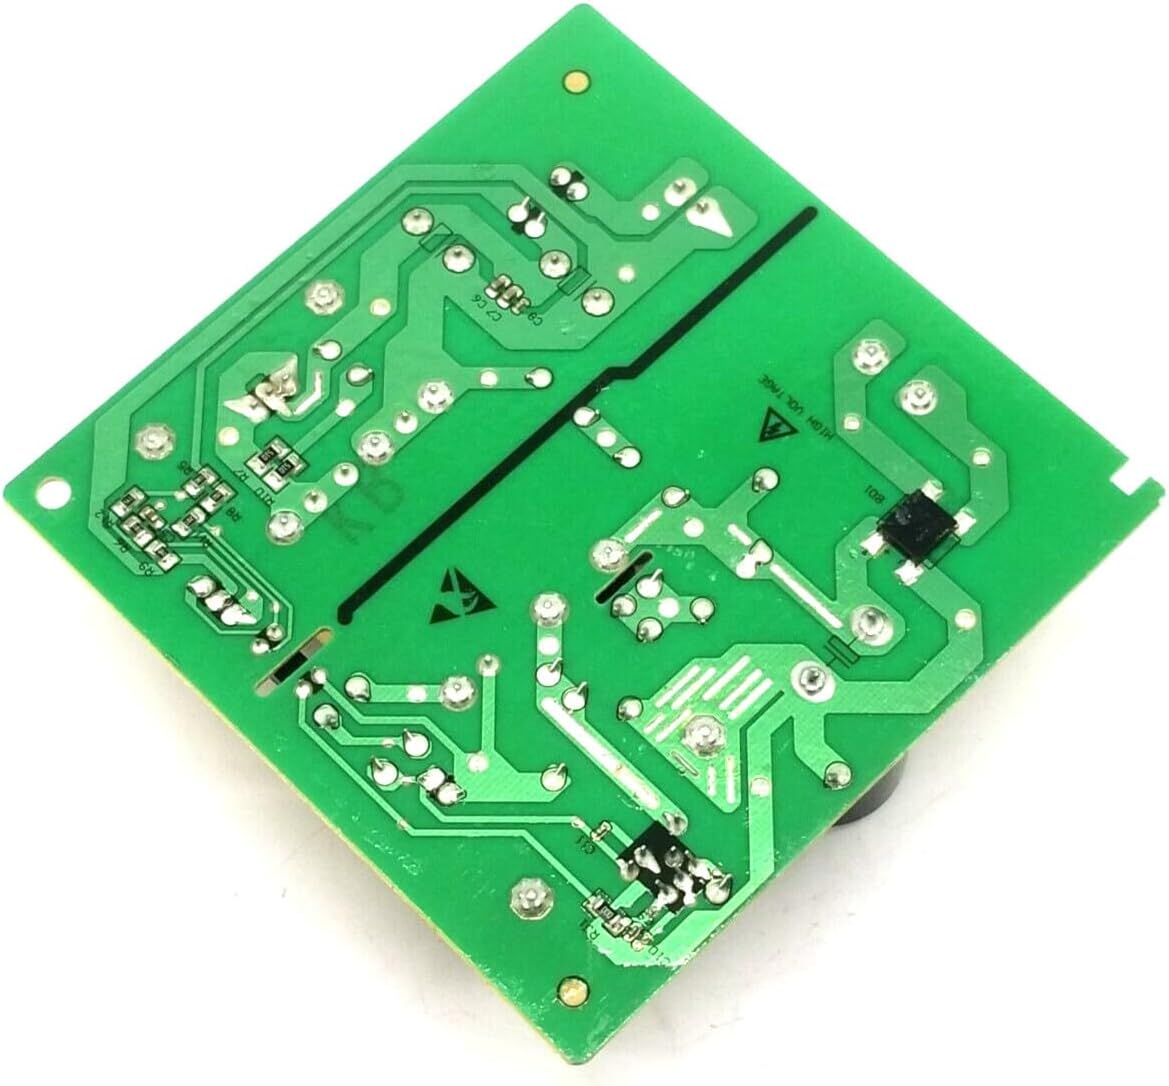
Figure 4.2: Bottom view of the control board, illustrating the circuit traces and solder points. This side typically faces the mounting surface and does not require direct interaction during installation.
- Reassemble: Reattach any panels or covers that were removed.
- Restore Power: Plug the refrigerator back into the wall outlet or turn on the circuit breaker.
- Test Operation: Monitor the refrigerator for proper operation, including cooling, lighting, and any display functions.
5. Operating Instructions
The HG2090429-D control board operates automatically once installed and powered. It continuously monitors and regulates the refrigerator's internal environment. No direct user interaction with the control board itself is required. All operational adjustments, such as temperature settings, are made through the refrigerator's user interface (e.g., control panel, thermostat dial).
6. Maintenance
The control board itself requires no routine maintenance. To ensure its longevity and proper function, adhere to the following general appliance maintenance guidelines:
- Keep the area around the refrigerator clean and free of dust and debris to ensure proper ventilation.
- Periodically inspect the refrigerator's power cord for any signs of damage.
- If the refrigerator is moved, ensure all connections remain secure.
WARNING: Always disconnect power before cleaning or inspecting any internal components.
7. Troubleshooting
If your refrigerator is not functioning correctly after installing the new control board, consider the following troubleshooting steps:
- No Power: Check if the refrigerator is properly plugged in and if the circuit breaker has tripped. Ensure all wire connections to the control board are secure.
- Incorrect Wiring: Double-check all wire connections against your documentation (photos/diagrams) to ensure they match the original configuration.
- Appliance Not Cooling: Verify that the refrigerator's temperature settings are correct. If the issue persists, other components (e.g., compressor, fan motor, thermistor) may need inspection by a qualified technician.
- Error Codes: If the refrigerator's display shows an error code, consult your refrigerator's user manual or service manual for the meaning of the code and recommended solutions.
- Intermittent Operation: Ensure there are no loose connections or signs of damage to the wiring or the board itself.
If troubleshooting steps do not resolve the issue, it is recommended to contact a qualified appliance repair technician.
8. Specifications
| Feature | Specification |
|---|---|
| Model Number | HG2090429-D |
| Part Type | Control Board |
| Compatibility | Specific Hisense Refrigerator Models |
| Power Source | Electric |
| Included Components | Control Board |
| Item Weight | Approximately 2 pounds |
| Product Dimensions | Approximately 1 x 1 x 1 inches |
9. Warranty and Support
For warranty information regarding this Generic OEM Replacement Control Board, please refer to the terms provided by your retailer or the manufacturer at the time of purchase. As this is a replacement part, warranty coverage may vary.
If you require technical assistance or have questions regarding the installation or function of this control board, please contact the seller or a qualified appliance repair professional. Always provide the model number HG2090429-D when seeking support.