Phonjoroo LZ-C36W
Phonjoroo 10x20 Heavy Duty Carport Canopy Instruction Manual
Model: LZ-C36W
1. Introduction
Thank you for choosing the Phonjoroo 10x20 Heavy Duty Carport Canopy. This manual provides essential information for the safe assembly, operation, and maintenance of your carport. Please read these instructions carefully before beginning assembly and retain them for future reference.
1.1 Important Safety Information
- Always secure the shelter properly, especially in windy conditions, using the provided nylon ropes and ground nails.
- Exercise caution when installing and using the removable sidewalls.
- Adhere to all weight limit guidelines. The product weighs 88 pounds; ensure adequate assistance during assembly and relocation.
- Do not use the carport near open flames or heat sources.
- Regularly inspect all components for wear or damage. Replace damaged parts immediately.
2. Components List
Before assembly, verify that all parts listed below are present and undamaged. If any parts are missing or damaged, contact customer service.

Figure 2.1: Key Carport Components. This image illustrates various components such as the spring button for frame connections, elastic buckles for securing the tarp, the rollup door mechanism, double zippers for access, and ground nails for anchoring.
- Steel Frame Pipes (various lengths and shapes for roof and legs)
- Connectors (joints for frame assembly)
- 180G PE Roof Tarp (Beige)
- Removable Sidewalls with Windows (Beige, quantity as per design)
- Nylon Ropes
- Ground Nails/Stakes
- Spring Buckles (pre-installed on frame pipes)
- Elastic Ball Components (for securing tarp)
- Assembly Instructions Manual
3. Setup and Assembly Instructions
Assembly typically requires two or more people. Follow these steps carefully for proper installation.
3.1 Site Selection
- Choose a level area free from overhead obstructions (e.g., tree branches, power lines).
- Ensure adequate space for the 10x20 FT carport (approximately 117"L x 233"W x 106"H).
- Avoid areas prone to water accumulation.

Figure 3.1: Carport Dimensions. This diagram provides the overall length, width, and height measurements of the carport, including internal clearances.
3.2 Frame Assembly
- Unpack all components and lay them out. Identify all frame pipes and connectors.
- Begin by assembling the roof frame. Connect the horizontal and angled pipes using the appropriate connectors, ensuring the spring buckles snap into place.
- Attach the vertical leg pipes to the roof frame.
- Ensure all connections are secure and the frame is stable. The triangular metal structure is designed for enhanced stability.
3.3 Tarp and Sidewall Installation
- Carefully drape the 180G PE roof tarp over the assembled frame. Ensure it is centered and evenly distributed.
- Secure the roof tarp to the frame using the elastic ball components, threading them through the tarp grommets and around the frame pipes.
- Attach the removable sidewalls to the frame. The sidewalls feature windows and can be installed or removed as needed.
- Secure the sidewalls using their integrated fastening mechanisms (e.g., zippers, ties).
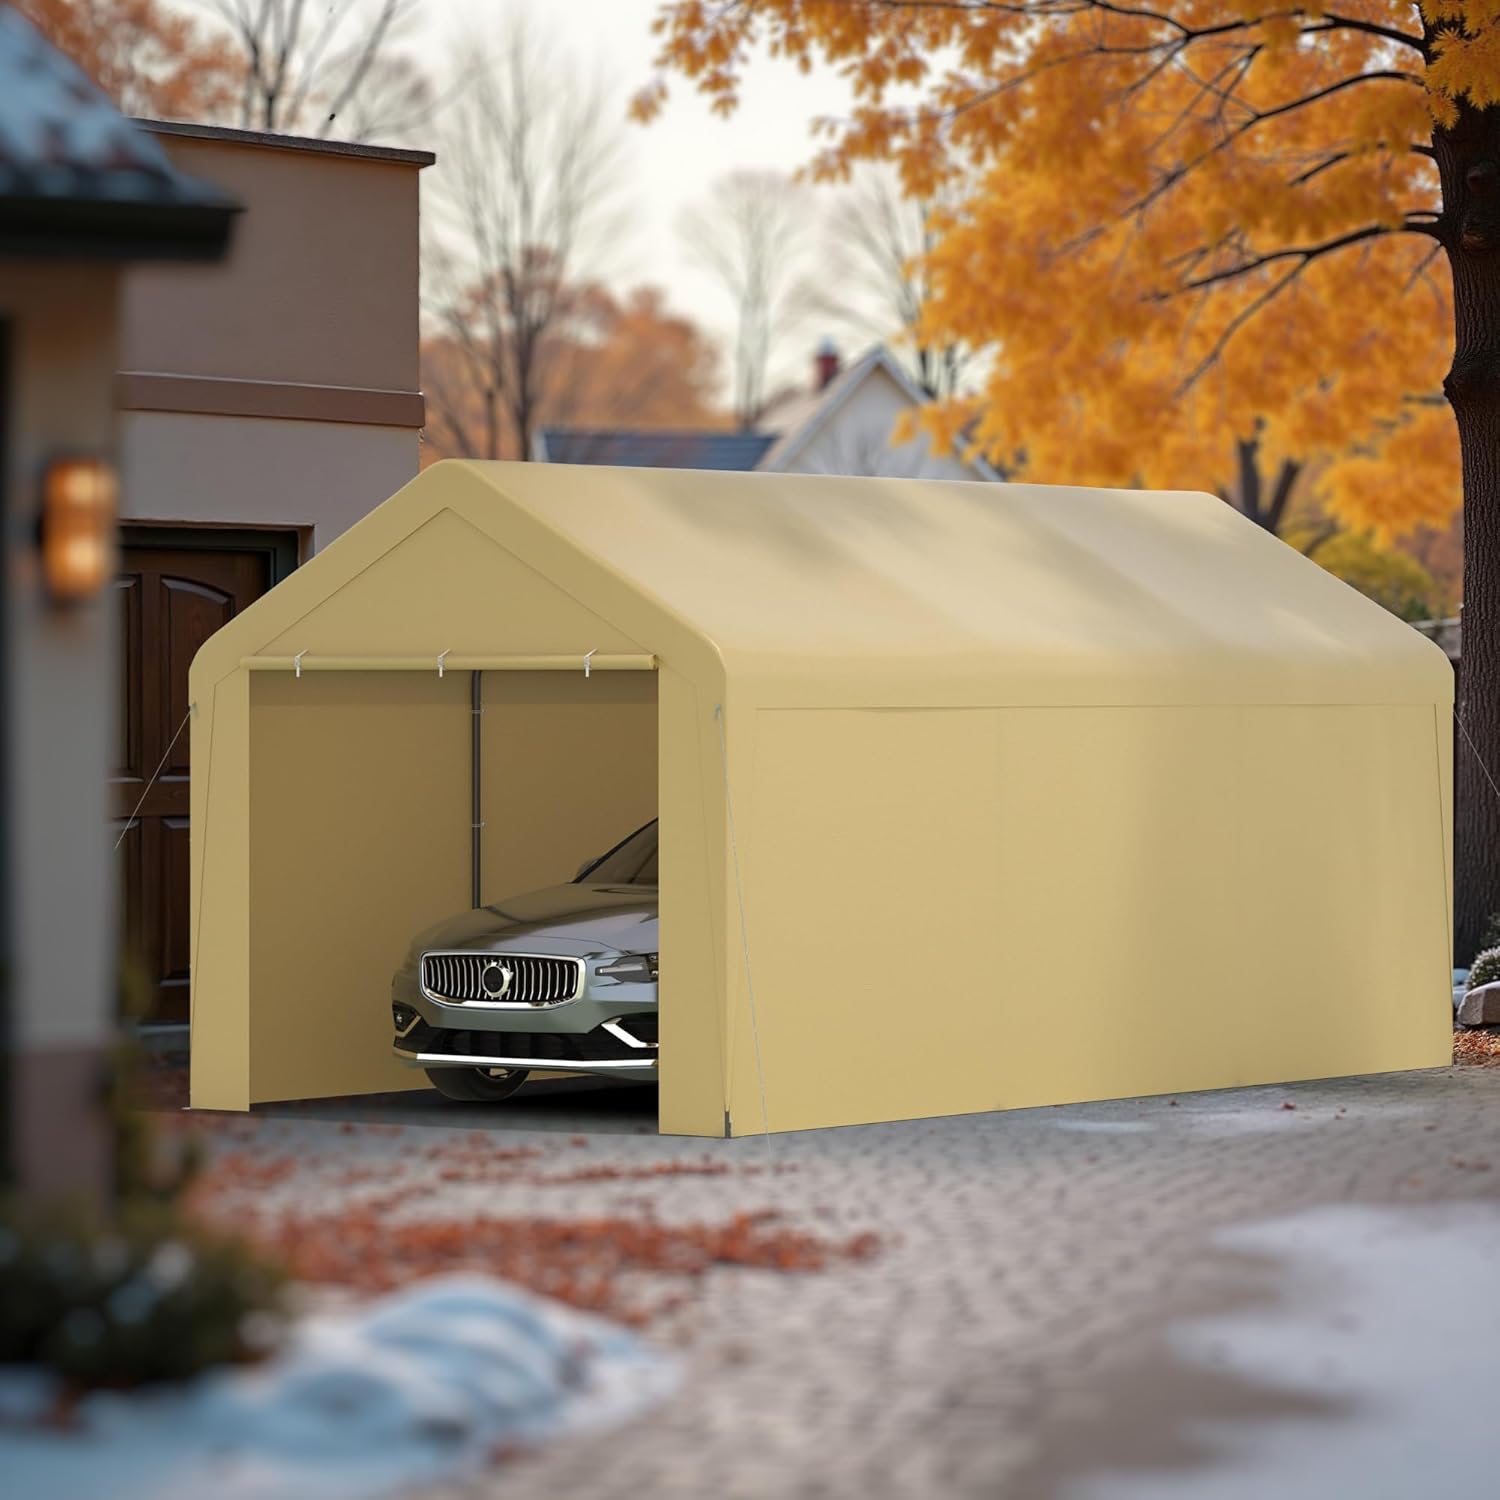
Figure 3.2: Fully Assembled Carport. This image shows the carport fully assembled with a vehicle parked inside, demonstrating its primary function as a shelter.
3.4 Anchoring the Carport
- Once the frame and tarp are in place, use the provided ground nails/stakes to anchor each leg of the carport firmly into the ground.
- Attach the nylon ropes to designated points on the frame and secure them to additional ground anchors, pulling taut to enhance stability against wind.
4. Operating Instructions
4.1 Vehicle Parking
The carport provides a sheltered space for vehicles up to 10x20 FT in size. Drive vehicles slowly and carefully into the carport to avoid contact with the frame or tarp.
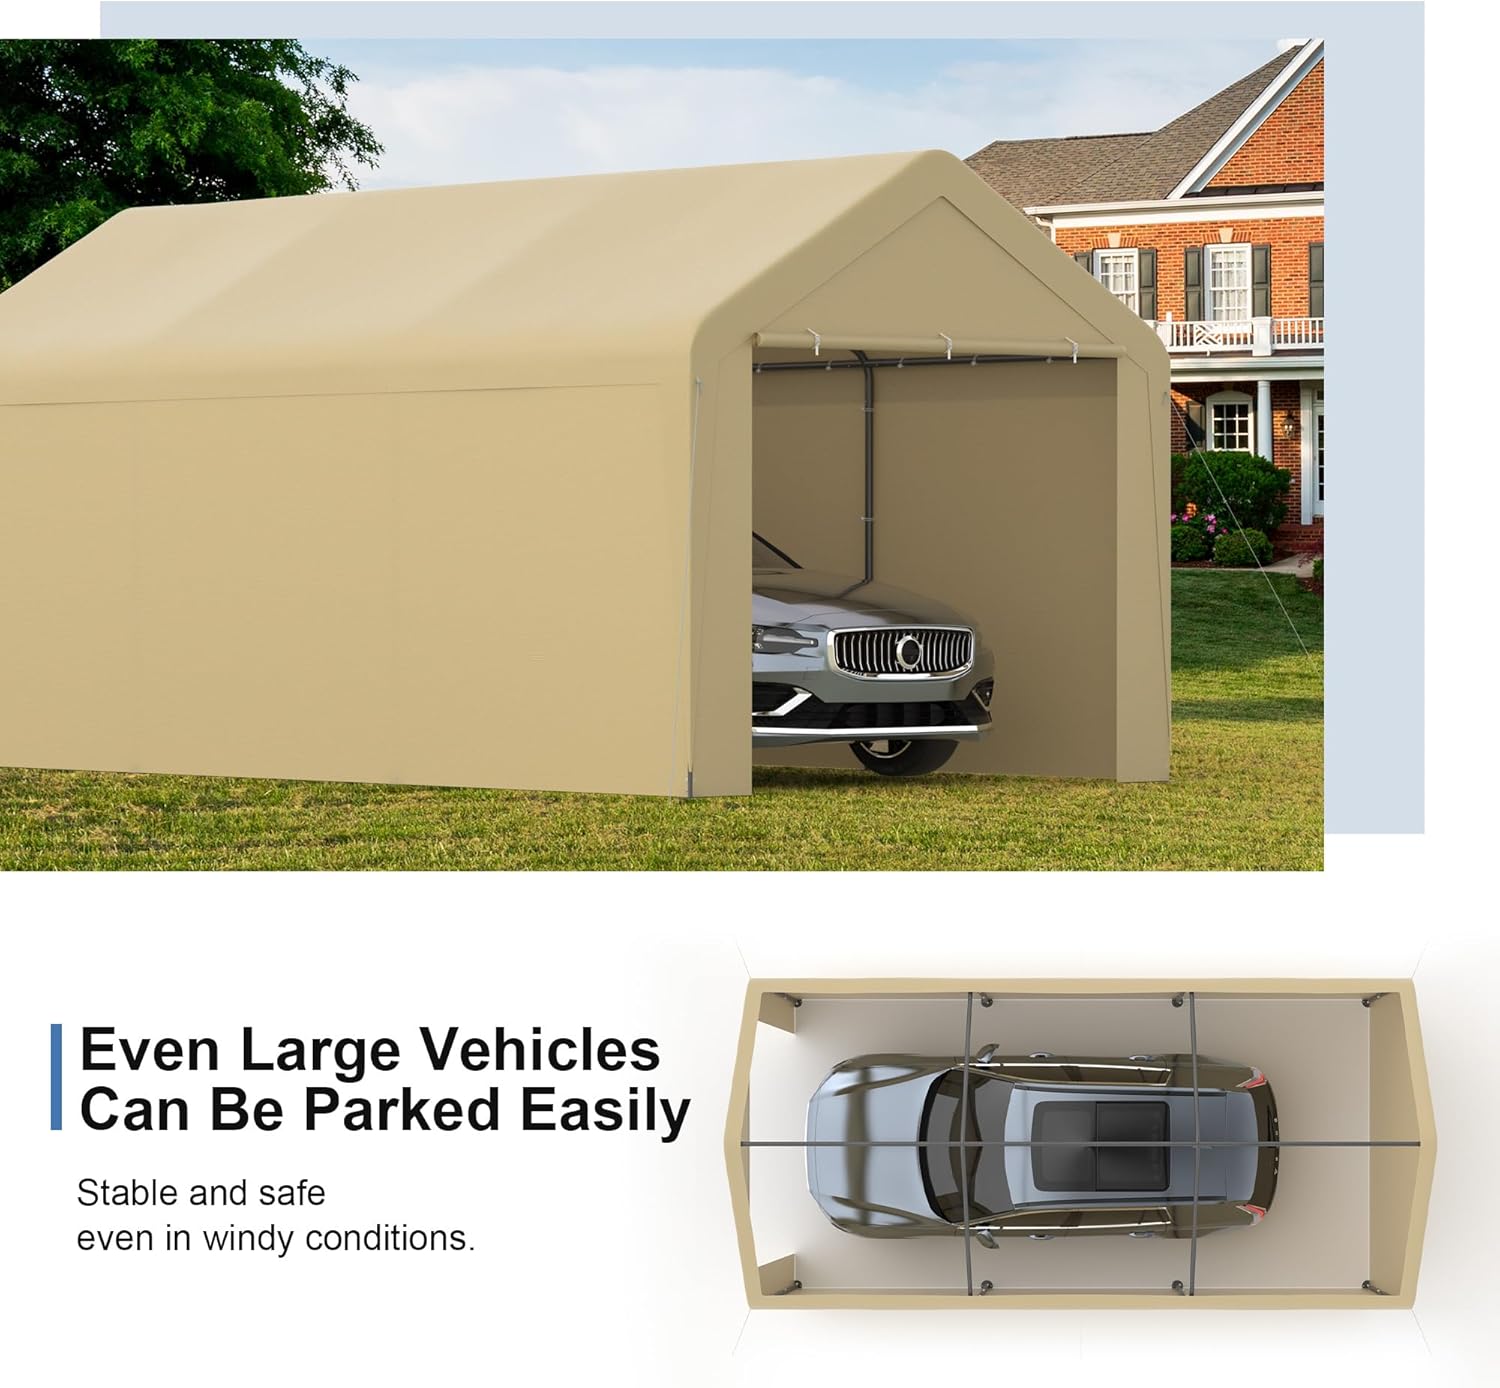
Figure 4.1: Vehicle Parking Capacity. This image provides an overhead view of a car within the carport, illustrating the available space for parking even larger vehicles.
4.2 Utilizing Removable Sidewalls
The sidewalls can be removed to convert the carport into an open sunshade, suitable for events or gatherings. To remove, unfasten the securing mechanisms (e.g., zippers, ties) and detach from the frame. Reattach when full enclosure is desired.

Figure 4.2: Versatile Applications. This image demonstrates the carport's adaptability, showing it configured as an open canopy for poolside relaxation, a covered market stall, and an enclosed storage unit.
4.3 Weather Protection
The 180G PE material roof provides protection against UV rays (blocking 90%) and is waterproof, shielding contents from rain and sun. Ensure the tarp is taut to prevent water pooling.

Figure 4.3: Weather Resistance. This image illustrates the carport's ability to protect a vehicle from harsh weather, emphasizing its waterproof and UV-resistant properties.
5. Maintenance
- Cleaning: Clean the tarp and frame periodically with mild soap and water. Avoid harsh chemicals or abrasive cleaners that could damage the material or finish.
- Inspection: Regularly check all frame connections, ropes, and ground anchors for tightness and wear. Re-tighten or replace as necessary.
- Weather Conditions: In anticipation of severe weather (heavy snow, extreme winds), it is recommended to temporarily disassemble the carport or reinforce its anchoring to prevent damage. Clear any accumulated snow from the roof promptly.
- Storage: If disassembling for long-term storage, ensure all components are clean and dry before packing to prevent mold or rust. Store in a cool, dry place.
6. Troubleshooting
| Problem | Possible Cause | Solution |
|---|---|---|
| Carport instability / swaying | Loose frame connections; insufficient anchoring; strong winds. | Ensure all spring buckles are engaged. Verify ground nails are fully inserted and ropes are taut. Add additional anchoring in windy conditions. |
| Water pooling on roof | Tarp not taut enough; improper installation. | Re-adjust the tarp to ensure it is stretched tightly over the frame. Check elastic ball components are securely fastened. |
| Difficulty with assembly | Incorrect part identification; attempting assembly alone. | Refer to the components list and diagrams. Ensure you have at least two people for assembly. |
| Tarp or sidewall damage | Sharp objects; excessive force; prolonged exposure to extreme weather. | Avoid contact with sharp objects. Handle with care. Consider temporary disassembly during severe weather. Contact customer service for replacement parts. |
7. Specifications
| Feature | Detail |
|---|---|
| Brand | Phonjoroo |
| Model Number | LZ-C36W |
| Product Dimensions (L x W x H) | 116.93" x 233.46" x 106.3" (approx. 9.7' x 19.4' x 8.8') |
| Item Weight | 88 Pounds |
| Frame Material | Alloy Steel (white powder-coated) |
| Tarp Material | 180G Polyethylene (PE) |
| Water Resistance Level | Waterproof |
| UV Protection | Yes (blocks 90% of UV rays) |
| Color | Beige |
| Style | Traditional |
| Assembly Required | Yes |
8. Warranty and Support
For any questions, missing parts, or concerns regarding your Phonjoroo Carport Canopy, please contact our customer service team. While specific warranty details are not provided in this manual, we are committed to assisting you with product-related inquiries.
Please refer to your purchase documentation or the retailer's website for specific warranty terms and conditions applicable to your product.
Contact Information:
- For customer service inquiries, please visit the Phonjoroo Store on Amazon or contact the seller directly through your order history.
Related Documents - LZ-C36W
 |
10' x 20' Carport Instruction Manual Instruction manual for the 10' x 20' Carport, detailing parts list and assembly steps. Includes guidance for extreme weather. |
 |
Shintenchi 10x20ft Carport Assembly Instructions and Guide Comprehensive instruction manual for assembling your Shintenchi 10x20ft heavy-duty carport. Includes parts list, safety precautions, and step-by-step assembly guidance. |
 |
VEVOR Instant Garage User Manual - Model HCP1020 Assembly and Safety Guide Comprehensive user manual for the VEVOR HCP1020 Instant Garage. Provides essential safety instructions, a detailed list of components, step-by-step assembly guidance, and maintenance tips for this 10x20 ft heavy-duty car canopy shelter. |
 |
Erommy 20' x 30' Metal Carport Assembly Guide and Owner's Manual Comprehensive assembly instructions and owner's manual for the Erommy 20' x 30' metal carport. Includes safety precautions, maintenance tips, tools required, parts list, and step-by-step assembly guidance. |
 |
MELLCOM YYCP005 10x20 ft Heavy Duty Carport Assembly Instructions Detailed assembly guide for the MELLCOM YYCP005 10x20 ft Heavy Duty Carport. This manual provides step-by-step instructions, part identification, and diagrams for constructing a durable outdoor storage shelter for vehicles and equipment. |
 |
VEVOR KD-TPQC-006-20x20ft Heavy Duty Carport Installation Guide Step-by-step installation instructions and safety guide for the VEVOR KD-TPQC-006-20x20ft Heavy Duty Carport. Includes package contents, assembly precautions, and anchoring instructions. |
Ask a question about this manual
Ask about setup, troubleshooting, compatibility, parts, safety, or missing instructions. Manuals+ will review the question and use this page’s manual context to help answer it.