Introduction
The Rain Bird TRU4I Program-Based Indoor Irrigation Sprinkler Controller/Timer is designed to provide flexible and efficient control over your landscape watering. This manual provides detailed instructions for installation, programming, operation, and maintenance to ensure optimal performance and longevity of your irrigation system. The controller is WiFi module ready, allowing for future upgrades to remote mobile device operation.

Figure 1: Front view of the Rain Bird TRU4I Irrigation Controller.
Safety Information
- Always disconnect power to the controller before performing any wiring or maintenance.
- Ensure the mounting location is within 6 feet of an AC power outlet and away from major appliances or air conditioners to prevent interference.
- Any permanent electrical connections should be made by a licensed electrical contractor in accordance with local and national electrical codes.
- Do not route valve wires through the same opening as power wires.
- The controller is designed for indoor mounting with a sealed case to protect from moisture, insects, and grime.
Package Contents
Verify that all items are present in the package:
- Rain Bird TRU4I Irrigation Sprinkler Controller
- Transformer Power Plug
- 6' Power Cord
- User Manual
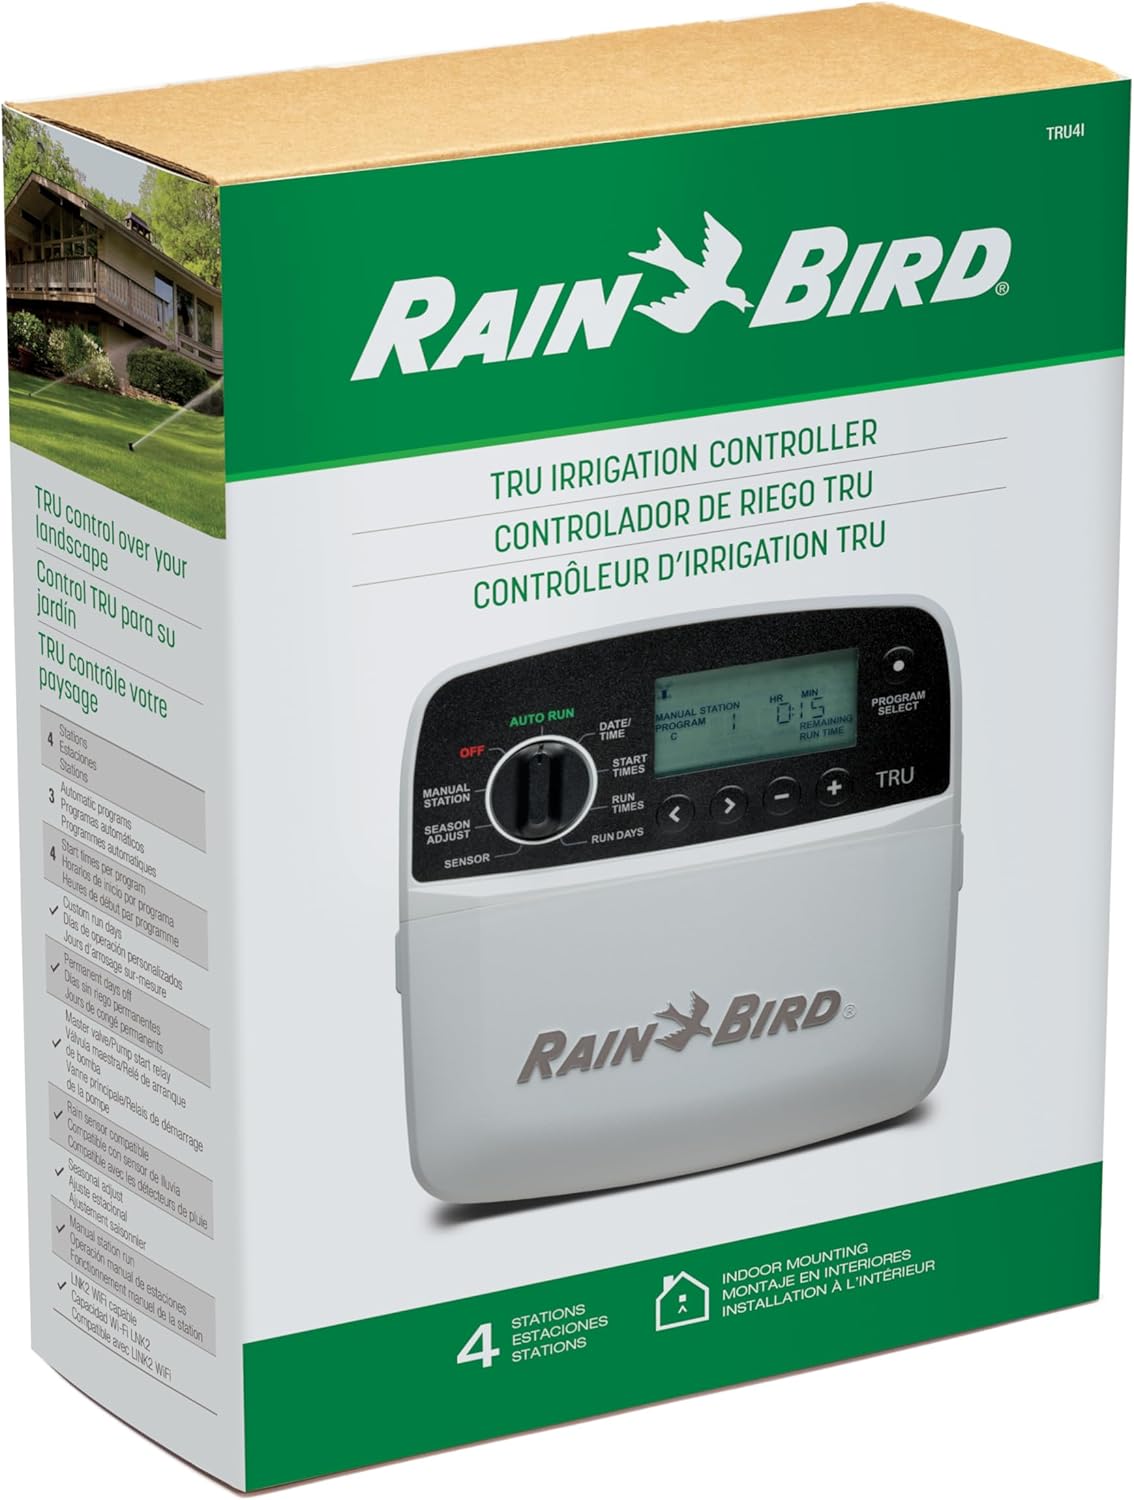
Figure 2: Front view of the Rain Bird TRU4I product packaging.
Setup
Mounting the Controller
Choose a suitable indoor location for mounting the controller, ensuring it is within 6 feet of an AC power outlet. If replacing an existing controller, take a photo of the old wiring details for reference before removal.

Figure 3: Rain Bird TRU4I Controller mounted on a wall.
Use the keyhole slot on the back of the controller to hang it securely on a mounting screw. Remove the wire bay cover and drive a second screw through the open hole into the wall for added stability.

Figure 4: Securely mounting the controller to the wall.
Wiring the Controller
Route all field wires through the opening at the bottom of the controller. Do not route valve wires through the same opening as power wires.
Connect the common wire (usually white) to the common terminal marked 'C'. Using your reference photo, connect one wire from each valve to one of the numbered zone terminals (1-4 for TRU4I) on the controller. Ensure only one valve wire is connected to each zone terminal.

Figure 5: Rear view of the controller showing wiring terminals.
Connect the power cord wires to the 24VAC terminals. If installing a rain/freeze sensor, remove the yellow jumper wire and connect the sensor wires to the SENS terminals. Do not remove the yellow jumper wire unless installing a rain/freeze sensor.

Figure 6: A screwdriver is used to secure wires into the controller's terminals.
Initial Power-Up and Testing
After all wiring connections are secure, reinstall the wire bay cover and plug in the controller's power cord. To ensure proper connection, turn the dial to 'Manual Station' and run each valve for a short period to confirm active watering.
Video 1: Detailed instructions on how to install your Rain Bird TRU4I controller, including mounting and wiring.
Operating
The TRU4I controller features an intuitive programming dial and multi-function LCD display for easy setup and operation.
Setting Date and Time
- Turn the dial to 'Date/Time'.
- Press the left or right arrow button to select the setting (Day, Month, Year, Hour, Minute).
- Press the minus (-) or plus (+) button to change the setting value. Press and hold to accelerate adjustments.
- A 24-hour time format is available if desired.
Setting Watering Start Times
Up to four start times are available for each program (A, B, C).
- Turn the dial to 'Start Times'.
- Press the 'Program Select' button to choose the desired program (A, B, or C).
- Press the left or right arrow button to select an available start time.
- Press the minus (-) or plus (+) button to set the selected start time and confirm the AM/PM setting. Press and hold to accelerate adjustments.
- Press the right arrow button to set additional start times.

Figure 7: Illustration of available start times for Programs A, B, and C.
Setting Station Run Times
Run times can be set from 1 minute up to 6 hours.
- Turn the dial to 'Run Times'.
- Press the 'Program Select' button to choose the desired program.
- Press the left or right arrow button to select a station.
- Press the minus (-) or plus (+) button to set the run time for the selected station. Press and hold to accelerate adjustments.
- Press the right arrow button to set additional station run times.
Setting Watering Days
Watering days can be set by: Days of the week, Odd or even calendar days, or Cyclic (every 1-30 days).

Figure 8: The controller offers flexible scheduling options, including by day of the week or calendar days.
Days of the Week:
- Turn the dial to 'Run Days'.
- Press the 'Program Select' button to choose the desired program.
- Press the minus (-) or plus (+) button to set the selected day as either ON or OFF. The display will automatically move to the next day.
- Press the left or right button at any time to move the cursor to the previous or next day.
Odd or Even Watering Days:
- Turn the dial to 'Run Days'.
- Press the 'Program Select' button to choose the desired program.
- Press and hold the left and right buttons simultaneously until 'ODD' or 'EVEN' is displayed.
Cyclic Watering Days:
- Turn the dial to 'Run Days'.
- Press the 'Program Select' button to choose the desired program.
- Press the right button until the cyclic screen is displayed.
- Press the minus (-) or plus (+) button to set the desired day cycle. Then press the right arrow button.
- Press the minus (-) or plus (+) button to set the days remaining before the cycle begins. The next watering day updates on the display to indicate the day watering will start.
Running a Single Program
- Turn the dial to 'Auto Run'.
- Press the 'Program Select' button to choose the desired program.
- Press and hold the right arrow button to start the selected program.
Manually Testing All Stations
- Turn the dial to 'Manual Station'.
- Press the minus (-) or plus (+) button to set a run time.
- Press and hold the right arrow button, or turn the dial to 'Auto', to start the manual station test.
Manually Running a Single Station
- Turn the dial to 'Manual Station'.
- Press the right arrow button to display the manual station screen.
- Press the left or right arrow button to select a station.
- Press the minus (-) or plus (+) button to set a run time.
- Press and hold the right arrow button, or turn the dial to 'Auto', to start the selected station.
Canceling Automatic or Manual Watering
To stop automatic irrigation or to cancel all active watering immediately, turn the dial to 'Off'. The screen will show 'OFF' when watering is stopped.
Video 2: Comprehensive guide on how to program your Rain Bird TRU4I controller for various watering schedules.
Maintenance
- Regularly check all wiring connections for corrosion or damage.
- Keep the controller's display and buttons clean and free of dust or debris.
- The non-volatile memory permanently saves current programming, and a built-in lithium battery maintains time and date during power outages. No need to reprogram after power loss.
Troubleshooting
| Problem | Possible Cause | Solution |
|---|---|---|
| Controller has no power/display is blank. | Power cord unplugged, circuit breaker tripped, transformer failure. | Ensure power cord is securely plugged in. Check circuit breaker. Test transformer output. |
| Zones not watering. | Programming error, valve issue, wiring problem, rain sensor active. | Verify program settings (start times, run times, run days). Check valve wiring and operation. Check if rain sensor is active and bypass if necessary. |
| Automatic watering not starting. | Controller in 'Off' mode, incorrect date/time, programming conflicts. | Ensure dial is set to 'Auto Run'. Verify current date and time. Check for overlapping programs or permanent days off. |
| Valve fault warning message. | Short circuit in valve wiring or solenoid. | Automatically troubleshoots valves and suspends watering to the affected zone while displaying a warning message identifying the valve number. Inspect wiring and solenoid for damage. |
Specifications
| Feature | Detail |
|---|---|
| Model Number | TRU4I |
| Zones/Stations | 4 |
| Installation Type | Indoor |
| Power Supply Input | 120V~ (±10%) at 60 Hz |
| Power Supply Output | 25.5V~ at 60 Hz, 0.650 A, Class 2 |
| Operating Temperature Range | Up to 122°F (50°C) |
| Storage Temperature Range | -40°F (-40°C) to 150°F (66°C) |
| Operating Humidity | 95% max at 50°F to 120°F (10°C to 49°C) non-condensing |
| Product Dimensions | 6.63 x 1.69 x 6.57 inches |
| Item Weight | 2.5 pounds |
| Display Type | LCD |
| Certifications | UL/ULC LISTED 273J; FCC Part 15b; CAN ICES-003(B)/NMB-003(B); NOM/NYCE |
Warranty & Support
The Rain Bird TRU4I controller features non-volatile memory that permanently saves your programming, and a built-in lithium battery maintains time and date during power outages, eliminating the need for reprogramming.
For technical support or warranty inquiries, please refer to the contact information provided in your product packaging or visit the official Rain Bird website. Compatible with most 24 VAC irrigation valves.


