1. Important Safety Instructions
Read all instructions carefully before installation and use. Failure to follow these instructions may result in electric shock, fire, or serious injury.
- Electrical Safety: Installation must be performed by a qualified electrician in accordance with all local and national electrical codes. Ensure the power supply matches the heater's requirements (9kW).
- Sauna Stones: Only use approved sauna stones. Do not operate the heater without stones. Place stones loosely to allow air circulation.
- Water Application: Apply water to hot stones sparingly. Excessive water can cause steam burns or damage the heating elements.
- Ventilation: Ensure adequate ventilation in the sauna room.
- Clearance Distances: Maintain specified minimum safety distances from walls, ceiling, and flammable materials. Refer to the warning label on the heater.
- Children and Pets: Keep children and pets away from the sauna heater, especially during operation.
- Flammable Materials: Do not place any flammable materials on or near the heater.
2. Product Overview
The PacuM 9kW Sauna Heater is designed for home use, providing efficient heating for your sauna room. It features durable stainless steel construction and comes with a separate control unit for convenient operation.
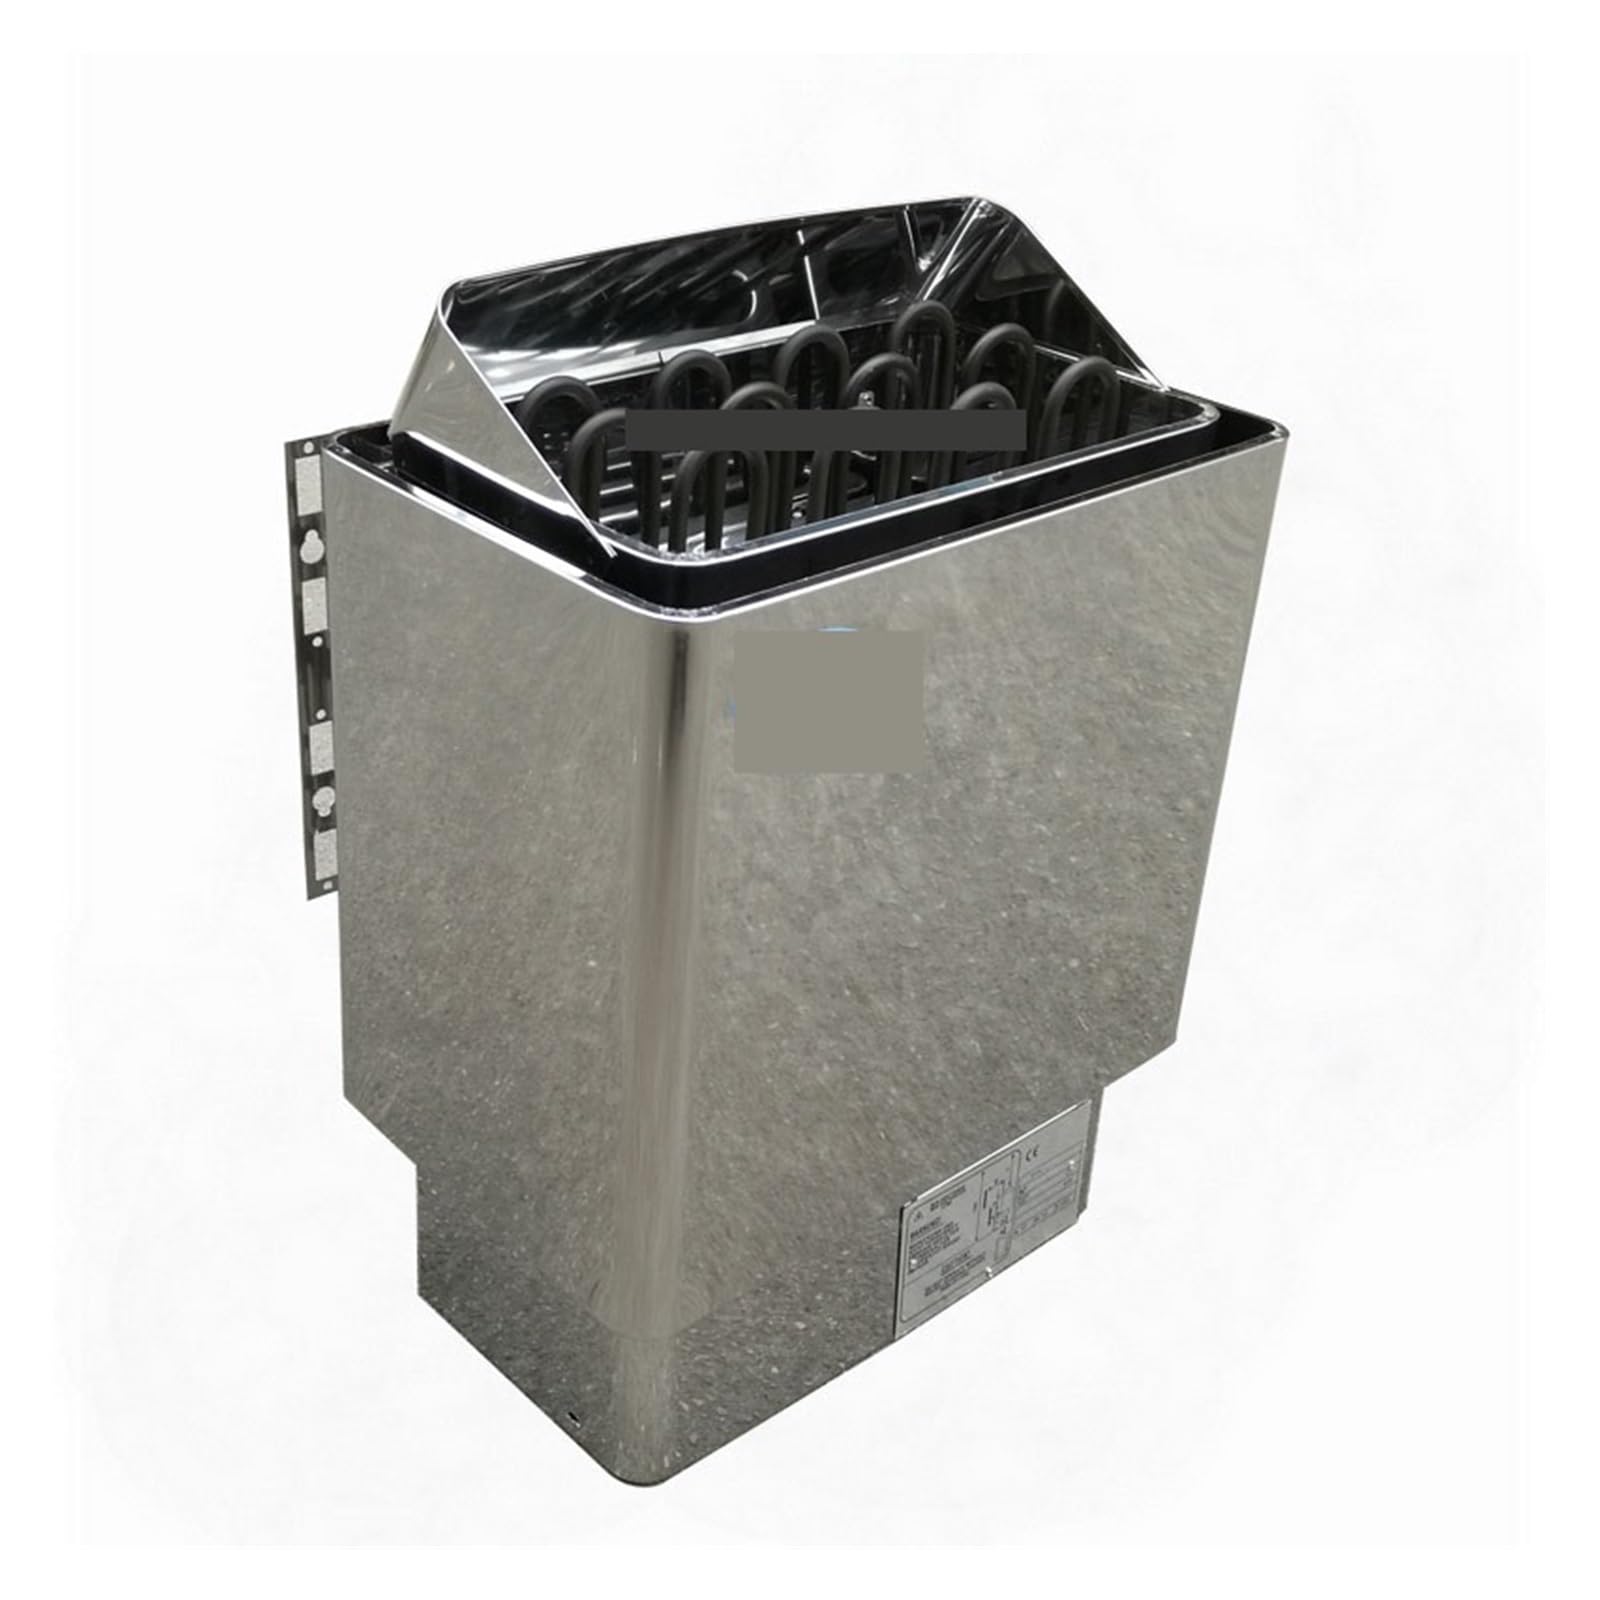
Image 2.1: The PacuM 9kW Sauna Heater shown with its external knob remote control unit. The heater features a stainless steel casing and a top compartment for sauna stones.

Image 2.2: A top-down view of the PacuM sauna heater's interior, showing the heating elements and the compartment designed to hold sauna stones.
3. Setup and Installation
3.1 Mounting the Heater
The sauna heater is designed for wall mounting. Ensure the mounting surface is sturdy and can support the weight of the heater and stones.
- Select a suitable location in the sauna room, adhering to all minimum clearance distances.
- Mark the drilling points for the mounting brackets on the wall.
- Drill holes and securely fasten the mounting brackets to the wall using appropriate hardware.
- Carefully lift the heater and hang it onto the mounted brackets. Ensure it is level and secure.
3.2 Electrical Connection
WARNING: Electrical installation must be performed by a licensed electrician.
- Ensure the main power supply to the sauna room is disconnected before beginning any electrical work.
- Connect the heater to the appropriate power supply (e.g., 240V, 3-phase or single-phase, depending on model and local codes) as indicated on the heater's rating plate.
- Connect the external control unit to the heater according to the wiring diagram provided with the product.
- All wiring must comply with local electrical codes and regulations.

Image 3.1: A close-up of the sauna heater's warning label, indicating minimum clearance distances (e.g., 190 cm from ceiling) and a caution against operating without rocks due to fire risk.
3.3 Sauna Stone Placement
Proper placement of sauna stones is crucial for safe and efficient operation.
- Use only genuine sauna stones designed for electric heaters.
- Rinse stones thoroughly before placing them in the heater to remove any dust or debris.
- Arrange stones loosely in the stone compartment, ensuring they do not block the air vents or press against the heating elements too tightly. This allows for proper air circulation and efficient heating.
- Do not stack stones above the top edge of the stone compartment.
4. Operating Instructions
The PacuM 9kW Sauna Heater is controlled by an external knob remote control unit.
4.1 Initial Start-up
After installation and stone placement, the heater is ready for its first use.
- Ensure the sauna room is clear of any obstructions.
- Turn on the main power supply to the sauna heater.
- Set the desired temperature and operating time using the knobs on the remote control unit.
- Allow the heater to run for approximately 30-60 minutes to pre-heat the sauna room and burn off any manufacturing residues. A slight odor may be present during the first few uses; this is normal.
4.2 Using the Control Unit
The external control unit typically features two main knobs:
- Temperature Knob: Adjusts the desired temperature inside the sauna room. Turn clockwise to increase temperature, counter-clockwise to decrease.
- Timer Knob: Sets the operating duration of the heater. This may include a pre-set time for immediate heating or a delay start function. Refer to the markings on your specific control unit for detailed timer settings.
4.3 Applying Water to Stones
For a steam bath (Löyly), carefully ladle small amounts of water onto the hot sauna stones. Use only clean tap water. Do not pour large quantities of water at once, as this can cause a sudden burst of steam and potentially damage the heating elements.
5. Maintenance
Regular maintenance ensures the longevity and safe operation of your PacuM sauna heater.
5.1 Cleaning
- Ensure the heater is completely cool and disconnected from the power supply before cleaning.
- Wipe the exterior of the heater with a damp cloth. Do not use abrasive cleaners or solvents.
- Periodically remove the sauna stones and clean the stone compartment of any debris or mineral deposits.
5.2 Sauna Stone Inspection and Replacement
- Inspect sauna stones annually, or more frequently with heavy use.
- Replace any cracked, crumbling, or discolored stones. Worn-out stones can impede air circulation and reduce heating efficiency.
- Ensure stones are always placed loosely to allow proper airflow.
6. Troubleshooting
If you encounter issues with your sauna heater, refer to the following common troubleshooting steps:
| Problem | Possible Cause | Solution |
|---|---|---|
| Heater does not turn on | No power supply; Faulty wiring; Control unit issue | Check main circuit breaker; Verify electrical connections (call electrician); Inspect control unit settings. |
| Heater not heating sufficiently | Incorrect temperature setting; Insufficient pre-heating time; Worn-out stones; Poor air circulation | Adjust temperature higher; Allow more pre-heating time; Replace old stones; Re-arrange stones for better airflow. |
| Overheating / Heater shuts off prematurely | Thermostat set too high; Overload protection activated; Poor ventilation | Lower temperature setting; Check for obstructions around heater; Ensure proper sauna room ventilation. |
| Unusual noises or odors | New heater burn-off (initial uses); Loose stones; Foreign objects in heater | Normal for first few uses; Re-arrange stones; Disconnect power and inspect for foreign objects (when cool). |
If the problem persists after attempting these solutions, contact customer support or a qualified technician.
7. Specifications
- Model: 9kW Sauna Heater
- Power Output: 9 kW
- Main Material: Stainless Steel
- Control Type: External Knob Remote Control
- Item Weight: Approximately 22 pounds (10 kg)
- ASIN: B0CYGCLGRT
8. Warranty and Support
For warranty information, technical support, or replacement parts, please contact PacuM customer service through your purchase platform or the official brand website. Keep your purchase receipt as proof of purchase.