
Introduction
This manual provides detailed instructions for the setup, operation, and maintenance of your Sarpaws Automatic Pet Feeder and Water Fountain Set. Please read this manual thoroughly before using the product to ensure proper function and safety for your pet.

Image: The Sarpaws Automatic Pet Feeder and Water Fountain Set, featuring a black feeder with a clear food level window and a matching water fountain with a flower-shaped spout.
Safety Instructions
- Always place the feeder and fountain on a stable, level surface.
- For indoor use only. Do not expose to rain or moisture.
- Keep out of reach of children and pets when not in use or during assembly.
- Use only the original power adapter provided.
- Do not immerse the main feeder unit in water. Only parts specified for cleaning should be washed.
- Regularly inspect the power cord for damage. Discontinue use if damaged.
- Ensure the desiccant pack is replaced periodically to maintain food freshness.
- Do not put wet food, canned food, or treats into the feeder. It is designed for dry pet food only.
Package Contents
Please check that all items are present in the package:
- Automatic Pet Feeder Unit (3L capacity)
- Pet Water Fountain Unit
- Stainless Steel Food Bowl
- Power Adapter (for feeder)
- USB Power Cable (for fountain)
- Water Pump and Filter Assembly
- Flower Spout for Fountain
- Desiccant Pack (pre-installed or separate)
- Instruction Manual (this document)
Product Overview
Automatic Pet Feeder Components:
- Food Hopper: Main storage for dry pet food.
- Lid with Locking Mechanism: Secures the food hopper and includes a desiccant box.
- Desiccant Box: Holds a desiccant pack to absorb moisture and keep food fresh.
- Control Panel: Buttons for setting time, schedule, portions, and recording voice.
- LCD Display: Shows current time, feeding schedule, and settings.
- Food Outlet: Where dispensed food exits into the bowl.
- Stainless Steel Bowl: Removable bowl for pet food.
- Battery Compartment: Located at the bottom for backup batteries (3 x D-cell, not included).
Pet Water Fountain Components:
- Water Reservoir: Main storage for water.
- Water Pump: Circulates water through the filter and spout.
- Filter: Removes impurities from the water.
- Flower Spout: Provides a gentle waterfall or bubbling stream.
- USB Power Cable: Connects the fountain to a power source.
Setup
1. Automatic Pet Feeder Setup
- Unpack and Place: Remove all packaging materials. Place the feeder on a flat, stable surface in a suitable location.
- Install Food Bowl: Attach the stainless steel food bowl to the feeder base.
- Fill Food Hopper: Open the lid by pressing the release buttons on the sides. Pour dry pet food into the hopper. Ensure the food size is appropriate for the dispenser mechanism.
- Secure Lid: Close the lid firmly until the locking mechanisms click into place. Ensure the desiccant pack is correctly positioned in its box within the lid.
- Power Connection: Connect the power adapter to the feeder and plug it into a wall outlet. For power outage backup, install 3 D-cell batteries (not included) into the battery compartment at the bottom of the feeder.
2. Pet Water Fountain Setup
- Assemble Pump and Filter: Attach the water pump to the filter assembly. Ensure the filter is clean and properly seated.
- Place in Reservoir: Position the pump and filter assembly inside the water reservoir.
- Fill Water Reservoir: Fill the reservoir with clean water up to the maximum fill line.
- Attach Spout: Place the flower spout onto the pump outlet.
- Power Connection: Connect the USB power cable to the fountain and plug it into a suitable USB power source (e.g., a USB wall adapter, not included).
Operating Instructions
1. Control Panel Overview
The control panel typically includes buttons such as SET, UP, DOWN, and REC. Refer to the icons on your specific unit for exact button functions.
2. Setting Current Time
- Press and hold the SET button until the hour digit flashes.
- Use the UP and DOWN buttons to adjust the hour.
- Press SET again to move to the minute digit and adjust.
- Press SET to confirm the time.
3. Setting Feeding Schedule
The feeder supports up to 4 meals per day.
- Press the SET button repeatedly until you see "Meal 1" or a similar indicator.
- Use UP and DOWN to set the desired feeding time for Meal 1.
- Press SET to confirm the time and move to portion adjustment for Meal 1.
- Use UP and DOWN to select the number of portions (e.g., 1-9 portions).
- Repeat these steps for Meal 2, Meal 3, and Meal 4 as desired.
- Press SET to exit the setting mode.

Image: A visual representation of setting a feeding schedule, showing four meal times (7:30 AM, 10:30 AM, 1:30 PM, 8:00 PM) with corresponding portion adjustments.
4. Recording Voice Message
You can record a 10-second voice message to play at each feeding time.
- Press and hold the REC button. The display may show a recording indicator.
- Speak clearly into the microphone for up to 10 seconds.
- Release the REC button to save the message.
- To test the recording, briefly press the REC button.

Image: A cat looking at the feeder, with a speech bubble indicating a recorded message: "Hey, baby, it's time to eat!!"
5. Manual Feeding
To dispense a single portion of food manually, briefly press the UP button (or the designated manual feed button if different). This will dispense one portion immediately without affecting the scheduled feedings.
6. Power Outage Backup
If D-cell batteries are installed, the feeder will automatically switch to battery power during a power outage, ensuring scheduled feedings continue uninterrupted. The LCD display may dim or turn off to conserve battery life, but the feeding schedule will remain active.
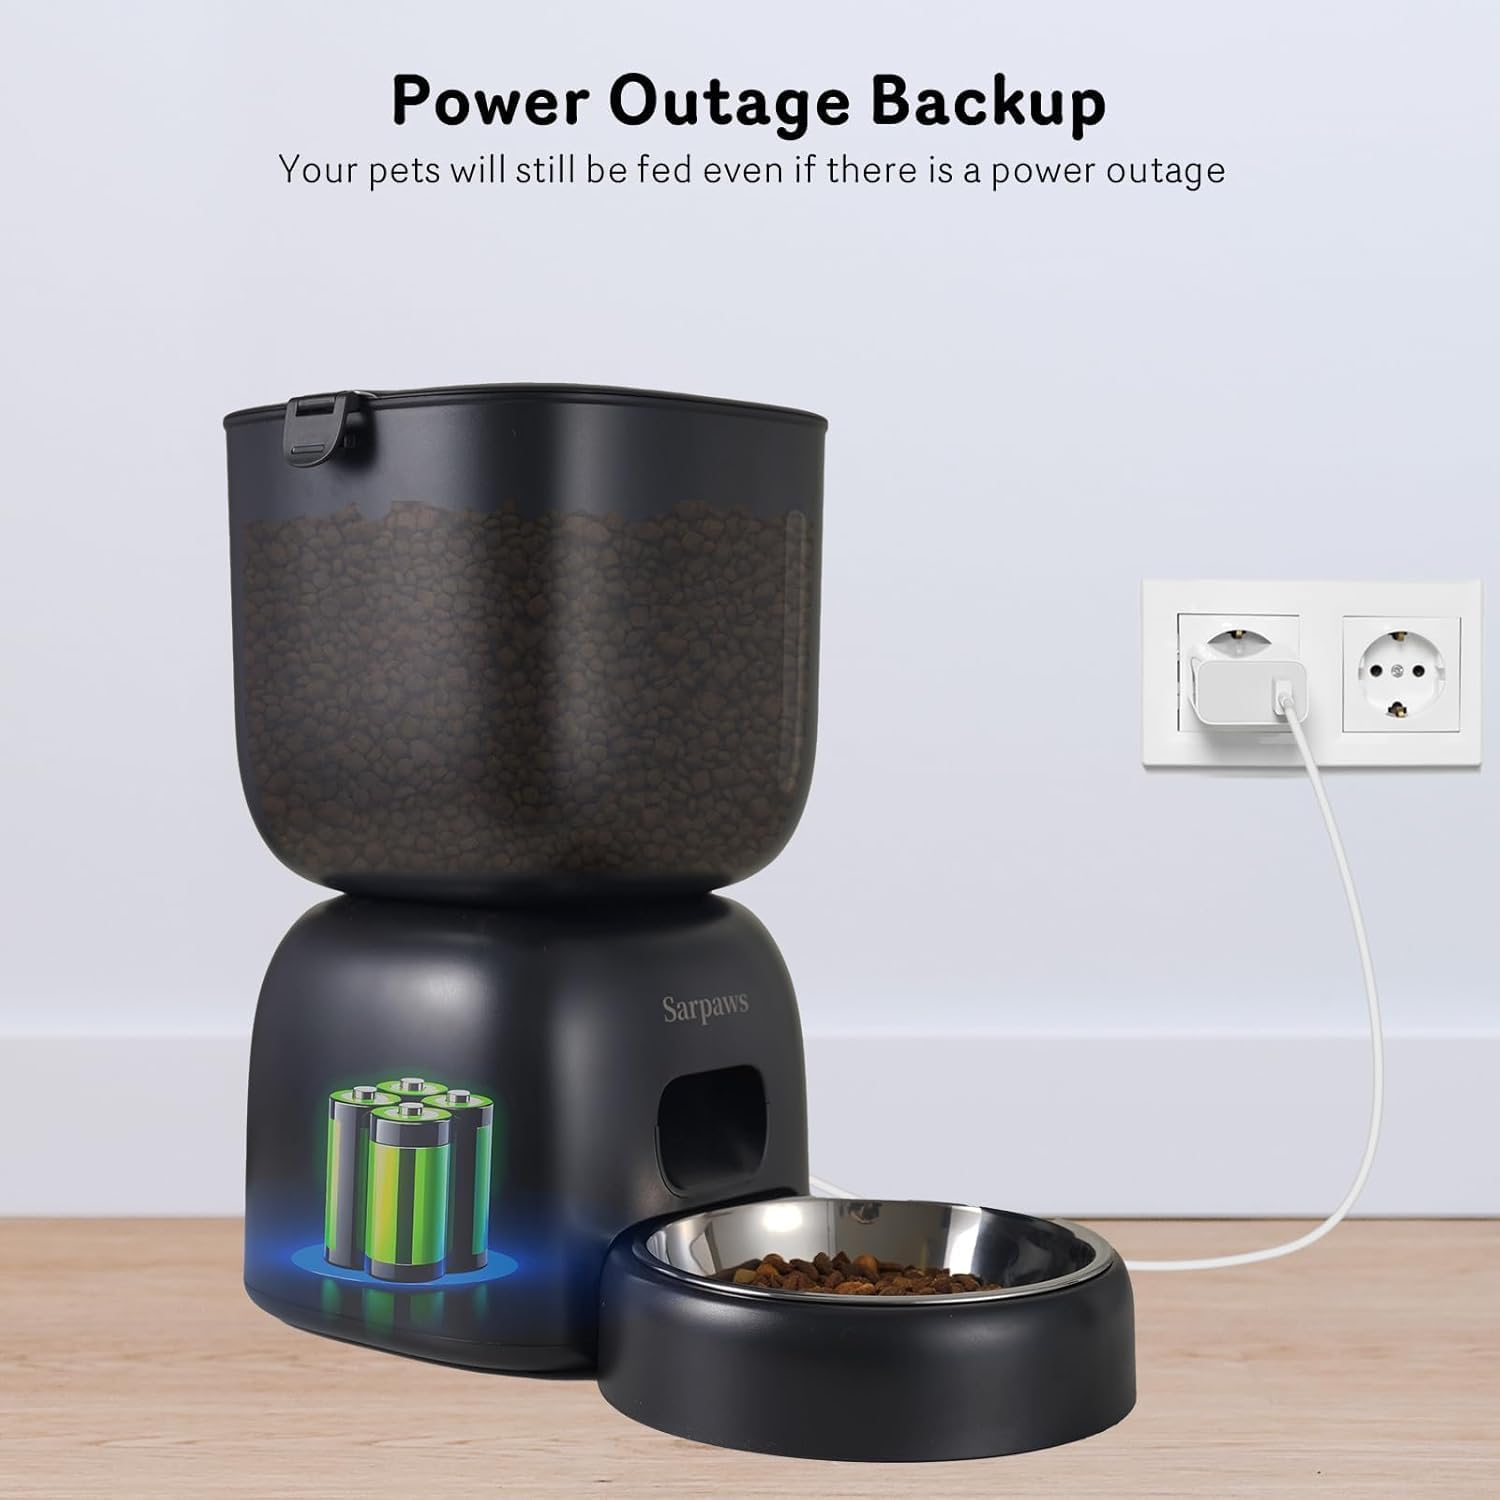
Image: The Sarpaws feeder connected to a wall outlet, with an illustration of batteries inside the unit, indicating its power outage backup capability.
Maintenance
1. Cleaning the Automatic Pet Feeder
- Disconnect Power: Unplug the feeder from the power outlet and remove any backup batteries.
- Disassemble: Remove the lid, food hopper, and stainless steel bowl.
- Washable Parts: The stainless steel bowl and food hopper can be hand washed with mild soap and water. Rinse thoroughly.
- Main Unit: Wipe the main feeder unit with a damp cloth. Do not immerse it in water.
- Dry Completely: Ensure all parts are completely dry before reassembling and refilling with food.
2. Cleaning the Pet Water Fountain
- Disconnect Power: Unplug the fountain from its power source.
- Disassemble: Remove the flower spout, pump, and filter.
- Washable Parts: The water reservoir, flower spout, and pump components (excluding the electrical connection) can be hand washed with mild soap and water.
- Clean Pump: Disassemble the pump and clean any debris from the impeller.
- Filter Replacement: Replace the filter every 2-4 weeks, or as needed, depending on water quality and pet usage.
- Dry and Reassemble: Ensure all parts are dry before reassembling and refilling with fresh water.

Image: A close-up view of the feeder's lid, showing the locking mechanisms on the sides and the desiccant box inside the lid, designed to keep food fresh and crunchy.
3. Desiccant Box Maintenance
The desiccant pack in the lid helps keep dry food fresh. Replace the desiccant pack every 1-2 months, or when it appears saturated, to maintain optimal freshness.
Troubleshooting
| Problem | Possible Cause | Solution |
|---|---|---|
| Feeder not dispensing food. | Food hopper empty; food jammed; power issue. | Refill hopper; clear any blockages; check power connection/batteries. |
| Water fountain not flowing. | Water level too low; pump clogged; power issue. | Refill water; clean pump/filter; check power connection. |
| Voice message not playing. | No message recorded; low battery. | Record a message; replace batteries if using backup power. |
| Display is off. | No power; batteries low (in backup mode). | Check AC adapter; replace D-cell batteries. |
Specifications
| Feature | Detail |
|---|---|
| Model Number | PW001-VINE |
| Feeder Capacity | 3 Liters |
| Product Dimensions | 29.21 x 29.21 x 17.78 cm |
| Item Weight | 1.66 Kilograms |
| Material | Plastic, Stainless Steel |
| Color | Matte Black |
| Feeding Schedule | Up to 4 meals per day |
| Voice Recording | 10 seconds |
| Power Source (Feeder) | AC Adapter, 3 x D-cell batteries (backup, not included) |
| Power Source (Fountain) | USB Power Cable |
| Care Instructions | Hand Wash Only (specific parts) |
| Target Species | Cats, Dogs, Small Animals |
Warranty and Support
Sarpaws products are designed for reliability and pet well-being. For any questions, technical assistance, or warranty claims, please contact Sarpaws customer support through the retailer where the product was purchased or visit the official Sarpaws website. Please retain your proof of purchase for warranty purposes.