1. Product Overview
The AITRIP D1 Mini ESP32 ESP-WROOM-32 Development Board is a compact and powerful module designed for Internet of Things (IoT) projects. It integrates Wi-Fi and Bluetooth connectivity, making it suitable for a wide range of applications from smart home devices to industrial automation. This board is compatible with the Arduino IDE, Lua, and Micropython, offering flexibility for developers. Its pin layout is similar to the ESP8266-12F, ensuring compatibility with many existing accessories.
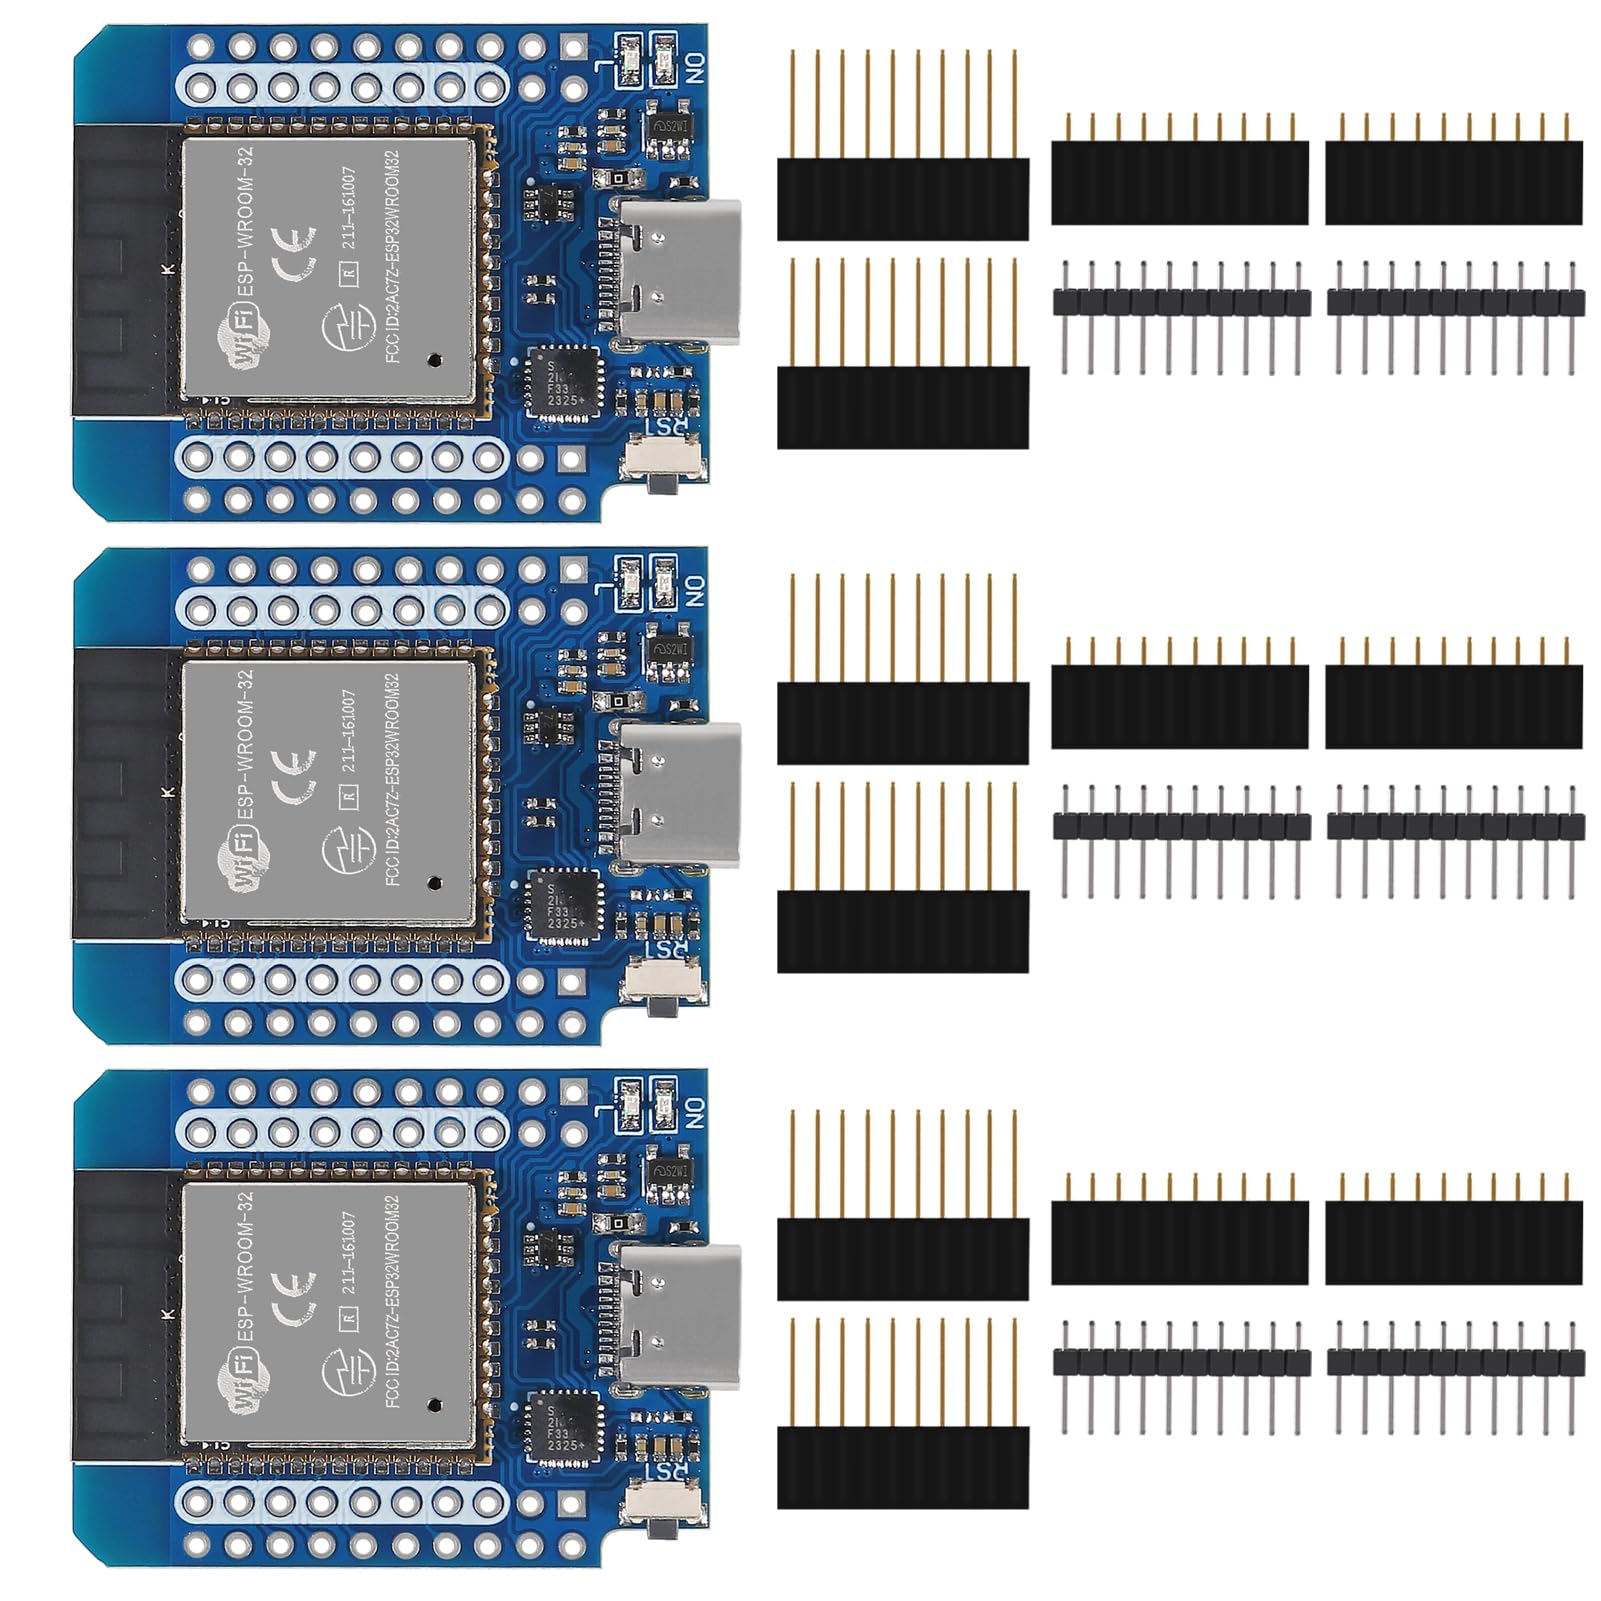
Figure 1: AITRIP D1 Mini ESP32 Development Board (Front View)
The board features an on-board 5V 1A switching power supply and provides a rich set of I/O pins, including interrupt, PWM, I2C, and 1-wire capabilities (excluding pin D0). It is an ideal choice for rapid prototyping and deployment of connected devices.

Figure 2: Close-up view of the board's components, including the USB-C port and the ESP-WROOM-32 module.
2. Package Contents
The package typically includes the following items:
- 3 x AITRIP D1 Mini ESP32 Development Board (Type-C USB)
- Pin headers for soldering (may vary by package)

Figure 3: Development board shown with typical pin headers.
3. Technical Specifications
Below are the key technical specifications for the AITRIP D1 Mini ESP32 Development Board:
| Parameter | Value |
|---|---|
| Power Supply Voltage (USB) | 5V DC |
| Input/Output Voltage | 3.3V DC |
| Operating Current | Min. 500mA |
| RAM | 512kB |
| I/O Pins | 34 |
| ADC Channels | 18 |
| ADC Resolution | 12-bit |
| DAC Channels | 2 |
| DAC Resolution | 8-bit |
| Communication Interfaces | SPI, I2C, CAN, UART |
| Max Current per GPIO Pin | 40mA |
| WiFi Protocols | 802.11 b/g/n (up to 150 Mbps) |
| Bluetooth | Yes |
| USB Port Type | Type-C |
| Operating System | FreeRTOS (or compatible) |
| Processor Count | 2 |
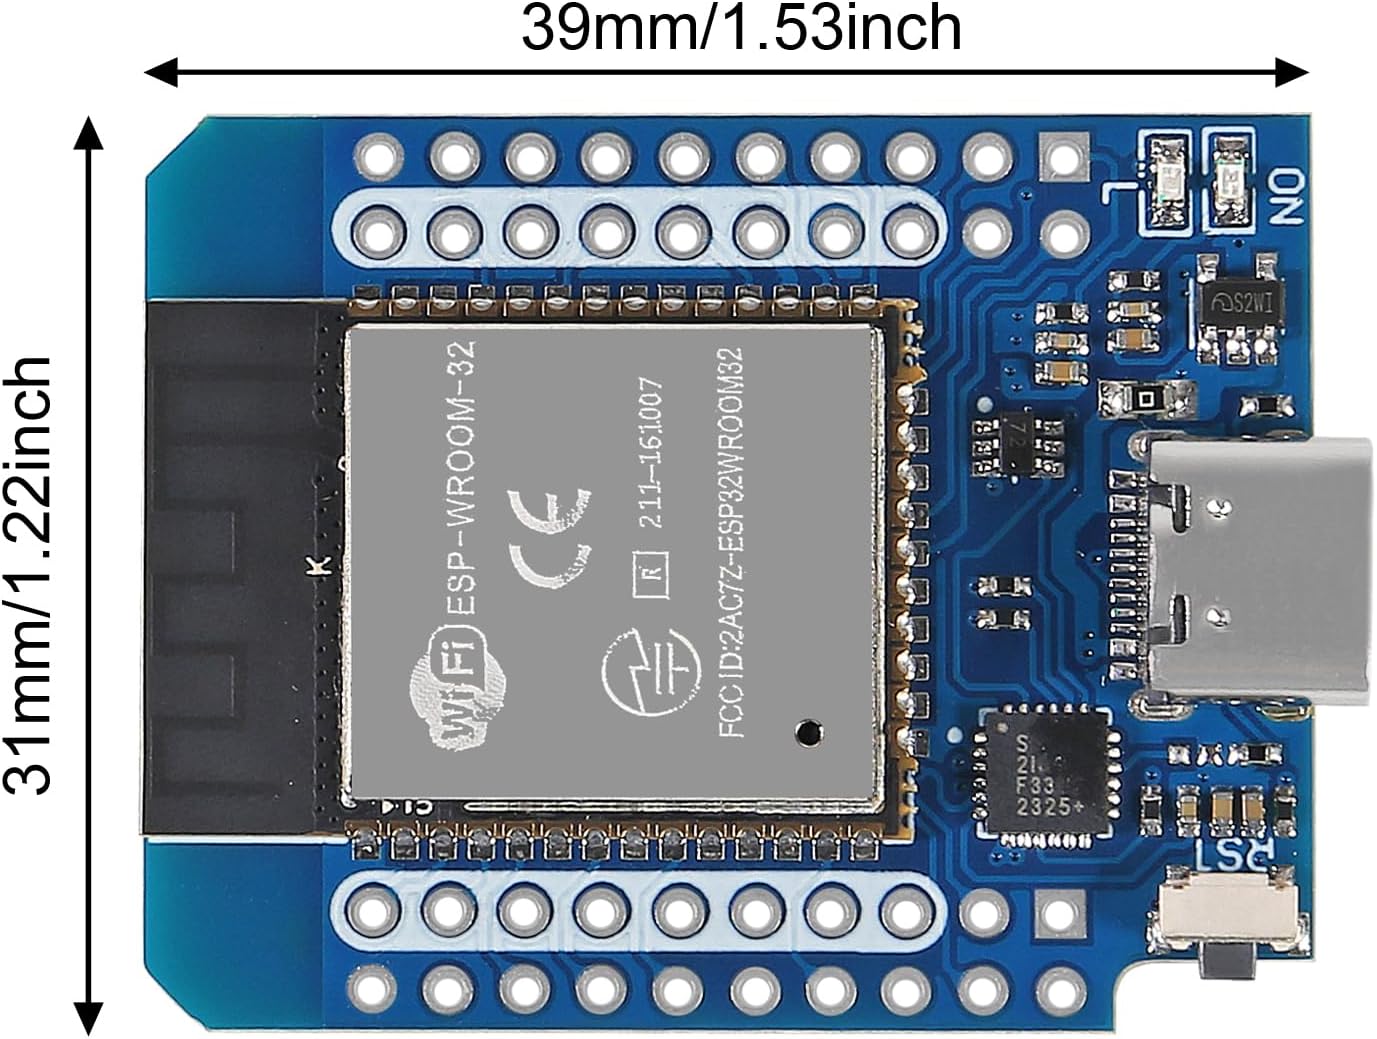
Figure 4: Physical dimensions of the AITRIP D1 Mini ESP32 Development Board.
4. Setup Guide
Follow these steps to set up your AITRIP D1 Mini ESP32 Development Board for programming:
4.1. Driver Installation
- The board uses a CP2104 USB-to-UART bridge. Before connecting the board, ensure you have the necessary drivers installed on your computer.
- Search online for "CP2104 driver" and download the appropriate version for your operating system (Windows, macOS, Linux) from Silicon Labs' official website or a trusted source.
- Install the driver following the on-screen instructions.
4.2. Arduino IDE Setup
- Download and install the latest version of the Arduino IDE if you haven't already.
- Open the Arduino IDE. Go to File > Preferences.
- In the "Additional Boards Manager URLs" field, add the following URL: https://raw.githubusercontent.com/espressif/arduino-esp32/gh-pages/package_esp32_index.json
- Go to Tools > Board > Boards Manager.... Search for "ESP32" and install the "ESP32 by Espressif Systems" package.
- After installation, go to Tools > Board > ESP32 Arduino and select a compatible board, such as "WEMOS D1 MINI ESP32" or "ESP32 Dev Module".
4.3. Connecting the Board
- Connect the AITRIP D1 Mini ESP32 board to your computer using a high-quality USB-C data cable.
- In the Arduino IDE, go to Tools > Port and select the COM port corresponding to your connected ESP32 board. (The port name may vary, e.g., COMx on Windows, /dev/cu.SLAB_USBtoUART on macOS, /dev/ttyUSBx on Linux).

Figure 5: Pinout diagram for the AITRIP D1 Mini ESP32 Development Board.
5. Operating Instructions
5.1. Uploading Your First Sketch
- Open the Arduino IDE.
- Go to File > Examples > 01.Basics > Blink to open the classic LED blink sketch.
- Ensure the correct board and port are selected under the Tools menu.
- Click the "Upload" button (right arrow icon) to compile and upload the sketch to your ESP32 board.
- If the upload fails, you may need to press and hold the "BOOT" button on the board while pressing and releasing the "RST" button, then release "BOOT" to put the ESP32 into flashing mode.
5.2. Using I/O Pins and Peripherals
The ESP32 offers a wide array of input/output pins and peripherals. Refer to the pinout diagram (Figure 5) for pin assignments. Key features include:
- GPIO Pins: General Purpose Input/Output pins for digital read/write.
- PWM: Pulse Width Modulation for controlling motor speed, LED brightness, etc.
- I2C: Inter-Integrated Circuit for communication with sensors and displays.
- SPI: Serial Peripheral Interface for high-speed communication with peripherals.
- UART: Universal Asynchronous Receiver/Transmitter for serial communication.
- ADC/DAC: Analog-to-Digital Converter and Digital-to-Analog Converter for analog signal processing.
For detailed programming examples and library usage, consult the official ESP32 documentation and the vast community resources available online for Arduino, Lua, and Micropython.
5.3. Wi-Fi and Bluetooth Functionality
The ESP32's integrated Wi-Fi and Bluetooth capabilities allow for network connectivity and communication with other devices. Libraries such as WiFi.h and BluetoothSerial.h in the Arduino IDE provide functions to connect to networks, host web servers, send data, and establish Bluetooth connections. Refer to specific examples within the Arduino IDE or online tutorials for implementing these features.
6. Maintenance
To ensure the longevity and optimal performance of your AITRIP D1 Mini ESP32 Development Board, consider the following maintenance tips:
- Handle with Care: Avoid dropping the board or subjecting it to excessive force. Electronic components are delicate.
- ESD Precautions: Always handle the board in an Electrostatic Discharge (ESD) safe environment to prevent damage from static electricity. Use an anti-static mat and wrist strap if possible.
- Keep Clean: Dust and debris can accumulate on the board, potentially causing short circuits or overheating. Use a soft brush or compressed air to gently clean the board periodically.
- Proper Storage: When not in use, store the board in an anti-static bag or a protective enclosure to shield it from dust, moisture, and physical damage.
- Firmware Updates: The ESP32 supports Over-The-Air (OTA) updates, allowing you to update firmware wirelessly. Regularly check for and apply firmware updates to benefit from bug fixes and new features.
7. Troubleshooting
If you encounter issues with your AITRIP D1 Mini ESP32 Development Board, refer to the following common problems and solutions:
- Board Not Recognized by Computer:
- Ensure the CP2104 driver is correctly installed. Check Device Manager (Windows) or System Information (macOS/Linux) for the USB-to-UART bridge.
- Try a different USB-C cable. Some cables are for charging only and do not support data transfer.
- Test with a different USB port on your computer.
- Upload Errors (Failed to connect, A fatal error occurred):
- Verify that the correct board type and COM port are selected in the Arduino IDE's Tools menu.
- Ensure no other program is using the COM port.
- During upload, you might need to manually put the ESP32 into bootloader mode: press and hold the BOOT button, then briefly press and release the RST button, and finally release the BOOT button.
- Check your wiring if the board is connected to external components.
- Unstable Operation or Brownouts when Powered via USB:
- Some users report instability when the board draws significant current through the USB port, potentially due to the on-board voltage regulator.
- For sensitive applications or those requiring higher current, consider powering the board directly via the 3.3V pin using a stable external 3.3V power supply, bypassing the USB power regulator.
- Ensure your USB power source can provide sufficient current (minimum 500mA).
- Wi-Fi/Bluetooth Connectivity Issues:
- Double-check your network SSID and password.
- Ensure the Wi-Fi/Bluetooth libraries are correctly included in your sketch.
- Verify that the antenna is not obstructed or damaged.
For more advanced troubleshooting or specific programming issues, consult the extensive online communities and forums dedicated to ESP32 development. Websites like the Espressif ESP32 forum or Arduino forums are valuable resources.
8. Warranty and Support
Warranty information for the AITRIP D1 Mini ESP32 Development Board is typically provided at the point of purchase or can be found on the manufacturer's official website. Please retain your proof of purchase for any warranty claims.
For technical support, documentation, or further assistance, please refer to the AITRIP official website or contact their customer service. Online communities and forums for ESP32 development also offer a wealth of information and peer support.