1. Introduction and Overview
This manual provides detailed instructions for the installation, operation, maintenance, and troubleshooting of the LiftMaster HD RJO 98032 Jackshaft Wallmount DC WiFi Garage Door Opener. The RJO 98032 is a heavy-duty, UL 325 Certified residential opener designed to lift standard sectional doors weighing up to 1,100 lbs. Its wall-mount design eliminates the need for traditional overhead rails, offering a sleek and efficient solution for garage door automation.
The system includes a 3-Button Remote Control (893MAX), an Automatic Garage Door Lock (841LM), Safety Sensors, two Integrated Battery Backup units (485LM), and a myQ Remote LED Light (827LM), providing comprehensive control and safety features.
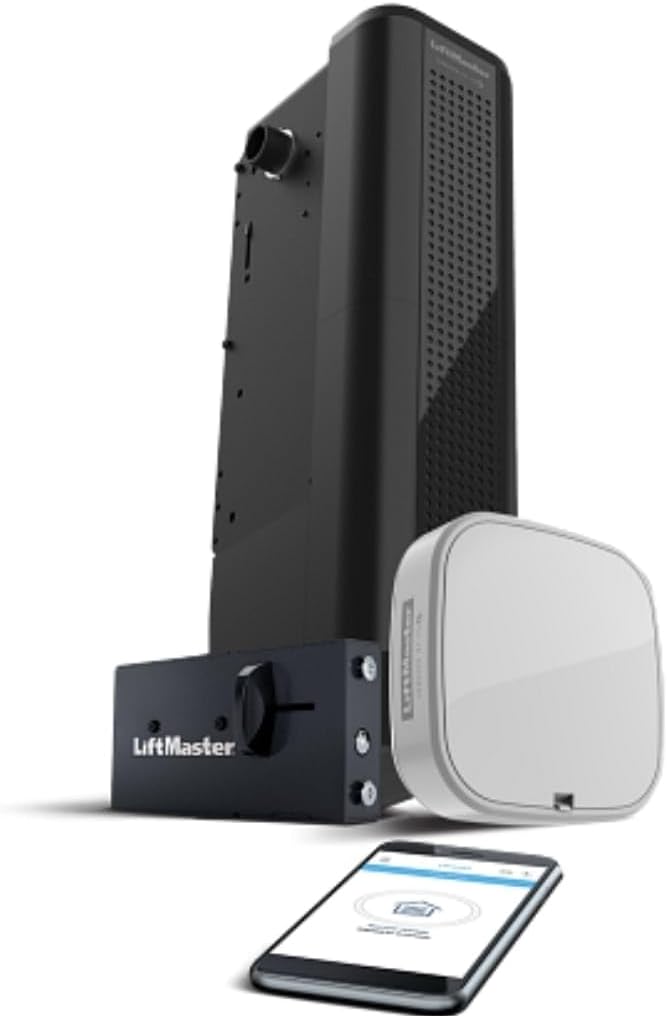
Image 1.1: The LiftMaster HD RJO 98032 Jackshaft Wallmount DC WiFi Garage Door Opener, shown with its accompanying myQ hub, 3-button remote control, and a smartphone displaying the myQ app interface.
2. Setup and Installation
The LiftMaster HD RJO 98032 is designed for wall-mount installation, which requires specific mounting procedures due to its heavy-duty nature. Professional installation is recommended to ensure proper functionality and safety, especially given its "Pro Channel" exclusivity.
2.1. Pre-Installation Checks
- Ensure the garage door is balanced and in good working condition.
- Verify adequate wall space near the garage door spring shaft for mounting the opener.
- Confirm availability of a grounded electrical outlet within 6 feet of the installation area.
2.2. Mounting the Opener
The opener mounts directly to the wall beside the garage door spring shaft. Securely fasten the unit using appropriate hardware to ensure stability. The design of the RJO 98032 eliminates the need for a cable tension monitor and overhead rails, simplifying the physical installation compared to traditional openers.
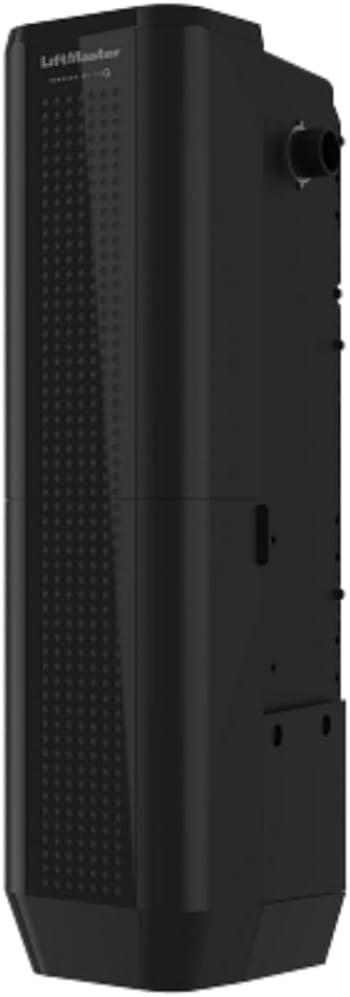
Image 2.1: Side view of the LiftMaster HD RJO 98032 unit, highlighting its compact wall-mount design.
2.3. Connecting Power and Accessories
- Connect the power cord to a grounded outlet.
- Install the Safety Sensors (included) according to the detailed instructions provided in the separate safety sensor manual. Proper alignment is crucial for safe operation.
- Install the Automatic Garage Door Lock (841LM) to the garage door track for enhanced security.
- Connect the myQ Remote LED Light (827LM) to the system.
- Insert the two Integrated Battery Backup units (485LM) into their designated compartments. These batteries are pre-charged but may require initial charging.
2.4. Programming and WiFi Setup
- Follow the instructions to program the 3-Button Remote Control (893MAX) to the opener.
- Connect the opener to your home's WiFi network using the myQ app. This enables remote operation and monitoring.
- Perform the initial door travel limit settings and force adjustments as per the detailed installation guide.
3. Operating Instructions
3.1. Using the Remote Control (893MAX)
Press the designated button on your 3-Button Remote Control (893MAX) to open or close the garage door. Pressing the button again during operation will stop the door.
3.2. myQ App Operation
Once connected to WiFi, the myQ app allows you to open, close, and monitor your garage door from anywhere using your smartphone or tablet. The app also provides notifications for door status and activity.
3.3. Automatic Garage Door Lock (841LM)
The 841LM Automatic Garage Door Lock automatically engages a deadbolt when the garage door is closed, providing an additional layer of security. It disengages automatically when the opener is activated.
3.4. Safety Sensors
The safety sensors project an invisible light beam across the garage door opening. If the beam is interrupted while the door is closing, the door will automatically reverse to the open position. Ensure the sensors are clear of obstructions and properly aligned at all times.
3.5. Battery Backup Function (485LM)
In the event of a power outage, the integrated battery backup system (485LM) automatically provides power to the opener, allowing for continued operation of the garage door. The RJO 98032 is California SB-969 Compliant, ensuring reliable access during power interruptions.
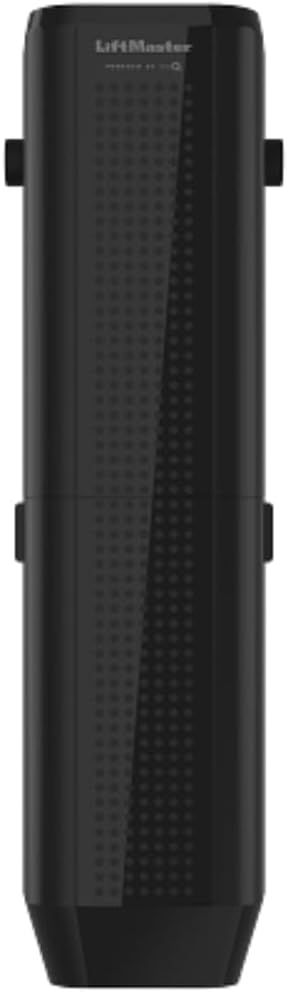
Image 3.1: Certification indicating the product's compliance with California SB-969 for battery backup functionality.
4. Maintenance
Regular maintenance ensures the longevity and safe operation of your LiftMaster HD RJO 98032 garage door opener.
- Monthly: Test the safety sensors by placing an object in the door's path while it is closing. The door should reverse.
- Monthly: Test the door balance. Disconnect the opener and manually lift the door. It should stay in place at any point of travel. If not, consult a professional for spring adjustment.
- Annually: Inspect all hardware, including hinges, rollers, and cables, for wear and tear. Lubricate moving parts of the garage door (not the opener) as recommended by the door manufacturer.
- Battery Backup: Periodically check the status of the battery backup units. The opener will typically indicate a low battery or charging status. Replace batteries as needed, typically every 3-5 years, or when performance degrades.
- Keep the area around the opener and sensors clean and free of debris.
5. Troubleshooting
This section provides solutions to common issues you might encounter with your LiftMaster HD RJO 98032.
5.1. Opener Not Responding to Remote/myQ App
- Check Power: Ensure the opener is plugged in and receiving power. Check the circuit breaker.
- Remote Battery: Replace the battery in the 3-Button Remote Control (893MAX).
- WiFi Connection: For myQ app issues, verify your home WiFi network is active and the opener is connected. Restart your router if necessary.
- Reprogram Remote: If the remote was recently dropped or stopped working, try reprogramming it to the opener.
5.2. Door Does Not Close Completely or Reverses
- Safety Sensors: The most common cause. Check if the safety sensors are misaligned, obstructed, or dirty. Ensure the indicator lights on both sensors are solid.
- Obstructions: Clear any objects from the door's path.
- Travel Limits/Force Settings: If the door consistently stops short or reverses without obstruction, the travel limits or force settings may need adjustment. Refer to the detailed installation manual for instructions or contact professional service.
5.3. Battery Backup Not Functioning During Power Outage
- Battery Connection: Ensure the battery backup units (485LM) are properly installed and connected.
- Battery Charge: The batteries may be depleted or at the end of their lifespan. Allow time for them to recharge after a power restoration, or consider replacement if they no longer hold a charge.
- Battery Indicator: Check the battery status indicator on the opener for diagnostic information.
6. Specifications
| Feature | Detail |
|---|---|
| Manufacturer | Liftmaster Pro Channel |
| Part Number | 98032 |
| Item Weight | 49.9 pounds |
| Product Dimensions | 28 x 10 x 16 inches |
| Item Model Number | 98032 |
| Batteries Required | 2 Lithium Ion batteries (included) |
| Color | Black |
| Item Package Quantity | 1 |
| Included Components | 3-Button Remote Control (893MAX), Automatic Garage Door Lock (841LM), Safety Sensors, Two Integrated Battery Backup (485LM), myQ Remote LED Light (827LM) |
| Battery Cell Type | Lithium Ion |
| UL Certification | UL 325 Certified |
| Door Weight Capacity | Up to 1,100 lbs (standard sectional doors) |
7. Warranty and Support
For specific warranty details regarding your LiftMaster HD RJO 98032, please refer to the documentation included with your product or contact LiftMaster directly. Warranty terms typically cover manufacturing defects for a specified period.
For technical assistance, troubleshooting beyond this manual, or to inquire about professional service, please contact LiftMaster Customer Support. You can often find contact information on the LiftMaster official website or through the seller from whom the product was purchased.
As this product is exclusively offered through LiftMaster's Pro Channel, professional assistance may be the primary avenue for comprehensive support and service.