Product Overview
The Locadence Digital Alarm Clock is designed to provide clear time, date, and temperature display with adjustable brightness and a convenient mirror function. It features an intuitive interface for easy setup and daily use, making it suitable for bedrooms and desks.

Figure 1: Front view of the Locadence Digital Alarm Clock. The clock features a sleek mirror finish and a bright green LED display, currently showing "6:00". The design includes two circular elements on the top, resembling ears, adding a unique aesthetic.
Key Features:
- LED Time Display with 12/24 Hour Conversion
- Alarm Clock and Snooze Function
- Temperature Display (Celsius ℃, Fahrenheit ℉) with a range of -10℃ to 50℃
- Night Mode Setting (18:00-06:00) for automatic dimming
- Mirror Function
- Time and Temperature Switch Display
- Two-Level Brightness Adjustment
- Five Function Buttons: MODE, ALARM, SNZ LIGHT, UP, DOWN
- Time Memory Function (requires 3 AAA batteries)
- LED indicator always on when using USB cable

Figure 2: Visual representation of the clock's various functions, including time display, alarm, snooze, temperature, date, backlight, and large screen display capabilities.
Setup Guide
Powering the Clock:
The clock can be powered by either a USB cable or 3 AA batteries (not included). For continuous display, it is recommended to use the USB cable. Batteries primarily serve as a backup for time memory during power outages.
- USB Power: Connect the provided USB cable to the clock's power input port and plug the other end into a standard USB power adapter (not included) or a USB port on a computer. The LED display will light up immediately.
- Battery Power (Time Memory): Open the battery compartment on the back of the clock. Insert 3 AAA batteries (not included), ensuring correct polarity (+/-). These batteries are for the time memory function, allowing the clock to retain time settings during a power interruption from the USB cable. The main display will not stay on continuously with only battery power.

Figure 3: Rear view of the alarm clock, highlighting the battery compartment, USB power input, and the five control buttons (MODE, ALARM, SNZ LIGHT, UP, DOWN) located on the top edge.
Operating Instructions
Button Functions:
- MODE: Switches between Time, Date, and Temperature display modes. Long press to enter time/date/temperature setting mode.
- ALARM: Enters alarm setting mode. Long press to set alarm time.
- SNZ LIGHT: Activates snooze function when alarm sounds. Short press to adjust brightness.
- UP: Increases values during setting.
- DOWN: Decreases values during setting.
Setting Time and Date:
- Long press the MODE button until the hour digits start flashing.
- Use the UP and DOWN buttons to adjust the hour.
- Press MODE again to move to minutes, then adjust with UP/DOWN.
- Continue pressing MODE to cycle through year, month, and day settings, adjusting each with UP/DOWN.
- Press MODE one last time to exit setting mode.
To switch between 12-hour and 24-hour format, short press the UP button while in time display mode.

Figure 4: The clock displaying "13:18" in 24-hour format, with an "AL" indicator signifying that the alarm is set. This image illustrates the clear, large font display.
Setting the Alarm:
- Long press the ALARM button until the alarm hour digits flash.
- Use UP and DOWN to set the desired alarm hour.
- Press ALARM again to move to alarm minutes, then adjust with UP/DOWN.
- Press ALARM one last time to confirm and activate the alarm. An alarm icon will appear on the display.
When the alarm sounds, press the SNZ LIGHT button to activate the snooze function. The alarm will sound again after a set interval (typically 5-10 minutes). To turn off the alarm completely, press any other button.

Figure 5: This image illustrates the practical application of the alarm and snooze functions, helping users plan their day effectively from waking up to daily activities.
Temperature Display:
The clock automatically displays the temperature. To switch between Celsius (℃) and Fahrenheit (℉), short press the DOWN button while in temperature display mode.
Figure 6: The back of the clock, with an overlay indicating its capability to display temperature in both Celsius and Fahrenheit, covering a range from -10℃ to 50℃.
Brightness Adjustment and Night Mode:
The clock offers two levels of brightness. Short press the SNZ LIGHT button to cycle through the brightness levels. You can choose to manually adjust the brightness or allow the clock to automatically adjust. The clock also features a Night Mode, where the LED display automatically dims between 18:00 (6 PM) and 06:00 (6 AM) to avoid disturbing sleep. During normal mode (daytime), the display will automatically brighten.
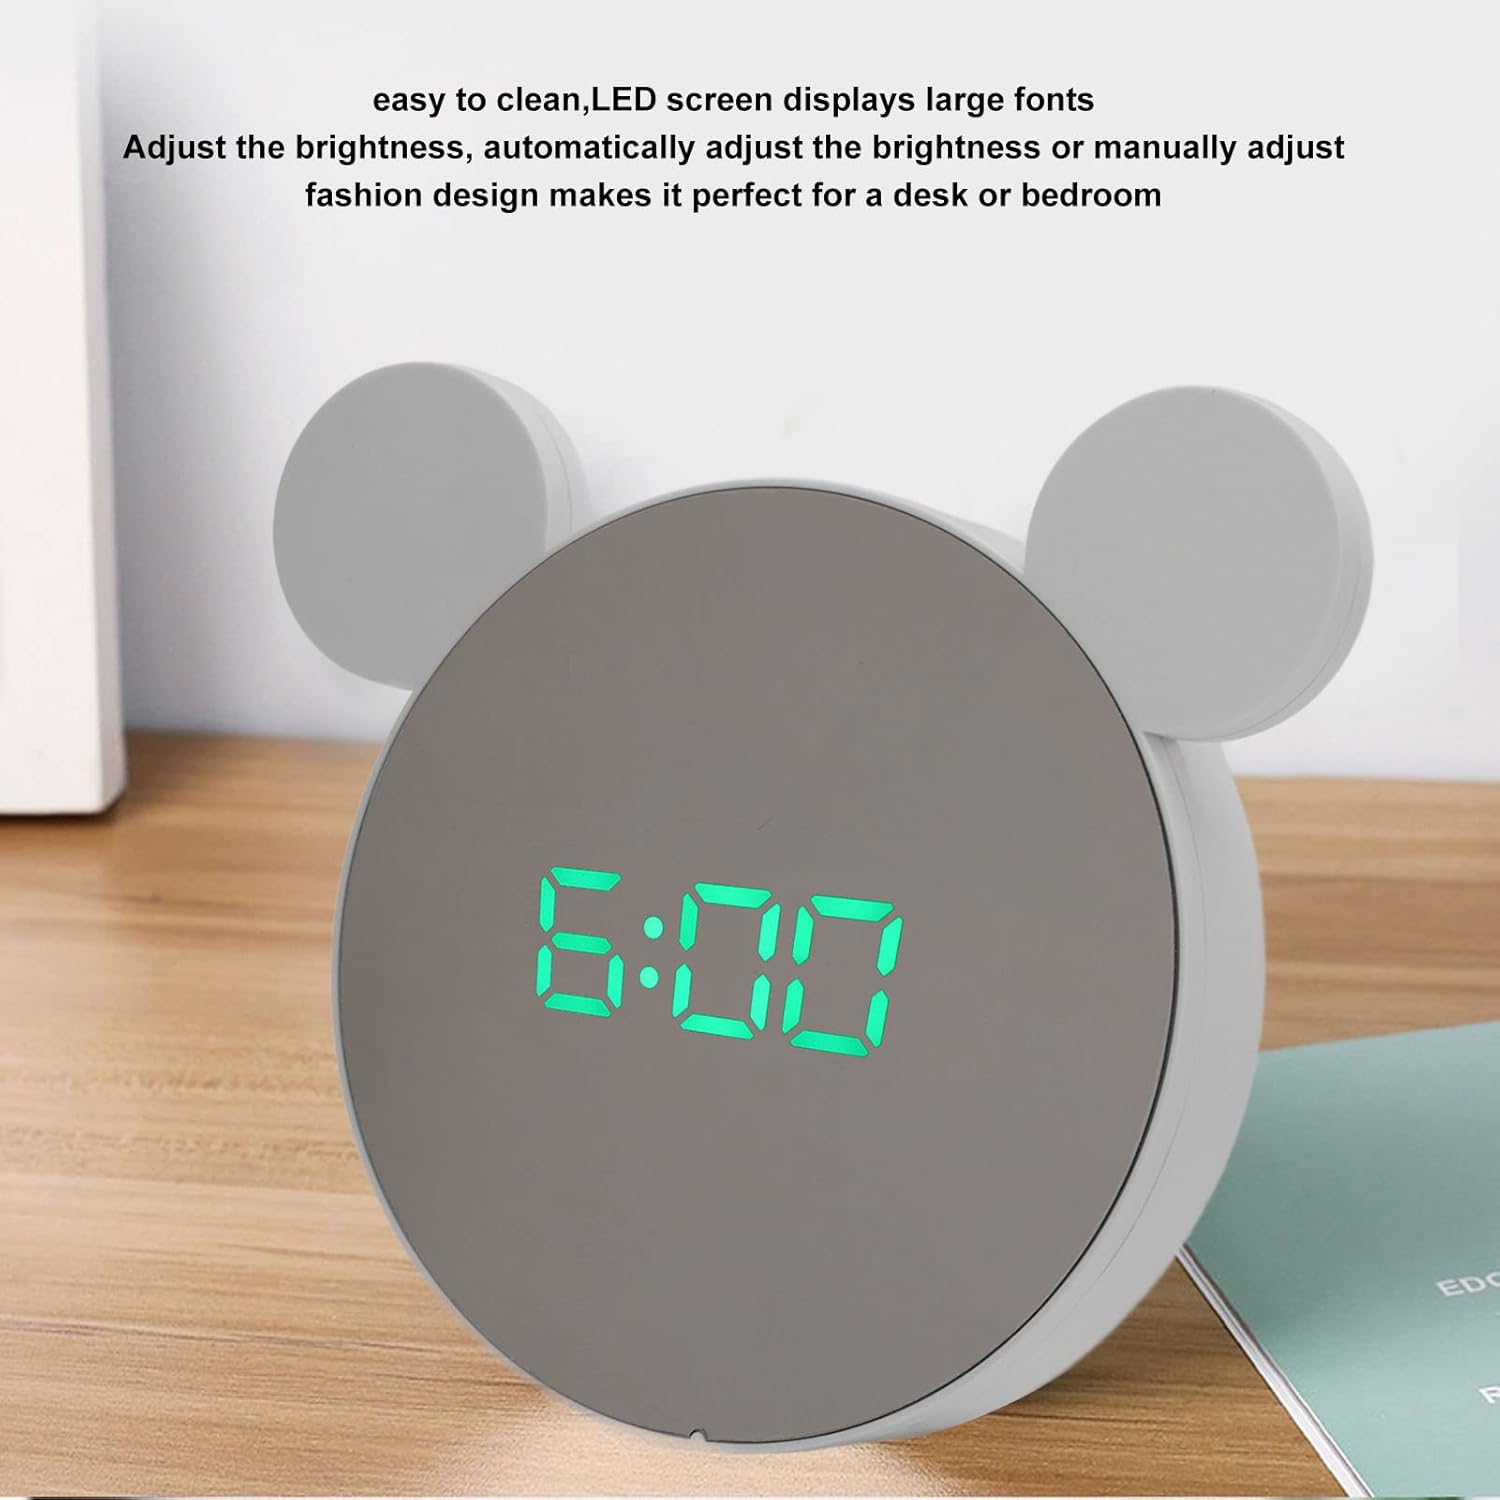
Figure 7: The clock showcasing its large, easy-to-read LED fonts and the capability for brightness adjustment, either manually or automatically, making it suitable for various environments.

Figure 8: The clock in a low-light setting, displaying "13:33", demonstrating the automatic dimming feature of the night mode (18:00-06:00).

Figure 9: The clock displaying "6:00" in a dark environment, showcasing the clear and bright green LED digits even in low light conditions.
Maintenance
Cleaning:
The mirror surface of the clock is designed to resist dust accumulation and is easy to clean. Use a soft, dry, lint-free cloth to gently wipe the display and casing. Avoid using abrasive cleaners, solvents, or spray cleaners directly on the clock, as they may damage the surface.
Battery Replacement:
If you notice that the time memory function is no longer working during power interruptions, it may be time to replace the 3 AAA batteries in the battery compartment. Ensure the clock is disconnected from USB power before replacing batteries. Dispose of old batteries responsibly.
Troubleshooting
- Display is blank:
- Ensure the USB cable is securely connected to both the clock and a working power source.
- If relying on batteries for time memory, note that the main display does not stay on continuously with only battery power.
- Alarm not sounding:
- Verify that the alarm time is correctly set and the alarm icon is displayed on the screen.
- Check if the volume is not set to zero (if applicable, though this model doesn't specify volume control).
- Incorrect time/date:
- Re-enter the time and date settings following the "Setting Time and Date" instructions.
- Ensure the 12/24 hour format is set correctly.
- Temperature reading seems off:
- Ensure the clock is not placed near heat sources or in direct sunlight, which can affect temperature accuracy.
- Verify the correct temperature unit (Celsius/Fahrenheit) is selected.
Specifications

Figure 10: Dimensional view of the clock, showing its approximate width of 14.9 cm (5.9 inches) and height of 14 cm (5.5 inches).
| Feature | Detail |
|---|---|
| Item Type | Digital Alarm Clock Mirror |
| Material | ABS (Acrylonitrile Butadiene Styrene) |
| Power Source | Corded Electric (USB), Battery Powered (3 AA for operation, 3 AAA for time memory - batteries not included) |
| Product Dimensions | Approx. 14.9 x 14 cm / 5.9 x 5.5 inches (W x H) |
| Display Type | Digital LED |
| Color | Green Light (display) |
| Temperature Range | -10℃ to 50℃ |
| Item Weight | 6.1 ounces |
| Model Number | Locadence9e5zf2q3hp-12 |
Warranty and Support
For warranty information and customer support, please refer to the documentation provided with your purchase or contact the manufacturer directly. Specific warranty terms and support channels are typically provided by Locadence.
Please retain your proof of purchase for any warranty claims.