1. Introduction
Welcome to the user manual for your new ProTuning Forneby Forced Air Oven with Direct Steam 500. This appliance is designed to provide versatile cooking options, combining forced air circulation with direct steam injection for optimal results. Please read this manual carefully before using your oven to ensure safe and efficient operation. Keep this manual for future reference.
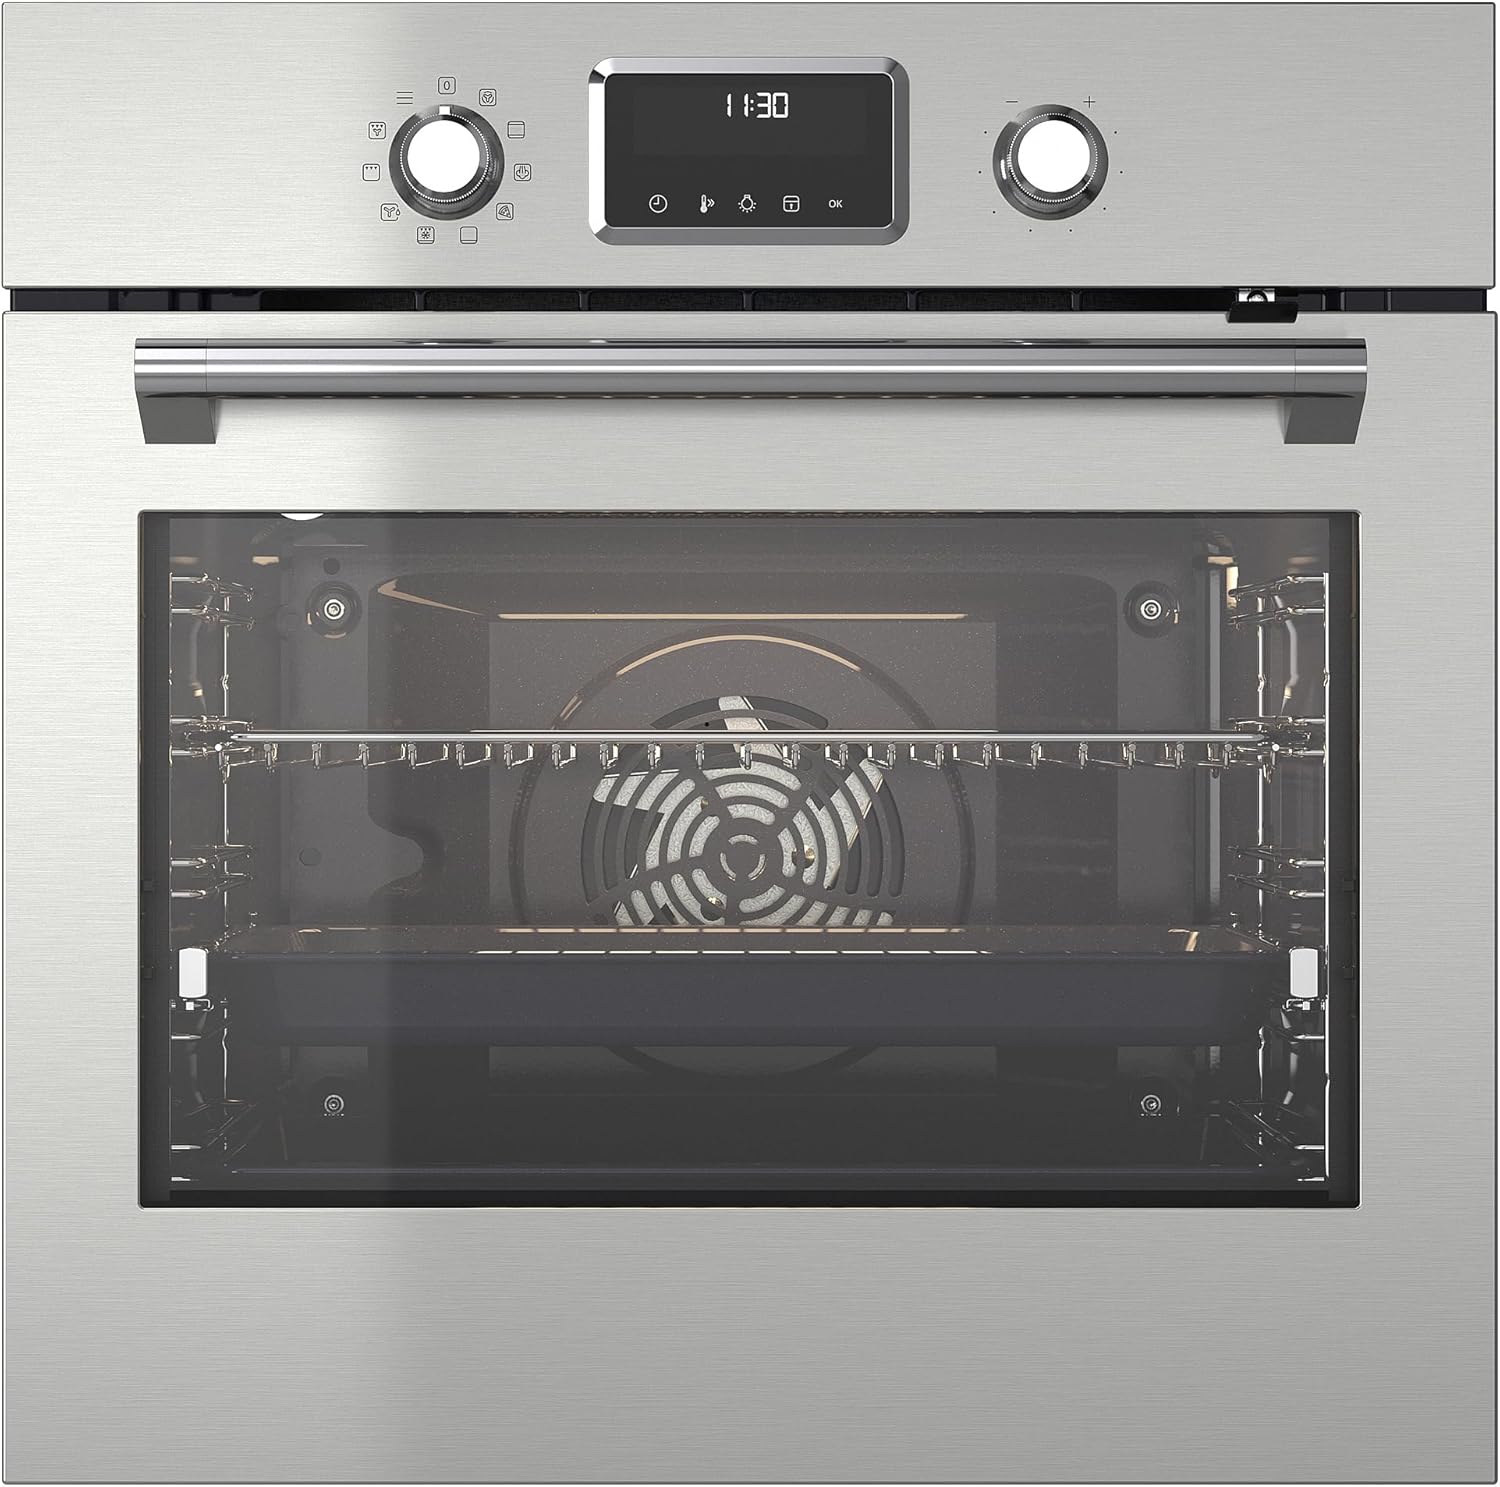
Figure 1: Front view of the Forneby Forced Air Oven, highlighting its sleek stainless steel design and intuitive control panel.
2. Setup and Installation
Proper installation is crucial for the safe and efficient operation of your oven. We recommend professional installation by a qualified technician.
2.1 Unpacking
- Carefully remove all packaging materials from the oven.
- Inspect the oven for any signs of damage during transit. Contact your retailer immediately if damage is found.
- Remove all accessories and internal packaging from the oven cavity.
2.2 Electrical Connection
Ensure the electrical supply meets the specifications required for the oven. The oven must be properly grounded. Refer to the installation guide provided with the appliance for detailed electrical requirements.
2.3 Initial Cleaning
Before first use, clean the interior of the oven with a damp cloth and mild detergent. Wipe dry thoroughly. Do not use abrasive cleaners.
2.4 First Use (Burning Off Residues)
To eliminate any manufacturing odors or residues, operate the empty oven for approximately 30-60 minutes at 200°C (392°F) using the forced air function. Ensure the kitchen is well-ventilated during this process.

Figure 2: The Forneby oven seamlessly integrated into a kitchen setting, demonstrating its built-in design.
3. Operating Instructions
Your Forneby oven offers various cooking functions for diverse culinary needs.
3.1 Control Panel Overview
The control panel consists of rotary knobs for function selection and temperature/time adjustment, along with a digital display and touch buttons for specific settings.
- Left Rotary Knob: Selects cooking functions (e.g., Forced Air, Steam, Grill).
- Right Rotary Knob: Adjusts temperature or cooking time, depending on the selected function.
- Digital Display: Shows current temperature, time, and selected settings.
- Touch Buttons: Used for specific actions like starting/stopping, setting timers, or activating special features.
3.2 Setting the Oven
- Turn the left rotary knob to select your desired cooking function.
- Turn the right rotary knob to set the desired temperature. The display will show the set temperature.
- If a cooking time is required, press the timer button (if available) and use the right rotary knob to set the duration.
- Press the 'OK' or 'Start' button to begin cooking.
3.3 Using the Direct Steam Function
The direct steam function is ideal for baking bread, steaming vegetables, or reheating dishes to retain moisture.
- Ensure the oven is cool before adding water.
- Locate the water reservoir or designated area at the bottom of the oven cavity.
- Carefully pour clean water into the reservoir. Do not overfill.
- Select a steam-assisted cooking function using the left rotary knob.
- Set the desired temperature and time.
- The oven will generate steam during the cooking process.

Figure 3: Adding water to the oven for steam generation, a key step for steam-assisted cooking.

Figure 4: Food cooking inside the oven, demonstrating the forced air circulation and temperature display.
4. Maintenance and Cleaning
Regular cleaning and maintenance will prolong the life of your oven and ensure optimal performance.
4.1 Exterior Cleaning
Clean the exterior surfaces with a soft cloth and warm soapy water. For stainless steel surfaces, use a specialized stainless steel cleaner and polish in the direction of the grain to avoid streaks. Do not use abrasive pads or harsh chemicals.
4.2 Interior Cleaning
After each use, allow the oven to cool down. Wipe the interior with a damp cloth and mild detergent. For stubborn stains, a specialized oven cleaner can be used, following the product instructions carefully. Ensure all cleaner residue is removed before next use.
4.3 Steam Cleaning (if applicable)
Some models may feature a steam cleaning function. If available, add water to the reservoir as described in Section 3.3 and select the steam cleaning program. This helps loosen baked-on food for easier manual cleaning.
4.4 Removing Oven Racks and Trays
Oven racks and trays can be removed for easier cleaning. Wash them in warm soapy water or in a dishwasher if they are dishwasher-safe. Ensure they are completely dry before placing them back in the oven.
5. Troubleshooting
If you encounter any issues with your oven, refer to the following common problems and solutions before contacting customer service.
| Problem | Possible Cause | Solution |
|---|---|---|
| Oven does not heat | No power supply; Door not closed properly; Function/temperature not set. | Check power connection; Ensure door is fully closed; Re-set function and temperature. |
| Steam function not working | No water in reservoir; Incorrect function selected. | Fill water reservoir; Select appropriate steam function. |
| Uneven cooking | Overcrowding the oven; Incorrect rack position. | Avoid overcrowding; Use recommended rack positions for different dishes. |
| Display shows error code | Internal malfunction. | Note the error code and contact customer support. |
If the problem persists after attempting these solutions, please contact ProTuning customer support for assistance.
6. Specifications
Detailed technical specifications for the ProTuning Forneby Forced Air Oven with Direct Steam 500.
- Model: IK.305.577.90
- Brand: ProTuning
- Type: Forced Air Oven with Direct Steam
- Color: Stainless Steel
- Volume: 72 Liters
- Width: 59.4 cm
- Depth: 56.7 cm
- Height: 58.9 cm
- Weight: 32.70 kg
- Cord Length: 150 cm
- Power Supply: Refer to installation guide for specific voltage and amperage requirements.
7. Warranty and Support
Your ProTuning Forneby Forced Air Oven with Direct Steam 500 comes with a comprehensive warranty and dedicated customer support.
7.1 Warranty Information
This product is covered by a 5-year warranty. Please refer to the warranty brochure included with your purchase for full terms and conditions, including coverage details and how to make a claim.
7.2 Customer Support
For technical assistance, spare parts, or warranty claims, please contact ProTuning customer support. Have your model number (IK.305.577.90) and purchase date ready when you call.
You can typically find contact information on the ProTuning official website or in your product documentation.