Introduction
Thank you for choosing the ProTuning FINPUTSAD 700 Integrated Dishwasher. This manual provides essential information for the safe installation, operation, and maintenance of your new appliance. Please read these instructions carefully before using the dishwasher to ensure optimal performance and longevity.
Safety Information
- Always disconnect the appliance from the power supply before cleaning or performing maintenance.
- This appliance is intended for household use only.
- Do not allow children to operate or play with the dishwasher.
- Ensure the power cord is not damaged. If damaged, it must be replaced by a qualified service technician.
- Use only detergents and rinse aids specifically designed for automatic dishwashers.
- Sharp items should be loaded with their points down to prevent injury.
Setup and Installation
Proper installation is crucial for the performance and safety of your dishwasher. It is recommended that installation be performed by a qualified technician.
Unpacking
Carefully remove all packaging materials. Inspect the dishwasher for any damage incurred during transit. Report any damage to your retailer immediately.
Placement and Dimensions
The FINPUTSAD 700 is an integrated dishwasher designed to fit into standard kitchen cabinetry. Ensure adequate space and proper ventilation.

Image: Dimensional drawing showing the dishwasher's width (44.8 cm), depth (55.5 cm), height (82-90 cm), and plinth height (12 cm).
Assembled Size:
- Width: 44.8 cm
- Depth: 55.5 cm
- Height: 82.0 cm
Installation Height:
- Max. Installation Height: 90.0 cm
- Min. Installation Height: 82.0 cm
Cord Length: 130.0 cm

Image: The FINPUTSAD 700 dishwasher integrated into kitchen cabinetry, with its door slightly ajar, blending seamlessly with the surrounding dark wood cabinets.
Water and Electrical Connections
Connect the dishwasher to a cold water supply and a suitable electrical outlet. Ensure all connections are secure and leak-free. Refer to local plumbing and electrical codes.
Initial Use
Before the first wash cycle, fill the salt dispenser with dishwasher salt and the rinse aid dispenser with rinse aid. This helps optimize cleaning and drying performance.
Operating Instructions
Loading the Dishwasher
For best results, load dishes correctly. Scrape off large food particles before loading. Avoid overcrowding to allow water to reach all surfaces.

Image: The interior of the FINPUTSAD 700 dishwasher, showing the empty upper and lower racks, ready for loading.

Image: The FINPUTSAD 700 dishwasher fully open and loaded with various dishes, including plates, bowls, and cups, demonstrating efficient loading.
Upper Rack
Ideal for glasses, cups, small bowls, and delicate items. The height of the upper rack can often be adjusted to accommodate taller items in the lower rack.

Image: A close-up view of the upper rack, highlighting specialized holders designed to secure wine glasses during the wash cycle.
Lower Rack
Suitable for larger items such as plates, serving dishes, pots, and pans.
Cutlery Tray
Place forks, spoons, and knives in the dedicated cutlery tray, ensuring they are separated to allow thorough cleaning.

Image: A dedicated cutlery tray, located at the top of the dishwasher, neatly organized with forks, spoons, and knives.
Control Panel Overview
The control panel allows you to select wash programs and adjust settings. Refer to the symbols for specific functions.

Image: A close-up of the dishwasher's control panel, featuring buttons for power, program selection (e.g., Eco, Auto), delay start, and indicators for salt and rinse aid levels.
Selecting a Program
Choose a wash program suitable for the type and soil level of your dishes. Common programs include Eco, Auto, Intensive, and Quick Wash.
Starting a Wash Cycle
Close the dishwasher door firmly. Press the Start button to begin the selected program. Some models may have a delay start option.
End of Cycle Indicator
Your dishwasher may project a light onto the floor to indicate the cycle status. This light typically turns off when the cycle is complete.
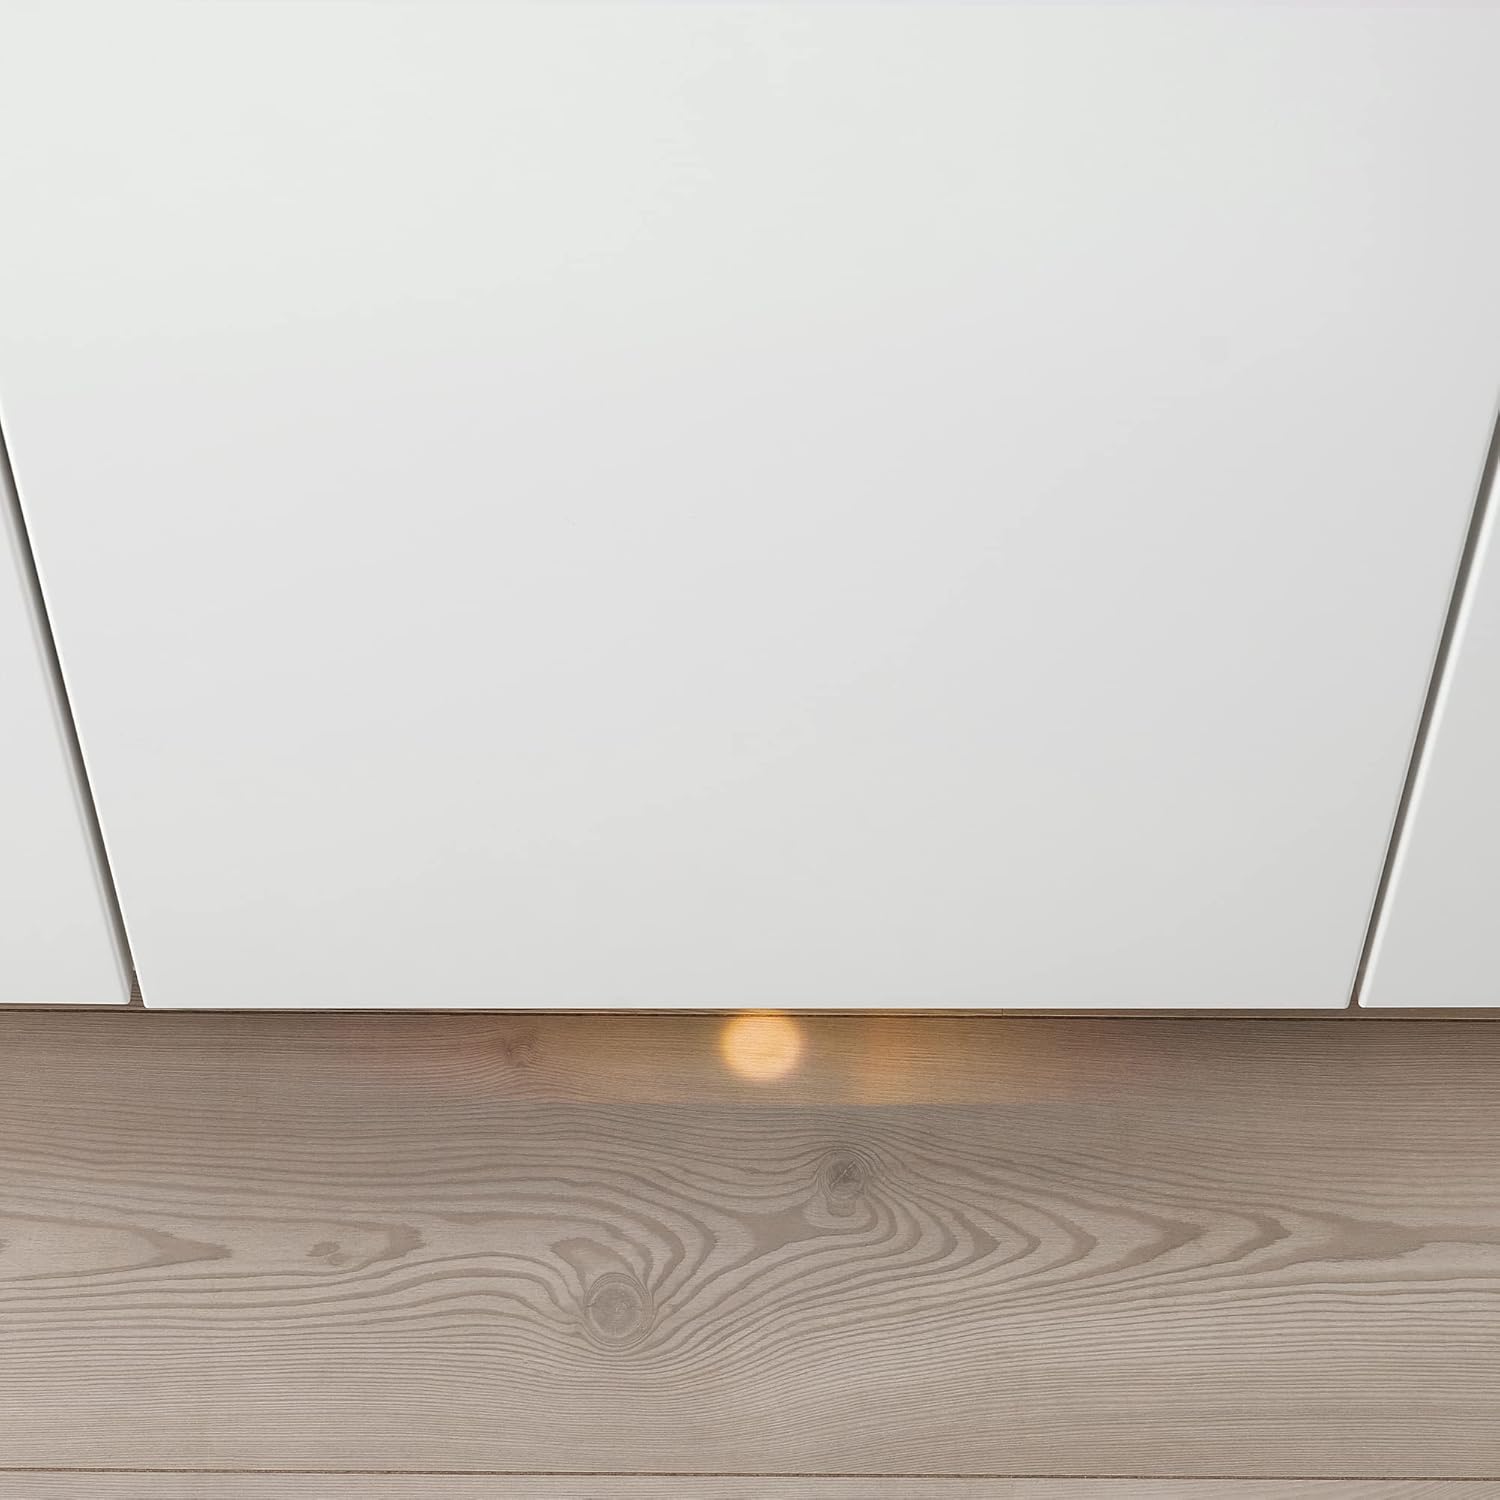
Image: An orange light projected onto the kitchen floor from beneath an integrated dishwasher, serving as a visual indicator of the appliance's operational status.
Maintenance
Regular maintenance ensures efficient operation and extends the life of your dishwasher.
Cleaning Filters
The filter system should be cleaned regularly to prevent blockages and ensure effective cleaning. Remove the filters, rinse them under running water, and reassemble.
Cleaning Spray Arms
Check the spray arm nozzles for any blockages. If necessary, remove the spray arms and clear any debris from the holes.
Exterior Cleaning
Wipe the exterior surfaces with a soft, damp cloth. Do not use abrasive cleaners or solvents.
Winterization (if applicable)
If the dishwasher is in an unheated area and there is a risk of freezing, drain all water from the appliance and disconnect the water supply to prevent damage.
Troubleshooting
Before contacting service, check the following common issues:
- Dishwasher does not start: Check power supply, door closure, and ensure a program is selected.
- Dishes are not clean: Verify proper loading, check spray arms for blockages, ensure filters are clean, and use adequate detergent.
- Water not draining: Inspect the drain hose for kinks or blockages, and clean the filter system.
- Unusual noises: Check for foreign objects in the pump area or spray arms.
Specifications
| Feature | Detail |
|---|---|
| Brand | ProTuning |
| Model Number | IK.704.756.22 |
| Manufacturer | ProTuning |
| ASIN | B0CY3FYGD5 |
| Width | 44.8 cm |
| Depth | 55.5 cm |
| Height | 82.0 cm |
| Max. Installation Height | 90.0 cm |
| Min. Installation Height | 82.0 cm |
| Cord Length | 130.0 cm |
| Weight | 29.60 kg |
| First Available Date | December 14, 2023 |
Warranty and Support
Warranty Information
This product comes with a 5-year warranty. For detailed terms and conditions, please refer to the separate warranty brochure provided with your appliance or contact your retailer.
Customer Support
If you encounter any issues not covered in the troubleshooting section, or require technical assistance, please contact your retailer or the manufacturer's customer service. Have your model number (IK.704.756.22) and purchase date ready when contacting support.
Important Note for Non-EU Customers: Please be aware that you may be subject to import duties and taxes. Contact your local postal or tax office for information regarding import regulations in your region.